The Tailgate Fries Tray Everyone’s Already Planning for Week One
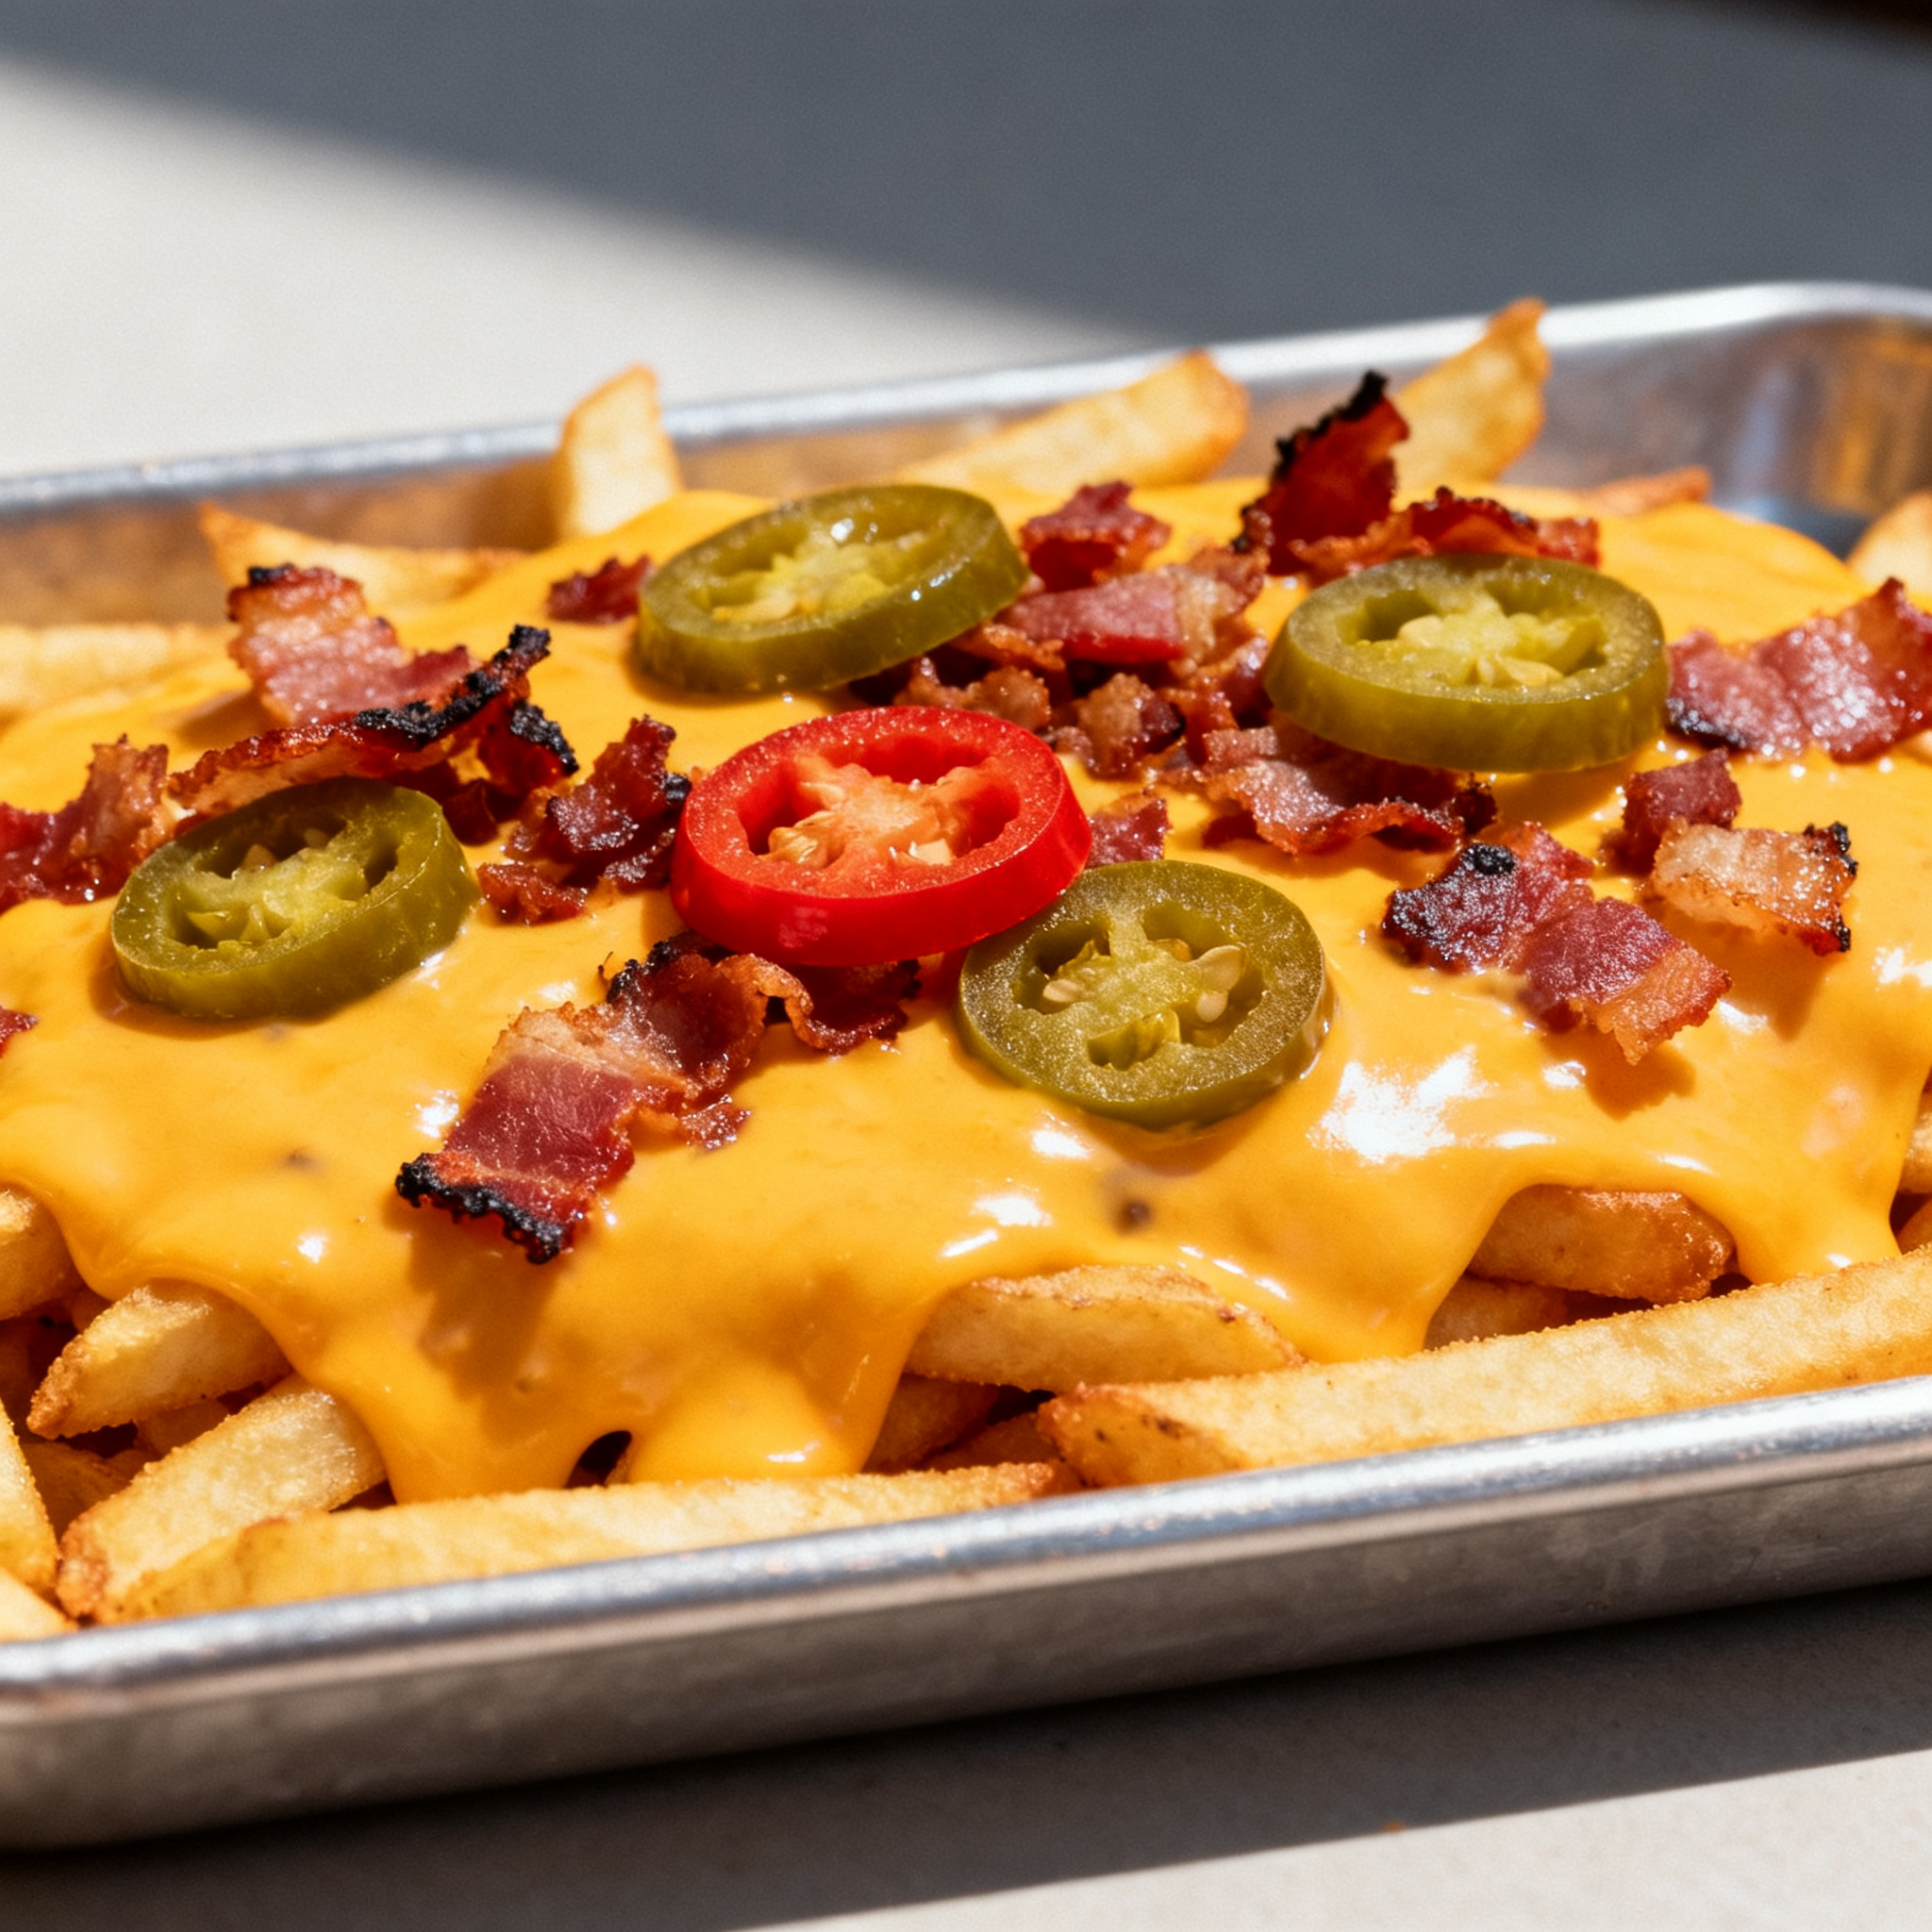
This is loaded tailgate fries built the way a nacho tray is built, not the way a fries pile usually gets buried: two full layers of crispy fries, two full layers of melted cheddar, bacon, and pickled jalapeños, so nobody's left digging for the good bite at the bottom. Wire-rack baking keeps every fry crackling-crisp before the toppings ever touch it, which is the part most trays skip.
Simple, everyday ingredients and clear, step-by-step instructions — every recipe made in Dorothy’s kitchen before it reaches yours. Jump to the full recipe card below.
Keep going from here: the salad and side round-up.
PrintThe Tailgate Fries Tray Everyone’s Already Planning for Week One
Wire-rack-crisped fries built in two layers with cheese, bacon, and jalapeños so every bite gets loaded, not just the top.
- Prep Time: 15 minutes
- Cook Time: 35 minutes
- Total Time: 50 minutes
- Yield: 4 1x
- Method: Baking
- Cuisine: American
Ingredients
- 2 lb frozen crinkle-cut or steak fries
- Nonstick cooking spray
- 8 oz sharp cheddar, shredded
- 4 oz pepper jack, shredded
- 1/2 lb bacon, cooked and chopped (or cooked chorizo)
- 1 cup warm queso or nacho cheese sauce
- 1/3 cup pickled jalapeños, sliced
- 3 green onions, sliced
- 1/2 cup sour cream, thinned with 1 tbsp milk
- Hot sauce, to taste
- Kosher salt
Instructions
- Heat oven to 425°F (220°C). Set a wire rack inside a rimmed sheet pan and mist with nonstick spray.
- Spread frozen fries in a single layer directly on the rack (not the pan). Bake 15 minutes.
- Flip fries and bake 10-12 minutes more, until deeply golden and crisp on both sides. Season with a pinch of salt.
- Spread half the crispy fries in an even layer on an oven-safe serving tray or cast-iron skillet.
- Scatter half the cheddar, pepper jack, bacon, and jalapeños over that layer.
- Add the remaining fries on top, then repeat with the rest of the cheese, bacon, and jalapeños.
- Return to the oven (or under the broiler) 3-5 minutes, until the cheese is fully melted and bubbling at the edges.
- Drizzle with warm queso, sour cream, and hot sauce. Scatter green onions and serve immediately, straight from the tray.
Notes
The wire rack is what separates crispy fries from soggy ones — never skip it, and never skip the flip halfway through. Let shredded cheese come to room temperature before layering so it melts smoothly instead of clumping. Bacon and jalapeños can be prepped up to 2 days ahead and kept in the fridge until assembly. For a spicier tray, swap pickled jalapeños for fresh sliced serranos; for a heartier one, spoon warm chili between the layers instead of queso. Reheat leftovers under the broiler, never the microwave.
The problem with almost every loaded fries tray is architecture, not flavor. Toppings get dumped on top of a fry pile in one big scoop, gravity does its thing, and by the time the tray reaches the coffee table, the bottom third is a soggy, cheese-slicked mess while the top layer hogs all the bacon. The fix is to stop treating this like a garnish and start treating it like nachos: build it in two distinct layers, fries then toppings then fries then toppings, so the ratio holds up from the first handful to the last.
The other non-negotiable is the wire rack. Fries baked directly on a sheet pan steam themselves from underneath — there’s nowhere for the moisture to go, so the bottoms turn gray and limp right as you’re loading on cheese. Lifting them onto a rack lets hot air circulate on all sides, which is why a double flip and rack setup gets you genuinely shatter-crisp fries that can survive a second trip through a hot oven with cheese piled on top and still hold their structure. Skip this step and you’re just making expensive mush.
Cold toppings straight from the fridge are the other common mistake — cold shredded cheese seizes into rubbery clumps instead of melting into that pull-apart layer you want, so let it sit out while the fries bake. For variety, swap the bacon for cooked chorizo or leftover pulled pork, swap the queso for a ladle of chili for chili-cheese fries, or go plant-based with a shredded dairy-free blend and smoky tempeh bacon — the layering technique is what makes the tray work, not any single ingredient. If there are leftovers, reheat under the broiler for two minutes; the microwave will undo everything the wire rack did.
Frequently Asked Questions
How do you keep loaded tailgate fries from getting soggy?
Bake the fries on a wire rack set inside a sheet pan instead of directly on the pan. This lets hot air circulate underneath so steam escapes instead of collecting, which keeps the fries crisp even after a second bake with toppings on top.
Can I make this loaded fries tray ahead of time?
Cook the bacon, shred the cheese, and slice the jalapeños up to 2 days ahead. Bake the fries fresh right before serving — they lose their crisp texture if baked too far in advance and reheated.
Can I use an air fryer instead of the oven?
Yes. Air-fry the frozen fries in batches at 400°F for about 15-18 minutes, shaking halfway, then layer and assemble the tray in a broiler-safe dish and finish under the broiler for a few minutes to melt the cheese.
What can I substitute for bacon in loaded tailgate fries?
Cooked chorizo, crumbled sausage, or shredded pulled pork all work well in place of bacon. For a meatless version, use smoky tempeh bacon or a plant-based chorizo crumble.
Get our 10 best recipes — free
Join the Receipster newsletter and we’ll send you Dorothy’s 10 most-loved recipes as a free PDF.
Free PDF + new recipes every week. Unsubscribe anytime.