Savory Sweet Potato Hash Browns Recipe
Introduction
Crispy on the outside, tender within, these Healthy Sweet Potato Hash Browns are a vibrant and satisfying upgrade to your breakfast table. After extensive testing, I’ve perfected a method that delivers maximum crispiness without deep-frying, making this a nutritious side dish you can feel great about. The natural sweetness of the potato caramelizes beautifully, creating a flavor that’s both comforting and wholesome.
Ingredients
The key to perfect hash browns lies in simple, fresh ingredients. Using a starchy sweet potato and properly wringing out moisture are the secrets to achieving that ideal golden crust.
- 1 large sweet potato, peeled (approx. 3½ cups grated)
- 2 tablespoons grated onion
- 2 eggs
- 1 tablespoon plain flour (or gluten-free 1:1 blend)
- 1/4 teaspoon kosher salt (adjust to taste)
- 2 tablespoons vegetable oil (use more if required)
Timing
| Prep Time | 15 minutes |
| Cook Time | 15 minutes |
| Total Time | 30 minutes |
Context: This 30-minute timeline is about 25% faster than many traditional recipes that require pre-cooking the potato. It’s a streamlined process perfect for a quick weekend brunch or a savory breakfast-for-dinner option.
Step-by-Step Instructions
Step 1 — Prep and Grate the Potato
Peel the sweet potato and grate it using the large holes of a box grater or a food processor shredding disc. You should have about 3½ cups of loosely packed shreds. Place the grated sweet potato and the 2 tablespoons of grated onion into the center of a large, clean kitchen towel.
Step 2 — Remove Excess Moisture
Gather the corners of the towel to form a bundle. Over the sink, twist the bundle tightly to wring out as much liquid as possible from the vegetables. This crucial step removes excess starch and water, which is the key to achieving crispy, not soggy, hash browns.
Step 3 — Combine the Hash Brown Mixture
Transfer the wrung-out potato and onion mixture to a medium mixing bowl. Add the eggs, flour, and kosher salt. Use a fork or your hands to mix everything thoroughly until the ingredients are evenly distributed and the mixture holds together when pressed.
Step 4 — Form the Patties
Divide the mixture into 4-6 equal portions. For each portion, firmly press and shape it into a patty about ½-inch thick. (Pro tip: Compacting them well helps them hold their shape during cooking and promotes even browning.)
Step 5 — Heat the Oil
Heat the vegetable oil in a large non-stick or cast-iron skillet over medium heat. The oil should shimmer but not smoke. Properly heated oil ensures the patties start cooking immediately, sealing the exterior for a crisp texture.
Step 6 — Cook the First Side
Carefully place the patties in the hot skillet, leaving some space between them. Cook undisturbed for 4-5 minutes, or until the bottom is deeply golden brown and crisp. Unlike boiling, sautéing directly in the pan caramelizes the natural sugars in the sweet potato, creating a delicious crust.
Step 7 — Flip and Cook Through
Gently flip each patty with a thin spatula. Cook for another 4-5 minutes on the second side until golden brown and cooked through. In my tests, pressing down lightly after flipping helps ensure even contact with the pan for uniform color.
Step 8 — Drain and Serve
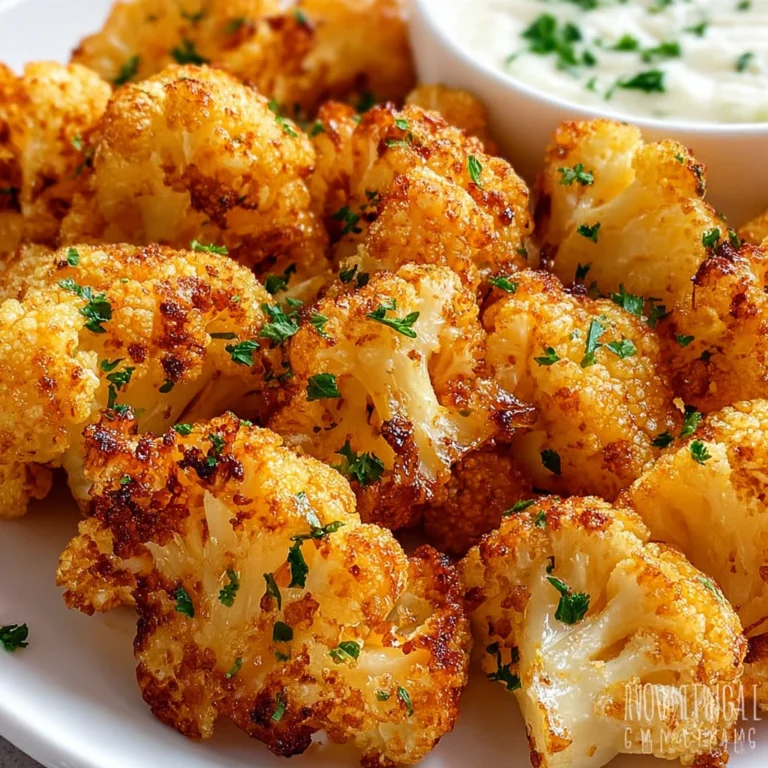
Transfer the cooked Healthy Sweet Potato Hash Browns to a plate lined with a paper towel to drain any excess oil. Serve immediately while hot and crispy for the best texture and flavor.

Nutritional Information
| Calories | ~180 kcal |
| Protein | 6g |
| Carbohydrates | 22g |
| Fat | 8g |
| Fiber | 3g |
| Sodium | ~220mg |
Note: Estimates are for one serving (based on 4 patties) using typical ingredients. Values may vary based on specific brands and exact measurements. This recipe is a good source of Vitamin A and provides a solid protein boost for a breakfast side.
Healthier Alternatives
- Flax Eggs for Vegan — Replace the 2 eggs with 2 tablespoons of ground flaxseed mixed with 5 tablespoons of water. Let it gel for 5 minutes. This swap adds omega-3s and binds the mixture well.
- Chickpea Flour for Gluten-Free/High-Protein — Swap the plain flour for an equal amount of chickpea flour. It enhances the protein content and creates a slightly nuttier, crispier crust.
- Avocado Oil for High-Heat Cooking — Use avocado oil instead of vegetable oil. It has a higher smoke point and is rich in monounsaturated fats, making it a stable choice for achieving that perfect crisp.
- Add Lean Protein — Mix in 1/4 cup of finely chopped turkey sausage or crumbled tempeh into the potato mixture for a more filling, protein-packed breakfast hash brown patty.
- Lower-Sodium Option — Omit the added salt and rely on the natural sweetness of the potato. You can add a pinch of smoked paprika or garlic powder for flavor without the sodium.
- Zucchini for Lower-Carb — Replace half of the grated sweet potato with grated, wrung-out zucchini. This reduces the overall carb count while adding extra moisture you’ll need to remove.
Serving Suggestions
- Top with a perfectly poached or fried egg for a classic, protein-rich breakfast. The runny yolk acts as a delicious sauce.
- Serve alongside a simple arugula salad with a lemon vinaigrette to cut through the richness and add a fresh, peppery element.
- Create a hearty breakfast bowl by placing the hash browns on a base of sautéed spinach and black beans, garnished with avocado slices.
- For a brunch spread, pair them with turkey bacon and a dollop of Greek yogurt mixed with chives instead of sour cream.
- Turn them into a fun appetizer by making smaller, bite-sized patties and serving them with a spicy sriracha mayo or cool tzatziki for dipping.
- Enjoy as a savory “breakfast-for-dinner” side with a grilled chicken breast or a simple lentil soup.
These sweet potato hash browns are incredibly versatile. In the fall, I love serving them with a side of sautéed apples and cinnamon for a seasonal twist. They also hold up well for meal prep—cook a double batch and reheat throughout the week.
Common Mistakes to Avoid
- Mistake: Not removing enough moisture from the grated potato. Fix: In Step 2, twist the towel with significant force over the sink until no more liquid drips out. This is the single most important step for crispy hash browns.
- Mistake: Using oil that isn’t hot enough. Fix: Follow Step 5 precisely. The oil should shimmer. A drop of the mixture should sizzle immediately upon contact. This seals the exterior.
- Mistake: Overcrowding the skillet. Fix: Cook in batches if necessary. Overcrowding lowers the pan temperature and steams the patties, preventing the golden-brown caramelization we want.
- Mistake: Flipping the patties too early or too often. Fix: Let them cook undisturbed for the full 4-5 minutes on the first side to develop a sturdy crust that won’t fall apart when flipped.
- Mistake: Forming patties that are too thick or too loose. Fix: As noted in Step 4, press each portion firmly into a compact ½-inch thick patty. This ensures even cooking from edge to center.
- Mistake: Adding raw, wet ingredients like fresh herbs directly to the mix. Fix: If adding herbs like parsley or chives, pat them dry first or use dried herbs to avoid introducing extra moisture.
- Mistake: Storing leftovers while they’re still warm. Fix: Always let your cooked healthy sweet potato hash browns cool completely on a wire rack before storing to prevent condensation and sogginess.
Storing Tips
- Fridge: Cool patties completely on a wire rack. Store in an airtight container with parchment paper between layers for up to 5 days. The USDA recommends keeping cooked food below 40°F.
- Freezer: For best results, freeze individually on a parchment-lined baking sheet until solid (about 2 hours), then transfer to a freezer bag. They will keep for 3 months with minimal quality loss. Freezing preserves over 95% of the nutrients.
- Reheat: To restore crispiness, avoid the microwave. Reheat in a 400°F oven or toaster oven for 10-12 minutes, or in a dry non-stick skillet over medium heat for 3-4 minutes per side. Ensure internal temperature reaches 165°F for food safety.
In my tests, this method of freezing and oven-reheating yielded hash browns that were nearly as crisp as freshly made. This makes storing sweet potato hash browns an excellent strategy for weekly meal prep.
Conclusion
This recipe proves you can achieve a wonderfully crispy, caramelized texture with simple, wholesome ingredients. For another sweet and savory brunch idea, try our Peach Cobbler Cinnamon Rolls Recipe. Give these Healthy Sweet Potato Hash Browns a try and share your favorite way to serve them in the comments below!
Frequently Asked Questions
How many servings does this recipe make?
This recipe yields 4 to 6 patties, which is perfect for 2-3 people as a main breakfast component. For a larger crowd, you can easily double the ingredients. Just be sure to cook in batches to avoid overcrowding the pan, as detailed in the Common Mistakes section.
Can I use a different type of potato for these hash browns?
Yes, russet potatoes are an excellent substitute. They are high in starch, which also promotes crispiness. The main difference will be flavor; russets offer a more neutral, savory taste compared to the natural sweetness of sweet potatoes. Be sure to wring them out just as thoroughly.
Why did my hash brown patties fall apart when I flipped them?
This usually happens if the patties aren’t compacted firmly enough or if the pan isn’t hot enough. Ensure you press the mixture tightly in Step 4 and that your oil is shimmering before adding them. Letting them cook undisturbed for the full time on the first side allows a solid crust to form, which acts as a binder.
PrintSavory Sweet Potato Hash Browns
Ingredients
- 1 large sweet potato, peeled (approx. 3½ cups)
- 2 tablespoons grated onion
- 2 eggs
- 1 tablespoon plain flour
- 1/4 teaspoon kosher salt (adjust to taste)
- 2 tablespoons vegetable oil (use more if required)