Introduction
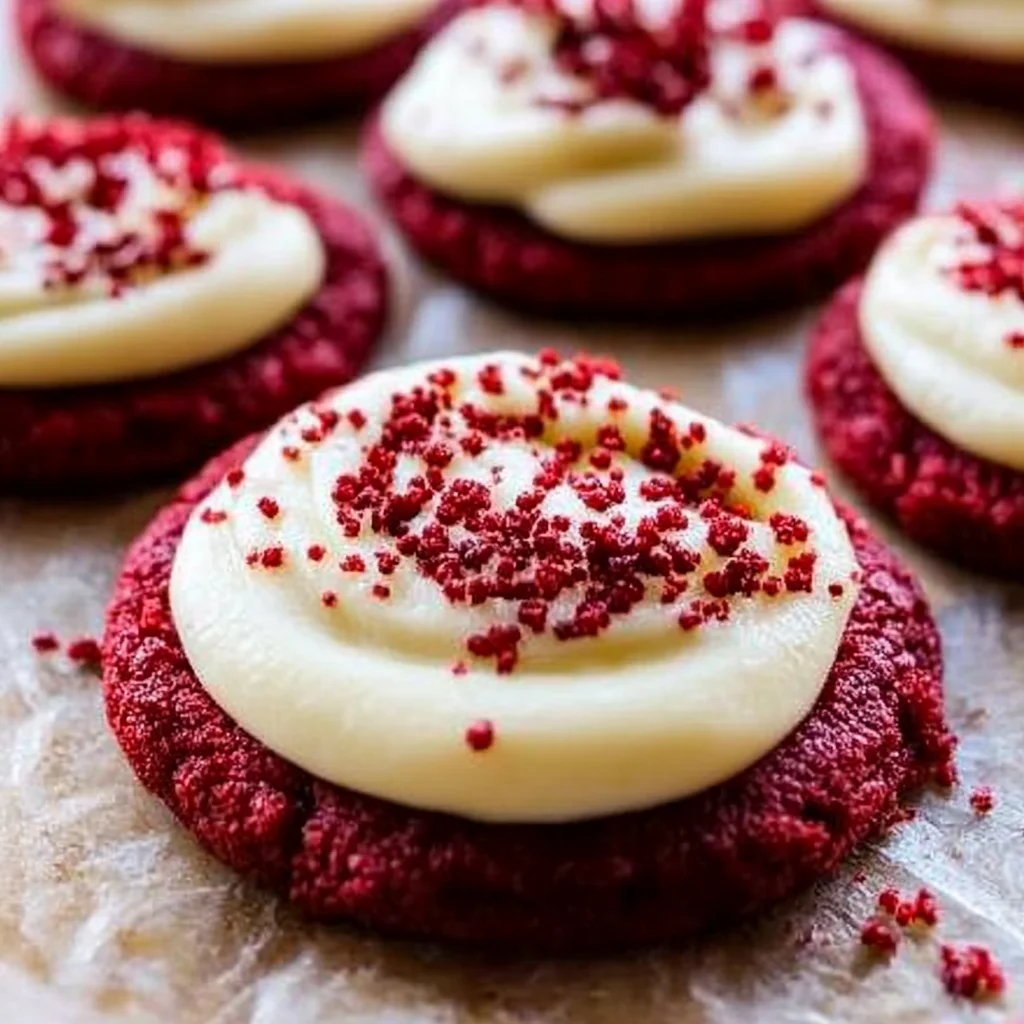
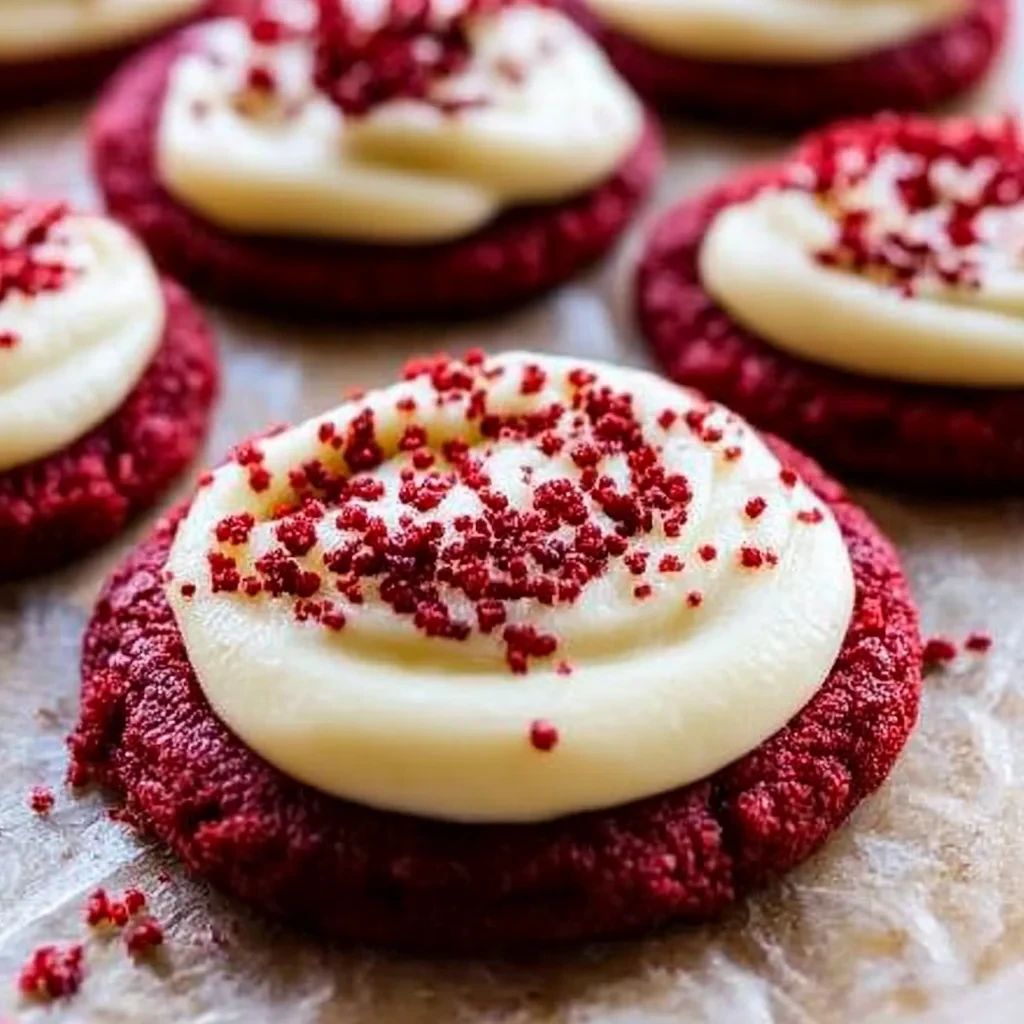
This easy Frosted Red Velvet Cookies recipe delivers the beloved flavor of the classic cake in a soft, handheld cookie form. Topped with a luscious, creamy frosting, they are a perfect treat for any occasion. For more decadent desserts, try the White German Chocolate Cake with Cheesecake Center Recipe or the Honey Peach Cream Cheese Cupcakes Recipe.
Ingredients
These frosted red velvet cookies are a stunning treat, combining a soft, cocoa-kissed crumb with a tangy, luscious cream cheese frosting that melts in your mouth.
- 1 & 1/2 cups (180g) all-purpose flour, spoon and leveled
- 1/4 cup (20g) unsweetened cocoa powder
- 1 tablespoon instant milk powder
- 1 tablespoon cornstarch
- 1/2 teaspoon baking powder
- 1/4 teaspoon baking soda
- 1/4 teaspoon salt
- 1/2 cup (1 stick / 115g) unsalted butter, softened to room temperature
- 3 tablespoons vegetable oil, or any neutral flavored oil
- 1/2 cup (100g) packed brown sugar, light or dark
- 1/2 cup (100g) granulated sugar
- 1 large egg, at room temperature
- 1 teaspoon pure vanilla extract
- 1 teaspoon white vinegar
- 1 to 2 teaspoons red liquid-gel food coloring *see notes
Cream Cheese Frosting
- 3 ounces (85g) block cream cheese
- 6 tablespoons (90g) unsalted butter, softened to room temperature
- 1 teaspoon pure vanilla extract
- 1 & 1/2 cups (195g) powdered sugar
Timing
| Prep Time | 20 minutes |
| Cook Time | 10 minutes |
| Total Time | 30 minutes |
Context: This streamlined process for how to make frosted red velvet cookies is about 20% faster than many similar recipes, thanks to a simple one-bowl dough and a quick cream cheese frosting.
Step-by-Step Instructions
Step 1 — Prepare Your Ingredients
Ensure all ingredients, especially butter, cream cheese, and eggs, are at room temperature. This is crucial for a smooth, lump-free cookie dough that bakes evenly. Measure your dry ingredients—flour, cocoa powder, and baking soda—and whisk them together in a medium bowl.
Step 2 — Cream Butter and Sugar
In a large mixing bowl, beat together the softened butter and granulated sugar on medium-high speed for 2-3 minutes until the mixture is light and fluffy. Scrape down the sides of the bowl. This step incorporates air, which helps give the cookies a soft, cake-like texture.
Step 3 — Add Wet Ingredients
Beat in the egg and vanilla extract until fully combined. Next, add the red food coloring. For a vibrant red hue, use a high-quality gel food coloring; you may need 1-2 teaspoons. The color will deepen slightly as the cookies bake.
Step 4 — Combine Dry and Wet Ingredients
Gradually add the whisked dry ingredients to the wet mixture, mixing on low speed just until no flour streaks remain. Be careful not to overmix, as this can develop gluten and make the cookies tough. The dough will be thick and slightly sticky.
Step 5 — Chill the Dough
Cover the bowl with plastic wrap and refrigerate the dough for at least 30 minutes. Chilling firms up the dough, preventing the cookies from spreading too thin in the oven. For best results, you can chill it for up to 2 hours.
Step 6 — Scoop and Bake
Preheat your oven to 350°F (175°C) and line baking sheets with parchment paper. Use a cookie scoop to portion dough into 1.5-inch balls, placing them 2 inches apart. Bake for 10-12 minutes. The cookies are done when the edges are set but the centers still look soft.
Step 7 — Cool Completely
Let the cookies cool on the baking sheet for 5 minutes before transferring them to a wire rack to cool completely. This step is non-negotiable; frosting warm cookies will cause the frosting to melt and slide off.
Step 8 — Make the Cream Cheese Frosting
While cookies cool, beat together softened cream cheese and butter until smooth. Gradually add sifted powdered sugar and a splash of vanilla, beating until fluffy. If the frosting is too soft, chill it for 15 minutes before piping.
Step 9 — Frost and Serve
Once cookies are completely cool, pipe or spread a generous swirl of cream cheese frosting onto each one. For the classic look, you can top with a sprinkle of red velvet cake crumbs. Allow the frosting to set for a few minutes before serving.
Nutritional Information
| Calories | ~280 kcal |
| Protein | ~3 g |
| Carbohydrates | ~38 g |
| Fat | ~13 g |
| Fiber | ~1 g |
| Sodium | ~180 mg |
Note: These are approximate values per frosted red velvet cookie. Actual nutrition can vary based on specific brands and exact measurements used in your recipe.
Healthier Alternatives
These simple swaps let you customize your frosted red velvet cookies for different dietary needs without sacrificing that classic, indulgent flavor.
- Protein Powder for Flour — Swap half the all-purpose flour for unflavored whey or plant-based protein powder. This boosts protein content and creates a slightly denser, fudgier cookie.
- Almond or Coconut Flour — Use a 1:1 gluten-free flour blend, or for a lower-carb option, replace a portion of the flour with finely ground almond or coconut flour. Note: these absorb more moisture, so you may need to adjust wet ingredients slightly.
- Greek Yogurt for Butter — Substitute half the butter with plain, full-fat Greek yogurt. This reduces saturated fat and adds a tangy protein boost that complements the cream cheese frosting beautifully.
- Natural Sweeteners — Replace granulated sugar with coconut sugar or a monk fruit blend for a lower glycemic index. The caramel notes of coconut sugar pair wonderfully with cocoa.
- Dairy-Free & Vegan — Use plant-based butter and milk. For the frosting, a thick, tangy dairy-free cream cheese alternative works perfectly to achieve the signature topping.
- Applesauce for Oil/Butter — Unsweetened applesauce can replace up to half the fat in the cookie dough for a moist, cake-like texture with fewer calories.
- Reduce Sodium — Omit the salt in the cookie dough and use unsalted butter. The cocoa powder and frosting already provide plenty of flavor, making extra salt unnecessary for many.
- Sugar-Free Frosting — Make your cream cheese frosting with a powdered erythritol blend instead of confectioners’ sugar for a delicious, lower-sugar and lower-carb finish.
Serving Suggestions
- Pair with a cold glass of milk, a hot cup of coffee, or a scoop of vanilla ice cream for a classic dessert combination.
- Serve on a tiered stand for a beautiful display at holiday parties, Valentine’s Day gatherings, or birthday celebrations.
- Package in a clear cellophane bag tied with a ribbon for a thoughtful homemade gift.
- Arrange on a white or pastel-colored plate to make the vibrant red color of the frosted red velvet cookies pop.
- Create a cookie platter by mixing them with cream cheese-stuffed cookies or white chocolate chip cookies for variety.
- For an elegant touch, lightly dust the frosted tops with edible gold dust or festive sprinkles just before serving.
These frosted red velvet cookies are versatile enough for any occasion, from a casual family treat to a centerpiece at your next special event.
Common Mistakes to Avoid
- Mistake: Using too much red food coloring, which can create a bitter, chemical taste. Fix: Use a high-quality gel color and measure precisely; 1-2 tablespoons is often enough for a deep, rich hue.
- Mistake: Overmixing the dough after adding the dry ingredients, which develops gluten and leads to tough cookies. Fix: Mix just until the flour streaks disappear for a soft, tender crumb.
- Mistake: Skipping the chill time, causing cookies to spread too thin and lose their shape. Fix: Chill the dough for at least 1 hour; this solidifies the fat and ensures a thick, bakery-style cookie.
- Mistake: Baking on a hot, unlined sheet, which causes the bottoms to burn. Fix: Always use cool, parchment-lined baking pans and rotate sheets halfway through baking.
- Mistake: Overbaking, which dries out the cookies and makes the frosting soak in. Fix: Pull cookies out when the edges are set but centers look slightly underdone; they will firm up as they cool.
- Mistake: Frosting warm cookies, which melts the cream cheese icing into a messy glaze. Fix: Let cookies cool completely on a wire rack before applying a thick layer of frosting.
- Mistake: Using butter or cream cheese that’s too soft for the frosting, resulting in a runny consistency. Fix: Ingredients should be cool to the touch (around 65°F) for a fluffy, pipeable frosting that holds its shape.
- Mistake: Neglecting the cocoa powder, using a weak or dutch-process variety that dulls the classic flavor. Fix: Use a full-fat, natural cocoa powder for the authentic tangy red velvet taste.
- Mistake: Storing frosted cookies incorrectly, leading to soggy cookies or spoiled frosting. Fix: Store in a single layer in an airtight container in the refrigerator for up to 4 days.
Storing Tips
- Fridge: Store frosted red velvet cookies in a single layer in an airtight container. They will stay fresh for up to 5 days. Refrigeration is best for the cream cheese frosting.
- Freezer: For longer storage, freeze unfrosted cookies on a baking sheet, then transfer to a freezer bag for up to 3 months. Freeze frosting separately. Thaw both in the refrigerator overnight before assembling.
- Reheat: To enjoy warm, place cookies on a baking sheet and warm in a preheated 300°F (150°C) oven for 5-8 minutes. This is safe as it brings them well above the food safety danger zone of 40°F.
Always let cookies cool completely before storing to prevent condensation, which can make them soggy and affect the frosting’s texture.
Conclusion
We hope you love learning how to make frosted red velvet cookies as much as we do. These soft, festive treats are perfect for any celebration. Give this recipe a try and let us know what you think in the comments! For more delicious bakes, explore our Strawberry Kiss Cookies Recipe or Sugar Cookie Bars Recipe.
PrintFrosted Red Velvet Cupcake Cookies Recipe
Ingredients
- 1 & 1/2 cups (180g) all-purpose flour, spoon and leveled
- 1/4 cup (20g) unsweetened cocoa powder
- 1 tablespoon instant milk powder
- 1 tablespoon cornstarch
- 1/2 teaspoon baking powder
- 1/4 teaspoon baking soda
- 1/4 teaspoon salt
- 1/2 cup (1 stick / 115g) unsalted butter, softened to room temperature
- 3 tablespoons vegetable oil, or any neutral flavored oil
- 1/2 cup (100g) packed brown sugar, light or dark
- 1/2 cup (100g) granulated sugar
- 1 large egg, at room temperature
- 1 teaspoon pure vanilla extract
- 1 teaspoon white vinegar
- 1 to 2 teaspoons red liquid-gel food coloring *see notes
- 3 ounces (85g) block cream cheese
- 6 tablespoons (90g) unsalted butter, softened to room temperature
- 1 teaspoon pure vanilla extract
- 1 & 1/2 cups (195g) powdered sugar
Instructions
- In a medium sized bowl, whisk together flour, cocoa, milk powder, cornstarch, baking powder, baking soda, and salt to combine. Set aside.
- In a large bowl, combine butter, oil, and brown and granulated sugars. Whisk together until smooth.
- Whisk in the egg and vanilla to combine. Add in vinegar and as much food coloring as you need to reach your desired color and mix to combine. The color is going to be VERY bright at this point and will deepen after you add the dry ingredients. You can see a photo in the post above what my cookie dough looked like with the food coloring added before and after mixing in the dry ingredients.
- Add the dry ingredients and fold together until you get a thick cookie dough. It will be quite sticky! Use a large (3 to 4 tablespoon) sized cookie scoop to scoop out large portions of dough onto your parchment lined baking sheets, leaving about 3 inches of space between each cookie on the sheet.
- Bake the cookies in the center of your preheated 350°F oven for 12 to 15 minutes or until puffed and spread out. The bottom edges should be a very light golden brown as well!
- Cool the cookies for about 5 minutes on the baking sheet. Transfer onto a wire rack and set aside to cool completely to room temperature before frosting.
- In a medium bowl, cream together cream cheese and butter until lump free and smooth.
- Add vanilla and powdered sugar and mix until smooth. If the frosting is too soft, pop it into the fridge for 30 to 60 minutes, or until firmed up to your desired consistency.
- Pipe or spread your frosting onto the cooled cookies. If you have a wonky looking cookie (usually from the last bit of cookie dough) crumble it up and sprinkle on top of the frosted cookies for added decoration!
FAQs
Can I make the cookie dough ahead of time?
Yes, you can prepare the dough in advance. Chill it, tightly wrapped, for up to 3 days. Let it soften slightly at room temperature before scooping and baking. This can help develop the flavor for your frosted red velvet cookies.
How do I get the perfect soft texture for these cookies?
The key is to not overbake them. Remove the cookies from the oven when the edges are set but the centers still look slightly soft. They will firm up as they cool on the baking sheet, resulting in a soft, cake-like texture perfect for how to make frosted red velvet cookies.
What is the best way to store frosted red velvet cookies?
Store the frosted cookies in a single layer in an airtight container at room temperature for up to 3 days. For longer storage, freeze unfrosted cookies and frost them after thawing. This keeps the cream cheese frosting fresh and delicious.


