What if I told you that the secret to the best coconut cream pie has nothing to do with the coconut?
It’s true. After years of testing, tasting, and talking to bakers far wiser than me, I’ve discovered that the soul of this classic dessert isn’t in the flaky coconut flakes we all adore. It’s in the quiet, humble foundation—the custard. That velvety, dreamy, perfectly set filling is what transforms a good pie into an unforgettable, creamy homemade recipe that people beg you to make again and again.
I learned this lesson not in a fancy pastry kitchen, but at my grandmother’s Formica table. Her version was the stuff of family legend, always requested for birthdays and summer suppers. She’d hum as she worked, toasting coconut in a cast-iron skillet until the whole house smelled like a tropical vacation. But her real magic was in the way she patiently stirred the custard, her wooden spoon making slow, rhythmic circles in the pot. She never rushed it. “A watched pot never boils,” she’d say with a wink, “but an unwatched custard certainly curdles.”
That patience, that attention to the simple alchemy of eggs, sugar, and cornstarch thickening into lush perfection, is the true heirloom ingredient. It’s the difference between a pie that’s merely sweet and one that feels like a creamy, cloud-like embrace. It’s what makes this the best coconut cream pie recipe I’ve ever known.
So, tie on your apron and clear your afternoon. We’re not just making a dessert; we’re crafting a memory. Let’s start where every great pie begins: with the crust.
PrintBest Coconut Cream Pie
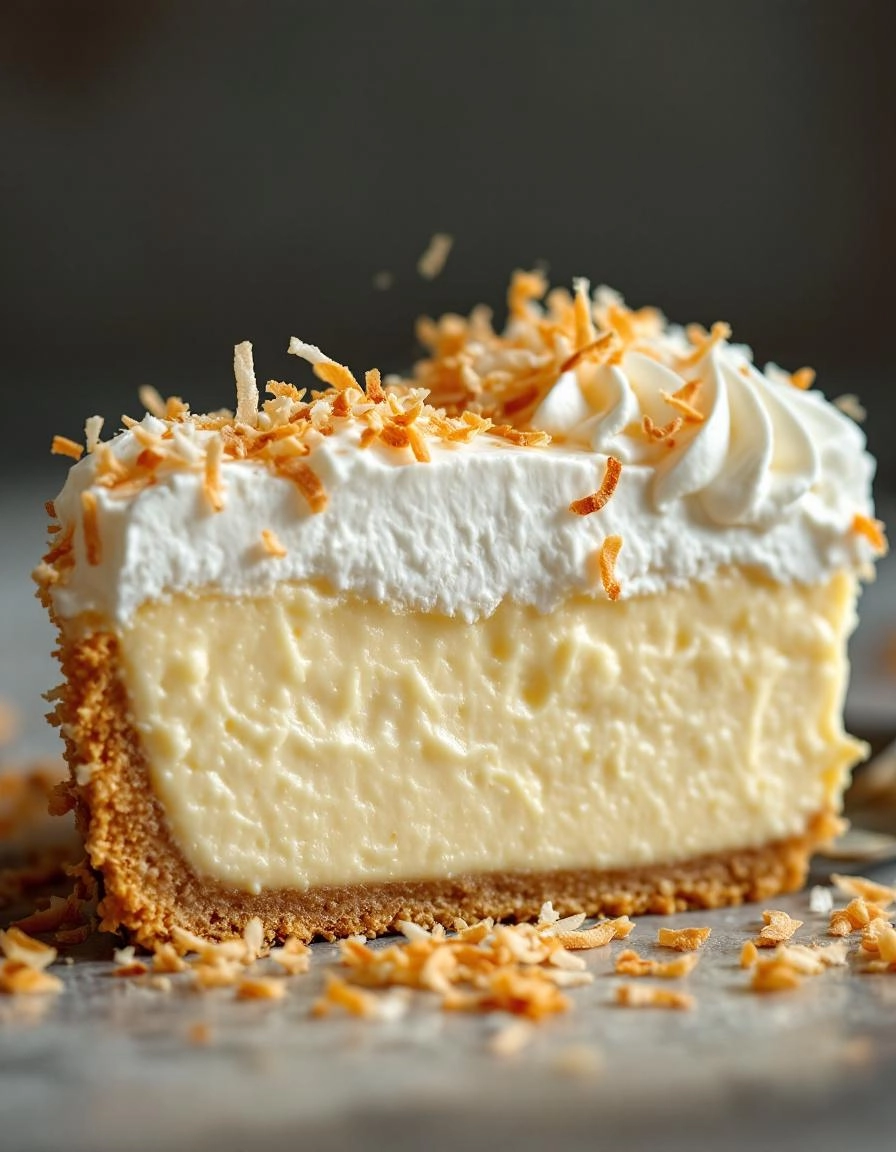
A luscious and creamy coconut pie with a flaky crust and toasted coconut topping.
Ingredients
For the Crust:
- 1 (9-inch) pie crust, baked and cooled
- 1 cup sweetened shredded coconut
- 1 1/2 cups whole milk
- 1 1/2 cups coconut milk
- 3/4 cup granulated sugar
- 1/3 cup cornstarch
- 1/4 teaspoon salt
- 4 large egg yolks
- 2 tablespoons unsalted butter
- 1 teaspoon vanilla extract
- 1 cup heavy whipping cream
- 2 tablespoons powdered sugar
Instructions
1. Prepare the Crust:
- Preheat oven to 350°F (175°C). Spread shredded coconut on a baking sheet and toast for 5-7 minutes until golden, stirring once. Set aside to cool.
- In a medium saucepan, whisk together milk, coconut milk, sugar, cornstarch, salt, and egg yolks until smooth. Cook over medium heat, stirring constantly, until mixture thickens and boils.
- Remove from heat and stir in butter, vanilla, and 3/4 cup of the toasted coconut. Pour filling into baked pie crust and press plastic wrap directly on surface. Refrigerate for at least 4 hours.
- Before serving, whip heavy cream with powdered sugar until stiff peaks form. Spread over chilled pie and sprinkle with remaining toasted coconut.
Notes
You can customize the seasonings to taste.
The Dreamiest Coconut Cream Pie You’ll Ever Make
There’s something about a coconut cream pie that feels like a hug in dessert form. It’s the pie my grandmother would make for special Sunday dinners, the one with the cloud-like filling and the toasty, flaky crust that I still dream about. After years of tweaking her recipe, I’ve landed on what I truly believe is the best version. It’s creamy, it’s coconutty, and it’s about to become a staple in your kitchen, too.
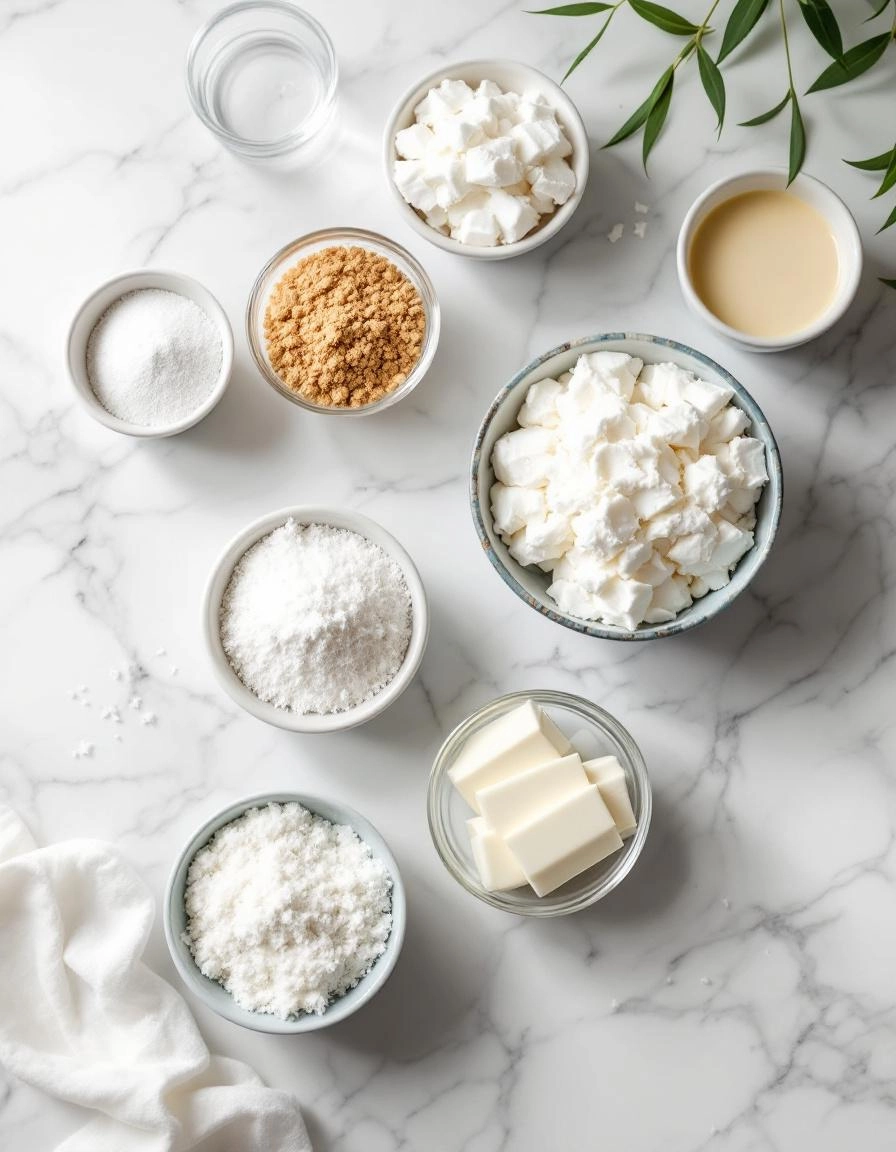
Gathering Your Coconut Dream Team
Before we begin, let’s talk ingredients. Using the best you can find makes all the difference in a simple recipe like this. Here’s what you’ll need for this creamy masterpiece:
For the Crust:
- 1 ¼ cups all-purpose flour: The trusty foundation of any great pie.
- ½ teaspoon salt: Just a pinch to balance the sweetness.
- ½ cup (1 stick) cold unsalted butter, cubed: Cold is key here! It creates those beautiful, flaky layers.
- 3-4 tablespoons ice water: Again, cold, cold, cold. We want to keep that butter from melting.
For the Filling:
- 1 cup sweetened shredded coconut: For that classic texture and flavor. Toasting half of it is my secret weapon!
- 1 cup whole milk: The richness is essential for a luxuriously creamy custard.
- 1 cup heavy cream: Because we’re going for dreamy, remember?
- ¾ cup granulated sugar: Sweetens the deal perfectly.
- ⅓ cup cornstarch: Our thickening hero. Make sure it’s lump-free!
- ¼ teaspoon salt: A tiny bit to make the coconut flavor pop.
- 4 large egg yolks: They give the filling its gorgeous yellow hue and rich body.
- 2 tablespoons unsalted butter: Stirred in at the end for a silky finish.
- 1 ½ teaspoons pure vanilla extract: The aromatic finale. Please, use the real stuff!
Let’s Bake Some Magic: The Step-by-Step
Now for the fun part! Don’t be intimidated by making a custard from scratch. I’ll walk you through every step.
Step 1: The Perfect Flaky Crust
First, let’s make our pie crust. In a large bowl, whisk together the flour and salt. Add your cold, cubed butter. Using a pastry cutter or your fingertips, work the butter into the flour until the mixture resembles coarse crumbs with some pea-sized bits of butter remaining. This is what creates flakiness!
Now, drizzle in the ice water, one tablespoon at a time, and gently mix with a fork until the dough just begins to clump together. You might not need all the water. Turn the dough out onto a piece of plastic wrap, form it into a disc, wrap it tightly, and let it chill in the refrigerator for at least 30 minutes. This rest relaxes the gluten and makes it easier to roll out.
Step 2: Blind Bake to Perfection
Preheat your oven to 375°F (190°C). On a lightly floured surface, roll your chilled dough into a 12-inch circle. Gently transfer it to your 9-inch pie dish. Trim and crimp the edges as prettily as you like—I’m a fork-crimp girl myself.
Line the crust with parchment paper and fill it with pie weights or dried beans. This “blind baking” prevents the crust from puffing up. Bake for 15 minutes, then carefully remove the parchment and weights. Return it to the oven for another 10-12 minutes, or until it’s a beautiful golden brown. Set it aside on a wire rack to cool completely.
Step 3: Toasting the Coconut
While the crust is cooling, spread half of your shredded coconut (that’s ½ cup) on a small baking sheet. Pop it into your still-warm oven for 5-7 minutes, keeping a very close eye on it. Stir it once or twice until it’s fragrant and lightly golden. This little step adds a deep, nutty flavor that takes the entire pie to another level. Set it aside to cool.
Taking Your Coconut Cream Pie to the Next Level
Now that you’ve mastered the base of this dreamy dessert, let’s talk about how to make it truly your own. Every great baker has a few secrets up their sleeve, and I’m sharing all of mine with you.
Pro Tips, Variations, and Substitutions
Don’t have a specific ingredient? No worries! Baking should be flexible and fun.
- For a Lighter Pie: Swap the heavy cream in the topping for well-chilled full-fat coconut milk. Just be sure not to shake the can—scoop out the solid cream that has risen to the top for the best results.
- Dairy-Free Delight: This pie is wonderfully adaptable. Use coconut milk beverage for the filling and coconut whipped cream for the topping to create a completely dairy-free masterpiece that’s just as rich and satisfying.
- Toasted Coconut Magic: For an extra layer of flavor and crunch, toast your shredded coconut before sprinkling it on top. Spread it on a baking sheet and bake at 350°F (175°C) for 5-7 minutes, watching closely until it’s golden brown. The nutty aroma is absolutely irresistible.
- Crust Variations: While a classic flaky crust is perfect, a graham cracker or vanilla wafer crust makes for a fabulous, no-bake alternative. Simply mix 1 ½ cups of crumbs with 6 tablespoons of melted butter and press firmly into your pie plate.
The Perfect Pair: What to Serve It With
This pie is a star all on its own, but a little accompaniment never hurts. A cup of strong, hot coffee or a glass of cold milk is the classic and perfect partner to cut through the richness. For a truly special occasion, a drizzle of dark chocolate sauce or a side of fresh berries like raspberries or mango slices adds a beautiful and tasty contrast. If you’re feeling adventurous, a small glass of dessert wine like a Moscato or a late-harvest Riesling complements the tropical coconut flavors beautifully.
Benefits of Homemade Goodness
Beyond the incredible flavor, there’s something deeply satisfying about baking from scratch. You control the quality of every ingredient, avoiding the preservatives and artificial flavors often found in store-bought versions. The process itself is a form of therapy—a chance to slow down, create something with your hands, and fill your home with a warm, sweet aroma that feels like a hug. Plus, sharing a homemade pie is one of the truest forms of showing someone you care.
Real-Life Tips from My Kitchen to Yours
I’ve made this pie more times than I can count, and here are the little things I’ve learned along the way:
- Chill Out: The single most important step for a clean slice is patience. Let the pie chill for the full 4 hours, or even overnight. This sets the filling perfectly.
- Banana Barrier: If adding a banana layer, brush the bottom of the crust with a thin layer of melted chocolate first. This creates a barrier that prevents the crust from getting soggy.
- Sharp is Key: Dip your knife in hot water and wipe it dry before each cut. This will give you those stunning, clean, professional-looking slices.
- Embrace Imperfection: If your meringue weeps or your whipped cream softens a bit, it’s okay! It just shows it was made with love and will taste every bit as delicious.
I hope this recipe becomes a cherished favorite in your home, creating sweet memories for years to come. Happy baking!

Conclusion
And there you have it—the ultimate guide to creating a truly spectacular coconut cream pie right in your own kitchen. We walked through crafting a buttery, flaky crust from scratch, whipping up a luxuriously creamy and rich coconut filling, and topping it all off with a cloud of homemade whipped cream and a flurry of toasted coconut. This isn’t just a dessert; it’s a labor of love, a show-stopping centerpiece that’s sure to earn you rave reviews from everyone at the table.
I truly hope this recipe becomes a cherished favorite in your home, just like it is in mine. There’s nothing quite like the satisfaction of slicing into a pie you made completely from scratch.
Now, I’d love to hear from you! Did you add a personal twist with a dash of rum or a sprinkle of nutmeg? Did it bring back fond memories of a family gathering? Share your baking adventures and photos in the comments below—it absolutely makes my day to see your creations. And if you’re looking for your next baking project, why not try our classic Old-Fashioned Banana Cream Pie or our refreshing No-Bake Lemon Icebox Pie? Happy baking!
FAQs
Can I use a pre-made pie crust to save time?
Absolutely! While a homemade crust adds a special touch, a good-quality store-bought crust will work perfectly fine in a pinch. I recommend par-baking it according to the package directions before adding the filling to ensure it stays crisp and doesn’t get soggy.
My custard is too runny. What did I do wrong?
A runny custard usually means it needed a bit more time to thicken on the stove. Remember, the filling should coat the back of a spoon and you should be able to draw a clear line through it with your finger. If you find yourself with a runny filling, you can gently reheat it in a saucepan while whisking in a slurry of one more tablespoon of cornstarch mixed with two tablespoons of cold milk until it thickens.
How long will this pie keep in the refrigerator?
For the best texture and flavor, enjoy your coconut cream pie within 2-3 days. Be sure to keep it tightly covered or under a pie dome to prevent it from absorbing any other fridge odors. The whipped cream topping may start to weep a little after the first day, but it will still be delicious!
Can I make this pie ahead of time?
You can definitely get a head start! The baked and cooled crust can be made a day in advance and stored at room temperature. The coconut custard filling can also be made a day ahead—just press a piece of plastic wrap directly onto its surface to prevent a skin from forming and store it in the fridge. Assemble with the whipped cream on the day you plan to serve it for the freshest presentation.
Is there a way to make this dairy-free?
Yes, you can! For a dairy-free version, use full-fat canned coconut milk for the custard and a plant-based milk (like coconut or almond) in place of the whole milk. For the whipped topping, you can chill a can of full-fat coconut cream overnight and whip the solid part that rises to the top with a little powdered sugar.


