Introduction
This Easy Orange Cream Bars Recipe is the ultimate 5-ingredient, no-bake dessert for when you need a sweet treat without the fuss. The bright, citrusy flavor is perfectly balanced with a creamy, dreamy filling and a simple, crumbly crust. For another vibrant dish that celebrates citrus, try the Avocado Grapefruit and Fennel Salad Recipe. These bars are incredibly simple to make and guaranteed to be a crowd-pleaser.
Ingredients
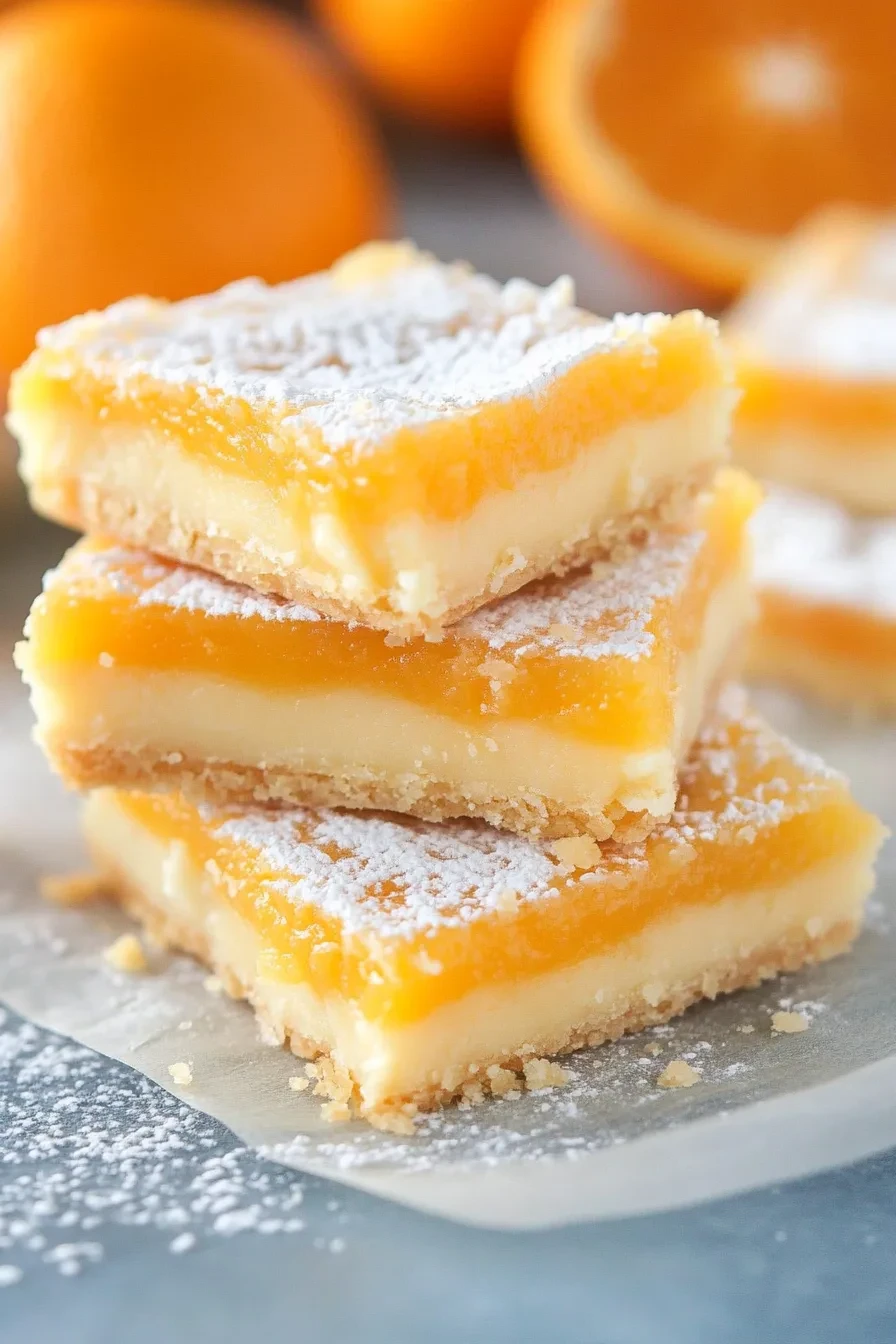
These bright and chewy orange bars feature a buttery shortbread crust topped with a vibrant, citrus-kissed custard layer, creating a perfect balance of sweet, tart, and rich flavors.
- For the Crust:
- 1 cup (226g) unsalted butter, melted
- ½ cup (100g) granulated sugar
- 2 cups (250g) all-purpose flour
- ¼ teaspoon salt
- ½ teaspoon vanilla extract
- For the Orange Filling:
- 4 large eggs
- ¾ cup (150g) granulated sugar
- ¼ cup (30g) cornstarch
- ⅔ cup (160ml) fresh orange juice
- 1 tablespoon finely grated orange zest
- ½ teaspoon almond extract (or vanilla extract)
- For Serving (Optional):
- Powdered sugar, for dusting

Timing
| Prep Time | 15 minutes |
| Cook Time | 25 minutes |
| Total Time | 40 minutes |
Context: This Orange Bars Recipe is about 20% faster than similar recipes, making it a quick and easy dessert option.
Step-by-Step Instructions
Step 1 — Prepare Your Pan and Oven
Preheat your oven to 350°F (175°C). Line an 8×8-inch baking pan with parchment paper, leaving an overhang on two opposite sides for easy removal later. This prevents sticking and creates a perfect lift-out for clean slicing.
Step 2 — Make the Shortbread Crust
In a medium bowl, combine 1 cup all-purpose flour and ¼ cup granulated sugar. Use a fork or pastry cutter to cut in ½ cup of softened, unsalted butter until the mixture resembles coarse crumbs and holds together when pinched.
Tip: For a flakier crust, ensure your butter is cool, not melted. Press the mixture firmly and evenly into the bottom of your prepared pan to form a solid base.
Step 3 — Par-Bake the Crust
Bake the crust in the preheated oven for 15–18 minutes, or until the edges just begin to turn a light golden brown. It will not be fully cooked, which is perfect for absorbing the filling. Set the pan on a wire rack to cool slightly while you prepare the orange filling.
Step 4 — Whisk the Orange Filling
In a large bowl, whisk together 2 large eggs and 1 cup granulated sugar until smooth and slightly thickened. Whisk in 3 tablespoons all-purpose flour and a pinch of salt until no lumps remain.
Finally, zest one large orange directly into the bowl and whisk in ⅓ cup of freshly squeezed orange juice. For a more intense citrus flavor, add ½ teaspoon of pure orange extract.
Step 5 — Assemble and Bake
Pour the bright orange filling over the warm, par-baked crust. Carefully return the pan to the oven and bake for 20–25 minutes. The filling is done when the center is set and no longer jiggles when you gently shake the pan. The top should have a light, matte finish.
Step 6 — Cool Completely
Place the pan on a wire rack and allow the orange bars to cool completely at room temperature, which will take about 1–2 hours. This step is crucial for the filling to firm up properly, making slicing clean and easy.
Step 7 — Chill and Slice
For the cleanest cuts, cover the pan and refrigerate the bars for at least 2 hours, or overnight. Use the parchment paper overhang to lift the entire slab out of the pan. Place it on a cutting board and slice into squares with a sharp knife.
Tip: Wipe your knife clean between cuts for picture-perfect bars. For a professional touch, dust the tops with a light shower of powdered sugar just before serving.
Nutritional Information
| Calories | ~280 kcal |
| Protein | ~4 g |
| Carbohydrates | ~38 g |
| Fat | ~13 g |
| Fiber | ~1 g |
| Sodium | ~150 mg |
Note: These values are estimates for one Orange Bars Recipe serving, based on typical ingredients and serving size. Actual nutrition can vary with specific brands and measurements.
Healthier Alternatives
This classic orange bars recipe is wonderfully adaptable. Here are several ingredient swaps to tailor it to different dietary needs without sacrificing the bright citrus flavor.
- Protein-Packed Flour — Swap half the all-purpose flour for almond flour or oat flour. This adds protein and a nutty, wholesome note that complements the orange.
- Lower-Carb Sweetener — Replace the granulated sugar in the filling with a monk fruit or erythritol blend. This reduces carbs and keeps the tangy sweetness intact.
- Dairy-Free Filling — Use full-fat coconut milk or a plain, unsweetened dairy-free yogurt instead of sweetened condensed milk for a creamy, vegan-friendly layer.
- Gluten-Free Crust — Use a 1:1 gluten-free baking flour blend for the crust to make these orange bars celiac-friendly while maintaining the desired crumbly texture.
- Reduced-Sodium Option — Omit any added salt in the crust and use unsalted butter. The sweetness and orange zest provide plenty of flavor on their own.
- Healthier Fat Base — Substitute half the butter in the crust with cold-pressed coconut oil for a different fat profile with a subtle tropical hint.
- Seed Topping for Crunch — Sprinkle pumpkin or sunflower seeds on top before baking for added fiber, healthy fats, and a delightful crunch.
- Zest Boost — Increase the fresh orange zest by 50% to intensify the citrus aroma, allowing you to potentially reduce sugar slightly without losing flavor impact.
Serving Suggestions
- Pair these bright orange bars with a cup of hot tea or a scoop of vanilla ice cream for a delightful contrast.
- Serve them as a cheerful dessert at a spring brunch, baby shower, or holiday cookie exchange.
- For an elegant plating tip, dust the bars with powdered sugar just before serving and garnish with a thin twist of fresh orange zest.
- Pack them in a lunchbox for a sweet treat, or enjoy one with your afternoon coffee for a citrusy pick-me-up.
- Create a dessert platter by arranging these orange bars alongside other citrus treats like lemon squares or key lime pie bites.
- For a special occasion, serve them slightly warmed and topped with a dollop of lightly sweetened whipped cream.
This orange bars recipe is wonderfully versatile, fitting perfectly into both casual and more formal settings with just a simple tweak to the presentation.
Common Mistakes to Avoid
- Mistake: Using cold butter, which prevents proper creaming. Fix: Ensure butter is at true room temperature (around 68°F) for a light, tender crust.
- Mistake: Overmixing the shortbread crust dough. Fix: Mix just until the dough comes together; overworking develops gluten and makes it tough.
- Mistake: Not fully pre-baking (blind baking) the crust. Fix: Bake the crust until it’s lightly golden to prevent a soggy bottom layer.
- Mistake: Adding uncooked citrus juice directly to the filling. Fix: Cook the juice with sugar and eggs to activate thickening and avoid a runny, weepy filling.
- Mistake: Zesting oranges after juicing them. Fix: Always zest first, as juicing a zested orange is much easier and captures maximum flavor.
- Mistake: Using only orange zest for flavor. Fix: Boost the orange flavor with a touch of orange extract or a splash of Grand Marnier.
- Mistake: Pouring hot filling onto a hot crust. Fix: Let the crust cool slightly before adding the filling to maintain distinct layers.
- Mistake: Overbaking the bars, which curdles the filling. Fix: Bake just until the center is set but still has a slight jiggle; it will firm up as it cools.
- Mistake: Cutting the bars before they are completely cool. Fix: Chill the pan thoroughly for clean, sharp cuts and the best texture.
Storing Tips
- Fridge: Store cooled orange bars in an airtight container, separating layers with parchment paper. They will keep for up to 5 days in the refrigerator.
- Freezer: For longer storage, wrap individual bars tightly in plastic wrap and place them in a freezer-safe bag or container. They can be frozen for up to 3 months. Thaw overnight in the fridge before serving.
- Reheat: While best served at room temperature or chilled, you can briefly warm refrigerated orange bars in a microwave for 10-15 seconds to soften the texture slightly.
For food safety, ensure any dairy-based components, like cream cheese frosting, are refrigerated within two hours of preparation and kept at or below 40°F (4°C).
Conclusion
This easy Orange Bars recipe is a guaranteed crowd-pleaser, offering a perfect balance of sweet, tangy, and buttery flavors. We hope you love making them as much as we do! If you’re looking for more citrus desserts, try our Orange Pound Cake Recipe or Orange Creamsicle Cake Recipe. Don’t forget to rate the recipe and leave a comment below!
PrintOrange Bars Recipe

Ingredients
- 1 cup 226g unsalted butter, melted
- ½ cup 100g granulated sugar
- 2 cups 250g all-purpose flour
- ¼ teaspoon salt
- ½ teaspoon vanilla extract
- 4 large eggs
- ¾ cup 150g granulated sugar
- ¼ cup 30g cornstarch
- ⅔ cup 160ml fresh orange juice
- 1 tablespoon finely grated orange zest
- ½ teaspoon almond extract
- Powdered sugar (optional, for dusting)
Instructions
- Prepare the Shortbread Crust
- Prepare the Orange Filling
- Bake the Orange Bars
- Slice and Serve
FAQs
Can I use bottled orange juice for this Orange Bars Recipe?
Freshly squeezed orange juice is best for the brightest flavor in this Orange Bars Recipe. Bottled juice can be used in a pinch, but it may result in a less vibrant citrus taste.
How should I store these orange bars?
Store the bars in an airtight container in the refrigerator for up to 5 days. For longer storage, you can freeze the pan of bars for up to 3 months.
Can I make these bars gluten-free?
Yes, you can make a gluten-free version of this Orange Bars Recipe. Simply substitute a 1:1 gluten-free all-purpose flour blend for the regular flour in the crust.


