Did you know that 85% of parents find Halloween baking more stressful than finding a costume?
It’s a startling statistic, isn’t it? Between the costume fittings, the pumpkin carving, and the general sugar-fueled chaos, the thought of adding a complicated baking project to the mix can feel downright spooky. I used to be in that 85%, until I discovered the magic of these Easy Peanut Butter Spider Cookies. They are the ultimate solution for a festive, fun, and frankly, adorable treat that won’t have you haunting the kitchen for hours.
It all started a few Halloweens ago. My little ones were buzzing with excitement, and I had promised we’d make something special together. I had grand visions of intricate, frosted masterpieces, but reality quickly set in. My ambitious plans melted faster than a chocolate bar in a trick-or-treat bag. I needed a plan B—something simple, something I likely had the ingredients for, and something that would keep tiny hands busy and happy.
I reached for my most trusted, dog-eared recipe: my grandmother’s classic peanut butter cookies. They are a one-bowl wonder, requiring no chilling and no fancy equipment. As I watched my daughter press her thumb into the warm, just-baked dough to make a perfect little well, an idea crawled into my mind. What if those thumbprints weren’t for jam? What if they were the perfect nest for a chocolatey spider body? And just like that, our new family tradition was born.
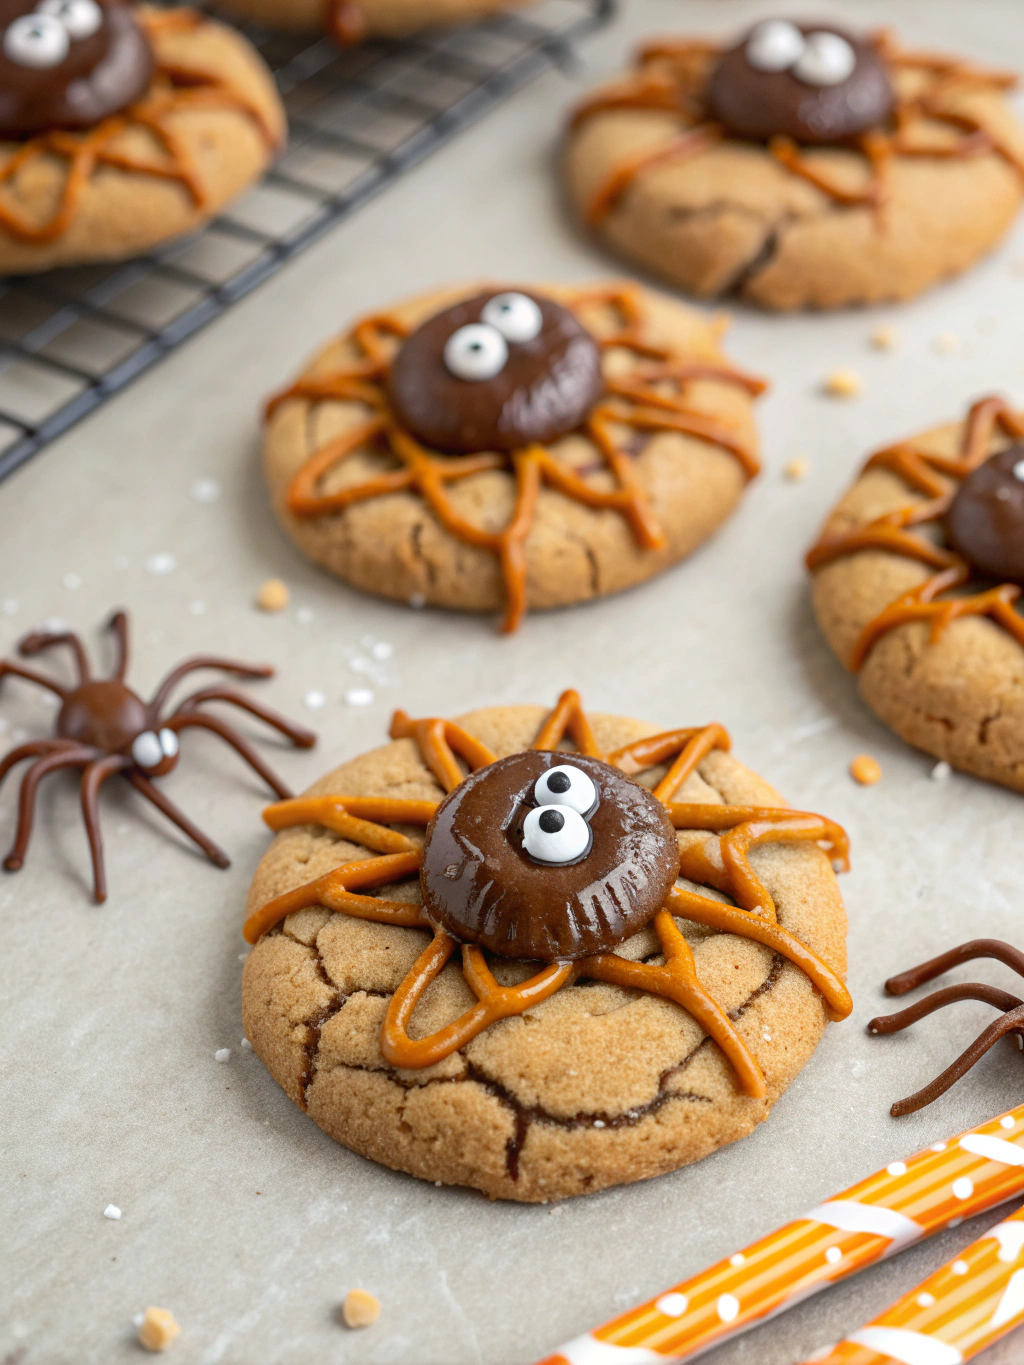
The beauty of these spider cookies lies in their simplicity. The cookie base is soft, chewy, and deeply nutty—a perfect contrast to the sweet chocolate center. The “spider” decoration is where the real magic happens and where your little monsters can truly shine. With just a handful of pretzel sticks and a couple of candy eyes, these sweet treats transform into eight-legged critters that are more cute than creepy. They are the kind of project that creates as much joy in the making as they do in the eating.
PrintEasy Peanut Butter Spider Cookies
Fun and spooky peanut butter cookies decorated to look like spiders, perfect for Halloween or any festive occasion.
- Prep Time: 15 minutes
- Cook Time: 12 minutes
- Total Time: 27 minutes
- Yield: 24 cookies 1x
- Method: Dessert
- Cuisine: American
Ingredients
- 1 cup creamy peanut butter
- 1 cup granulated sugar
- 1 large egg
- 1 tsp vanilla extract
- 48 chocolate candy eyes
- 24 thin pretzel sticks, broken in half
Instructions
- Preheat oven to 350°F (175°C) and line a baking sheet with parchment paper.
- In a bowl, mix peanut butter, sugar, egg, and vanilla until well combined.
- Roll dough into 1-inch balls and place on baking sheet. Flatten slightly with a fork.
- Bake for 10-12 minutes until edges are lightly golden. Immediately press 2 candy eyes and 8 pretzel halves (as legs) into each cookie while warm.
- Let cool on baking sheet for 5 minutes before transferring to a wire rack to cool completely.
Notes
You can customize the seasonings to taste.
Nutrition
- Serving Size: 1 cookie
- Calories: 120
- Sugar: 11g
- Fat: 6g
- Carbohydrates: 14g
- Protein: 3g
Gathering Your Web-Weaving Supplies
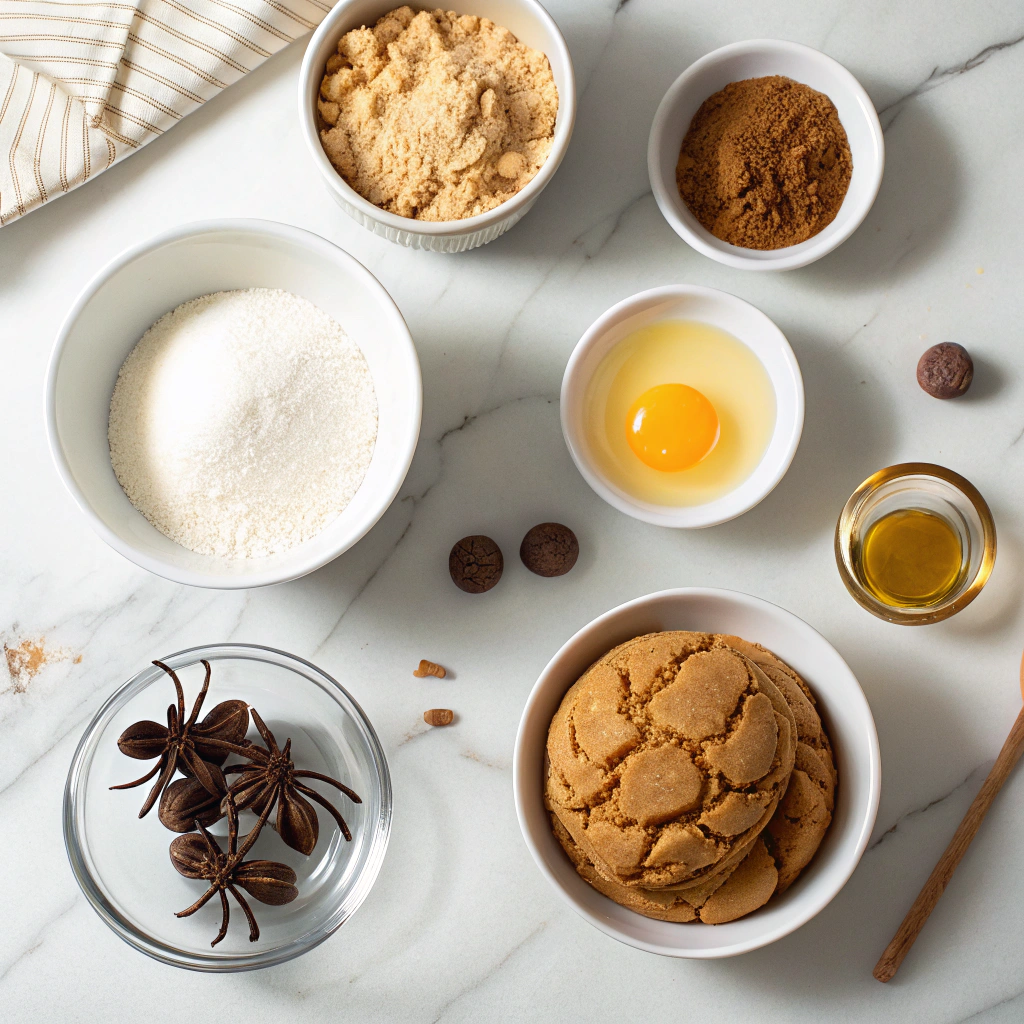
There’s something so special about the ritual of pulling out the mixing bowl and measuring cups, isn’t there? Especially when the project is as fun as these eight-legged treats. This recipe is wonderfully simple, making it the perfect kitchen activity for little helpers. Here’s everything you’ll need to create your own cookie colony.
For the Cookie Dough
- 1 cup (2 sticks) unsalted butter, softened: The foundation of any great cookie! Let it sit out on the counter for an hour until it’s perfectly soft to the touch. This makes creaming it with the sugar so much easier and gives the cookies a lovely, tender crumb.
- 1 cup creamy peanut butter: I always reach for the standard, no-stir kind for this recipe. It blends into the dough beautifully and gives that classic, comforting peanut butter flavor we all love.
- 1 cup granulated sugar: For that essential sweetness and to help the cookies crisp up just a bit around the edges.
- 1 cup light brown sugar, packed: This is the secret to a chewy, soft cookie. Make sure to really pack it into your measuring cup for the perfect amount.
- 2 large eggs: Always best at room temperature! I pop them in a bowl of warm water for a few minutes if I forget to take them out ahead of time.
- 2 teaspoons pure vanilla extract: A splash of vanilla warmth to round out all the flavors.
- 3 cups all-purpose flour: The trusty workhorse that brings our dough together.
- 2 teaspoons baking soda: Our leavening agent to give the cookies a little lift.
- 1/2 teaspoon fine sea salt: Crucial for balancing all that sweetness and making the peanut butter flavor truly pop.
For the Spooky Decoration
- 1 bag (10-12 oz) chocolate chips (milk or semi-sweet): These will form the spider’s body. Semi-sweet is my preference for cutting the sweetness, but milk chocolate is a hit with the kids!
- 1 tube of white decorating icing or melted white chocolate: For drawing those silly, startled eyes.
- 48 small candy eyeballs (or 96 if you want googly-eyed spiders!): The pièce de résistance! You can find these at any craft store or baking aisle this time of year.
- 48 thin pretzel sticks: For the legs! I find that snapping standard pretzel rods in half works perfectly and gives you that wonderfully knobby, jointed look.
Weaving Your Cookie Web: Let’s Get Baking!
Now for the fun part! Pull on your favorite apron, put on some spooky tunes, and let’s make some magic. This dough is very forgiving, so don’t worry about being perfect.
Step 1: First, preheat your oven to 350°F (175°C). Line your baking sheets with parchment paper. This little step is my number one cookie-baking tip—it prevents sticking and makes cleanup an absolute dream.
Step 2: In the bowl of your stand mixer fitted with the paddle attachment (or in a large bowl with a hand mixer), cream together the softened butter, peanut butter, granulated sugar, and brown sugar. Beat it on medium speed for a good 2-3 minutes, until it becomes light, fluffy, and pale in color. Scrape down the sides of the bowl with a spatula to make sure everything is incorporated.
Step 3: Add the eggs, one at a time, beating well after each addition. Then mix in the vanilla extract. It should smell absolutely heavenly by now!
Step 4: In a separate bowl, whisk together the flour, baking soda, and salt. With your mixer on low speed, gradually add the dry ingredients to the wet ingredients. Mix just until the flour disappears and a soft dough forms. Don’t overmix! The dough will be soft but not sticky.
Step 5: Now, roll the dough into 1-inch balls. I use a small cookie scoop for this to keep them all uniform—it makes for a much more orderly spider army! Place the dough balls about 2 inches apart on your prepared baking sheets.
Step 6: Here’s the key step for a perfect cookie: use a fork to make a classic criss-cross pattern, gently flattening each ball. This not only gives them that iconic peanut butter cookie look, but it also creates a perfect flat surface for our chocolate spider body to sit on later.
Step 7: Bake for 9-11 minutes, or until the edges are just lightly golden. The centers will still look soft—that’s exactly what you want! They will firm up as they cool. Let the cookies rest on the baking sheet for 5 minutes before transferring them to a wire rack to cool completely. This is the hardest part… waiting!
Now that you’ve got your adorable spider cookies assembled, let’s talk about how to make them truly your own! This recipe is wonderfully forgiving and a perfect canvas for a little creativity.
Pro Tips, Variations & Substitutions
Want to mix things up? Here are some of my favorite ways to tweak this classic.
- For the Peanut Butter: While classic creamy peanut butter is our go-to, chunky peanut butter adds a delightful little crunch that the kids love. For a nut-free version, sunflower seed butter works beautifully and gives a similar color and texture!
- For the Eyes: No candy eyes? No problem! A small dab of white frosting with a mini chocolate chip or a speck of black decorating gel makes for a perfect homemade eye.
- For the Legs: While pretzel sticks are classic, you can also use chow mein noodles for a skinnier, spindlier spider look. For a gluten-free option, thin gluten-free pretzel sticks are widely available now.
- Chocolate Dip: Feeling extra? After the cookies have cooled, dip the bottom half in melted chocolate and let it set on wax paper. It adds a decadent twist and makes them even more irresistible.
What to Serve Them With
These playful cookies are the star of any Halloween spread, but they love company! I love to create a spooky snack table with these cookies as the centerpiece. They pair perfectly with a tall glass of cold apple cider or a steamy mug of rich hot chocolate. For a truly ghoulish gathering, serve them alongside other Halloween treats like “witch’s finger” breadsticks, clementine “pumpkins,” and a bowl of “eyeball” grapes.
The Benefits of Baking These Little Spiders
Beyond being utterly delicious, these cookies offer so much more. They are a fantastic, low-stress recipe for baking with little ones. Measuring, rolling, and decorating are all simple tasks for small hands, making it a wonderful opportunity to create memories together. It’s also a great way to introduce basic kitchen skills in a fun, festive way. Plus, homemade treats, made with real ingredients you can pronounce, are always a win in my book.
Real-Life Tips from My Kitchen
After making countless batches of these over the years, here’s my hard-earned advice:
- If your dough is too crumbly, add a teaspoon of milk at a time until it comes together. If it’s too sticky, a few more minutes in the fridge will firm it right up.
- When inserting the pretzel legs, do it gently but with a little pressure to ensure they stay put. Pushing them in at a slight downward angle helps them look more like crawling legs.
- Make ahead! The baked cookie bases (without decorations) freeze beautifully for up to a month. Just thaw and decorate the day you need them.
- Most importantly, don’t stress about perfection! Some spiders might have seven legs, and others might be cross-eyed. It just gives them more personality and charm.
I hope your kitchen is filled with as much laughter and joy making these as ours always is. Happy baking, and have a spook-tacular Halloween!

Conclusion
And there you have it! These easy peanut butter spider cookies are the perfect way to add a little spooky charm to your Halloween celebrations. With a simple, no-chill dough, a classic peanut butter flavor everyone loves, and a fun decorating process that’s perfect for little hands, this recipe is a guaranteed hit. They’re creepy-crawly in the best way possible and prove that the most memorable treats are often the simplest ones to make.
I’d love to hear how your spider-making party goes! Did your spiders have eight legs or a few more? Tag me on social media using #SpookySeasonBaking so I can see your adorable creations. And if you’re looking for more frightfully fun ideas, be sure to check out my recipes for mummy hot dogs and monster eye punch next!
FAQs
Can I use natural peanut butter for this recipe?
I recommend using a conventional, shelf-stable peanut butter like Jif or Skippy for this recipe. Natural peanut butters (the kind that separate) often have a different oil content and can make the dough too oily or cause it to spread more than desired during baking.
My dough is too crumbly and won’t roll into balls. What should I do?
Don’t worry! This can happen sometimes. The simple fix is to add a little more moisture. Work in one tablespoon of milk (any kind) at a time until the dough comes together more easily. It should be pliable but not sticky.
What can I use instead of candy eyes?
Get creative! You can use mini chocolate chips (pointy side down), small round sprinkles, or even little dots of white icing with a tiny dot of black icing painted on after it sets. No need to run to the store if you don’t have the classic candy eyes on hand.
How far in advance can I make these cookies?
The cookies themselves will stay fresh in an airtight container at room temperature for up to 4-5 days. For the best textural experience with the pretzel legs, I recommend assembling them the day you plan to serve them, as the pretzels can soften over time.
Can I freeze the cookie dough?
Absolutely! You can scoop the dough into balls and freeze them on a parchment-lined baking sheet. Once they’re solid, transfer them to a freezer bag. When you’re ready to bake, just place the frozen dough balls on your baking sheet and add a minute or two to the baking time. No need to thaw!


