Did you know that 62% of people say a crispy edge and a chewy center is their ideal chocolate chip cookie texture, yet most recipes fail to deliver both?
I’ve been there, standing in my kitchen, surrounded by a battalion of mixing bowls and a trail of flour, wondering why my cookies were either hockey pucks or cakey puddles. It felt like a culinary conspiracy. For years, I chased that bakery-style perfection, the kind of cookie that makes you close your eyes after the first bite. I was on a quest for the one, the only, the truly ultimate chocolate chip cookie recipe.
My journey began in my grandmother’s sun-drenched kitchen, a place that always smelled of vanilla and love. Her cookies were legendary, but they were of a different era—thin, lacy, and brittle. Delicious, but not the thick, decadent masterpiece I craved. I knew the “best ever” was out there, a recipe that balanced nostalgia with modern, foolproof technique. It had to be the kind of cookie you’d proudly present on a plate, still warm from the oven, knowing you’ve just created a little piece of heaven.
After what felt like a lifetime of testing (and my friends becoming very willing taste-testers), I finally cracked the code. It wasn’t just about the type of chocolate or a splash of vanilla. The secret, I discovered, lies in a few surprising, almost counterintuitive steps. It’s about patience. It’s about temperature. It’s about understanding the beautiful, delicious science happening in your oven.
This recipe is my heart and soul baked into one perfect treat. It’s the culmination of melted butter debates, the great chilling controversy, and the sacred salt sprinkle. So, preheat your oven and grab your favorite mixing bowl. We’re about to create magic.
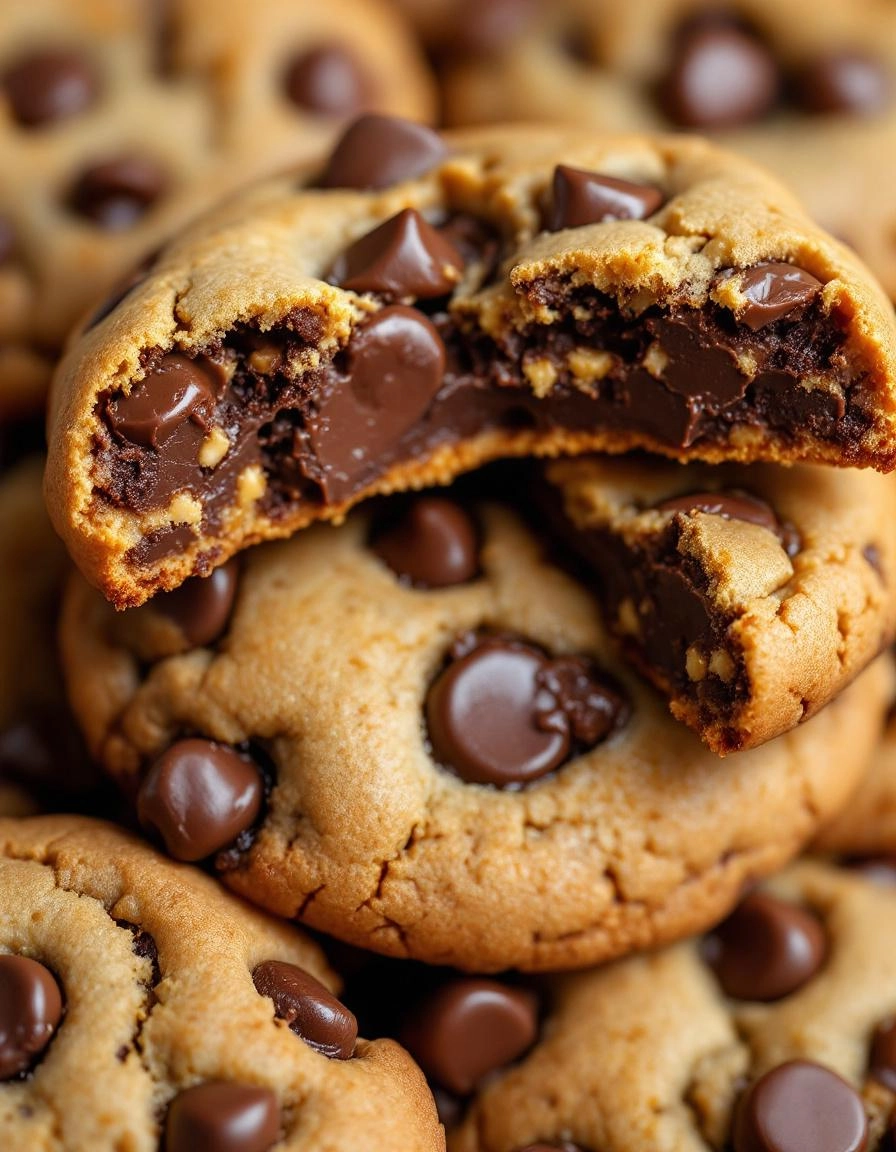
PrintThe ULTIMATE Chocolate Chip Cookie
A perfectly chewy, crispy-edged chocolate chip cookie with rich flavor and plenty of melty chocolate chunks.
Ingredients
For the Crust:
- 1 cup unsalted butter, softened
- 3/4 cup granulated sugar
- 3/4 cup packed brown sugar
- 2 large eggs
- 2 teaspoons vanilla extract
- 2 1/4 cups all-purpose flour
- 1 teaspoon baking soda
- 1/2 teaspoon salt
- 2 cups semi-sweet chocolate chips
- 1 cup chopped walnuts (optional)
Instructions
1. Prepare the Crust:
- Preheat oven to 375°F (190°C). Line baking sheets with parchment paper.
- In a large bowl, cream together butter, granulated sugar, and brown sugar until light and fluffy. Beat in eggs one at a time, then stir in vanilla.
- Combine flour, baking soda, and salt in a separate bowl. Gradually blend into the creamed mixture. Fold in chocolate chips and walnuts if using.
- Drop rounded tablespoons of dough onto prepared baking sheets, spacing 2 inches apart.
- Bake for 9 to 11 minutes or until golden brown. Let cool on baking sheet for 2 minutes before transferring to wire racks.
Notes
You can customize the seasonings to taste.
The Story Behind the Ultimate Chocolate Chip Cookie
There’s something deeply comforting about the scent of chocolate chip cookies wafting through the house, isn’t there? It’s a smell that feels like a warm hug, a promise of sweet, chewy, chocolatey goodness just moments away. This recipe is my absolute treasure, the one I’ve tweaked and perfected over countless afternoons, and the one my family begs for on a regular basis. It’s not just a cookie; it’s a little piece of home.
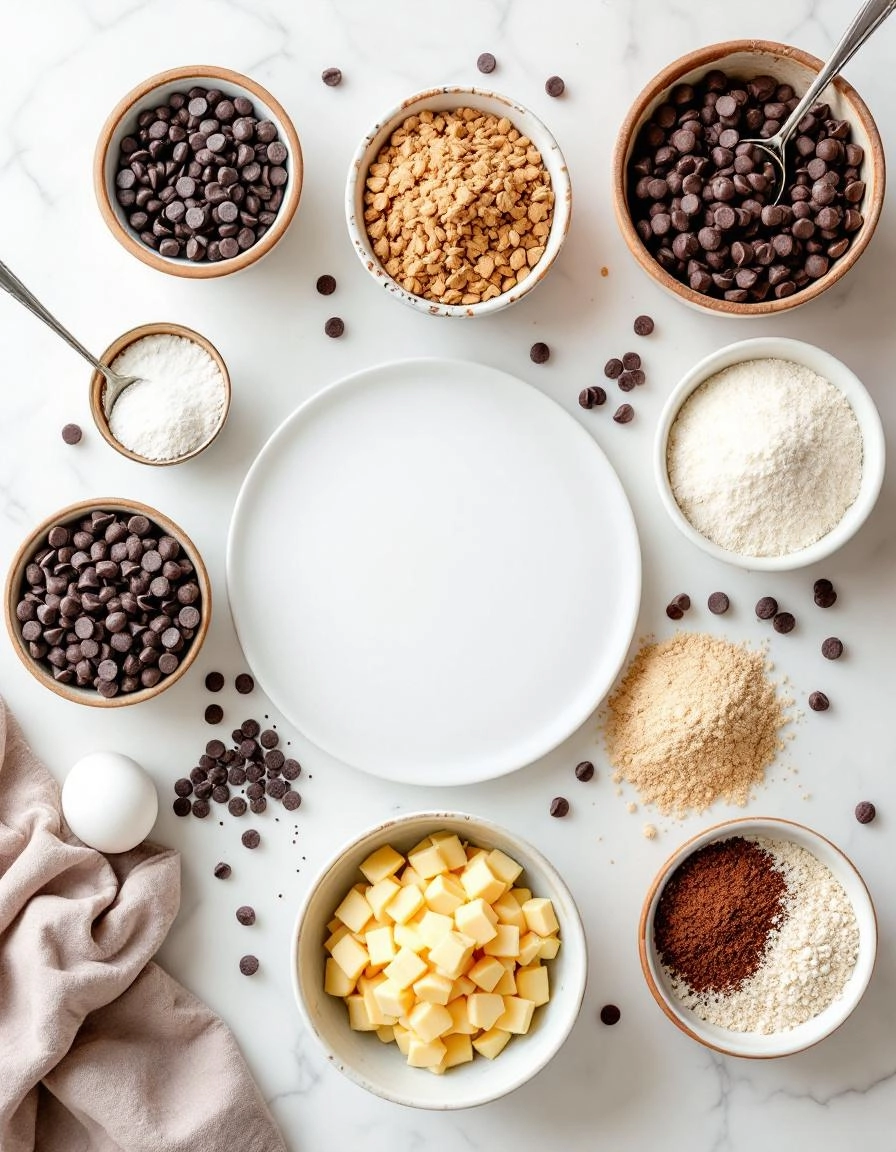
Gathering Your Ingredients: The Building Blocks of Bliss
Before we begin, let’s talk ingredients. Using high-quality, simple components truly makes all the difference here. This isn’t the place for shortcuts!
- 1 cup (2 sticks) of unsalted butter, at room temperature – This is non-negotiable! Soft, room-temperature butter creams together with the sugars to create the most perfect, airy base. If you forget to take it out, you can gently warm the sticks in their wrappers by placing them in a bowl of lukewarm water for 10-15 minutes.
- 3/4 cup of granulated sugar – For that classic sweetness and a little crispness.
- 3/4 cup of packed light brown sugar – The secret weapon! The molasses in the brown sugar is what gives these cookies their signature chewy, moist texture and deep, caramel-like flavor.
- 2 large eggs – Also at room temperature, please! This helps them incorporate seamlessly into the butter and sugar mixture.
- 2 teaspoons of pure vanilla extract – Don’t be shy with it. The vanilla adds a beautiful warmth that complements the chocolate perfectly.
- 2 1/4 cups of all-purpose flour – I like to fluff my flour with a spoon before gently scooping it into the measuring cup and leveling it off. This prevents accidentally using too much and ending up with dry cookies.
- 1 teaspoon of baking soda – Our leavening agent, ensuring a lovely rise.
- 1/2 teaspoon of fine sea salt – Crucial for balancing all that sweetness and making the chocolate flavor pop.
- 2 cups of semi-sweet chocolate chips – My personal favorite. I often use a mix of chips and chopped chocolate bars for pools of melty chocolate and little flakes throughout. Feel free to use milk or dark chocolate based on your preference!
- (Optional) 1 cup of chopped walnuts or pecans – For a lovely bit of crunch. My grandfather always insisted on walnuts in his cookies.
The Cozy Step-by-Step: Let’s Make Some Magic
Now for the fun part! Preheat your oven to 375°F (190°C) and line your baking sheets with parchment paper. There’s no need to grease them—the butter in the dough is more than enough!
Step 1: The Creaming Method
In a large bowl, use a hand mixer or stand mixer fitted with the paddle attachment to cream together the softened butter, granulated sugar, and brown sugar. Beat it on medium speed for a good 2-3 minutes, until the mixture becomes light, pale, and wonderfully fluffy. This step incorporates air, which is key for texture, so don’t rush it!
Step 2: Bringing It Together
Add the eggs one at a time, beating well after each addition until fully incorporated. Then, mix in the vanilla extract. It should smell incredible already.
Step 3: The Dry Ingredients
In a separate bowl, whisk together the flour, baking soda, and salt. This ensures the leavening agent is evenly distributed. Now, with your mixer on low speed, gradually add the dry ingredients to the wet ingredients. Mix just until the flour disappears—do not overmix! A few streaks of flour are okay; we’ll finish mixing by hand.
Step 4: The Grand Finale
Turn off the mixer. This is where we go hands-on. Using a sturdy spatula or wooden spoon, fold in the chocolate chips (and nuts, if using) by hand. This gentle method prevents overworking the gluten in the flour, guaranteeing a tender, not tough, cookie.
Now, cover your bowl with plastic wrap and here is my biggest, most important tip: chill the dough for at least 30 minutes. I know, the wait is agony! But trust me, this prevents the cookies from spreading too thin in the oven. Chilled dough bakes up thicker, chewier, and so much more decadent. This is the ultimate secret to the “best ever” status.
Now that you’ve got that perfect dough chilling (you are chilling it, right?), let’s talk about how to truly make these cookies your own. This recipe is a wonderful canvas, just waiting for your personal touch.
Pro Tips for Cookie Perfection
These little nuggets of wisdom are what separate a good cookie from a legendary one.
- Weigh Your Flour: This is the single best thing you can do for consistency. Too much flour is the top reason cookies turn out cakey instead of chewy. If you don’t have a scale, fluff your flour with a spoon, spoon it into your measuring cup, and level it off. Never pack it down!
- The Brown Butter Bonus: For a deep, nutty, caramel-like flavor, try browning your butter. Melt it in a saucepan over medium heat, swirling occasionally, until it foams and you see little brown bits at the bottom. Pour it (including the bits!) into your mixing bowl and let it cool slightly before proceeding. It’s a game-changer.
- Chill, Don’t Rush: I know, the wait is agony. But chilling the dough solidifies the fat, which means less spread and a thicker, chewier cookie. It also allows the flavors to meld together beautifully. For the ultimate texture, chill the dough for at least 2 hours, or even overnight.
Delicious Variations & Substitutions
Allergic to nuts? Out of chocolate chips? No problem! This recipe is incredibly adaptable.
- Flour Power: You can successfully substitute up to half of the all-purpose flour with whole wheat pastry flour for a heartier cookie.
- Dairy-Free Delight: Use your favorite plant-based butter stick (not spread) and dairy-free chocolate chips. The cookies will be slightly less chewy but still utterly delicious.
- Mix-In Mania: The classic is classic for a reason, but feel free to swap in 1 cup of chopped toasted pecans or walnuts, a handful of rolled oats, or even a 1/2 cup of sweetened shredded coconut along with the chocolate.
- Salty-Sweet Twist: Before baking, gently press a few flakes of Maldon sea salt on top of each dough ball. The contrast is absolutely divine.
The Perfect Pairings: What to Serve Them With
A warm chocolate chip cookie is a joy on its own, but it also plays well with others.
- The Classic: A tall, ice-cold glass of milk is the undisputed champion partner.
- Gourmet Affogato: Place a warm cookie in a bowl and top with a scoop of vanilla bean ice cream. Drizzle with a shot of hot espresso for an adult-only dessert that will blow your mind.
- Cookie Ice Cream Sandwich: Let cookies cool completely, then sandwich a generous scoop of your favorite ice cream between them. Roll the edges in mini chocolate chips or sprinkles, wrap individually, and freeze for at least an hour.
- With Your Coffee Break: They are the ideal companion to your afternoon cup of coffee or tea, perfect for dunking.
The Benefits of Baking from Scratch
Beyond the incredible aroma that will fill your home, baking these cookies from scratch is good for the soul.
It’s a act of love, whether you’re baking for yourself, your family, or a friend in need. You control the quality of every ingredient, avoiding preservatives and unknown additives. It’s a wonderful way to be present, to focus on a simple, rewarding task, and to create something tangible and joyful. Plus, it’s a fantastic skill to share with little ones, creating sweet memories along with the sweet treats.
Real-Life Tips from My Kitchen
Here’s the stuff you only learn from making batch after batch.
- Cookie Scoop for the Win: Using a medium cookie scoop (about 1.5 tablespoons) ensures all your cookies are the same size and bake evenly. It’s a small tool that makes a huge difference.
- Bake on Parchment: Always line your baking sheets with parchment paper. It prevents sticking and makes cleanup an absolute breeze.
- The Freezer is Your Friend: Did you know you can freeze the scooped dough balls? Place them on a parchment-lined sheet, freeze until solid, then transfer to a zip-top bag. You can bake frozen cookies anytime a craving strikes—just add a minute or two to the baking time.
- Under-bake for Chewiness: Take them out when the edges are set and golden but the centers still look soft and slightly underdone. They will continue to cook on the hot baking sheet as they cool, resulting in that perfect, dreamy chew.
I hope these tips inspire you to get baking and make this recipe your own. There’s nothing quite like pulling a sheet of warm, gooey, homemade chocolate chip cookies out of the oven. Happy baking!

Conclusion
There you have it—the ultimate guide to creating what I truly believe are the best chocolate chip cookies you’ll ever bake. From the importance of that one extra egg yolk for chewiness to the magic of browning the butter for a rich, nutty depth, each step is a little love letter to the perfect cookie. Remember, the secret isn’t just in the ingredients; it’s in the patience to let the dough chill and the joy of pulling a tray of golden, gooey perfection from your own oven.
I hope this recipe becomes a new staple in your kitchen, creating as many happy memories for you as it has for me. Now, I’d love to hear from you! Did you add a personal twist with some sea salt or toasted walnuts? How did your family react? Share your baking stories and photos in the comments below—there’s nothing I love more than seeing your creations. And if you’re hungry for more, why not explore our other classic dessert recipes, like our fudgy brownies or perfect apple pie?
FAQs
Can I make the cookie dough ahead of time?
Absolutely! In fact, I often do. The dough can be kept covered in the refrigerator for up to 72 hours. This actually allows the flavors to meld together even more, resulting in an even more delicious cookie. You can also scoop the dough onto a baking sheet, freeze until solid, and then transfer the dough balls to a freezer bag for up to 3 months. Bake straight from frozen, adding just a minute or two to the baking time.
My cookies always come out flat. What am I doing wrong?
This is a common issue, and it usually boils down to a few key things. First, ensure your butter is properly cooled after browning—if it’s too warm when creamed with the sugars, it will cause spreading. Second, don’t skip the chilling step! This is crucial for preventing flat cookies. Finally, check your baking soda to make sure it’s still fresh and active.
Can I use milk chocolate chips instead of semi-sweet?
Of course! Baking is all about personal preference. Milk chocolate chips will yield a sweeter, creamier cookie. I would recommend using a high-quality brand, as the flavor will really shine. You could even do a half-and-half mix of semi-sweet and milk chocolate for the best of both worlds.
Why did you use both baking soda and baking powder?
Great question! This dynamic duo works together to create the ideal texture. The baking soda helps the cookies spread and promotes browning, while the baking powder gives them a little lift and keeps them tender and soft in the center. Using both ensures you get that perfect combination of chewy interior and slightly crisp edges.
My butter burned when I tried to brown it. Any tips?
It happens to the best of us! Browning butter requires a watchful eye. Use a light-colored saucepan so you can clearly see the color change. Melt it over medium heat, swirling the pan frequently. Once it starts foaming and you see little brown bits (the milk solids) forming at the bottom, take it off the heat immediately and pour it into a heatproof bowl to stop the cooking process. It goes from perfectly nutty to burnt very quickly!


