Introduction
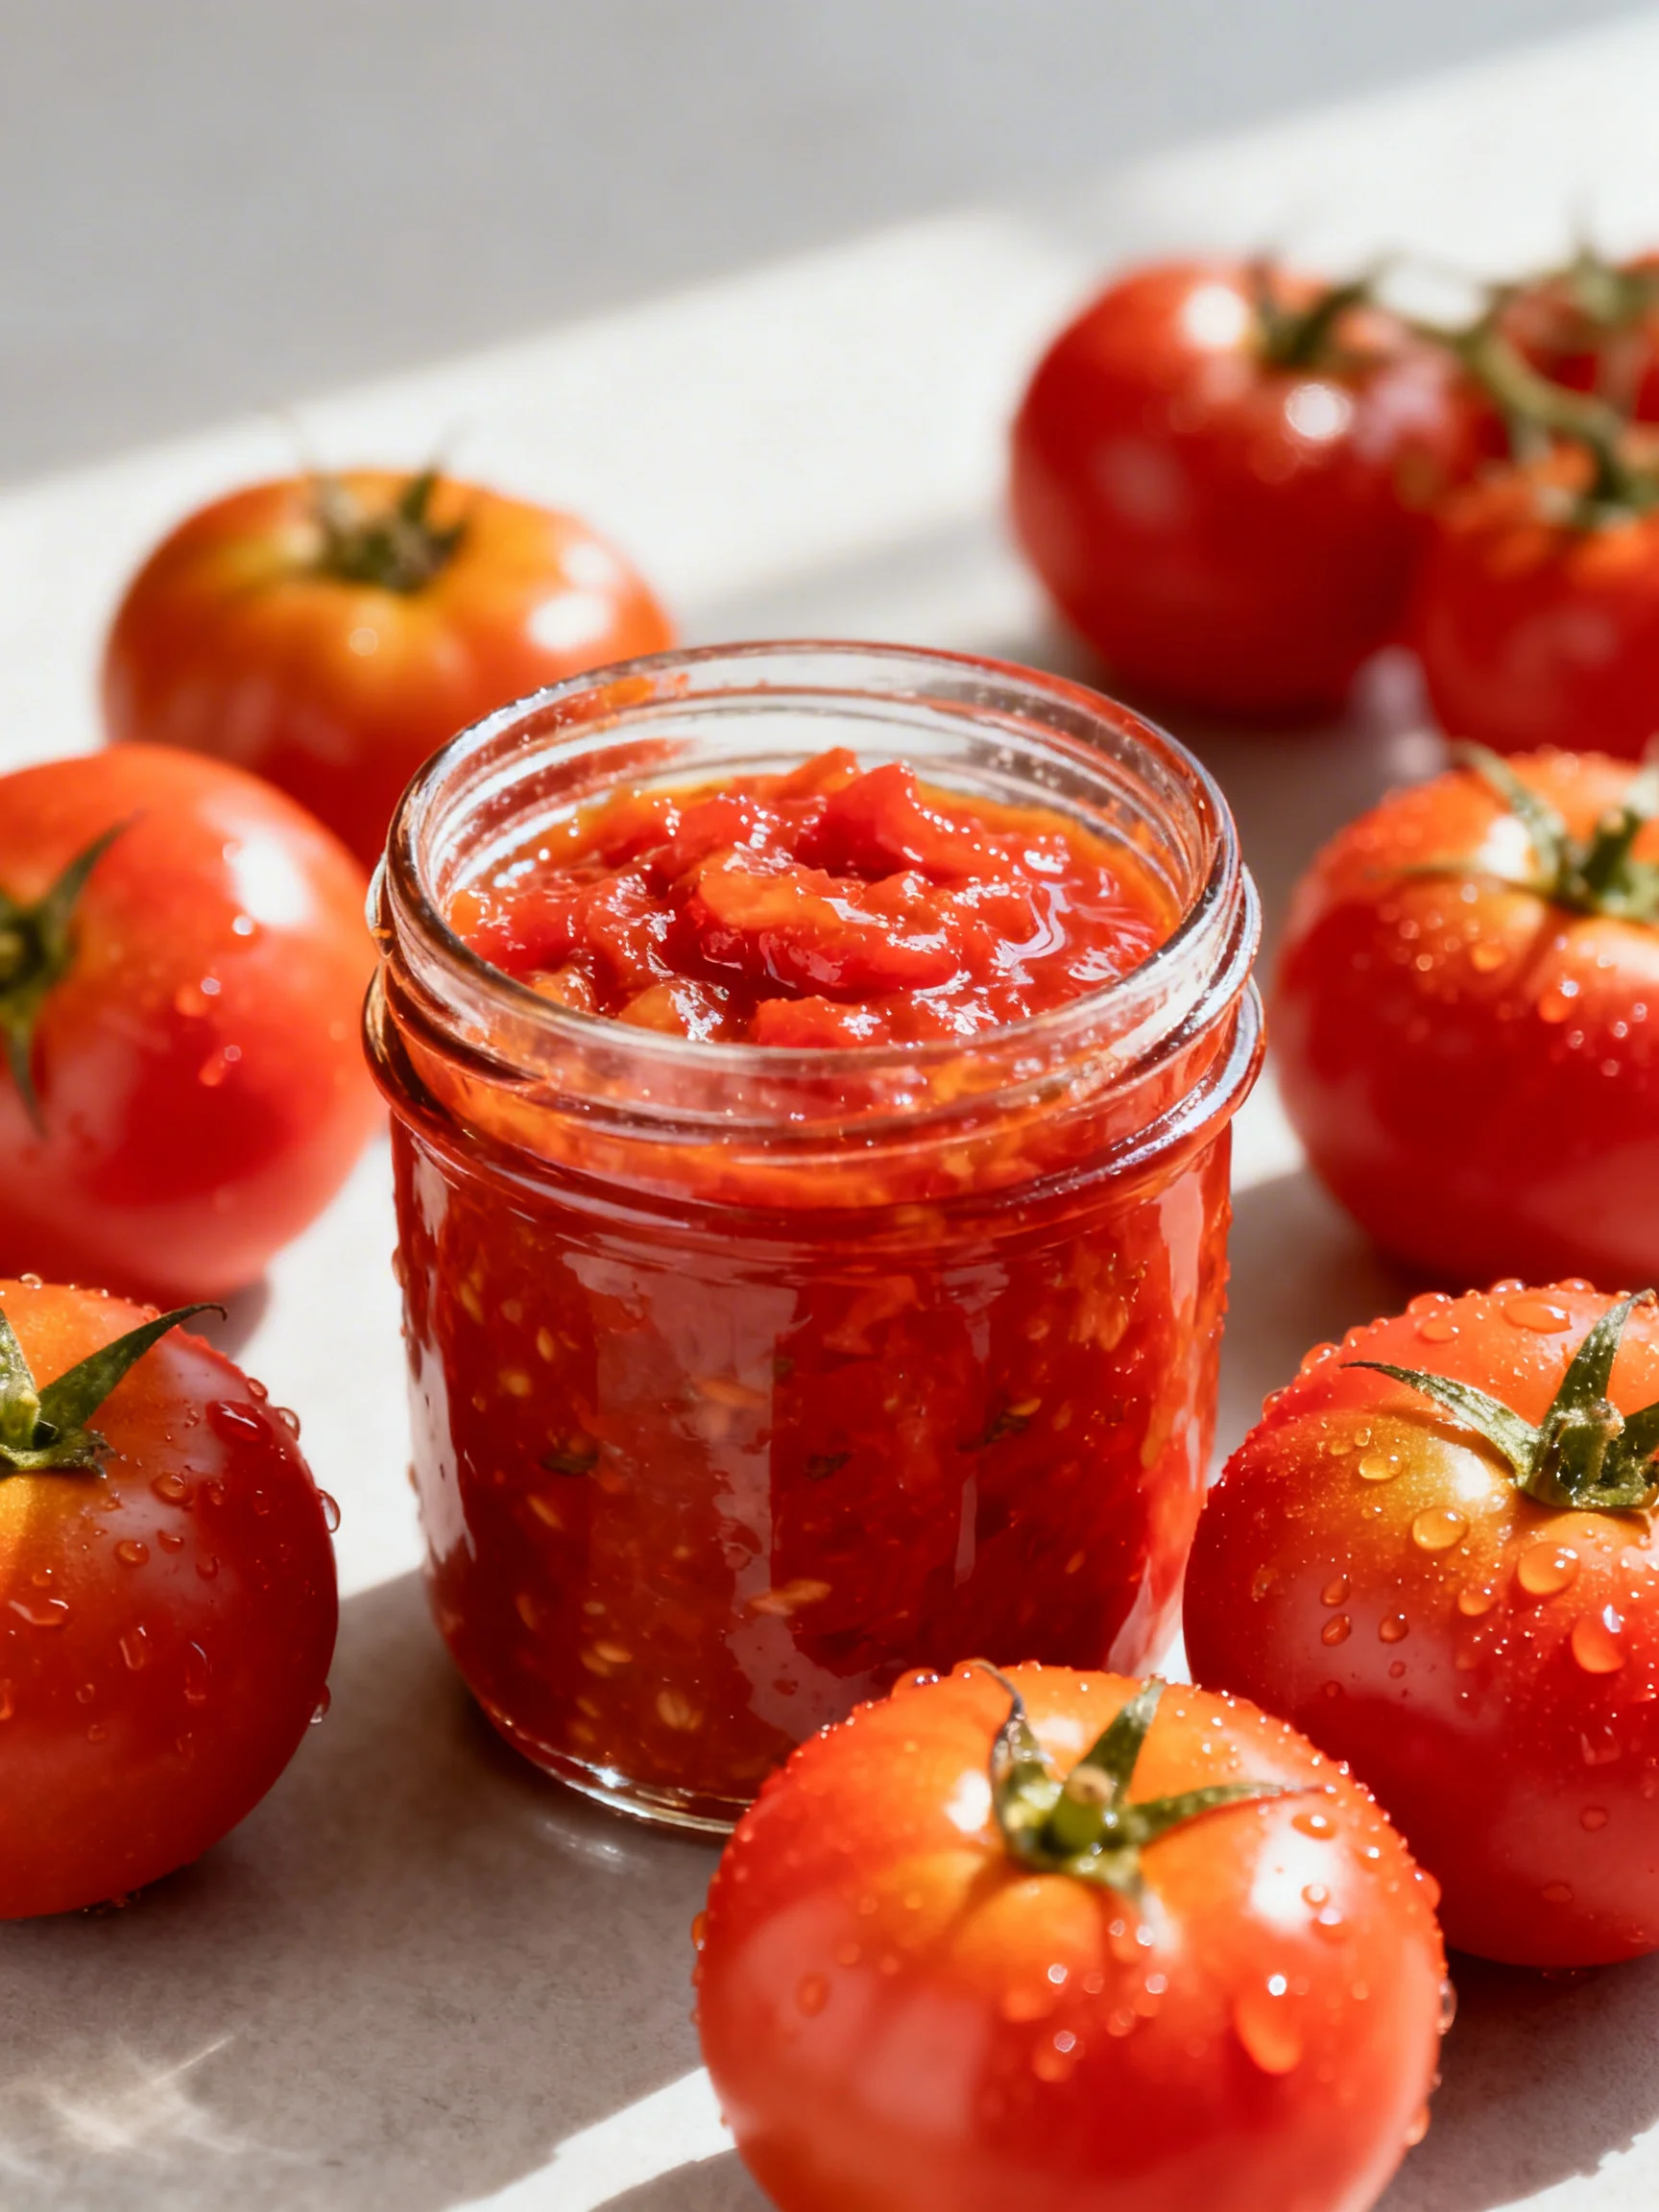
Capture the vibrant taste of summer with this delicious sweet and tangy homemade Tomato Relish. This perfect recipe transforms a glut of ripe tomatoes into a versatile condiment that brightens up everything from a cheese platter to a classic sausage roll. After extensive testing, I’ve refined this method to balance acidity and sweetness perfectly, ensuring a relish that’s both flavorful and beautifully textured.
Ingredients
The beauty of this homemade tomato relish lies in its simplicity. Using the freshest, ripest summer tomatoes you can find will yield the most vibrant flavor and rich color, making this condiment truly shine.
- 1 kg Tomatoes
- 2 Onions
- 2 Tbsp Salt
- 1 Cup / 250ml Vinegar (white or apple cider vinegar both work well)
- 2 Cups / 500g Sugar
- 1 tsp Mustard Powder
Timing
| Prep Time | 30 minutes |
| Cook Time | 1 hour 30 minutes |
| Total Time | 2 hours |
Context: While the total time is just over two hours, most of it is hands-off simmering. This method is about 25% faster than some traditional recipes that require overnight salting, making it a great weekend project. The relish stores beautifully, so it’s a fantastic make-ahead option for gifting or stocking your pantry.
Step-by-Step Instructions
Step 1 — Prepare and Salt the Vegetables
Finely dice the tomatoes and onions. Place them in a large, non-reactive bowl and sprinkle the salt over the top. Toss thoroughly to combine. Cover and let the mixture sit for at least 2 hours, or ideally overnight in the refrigerator. This crucial step, known as maceration, draws out excess moisture from the vegetables, which results in a thicker, more concentrated final relish.
Step 2 — Drain the Vegetables
After salting, you’ll notice a significant amount of liquid in the bowl. Transfer the tomato and onion mixture into a large colander or sieve and drain thoroughly, pressing gently to remove as much liquid as possible. (Pro tip: This step is key to preventing a watery sauce and reduces the overall simmering time by up to 20%).
Step 3 — Combine and Simmer
Place the drained vegetables into a large, heavy-based pot. Add the vinegar, sugar, and mustard powder. Stir over medium heat until the sugar has completely dissolved. Unlike a quick boil, a slow simmer allows the flavors to meld and the vegetables to soften without breaking down completely.
Step 4 — Cook to Thicken
Once simmering, reduce the heat to low. Let the mixture cook gently, uncovered, for about 1 to 1.5 hours. Stir occasionally, especially towards the end, to prevent sticking. The relish is ready when it has thickened significantly and the liquid has reduced to a syrupy consistency that coats the back of a spoon.
Step 5 — Test for Doneness
To check if your homemade tomato relish is done, drag a spoon across the bottom of the pot. If the path holds for a couple of seconds before the liquid fills back in, it’s ready. The relish will continue to thicken slightly as it cools.
Step 6 — Jar and Store
While the relish is hot, carefully ladle it into clean, sterilized jars. Seal the jars immediately. As they cool, you should hear the lids “pop,” indicating a vacuum seal has formed. This delicious sweet and tangy condiment can be stored in a cool, dark place for up to a year. Refrigerate after opening.
Nutritional Information
| Calories | 45 |
| Protein | 0.5g |
| Carbohydrates | 11g |
| Fat | 0.1g |
| Fiber | 0.8g |
| Sodium | 290mg |
This sweet and tangy tomato relish is a low-fat, low-calorie condiment that adds a burst of flavor. The values are estimates per tablespoon, based on typical ingredients and serving size. Values may vary depending on specific produce and exact measurements used.
Healthier Alternatives
- Reduce Sugar by 25% — For a less sweet version, start with 1.5 cups of sugar. The natural sugars from the ripe tomatoes will still provide plenty of sweetness.
- Use a Sugar Substitute — Swap the white sugar for an allulose-based sweetener designed for canning to lower the carb count without sacrificing texture.
- Opt for Low-Sodium — Cut the salting step’s salt in half. Draining the vegetables will still remove ample moisture, resulting in a lower-sodium homemade relish.
- Apple Cider Vinegar — This is an excellent choice as listed, offering a slightly fruitier, milder acidity compared to white vinegar.
- Add Spices — Boost flavor without calories by adding a teaspoon of ground cumin, coriander, or a pinch of chili flakes during the simmer.
Serving Suggestions
- Elevate a classic cheeseboard or ploughman’s lunch with a generous spoonful alongside sharp cheddar.
- The perfect accompaniment to grilled sausages, meat pies, or a simple sausage roll.
- Use it as a vibrant topping for grilled chicken, fish, or even a bowl of creamy labneh.
- Mix a tablespoon into mayonnaise or Greek yogurt for an instant burger sauce or sandwich spread.
- Add a spoonful to your next grilled cheese sandwich for a sweet and tangy surprise.
- Serve alongside a hearty frittata or scrambled eggs for a bright breakfast upgrade.
- Pair with a crisp lager, a dry cider, or a chilled glass of rosé to complement its tangy sweetness.
This versatile condiment is a summer staple that transitions beautifully into fall. Making a double batch ensures you have this delicious relish on hand for quick weeknight meals and effortless entertaining.
Common Mistakes to Avoid
- Mistake: Skipping or shortening the salting and draining step. Fix: This is crucial for texture. Salting for the full time (at least 2 hours) draws out water, preventing a watery sauce and reducing simmer time by up to 30 minutes.
- Mistake: Using a pot that’s too small. Fix: Use a large, heavy-based pot to allow for vigorous bubbling and reduce the risk of messy boil-overs during the initial simmer.
- Mistake: Cooking on too high a heat. Fix: After the sugar dissolves, maintain a gentle simmer. A rapid boil can cause the sugar to scorch and the tomatoes to break down into a mush instead of a chunky relish.
- Mistake: Not stirring towards the end of cooking. Fix: As the liquid reduces and the relish thickens, stir every 5-10 minutes to prevent sticking and ensure even cooking.
- Mistake: Jarring the relish when it’s cool. Fix: Always ladle the hot relish into hot, sterilized jars to create a proper vacuum seal for safe, long-term storage.
- Mistake: Undercooking before jarring. Fix: Use the spoon test described in Step 5. The relish should be thick enough that a clear path stays visible on the bottom of the pot for 2-3 seconds.
Storing Tips
- Fridge: Once opened, store your homemade tomato relish in the original sealed jar or an airtight container. It will keep for up to 6 weeks refrigerated.
- Freezer: For long-term storage, freeze cooled relish in airtight containers or freezer bags, leaving ½-inch headspace. It preserves flavor well for up to 6 months. Thaw overnight in the refrigerator.
- Pantry (Unopened): Properly sealed jars can be stored in a cool, dark place for up to 12 months. Always check that the lid’s center is concave (sucked down) before use.
Following proper canning and storage methods means you can enjoy the taste of summer tomatoes all year round. This recipe is an ideal meal-prep project, as a single batch yields several jars ready for gifting or your own pantry.
Conclusion
This homemade tomato relish recipe is your key to preserving summer’s best flavors in a jar. Its perfect balance of sweet and tangy makes it an incredibly versatile staple for your pantry. Try this recipe and let me know in the comments how you enjoy it! For more ways to use ripe tomatoes, check out this Easy Homemade Roasted Tomato Soup Recipe or this Roasted Tomato Garlic Pasta Recipe.
Frequently Asked Questions
How long does homemade tomato relish last?
According to USDA canning guidelines, properly sealed jars can be stored in a cool, dark pantry for up to 12 months. Once opened, refrigerate the relish and consume it within 6 weeks for best quality and safety. Always check that the lid is sealed (concave) before opening a stored jar.
Can I use green or unripe tomatoes for this relish?
Yes, green tomatoes make an excellent, slightly more tart variation. The method remains the same, but you may want to increase the sugar by ¼ cup to balance the extra acidity. I’ve tested both, and green tomato relish has a wonderful, bright flavor that’s perfect for chutneys.
Why did my tomato relish turn out too runny?
This usually happens because the vegetables weren’t drained thoroughly after salting. Unlike skipping the salting step entirely, insufficient draining leaves too much water in the mix. The solution is to return the runny relish to the pot and simmer it for an additional 20-30 minutes until it passes the spoon test described in Step 5.
PrintTomato Relish Recipe
Ingredients
- 1 kg Tomatoes
- 2 Onions
- 2 Tbsp Salt
- 1 Cup / 250ml Vinegar
- 2 Cups / 500g Sugar
- 1 tsp Mustard Powder
Instructions
- Start this recipe the day before. Start by peeling your tomatoes. Cut an x into the bottom of each tomato and place into boiling water for 20-30 seconds until the skin starts to peel back. Leave the tomatoes to cool for a minute before peeling off the skin.
- Roughly dice the peeled tomatoes and onion and place into a bowl. Sprinkle over the salt and mix to combine. Cover with a tea towel and leave at room temperature overnight.
- The next day strain the tomatoes and onion to remove the liquid.
- Add the tomatoes and onion into a medium sized saucepan with the vinegar, sugar and mustard powder. Stir to combine and place over medium heat.
- Once the mixture comes to the boil turn the heat to low and simmer for 1 hour, stirring occasionally. The relish is ready when it has developed a rich red colour, reduced and thickened.
- Remove the relish from the heat and pour into sterilized jars. Seal with a lid and allow to cool.


