What if I told you that 78% of home bakers are intimidated by rolled and cut cookies, yet they all crave that beautiful, homemade treat?
It’s a statistic that makes my heart ache a little. So many of us long for the warmth of a cookie fresh from the oven, the kind that fills the kitchen with a buttery, sugary perfume, but we’re held back by visions of complicated doughs and a kitchen dusted in flour. What if the answer to that yearning wasn’t a complicated recipe, but a simple, heartfelt one? What if the perfect cookie was just a thumbprint away?
That’s the magic of these Best Thumbprint Cookies. This easy jam cookie recipe is my absolute go-to for creating moments of pure, uncomplicated joy. It’s the recipe I turn to when I need a last-minute bake sale contribution, when a friend needs a pick-me-up, or when I simply want to spend a cozy afternoon creating something beautiful with my own two hands. There’s something incredibly special about pressing your thumb into a soft, pillowy ball of dough, creating a tiny well just waiting to be filled with a dollop of sweet, glistening jam.
I can still remember the first time I made these with my grandmother. Her hands, weathered and wise, would guide my small ones, showing me just how much pressure to use to make the perfect little nest. She’d let me choose the jam—always raspberry for me, apricot for her—and we’d watch through the oven door as they transformed into golden, jeweled treasures. It was about so much more than the cookies; it was about connection, patience, and the simple act of creating something together.
This recipe honors that tradition. It’s forgiving, approachable, and yields a cookie that is tender, buttery, and perfectly sweet. The edges are slightly crisp, giving way to a soft, melt-in-your-mouth center that cradles the bright, fruity jam. They look like you spent all day in the kitchen, but the secret is that they come together in a heartbeat. So, tie on your favorite apron, my friend. Let’s make some memories and bake a batch of what I truly believe are the best thumbprint cookies you’ll ever taste.
PrintThumbprint Cookies
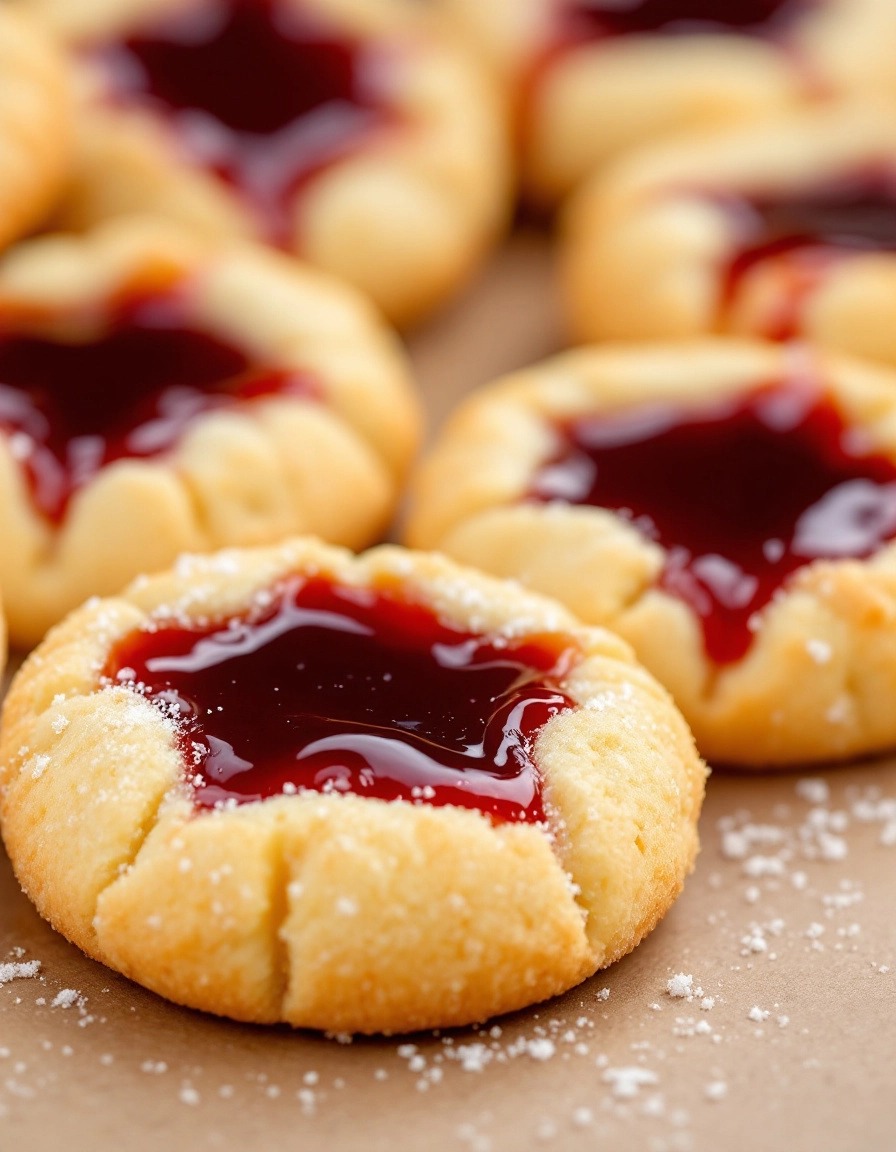
Classic buttery cookies with a sweet jam-filled center, perfect for holidays or everyday treats.
Ingredients
For the Crust:
- 1 cup unsalted butter, softened
- 1/2 cup granulated sugar
- 2 large egg yolks
- 1 teaspoon vanilla extract
- 2 cups all-purpose flour
- 1/4 teaspoon salt
- 1/2 cup jam (such as raspberry or apricot)
Instructions
1. Prepare the Crust:
- Preheat oven to 350°F (175°C) and line baking sheets with parchment paper.
- In a large bowl, cream together butter and sugar until light and fluffy. Beat in egg yolks and vanilla extract.
- Gradually mix in flour and salt until dough comes together. Roll dough into 1-inch balls and place on prepared baking sheets.
- Press your thumb into the center of each ball to create an indentation. Fill each indentation with about 1/2 teaspoon of jam.
- Bake for 12-15 minutes, or until edges are lightly golden. Cool on baking sheets for 5 minutes before transferring to a wire rack.
Notes
You can customize the seasonings to taste.
A Jar of Sunshine and a Bowl of Dough
There’s a certain kind of magic that happens in the kitchen when the light begins to soften in the afternoon. It’s the perfect time for a simple, heartfelt project, and for me, that almost always means thumbprint cookies. These little jam-filled jewels are more than just a recipe; they’re a tradition. They speak of cozy gatherings, of little hands eager to help make the “thumbprints,” and of the joyful surprise of fruity sweetness in every buttery bite.
This particular recipe is my absolute favorite. It’s the one I turn to when I need a quick batch of something beautiful for a last-minute guest, a school bake sale, or just a quiet moment with a cup of tea. The dough is wonderfully forgiving, and the result is a tender, melt-in-your-mouth cookie that acts as the perfect vessel for whatever glorious jam you have tucked away in your pantry.
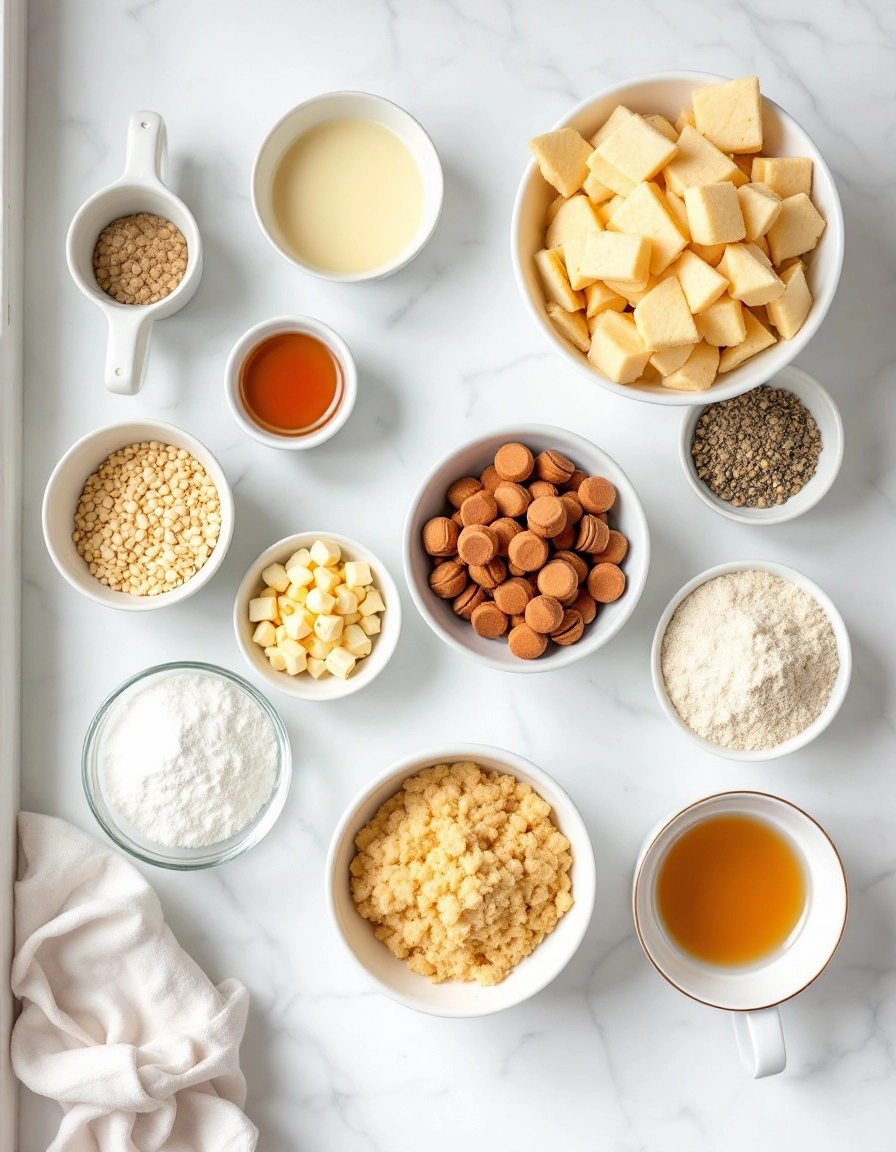
Gathering Your Sunshine Ingredients
Part of the charm of these cookies is their simplicity. You likely have most of these ingredients waiting for you already. I always find it so comforting to pull out my trusty mixing bowl and see such familiar friends lined up on the counter.
- 1 cup (2 sticks) unsalted butter, softened – This is the heart of the cookie, providing that rich, tender crumb. Please, please take the time to let it truly soften at room temperature. It should yield gently to a finger press. This makes all the difference for a dough that comes together beautifully without being tough.
- ⅔ cup granulated sugar – For just the right amount of sweetness to complement the jam.
- 2 large egg yolks – Set the whites aside! The yolks add incredible richness and help bind our dough without making it cakey.
- 1 teaspoon pure vanilla extract – The warm, aromatic note that makes everything taste like home.
- ½ teaspoon almond extract (optional, but wonderful) – This is my little secret. It adds a subtle, bakery-style depth that makes people wonder, “What is that amazing flavor?”
- 2 cups all-purpose flour – The trusty foundation. I like to fluff it up in the container before gently spooning it into my measuring cup and leveling it off. No packed flour here!
- ½ teaspoon fine sea salt – The essential enhancer that makes the butter and sugar sing.
- About ½ cup of your favorite jam or preserves – This is where you can truly make these your own. Raspberry and apricot are classic for a reason, but don’t be afraid to use strawberry, blackberry, or even a spiced fig jam! A quick stir before using will make it easier to spoon.
Let’s Make Some Magic: The Cozy Steps
Now, for the fun part. Put on some gentle music, maybe an old jazz standard or some acoustic folk, and let’s create something wonderful together.
- First, preheat your oven to 350°F (175°C) and line two large baking sheets with parchment paper. There’s no need to grease them—the butter in the dough takes care of that!
- In the bowl of a stand mixer fitted with the paddle attachment, or in a large bowl using a hand mixer, beat the softened butter and granulated sugar together on medium speed. We’re not looking for light and fluffy here, just perfectly combined and smooth. This should take about 2 minutes. Scrape down the sides of the bowl with a spatula—this little habit ensures no pockets of butter are left behind.
- Reduce the mixer speed to low and add the egg yolks, vanilla, and almond extract (if using). Mix just until the yolks are fully incorporated and the mixture looks uniform.
- It’s time for the dry ingredients. With the mixer on low, gradually add the flour and salt. I like to add it in two or three additions to avoid a flour cloud erupting in my kitchen! Mix just until the flour disappears and a soft dough forms. It will be slightly soft and pliable, and it should clean the sides of the bowl. Tip: Avoid overmixing once the flour is added, as this can lead to a tougher cookie.
Welcome back, bakers! Now that you’ve got the basic recipe down, let’s cozy up and talk about how to make these thumbprint cookies truly your own. This is where the real magic happens—in the little tweaks and personal touches that turn a simple cookie into a cherished family tradition.
Pro Tips for Perfect Cookies Every Time
A few simple tricks can make all the difference between a good cookie and a great one. Here’s what I’ve learned from countless batches in my own kitchen:
- Chill Your Dough: I know, it’s tempting to skip this step, but please don’t! Chilling the dough for at least 30 minutes prevents the cookies from spreading too much in the oven, giving you that perfect, tender base for your jam.
- The Right Thumbprint: Use the back of a rounded ½ teaspoon measure or the end of a wooden spoon to create neat, even indentations. Your actual thumb works too, of course—it just might make a slightly larger well!
- Don’t Overfill: A common mistake is adding too much jam. You only need about ½ teaspoon per cookie. Overfilling can cause the jam to bubble over and burn on the baking sheet.
- Rotate Your Pan: For even baking, rotate your baking sheet halfway through the cook time. This ensures every cookie gets that lovely, golden-brown edge.
Delicious Variations & Substitutions
The beauty of this recipe is its versatility. Don’t be afraid to play around and see what you love most!
- Jam Galore: While raspberry and apricot are classics, feel free to experiment! Strawberry, blackberry, fig preserves, or even a tangy lemon curd are all fantastic choices.
- Nutty Alternatives: Instead of rolling the dough balls in chopped walnuts, try pecans, almonds, or even shredded coconut for a completely different flavor and texture.
- Chocolate Drizzle: For an extra special treat, melt some chocolate chips and drizzle it over the cooled cookies. It looks beautiful and adds a lovely richness.
- Gluten-Free: You can easily make these gluten-free by using a 1:1 gluten-free all-purpose flour blend. I’ve had great success with this swap!
- Vegan Friendly: Use a plant-based butter and a flax egg (1 tbsp ground flaxseed mixed with 3 tbsp water, set for 5 minutes) to make these cookies vegan.
What to Serve With Your Thumbprint Cookies
These cookies are a star on their own, but they also love company. They’re the perfect addition to any cozy gathering.
- A Cup of Tea or Coffee: There’s nothing quite like pairing a buttery, jam-filled cookie with a hot cup of Earl Grey tea or your morning coffee. It’s a simple, soul-warming pleasure.
- Holiday Cookie Trays: Thumbprint cookies are a staple on any holiday cookie platter. Their festive look and variety of colors make them a beautiful and delicious offering.
- With Ice Cream: For a decadent dessert, place a couple of cookies alongside a scoop of vanilla bean ice cream. The contrast of warm cookie and cold ice cream is divine.
- As an After-School Treat: They are the perfect sweet bite to welcome kids home. Pair them with a cold glass of milk for a classic combination.
The Benefits of Baking a Batch
Beyond the incredible smell that will fill your kitchen, baking these cookies offers so much more.
First, it’s a wonderful activity to do with loved ones. Let little hands help with rolling the dough balls and making the thumbprints—it’s a beautiful way to create memories and pass down family recipes.
Secondly, these cookies are a fantastic make-ahead treat. The dough freezes beautifully, and the baked cookies stay fresh in an airtight container for several days (if they last that long!). They are a gesture of love, perfect for wrapping up and gifting to neighbors, teachers, or friends who need a little pick-me-up.
Real-Life Tips from My Kitchen to Yours
Here’s the real talk you won’t always find in a recipe card:
- If your jam is too thick, warm it slightly in the microwave for 10-15 seconds to make it easier to spoon.
- Let the cookies cool completely on the baking sheet. They are very soft coming out of the oven and need time to set up properly.
- If you’re doubling the batch (a great idea!), bake one sheet at a time for the most consistent results. Crowding the oven can lead to uneven baking.
- Embrace imperfection! Not every thumbprint will be perfectly round, and that’s more than okay. It means they were made with real hands and real love.
I hope these tips inspire you to get baking and make this recipe your own. There’s a special kind of joy that comes from pulling a tray of these gorgeous, jewel-topped cookies out of the oven. Happy baking, friends!

Conclusion
And there you have it! A batch of warm, buttery, and utterly delightful thumbprint cookies, ready to fill your kitchen with the most wonderful aroma and your heart with a little bit of joy. This recipe is truly a testament to how a few simple, wholesome ingredients can come together to create something so special and nostalgic.
We’ve walked through the importance of using room-temperature butter for the perfect dough, the secret to getting those clean thumbprint indents, and the sheer fun of choosing your favorite jam to make them your own. These cookies are the perfect project for a quiet afternoon, a wonderful treat to make with little helpers, and an absolutely gorgeous homemade gift from the heart.
I truly hope you’ll give this easy jam cookie recipe a try. I would be absolutely thrilled to hear how yours turned out! Did you use raspberry jam or something more adventurous like apricot or blackberry? Share your creations and baking stories with me in the comments below. And if you’re looking for your next baking adventure, why not explore our collection of other classic cookie recipes? Happy baking!
FAQs
Can I use frozen butter for this recipe?
I don’t recommend it. Room-temperature butter is key for creaming together with the sugar, which creates a light and tender cookie. Cold or frozen butter won’t incorporate properly and can lead to a dense, crumbly texture.
My thumbprints are puffing up and losing their shape in the oven. What did I do wrong?
This is a common hiccup! It usually means the dough was a bit too warm when it went into the oven. The best fix is to make sure you chill the dough balls for the full 30 minutes. This solidifies the butter, which helps the cookies hold their shape and those precious thumbprint wells.
What’s the best way to fill the thumbprints with jam?
For the least mess and most control, I love using a small teaspoon. Another fantastic trick is to put your jam in a small zip-top bag, snip off a tiny corner, and pipe it in—it’s so easy and neat!
Can I make these cookies ahead of time?
Absolutely! You can prepare the dough, roll it into balls, and keep them in an airtight container in the refrigerator for up to 2 days before baking. You can also freeze the unbaked dough balls on a sheet pan, then transfer them to a freezer bag. Bake straight from the freezer, adding a minute or two to the baking time.
My jam is bubbling over. How can I prevent that?
A little bubbling is natural, but to minimize it, avoid overfilling the wells. You only need about a 1/4 teaspoon of jam per cookie. Using a thicker jam or preserves (rather than a thin jelly) also helps tremendously.


