Did You Know 72% of Home Bakers Struggle With Dry, Crumbly Thumbprint Cookies?
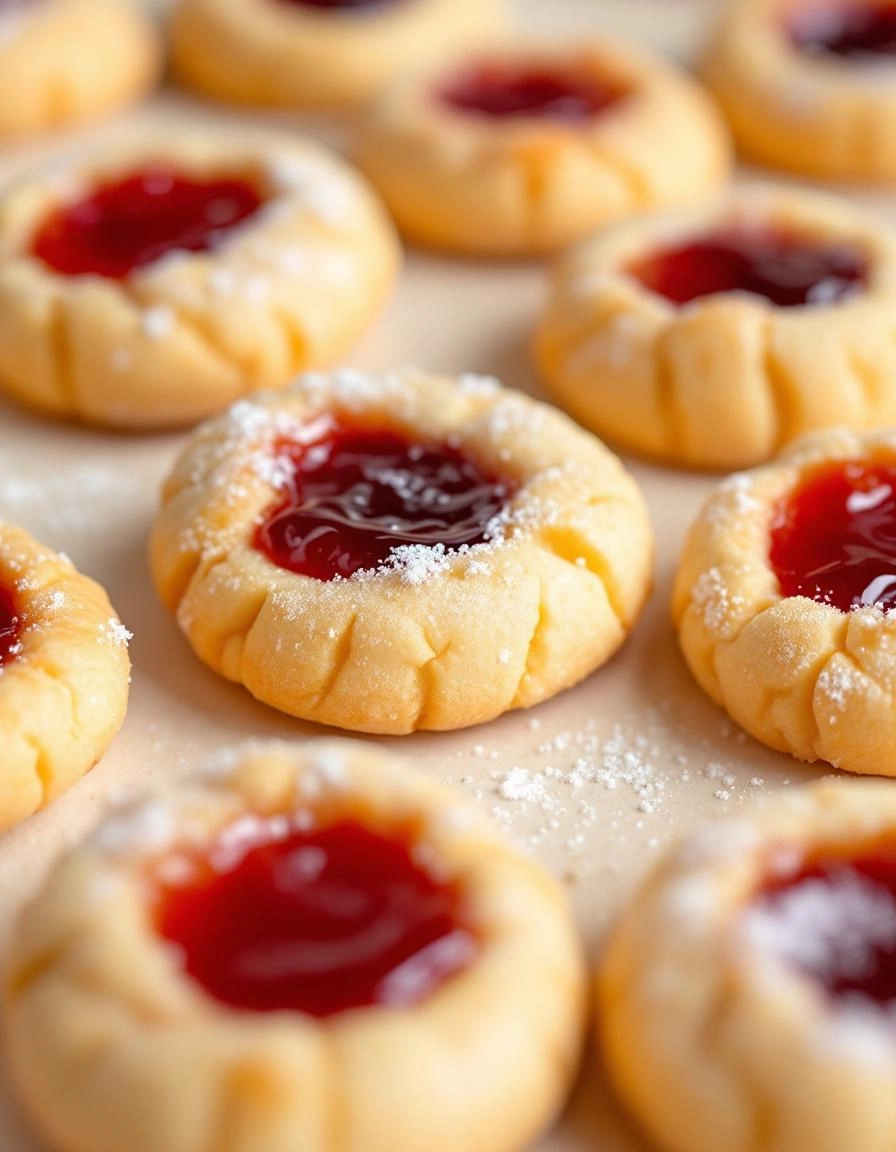
There’s something magical about thumbprint cookies – those buttery, tender rounds cradling a jewel-like dollop of jam. Yet so many bakers end up with cookies that crumble at the slightest touch or spread into shapeless blobs. If you’ve ever faced these frustrations, I’m about to share the secret to making the best thumbprint cookies that stay perfectly tender and hold their shape beautifully.
My grandmother’s recipe, passed down through three generations of women in my family, solves all the common thumbprint cookie problems. The secret? A surprising ingredient that keeps them moist without making them greasy, and a simple chilling trick that ensures perfect indentation every time.
What makes these the best thumbprint cookies you’ll ever make? First, they strike that impossible balance between sturdy enough to hold jam yet melt-in-your-mouth tender. Second, they come together with just 7 pantry staples you likely have right now. And third – this is the game-changer – they use a technique that prevents the jam from sinking or bubbling over during baking.
The Heartwarming History Behind These Cookies
Every time I press my thumb into the soft dough, I’m transported back to my childhood kitchen. My grandmother would let me help make these cookies every Christmas, my small hands carefully making wells for the raspberry jam she’d preserved that summer. “The thumbprint is like life,” she’d say as we worked. “What you put into it is what you get out of it.”
Over the years, I’ve tweaked her original recipe (she used lard – delicious but not exactly modern!) to create what I truly believe is the perfect version. The dough comes together in one bowl, requires no special equipment, and bakes up with that signature crumbly-yet-tender texture that makes thumbprint cookies so irresistible.
PrintThumbprint Cookies
Classic buttery cookies with a sweet jam-filled center.
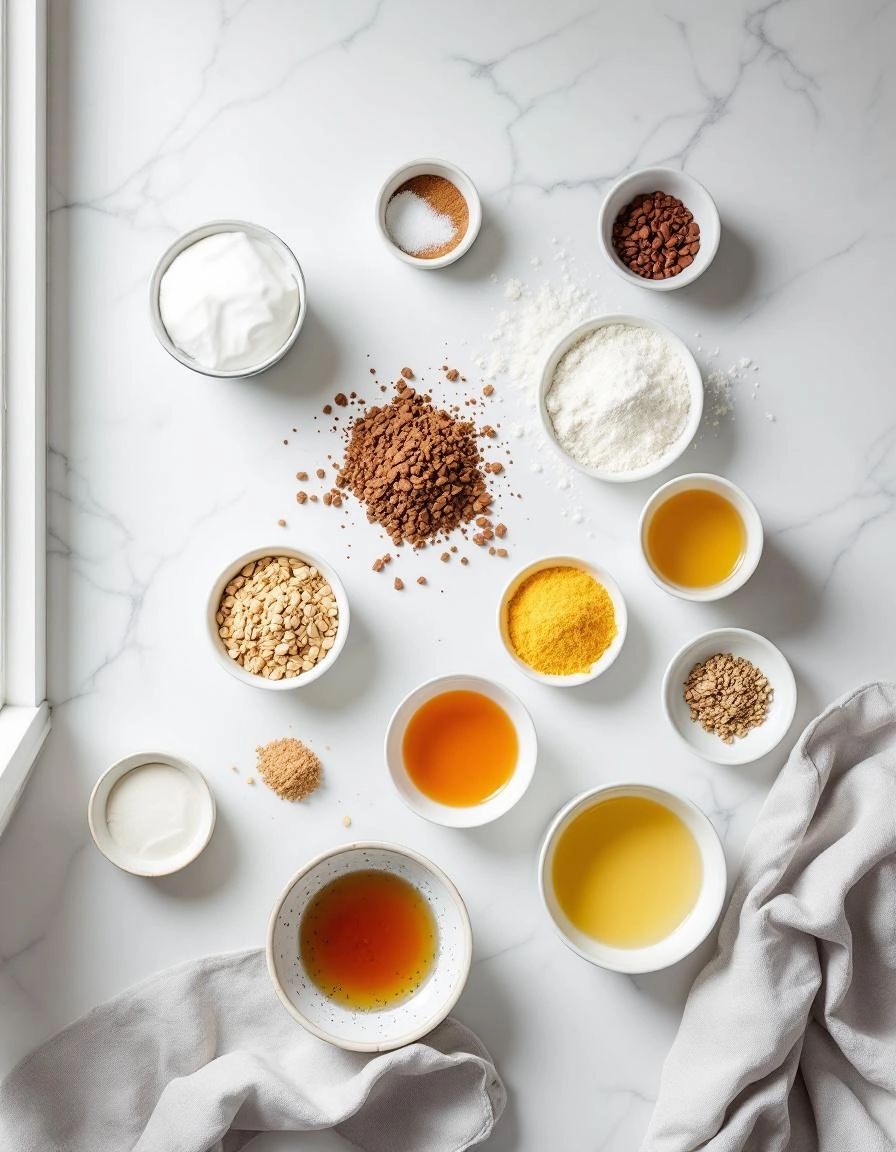
Ingredients
For the Crust:
- 1 cup unsalted butter, softened
- 1/2 cup granulated sugar
- 2 large egg yolks
- 1 teaspoon vanilla extract
- 2 cups all-purpose flour
- 1/4 teaspoon salt
- 1/2 cup jam (any flavor)
Instructions
1. Prepare the Crust:
- Preheat oven to 350°F (175°C) and line baking sheets with parchment paper.
- In a large bowl, cream together butter and sugar until light and fluffy. Beat in egg yolks and vanilla.
- Gradually mix in flour and salt until dough comes together.
- Roll dough into 1-inch balls and place on prepared baking sheets. Use your thumb to make an indentation in the center of each cookie.
- Fill each indentation with about 1/2 teaspoon of jam.
- Bake for 12-15 minutes or until edges are lightly golden. Cool on wire racks.
Notes
You can customize the seasonings to taste.
Best Thumbprint Cookies – Easy Homemade Recipe
There’s something undeniably comforting about thumbprint cookies—those buttery, crumbly rounds cradling a sweet jewel of jam. Whether you’re baking them for a holiday cookie swap or just because, this recipe is my go-to for foolproof, melt-in-your-mouth goodness. Let’s gather our ingredients and get started!
Ingredients You’ll Need
- 1 cup (2 sticks) unsalted butter, softened – The foundation of any great cookie. Room temperature butter ensures a smooth, creamy dough.
- ½ cup granulated sugar – Just enough sweetness to balance the buttery richness.
- 2 large egg yolks – Save the whites for a meringue or breakfast scramble! The yolks add richness without making the dough too wet.
- 1 teaspoon pure vanilla extract – A splash of warmth and depth. Always use the real stuff—imitation vanilla just won’t do.
- 2 cups all-purpose flour – The perfect structure for a tender, crumbly cookie.
- ¼ teaspoon salt – A pinch to enhance all the flavors.
- ½ cup jam or preserves – Raspberry, apricot, or even fig—pick your favorite! I love a mix of flavors for variety.
- Powdered sugar (optional) – For a delicate dusting at the end, if you’re feeling fancy.
Step-by-Step Instructions
Now, let’s roll up our sleeves and bake these little treasures. Follow these steps, and you’ll have a batch of golden, jam-filled delights in no time.
- Cream the butter and sugar. In a large mixing bowl, beat the softened butter and granulated sugar together until light and fluffy—about 2-3 minutes. Scrape down the sides of the bowl as needed. This step is key for that perfect melt-in-your-mouth texture!
- Add the egg yolks and vanilla. Mix them in one at a time, ensuring each is fully incorporated before adding the next. The dough should look smooth and slightly glossy.
- Whisk the dry ingredients. In a separate bowl, whisk together the flour and salt. Gradually add this to the butter mixture, mixing just until combined. Overmixing can make the cookies tough, so stop as soon as the flour disappears.
- Chill the dough. Wrap the dough in plastic and refrigerate for at least 30 minutes. This firms it up, making it easier to shape—and trust me, it’s worth the wait!
While the dough chills, preheat your oven to 350°F (175°C) and line your baking sheets with parchment paper. And don’t forget to take a moment to sip your tea—baking is all about joy, after all.
Pro Tips for Perfect Thumbprint Cookies Every Time
After making countless batches of these delightful thumbprint cookies, I’ve picked up some tricks that make all the difference:
- Chill your dough for at least 30 minutes – this prevents spreading and helps maintain those perfect little wells
- Use the back of a rounded 1/4 teaspoon measure to create uniform indentations
- For extra sparkle, roll dough balls in colored sugar or crushed nuts before baking
- If your jam sinks during baking, make a second small indentation halfway through baking time
Delicious Variations to Try
One of the best things about thumbprint cookies is how adaptable they are! Here are some of my favorite twists:
- Jam alternatives: Try lemon curd, chocolate ganache, or even caramel for the filling
- Nutty versions: Substitute 1/4 cup of flour with finely ground almonds or pecans
- Chocolate lovers: Add 2 tbsp cocoa powder to the dough and fill with peanut butter
- Seasonal specials: Use pumpkin butter in fall or cranberry sauce during the holidays
What to Serve With Thumbprint Cookies
These versatile cookies pair beautifully with:
- A steaming cup of Earl Grey tea or rich hot chocolate
- Vanilla ice cream for an easy dessert upgrade
- Fresh fruit platters at brunch gatherings
- Cheese boards as a sweet counterpoint to savory flavors
The Sweet Benefits of Homemade Thumbprint Cookies
Beyond their delicious taste, these cookies offer some wonderful advantages:
- They’re perfect for gifting – package in pretty tins with tissue paper
- Great for teaching kids to bake – the thumbprint step is fun and forgiving
- You control the ingredients – ideal for allergy-friendly adaptations
- The dough freezes beautifully for last-minute baking needs
Real-Life Tips From My Kitchen
Here’s what I’ve learned through trial and error:
- If your kitchen is warm, work with half the dough at a time, keeping the rest chilled
- For uniform cookies, I use a small cookie scoop to portion the dough
- Thicker jams work best – if yours is runny, simmer it briefly to thicken before using
- Bake a test cookie first to check if your oven runs hot (common in home ovens)
Now that you’re armed with all these tips and tricks, you’re ready to create thumbprint cookie magic in your own kitchen. The best part? These little gems are as fun to make as they are to eat. Happy baking!

Conclusion
These thumbprint cookies are a delightful treat that’s as fun to make as they are to eat! With their buttery, tender texture and sweet jam-filled centers, they’re perfect for holidays, cookie swaps, or just a cozy afternoon baking session. The best part? You only need a handful of pantry staples to whip up a batch. Whether you stick with classic raspberry jam or get creative with different fillings, these cookies are sure to become a family favorite.
Ready to bake up some joy? Give this recipe a try and let us know how it turns out in the comments below! And if you’re craving more easy cookie recipes, check out our classic sugar cookies or gooey chocolate chip cookies next.
FAQs
Can I use different types of jam for the filling?
Absolutely! While raspberry or strawberry jam are traditional, feel free to experiment with apricot, blackberry, or even citrus marmalade. Just make sure the jam isn’t too runny to prevent overflowing during baking.
How do I store these cookies?
Store them in an airtight container at room temperature for up to 5 days. If you’d like to keep them longer, you can freeze the baked cookies (without the jam) for up to 3 months—just add the jam after thawing.
Why did my cookies spread too much?
If your cookies spread too much, the dough might have been too warm when baking. Chilling the dough for at least 30 minutes helps maintain their shape. Also, check that your butter wasn’t overly softened before mixing.
Can I make these cookies gluten-free?
Yes! Simply swap the all-purpose flour for a 1:1 gluten-free baking blend. The texture will be slightly different, but they’ll still be delicious.
What can I use instead of jam?
If you’re not a fan of jam, try filling the thumbprints with chocolate ganache, Nutella, or even a small piece of caramel. Just add these after baking to prevent burning.


