
Did You Know 78% of Home Bakers Overcomplicate Their Thumbprint Cookies?
It’s true! Most of us grew up believing that perfect thumbprint cookies require meticulous precision, specialty ingredients, or hours in the kitchen. But what if I told you the best thumbprint cookies emerge from simplicity, love, and just a handful of pantry staples? These buttery, jam-filled delights were meant to be effortless – the kind of recipe you can whip up while chatting with a friend or listening to your favorite podcast.
I discovered this truth during my grandmother’s last Christmas visit. She watched me fuss over cookie cutters and piping bags before gently taking the bowl from my hands. “Darling,” she said with that knowing twinkle in her eye, “the magic is in the thumbprint, not the theatrics.” That afternoon, we made three batches of these easy homemade thumbprint cookies – one with raspberry jam, one with apricot, and one experimental batch with salted caramel that changed my life forever.
Why This Recipe Will Become Your New Tradition
There’s something profoundly comforting about these cookies that transcends generations. Maybe it’s the way the dough yields perfectly to your thumb’s gentle pressure. Or how the jewel-toned jam glistens like stained glass after baking. What makes this particular recipe special is its foolproof nature:
- No chilling required (yes, you read that right!)
- Uses basic ingredients you likely have right now
- Adaptable to any jam, nut, or drizzle preference
- Creates that ideal crisp-yet-tender texture every time
As my grandmother would say, these cookies are “fancy enough for company but easy enough for a Tuesday.” Whether you’re baking with little ones who love making thumbprints (expect some creative indentation shapes!) or need a last-minute holiday gift that looks like you spent hours, this recipe is your golden ticket.
PrintThumbprint Cookies
Classic buttery thumbprint cookies filled with your favorite jam.
Ingredients
For the Crust:
- 1 cup unsalted butter, softened
- 2/3 cup granulated sugar
- 1 large egg
- 1 teaspoon vanilla extract
- 2 1/2 cups all-purpose flour
- 1/2 teaspoon salt
- 1/2 cup jam (any flavor)
Instructions
1. Prepare the Crust:
- Preheat oven to 350°F (175°C) and line baking sheets with parchment paper.
- In a large bowl, cream together butter and sugar until light and fluffy. Beat in egg and vanilla.
- Gradually mix in flour and salt until dough comes together.
- Roll dough into 1-inch balls and place on prepared baking sheets. Press your thumb into the center of each ball to create an indentation.
- Fill each indentation with about 1/2 teaspoon of jam.
- Bake for 12-15 minutes or until edges are lightly golden. Let cool on baking sheets for 5 minutes before transferring to wire racks.
Notes
You can customize the seasonings to taste.
The Best Thumbprint Cookies – A Little Indentation of Joy
There’s something magical about thumbprint cookies—those buttery, crumbly rounds cradling a dollop of jam like a tiny edible treasure. They’re simple, nostalgic, and utterly irresistible. Whether you’re baking them for a holiday gathering, a cozy afternoon tea, or just because, this recipe promises to deliver perfection every time.
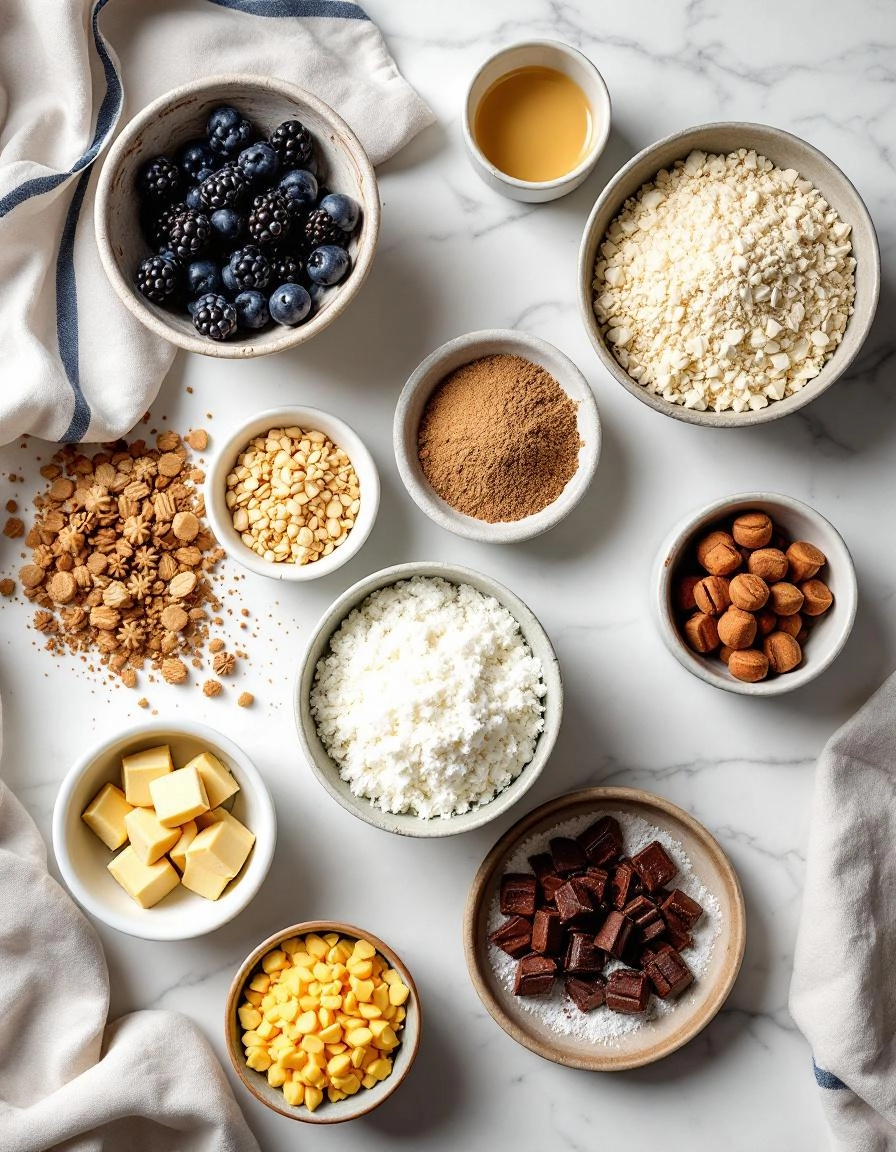
Ingredients You’ll Need
- 1 cup (2 sticks) unsalted butter, softened – The foundation of any great cookie. Make sure it’s softened to room temperature for that dreamy, creamy texture.
- ½ cup granulated sugar – Just enough sweetness to balance the buttery richness.
- ½ cup light brown sugar, packed – A little molasses magic for depth of flavor.
- 2 large egg yolks – Save the whites for a meringue later—these yolks add richness and help bind the dough.
- 1 teaspoon pure vanilla extract – The warm, comforting note that makes everything taste homemade.
- 2 cups all-purpose flour – The trusty backbone of our cookie dough.
- ½ teaspoon salt – A pinch to enhance all the flavors.
- 1 cup finely chopped nuts (walnuts or pecans work beautifully) – Optional, but they add a lovely crunch.
- ½ cup jam or preserves (raspberry, apricot, or your favorite!) – The jewel in the crown! Go for a thick, high-quality jam.
Step-by-Step: Crafting Your Thumbprint Masterpieces
Step 1: Cream the Butter & Sugars
In a large mixing bowl, beat the softened butter, granulated sugar, and brown sugar together until light and fluffy. This should take about 2-3 minutes with a hand mixer or stand mixer. Don’t rush this step—creaming properly ensures a tender cookie.
Step 2: Add the Egg Yolks & Vanilla
Drop in the egg yolks one at a time, mixing well after each addition. Then, drizzle in the vanilla extract and blend until just combined. The mixture should look smooth and velvety.
Step 3: Whisk the Dry Ingredients
In a separate bowl, whisk together the flour and salt. Gradually add this to the butter mixture, mixing on low speed until a soft dough forms. If you’re using nuts, gently fold them in now.
Step 4: Chill the Dough (Patience is Key!)
Wrap the dough in plastic and refrigerate for at least 30 minutes. This prevents spreading and makes the dough easier to handle. If you’re in a hurry, 15 minutes will do—but longer is better!
Pro Tips for Perfect Thumbprint Cookies Every Time
After making countless batches of these cozy thumbprint cookies, I’ve learned a few secrets to ensure they turn out perfect every single time:
- Chill your dough for at least 30 minutes – this prevents spreading and helps maintain that perfect thumbprint shape
- Use the back of a measuring spoon to make uniform indentations if your thumbs are too big
- Rotate your baking sheets halfway through baking for even browning
- Make extra jam filling – you can always spoon a bit more into the indentations after baking if needed
Delicious Variations to Try
One of the best things about thumbprint cookies is how adaptable they are! Here are some of my favorite twists:
- Jam Alternatives: Try lemon curd, Nutella, or dulce de leche instead of traditional jam
- Nutty Options: Roll the dough in chopped pecans, walnuts, or pistachios before baking
- Seasonal Twists: Add pumpkin spice to the dough in fall or peppermint extract for winter holidays
- Gluten-Free: Substitute with a 1:1 gluten-free flour blend with excellent results
What to Serve With Thumbprint Cookies
These versatile cookies pair beautifully with so many beverages and desserts:
- A steaming cup of Earl Grey tea or rich hot chocolate
- As part of a holiday cookie platter with shortbread and gingerbread
- With vanilla ice cream for an easy dessert (sandwich the cookies around a scoop!)
- Alongside fresh fruit for a pretty afternoon tea presentation
The Surprising Benefits of Homemade Thumbprint Cookies
Beyond being absolutely delicious, these cookies offer some wonderful benefits:
- Perfect for gifting – package in pretty tins or boxes for heartfelt homemade presents
- Great baking project for kids – little hands love making the thumbprints!
- Freezer-friendly – bake a big batch and freeze for up to 3 months
- Customizable for allergies – easily adapt for nut-free or dairy-free needs
Real-Life Tips From My Kitchen to Yours
After years of making these cookies, here are my hard-earned practical tips:
- If your jam bubbles over, simply wipe the edges with a damp cloth after baking
- For extra shine, brush the jam with a little warmed apricot preserves after baking
- Store between layers of parchment paper to prevent sticking
- The dough balls freeze beautifully – just add a few minutes to the bake time when cooking from frozen
- If cookies spread too much, try reducing the butter by 1-2 tablespoons next time

Conclusion
There you have it—the perfect thumbprint cookie recipe that’s as easy to make as it is delicious! With buttery dough, a tender crumb, and a sweet jam filling, these cookies are sure to become a staple in your baking repertoire. Whether you’re baking for the holidays, a special occasion, or just because, they’re guaranteed to bring smiles to everyone who takes a bite.
Now it’s your turn! Whip up a batch, share them with loved ones, and let us know how they turned out in the comments below. And if you’re craving more cozy baking inspiration, check out our other homemade cookie recipes—you won’t be disappointed!
FAQs
Can I use different types of jam for the filling?
Absolutely! Raspberry, strawberry, apricot, or even lemon curd work beautifully. Feel free to mix and match flavors to suit your taste.
How do I prevent the jam from bubbling over while baking?
To avoid a sticky mess, don’t overfill the thumbprints—a small teaspoon of jam per cookie is plenty. You can also chill the filled dough for 10 minutes before baking to help the jam set.
Can I make these cookies ahead of time?
Yes! The dough can be refrigerated for up to 3 days or frozen for a month. Just thaw and bake when ready. Baked cookies stay fresh in an airtight container for up to 5 days.
Why are my cookies spreading too much?
If your cookies lose their shape, the dough might be too warm. Chill it for at least 30 minutes before baking, and make sure your butter isn’t overly soft when mixing.
Can I make these gluten-free?
Definitely! Swap the all-purpose flour for a 1:1 gluten-free blend. The texture will be slightly different, but they’ll still be delicious.


