
Did You Know That 75% of Home Bakers Are Using the Wrong Type of Chocolate?
It’s a startling statistic, but one that explains why so many batches of homemade cookies fall short of that bakery-style perfection. We’ve all been there, haven’t we? Standing over a tray of cookies that spread into one giant, thin mass, or worse, turned out cakey when all we craved was that iconic chewy center with those irresistible pools of melted chocolate. The quest for the perfect treat is real, and it’s what led me on a delicious, buttery journey to create what I truly believe is the Ultimate Chocolate Chip Cookie Recipe.
This isn’t just another cookie recipe. This is the culmination of years of testing, tweaking, and tasting—a recipe born from slightly burnt edges, one too many flat cookies, and the unwavering belief that a truly great chocolate chip cookie can turn any day around. It’s the recipe I make for new neighbors, for school bake sales that demand a blue ribbon, and for those quiet afternoons when the only thing that will do is a warm cookie and a cold glass of milk.
So, what’s the secret? It’s not one magic trick, but a symphony of small, intentional steps. It’s about the choice between melted and softened butter, the rest time for the dough, and yes, that crucial decision about the chocolate. We’re not just making cookies here; we’re crafting an experience. We’re creating that moment of pure bliss when you break a cookie in half and see the steam gently rise, promising a gooey, chocolate-filled bite.
Before we dive into the ingredients and the method, I want you to clear your countertops and your mind. Forget everything you think you know about cookie baking. We’re starting from scratch, with a heart full of hope and a yearning for the best ever chocolate chip cookie. Trust me, your future self, and anyone lucky enough to snag one of these warm from the oven, will thank you.
PrintThe ULTIMATE Chocolate Chip Cookie
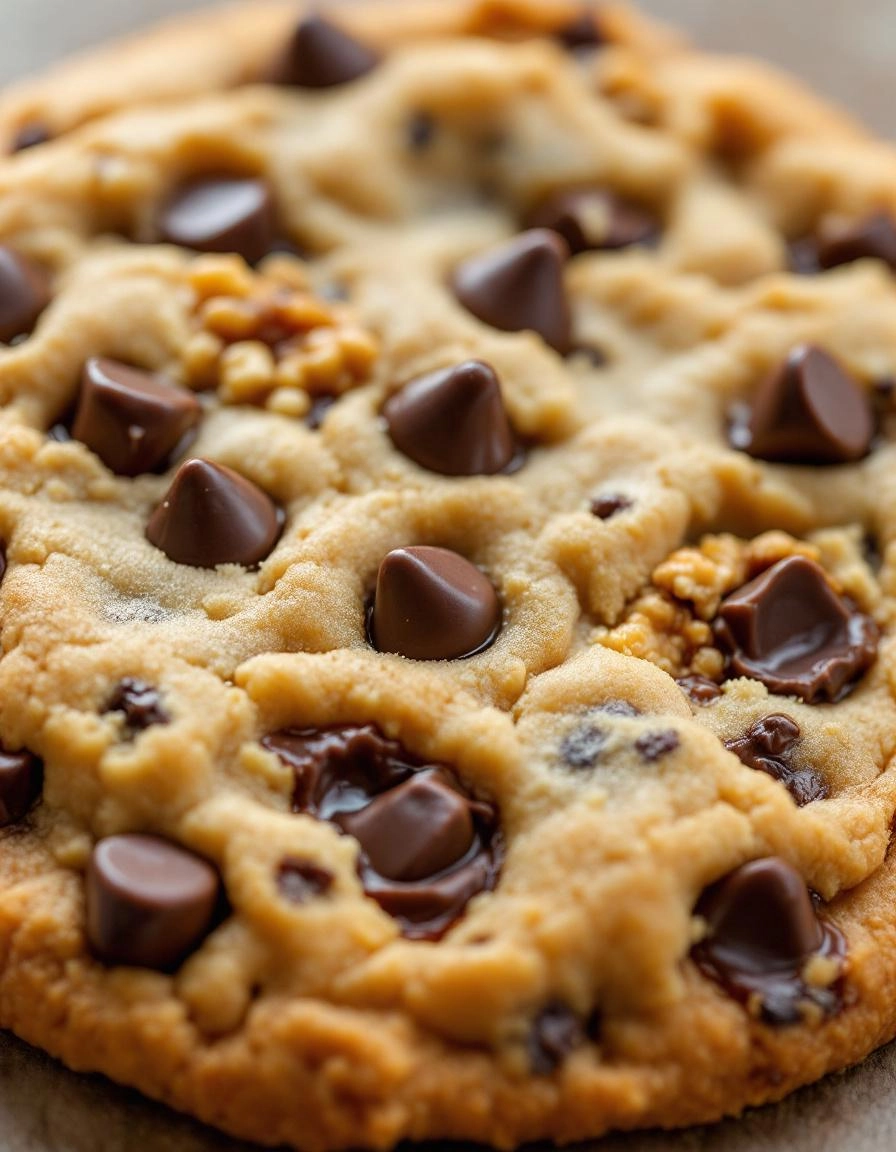
A perfectly chewy, crispy-edged chocolate chip cookie with deep caramel notes and generous chocolate chunks.
Ingredients
For the Crust:
- 2 1/4 cups all-purpose flour
- 1 teaspoon baking soda
- 1 teaspoon salt
- 1 cup unsalted butter, softened
- 3/4 cup granulated sugar
- 3/4 cup packed brown sugar
- 2 large eggs
- 2 teaspoons vanilla extract
- 2 cups semi-sweet chocolate chunks
- 1 cup chopped walnuts (optional)
Instructions
1. Prepare the Crust:
- Preheat oven to 375°F (190°C). Line baking sheets with parchment paper.
- In a medium bowl, whisk together flour, baking soda, and salt. Set aside.
- In a large bowl, cream together softened butter, granulated sugar, and brown sugar until light and fluffy.
- Beat in eggs one at a time, then stir in vanilla.
- Gradually blend in the flour mixture until just combined. Fold in chocolate chunks and walnuts if using.
- Drop rounded tablespoons of dough onto prepared baking sheets, spacing 2 inches apart.
- Bake for 9 to 11 minutes or until golden brown. Let cool on baking sheet for 2 minutes; remove to wire rack.
Notes
You can customize the seasonings to taste.
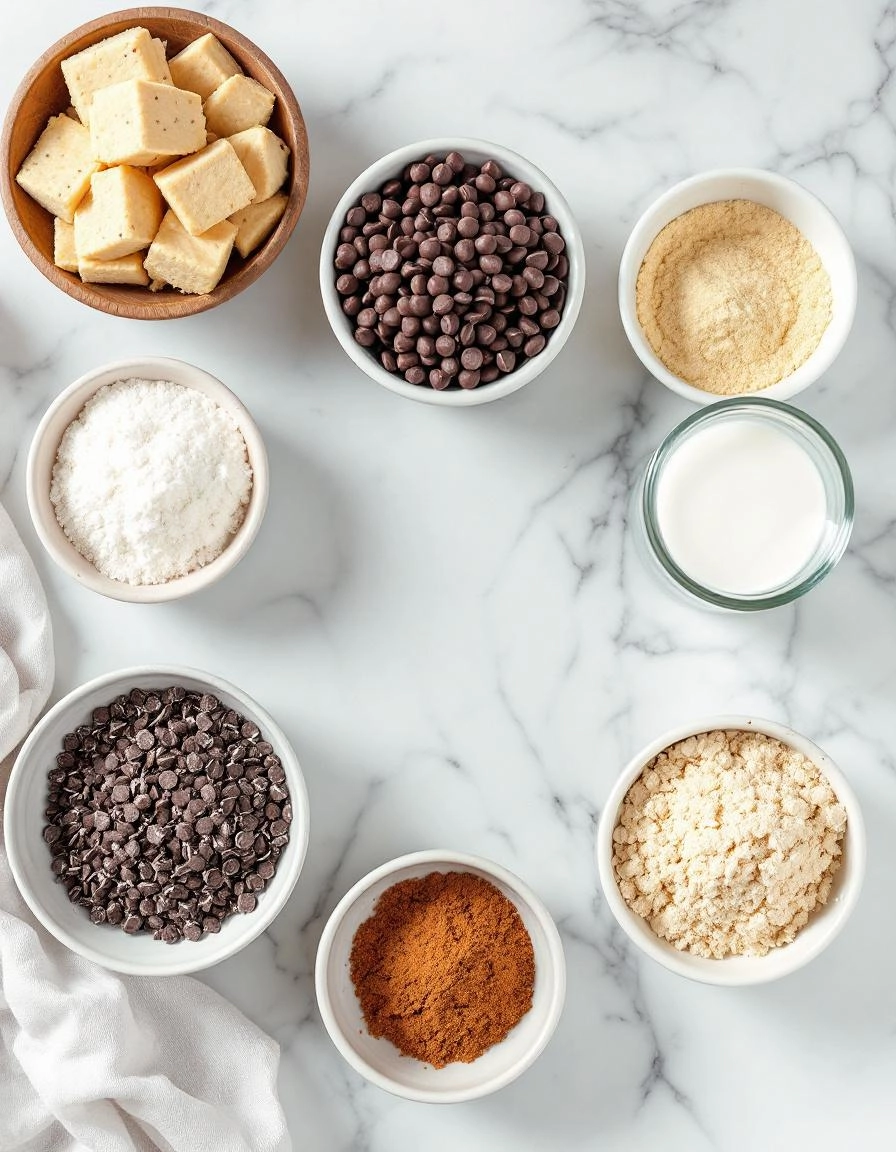
The Ingredients: A Little Love Story in Every Measurement
I truly believe that the magic of a perfect chocolate chip cookie begins long before the oven even beeps to life. It starts in the quiet moments of gathering your ingredients, each one a promise of the joy to come. This isn’t just a list; it’s a cast of characters, each playing a vital role in creating a little piece of heaven.
- 1 cup (2 sticks) of unsalted butter, softened: This is the heart of the cookie, providing that rich, melt-in-your-mouth quality. I always take my butter out about an hour before I start baking. You want it soft enough that your finger leaves a gentle indent, but not so soft that it’s oily or melted. This little bit of patience makes all the difference in creating the perfect texture!
- ¾ cup of granulated sugar: For that classic, crisp sweetness.
- ¾ cup of packed light brown sugar: This is the secret weapon, friends. The molasses in the brown sugar is what gives our cookies that gorgeous chewy center and deep, caramel-like flavor. Please, pack it firmly into your measuring cup!
- 2 large eggs, at room temperature: Room temperature eggs blend into the batter so much more smoothly, creating a cohesive dough. If you forget (I often do!), just pop them in a bowl of warm water for 5-10 minutes.
- 2 teaspoons of pure vanilla extract: Don’t skimp here! The good, real stuff adds a warm, complex flavor that the imitation kind just can’t match.
- 2 ¼ cups of all-purpose flour: The sturdy foundation of our cookie. I like to fluff my flour up in the bag with a spoon before gently scooping it into my measuring cup and leveling it off with a knife. This prevents accidentally using too much and ending up with dry cookies.
- 1 teaspoon of baking soda: Our leavening agent, helping the cookies puff up and achieve that ideal combination of crisp edge and soft middle.
- 1 teaspoon of fine sea salt: This might seem like a small thing, but it is absolutely essential. The salt doesn’t make the cookies taste salty; it makes the chocolate taste even more chocolaty and balances all the sweetness perfectly.
- 2 cups of semi-sweet chocolate chips: The star of the show! I’m a purist and adore a good semi-sweet chip, but feel free to use milk chocolate or a chopped-up bar of your favorite chocolate. Sometimes I even use a mix of chips and chunks for wonderful textural surprises.
Let’s Bake: A Cozy Step-by-Step Guide
Now that our cast is assembled, it’s time to bring them all together. Put on some soft music, fill the kettle for a cup of tea, and let’s create some magic.
Step 1: The Creaming Method
In a large bowl, beat together your softened butter, granulated sugar, and packed brown sugar. Now, here’s my number one tip: beat it for a full 2-3 minutes until the mixture becomes noticeably lighter in color and wonderfully fluffy. This step incorporates air into the dough, which is key for a fantastic texture. Don’t rush this part!
Step 2: Bringing in the Wet Team
Scrape down the sides of your bowl with a spatula—a little habit that ensures everything gets mixed evenly. Add your room-temperature eggs, one at a time, beating well after each addition until they are fully incorporated. Then, pour in that glorious vanilla extract and mix it in. Your kitchen should be smelling divine already.
Step 3: The Dry Ingredients
In a separate, medium-sized bowl, whisk together your flour, baking soda, and sea salt. This isn’t just busywork; whisking ensures the baking soda and salt are evenly distributed throughout the flour so you get a consistent bake in every single cookie.
Step 4: The Grand Union
With your mixer on a low speed, gradually add the dry ingredients to the wet ingredients. Mix just until the flour streaks disappear. The moment you no longer see clouds of flour, stop mixing! Overmixing at this stage is the enemy of a tender cookie.
Step 5: The Main Event
This is the best part. Take your spatula and gently fold in those two cups of chocolate chips. I always sneak a few extra chips in, a little baker’s treat. The dough will be thick, chunky, and absolutely irresistible. Go on, you have my permission to taste a tiny bit—it’s a rite of passage.
Welcome back, cookie lovers! We’ve already covered the foundation of what makes these cookies so incredibly perfect. Now, let’s dive into the secrets that will elevate your baking from great to legendary. Pull up a stool, preheat that oven, and let’s get into the good stuff.
Pro Tips for Cookie Perfection
These little nuggets of wisdom are what separate the home bakers from the cookie champions. Trust me, they make all the difference.
- Chill Your Dough: I know, I know—it’s the hardest part! But resting the dough in the fridge for at least 30 minutes (or even overnight) allows the flavors to meld and prevents the cookies from spreading too thin in the oven. Patience is rewarded with a thicker, chewier cookie.
- Weigh Your Flour: For the most consistent results, use a kitchen scale. If you don’t have one, fluff your flour with a spoon, spoon it into your measuring cup, and level it off. Never pack it down!
- The Brown Butter Bonus: For a deeply nutty, caramelized flavor, try browning your butter first. Let it cool slightly before adding it to your sugars. It’s a game-changer.
Delicious Variations & Substitutions
This recipe is your perfect canvas. Feel free to get creative and make it your own!
- Mix-In Mania: Swap half the chocolate chips for chopped toasted walnuts, pecans, or even a swirl of peanut butter.
- Salty-Sweet: A light sprinkle of flaky sea salt on top of the cookies right when they come out of the oven is pure magic.
- Gluten-Free: Use a 1:1 gluten-free flour blend in place of the all-purpose flour. The cookies might be slightly more delicate but just as delicious.
- Dairy-Free: Use your favorite plant-based butter and ensure your chocolate chips are dairy-free.
The Perfect Pairings: What to Serve Them With
A warm chocolate chip cookie is a glorious thing on its own, but it also plays well with others. Here are a few of my favorite ways to serve them.
- The Classic: A tall, ice-cold glass of milk. It’s a classic for a reason.
- Gourmet Affogato: Place a warm cookie in a bowl and top with a scoop of vanilla bean ice cream. Drizzle with a shot of hot espresso for an unforgettable dessert.
- Cookie Ice Cream Sandwich: Let cookies cool completely, then sandwich a generous scoop of your favorite ice cream between them. Roll the edges in mini chocolate chips or sprinkles for extra fun.
The Benefits of Baking from Scratch
Beyond the incredible aroma that will fill your home, baking these cookies from scratch is good for the soul.
It’s a moment of mindfulness, a chance to create something tangible and full of love. Sharing a homemade cookie is sharing a little piece of happiness. It’s a way to connect, to celebrate small wins, and to create warm memories with family and friends. There’s no preservatives, just pure, honest ingredients and intention.
Real-Life Tips from My Kitchen to Yours
Baking is as much about the journey as the destination. Here’s what I’ve learned along the way.
- If your cookies are coming out too flat, your butter was likely too soft. Make sure it’s just cool to the touch, not melty.
- Bake one test cookie first! This lets you adjust the bake time or dough consistency before committing a whole tray.
- Don’t over-mix the dough once you add the flour. Mix until just combined to avoid tough cookies.
- Your cookies will continue to bake on the hot baking sheet after you take them out. Pull them out when the edges are golden and the centers still look slightly underdone for the perfect chewy texture.
There you have it, friends—everything you need to know to bake the ultimate chocolate chip cookie. I hope this recipe becomes a cherished part of your baking repertoire, creating many sweet moments for years to come. Now, go preheat that oven! Happy baking!
Conclusion
And there you have it! The secrets to what I truly believe are the best chocolate chip cookies you’ll ever bake. It all comes down to a few simple but powerful tricks: browning that butter for a deep, nutty flavor, using a mix of sugars for the perfect texture, and, most importantly, letting that dough rest. These steps transform a simple cookie into something truly magical—crispy on the outside, gloriously chewy on the inside, and packed with pools of melted chocolate.
I hope this recipe brings as much joy to your kitchen as it has to mine. Now, I’d love to hear from you! Did you add a secret ingredient? How did your family react? Share your baking triumphs (and even the happy little accidents) in the comments below. And if you’re looking for your next baking project, why not try our Ultimate Fudgy Brownies next?
FAQs
Can I make the dough ahead of time?
Absolutely! In fact, I highly recommend it. You can keep the dough, well-wrapped, in the refrigerator for up to 72 hours. This extended rest allows the flavors to meld together even more beautifully. You can also scoop the dough onto a baking sheet, freeze until solid, and then transfer the frozen dough balls to a zip-top bag for up to 3 months. Bake straight from the freezer, adding just a minute or two to the baking time.
Why did my cookies spread too much?
This is a common hiccup, and it usually comes down to butter temperature. If your butter was too warm when you creamed it, the cookies are more likely to spread. Ensuring your dough is properly chilled before baking is the best defense. Also, double-check that your baking soda is fresh, as it helps the cookies puff up!
What’s the best type of chocolate to use?
While classic chocolate chips work great, I’m a huge advocate for using chopped chocolate bars. The irregular chunks create wonderful pockets of melted chocolate throughout the cookie. I prefer a semi-sweet or dark chocolate (around 60% cacao), but feel free to use milk chocolate if that’s your family’s favorite!
My cookies are too cakey. How can I make them chewier?
A cakey texture often means there was too much air incorporated into the dough when creaming the butter and sugars, or perhaps a bit too much flour was used. Next time, try creaming the ingredients for a shorter time and be sure to fluff your flour with a spoon before measuring it, then level it off with a knife for the most accurate amount.
Can I make these without a stand mixer?
Of course! A sturdy wooden spoon and a little elbow grease will work perfectly. Just make sure you cream the butter and sugars together until the mixture is well combined and looks slightly fluffy. It’s a great arm workout, and the results will be just as delicious.


