Introduction
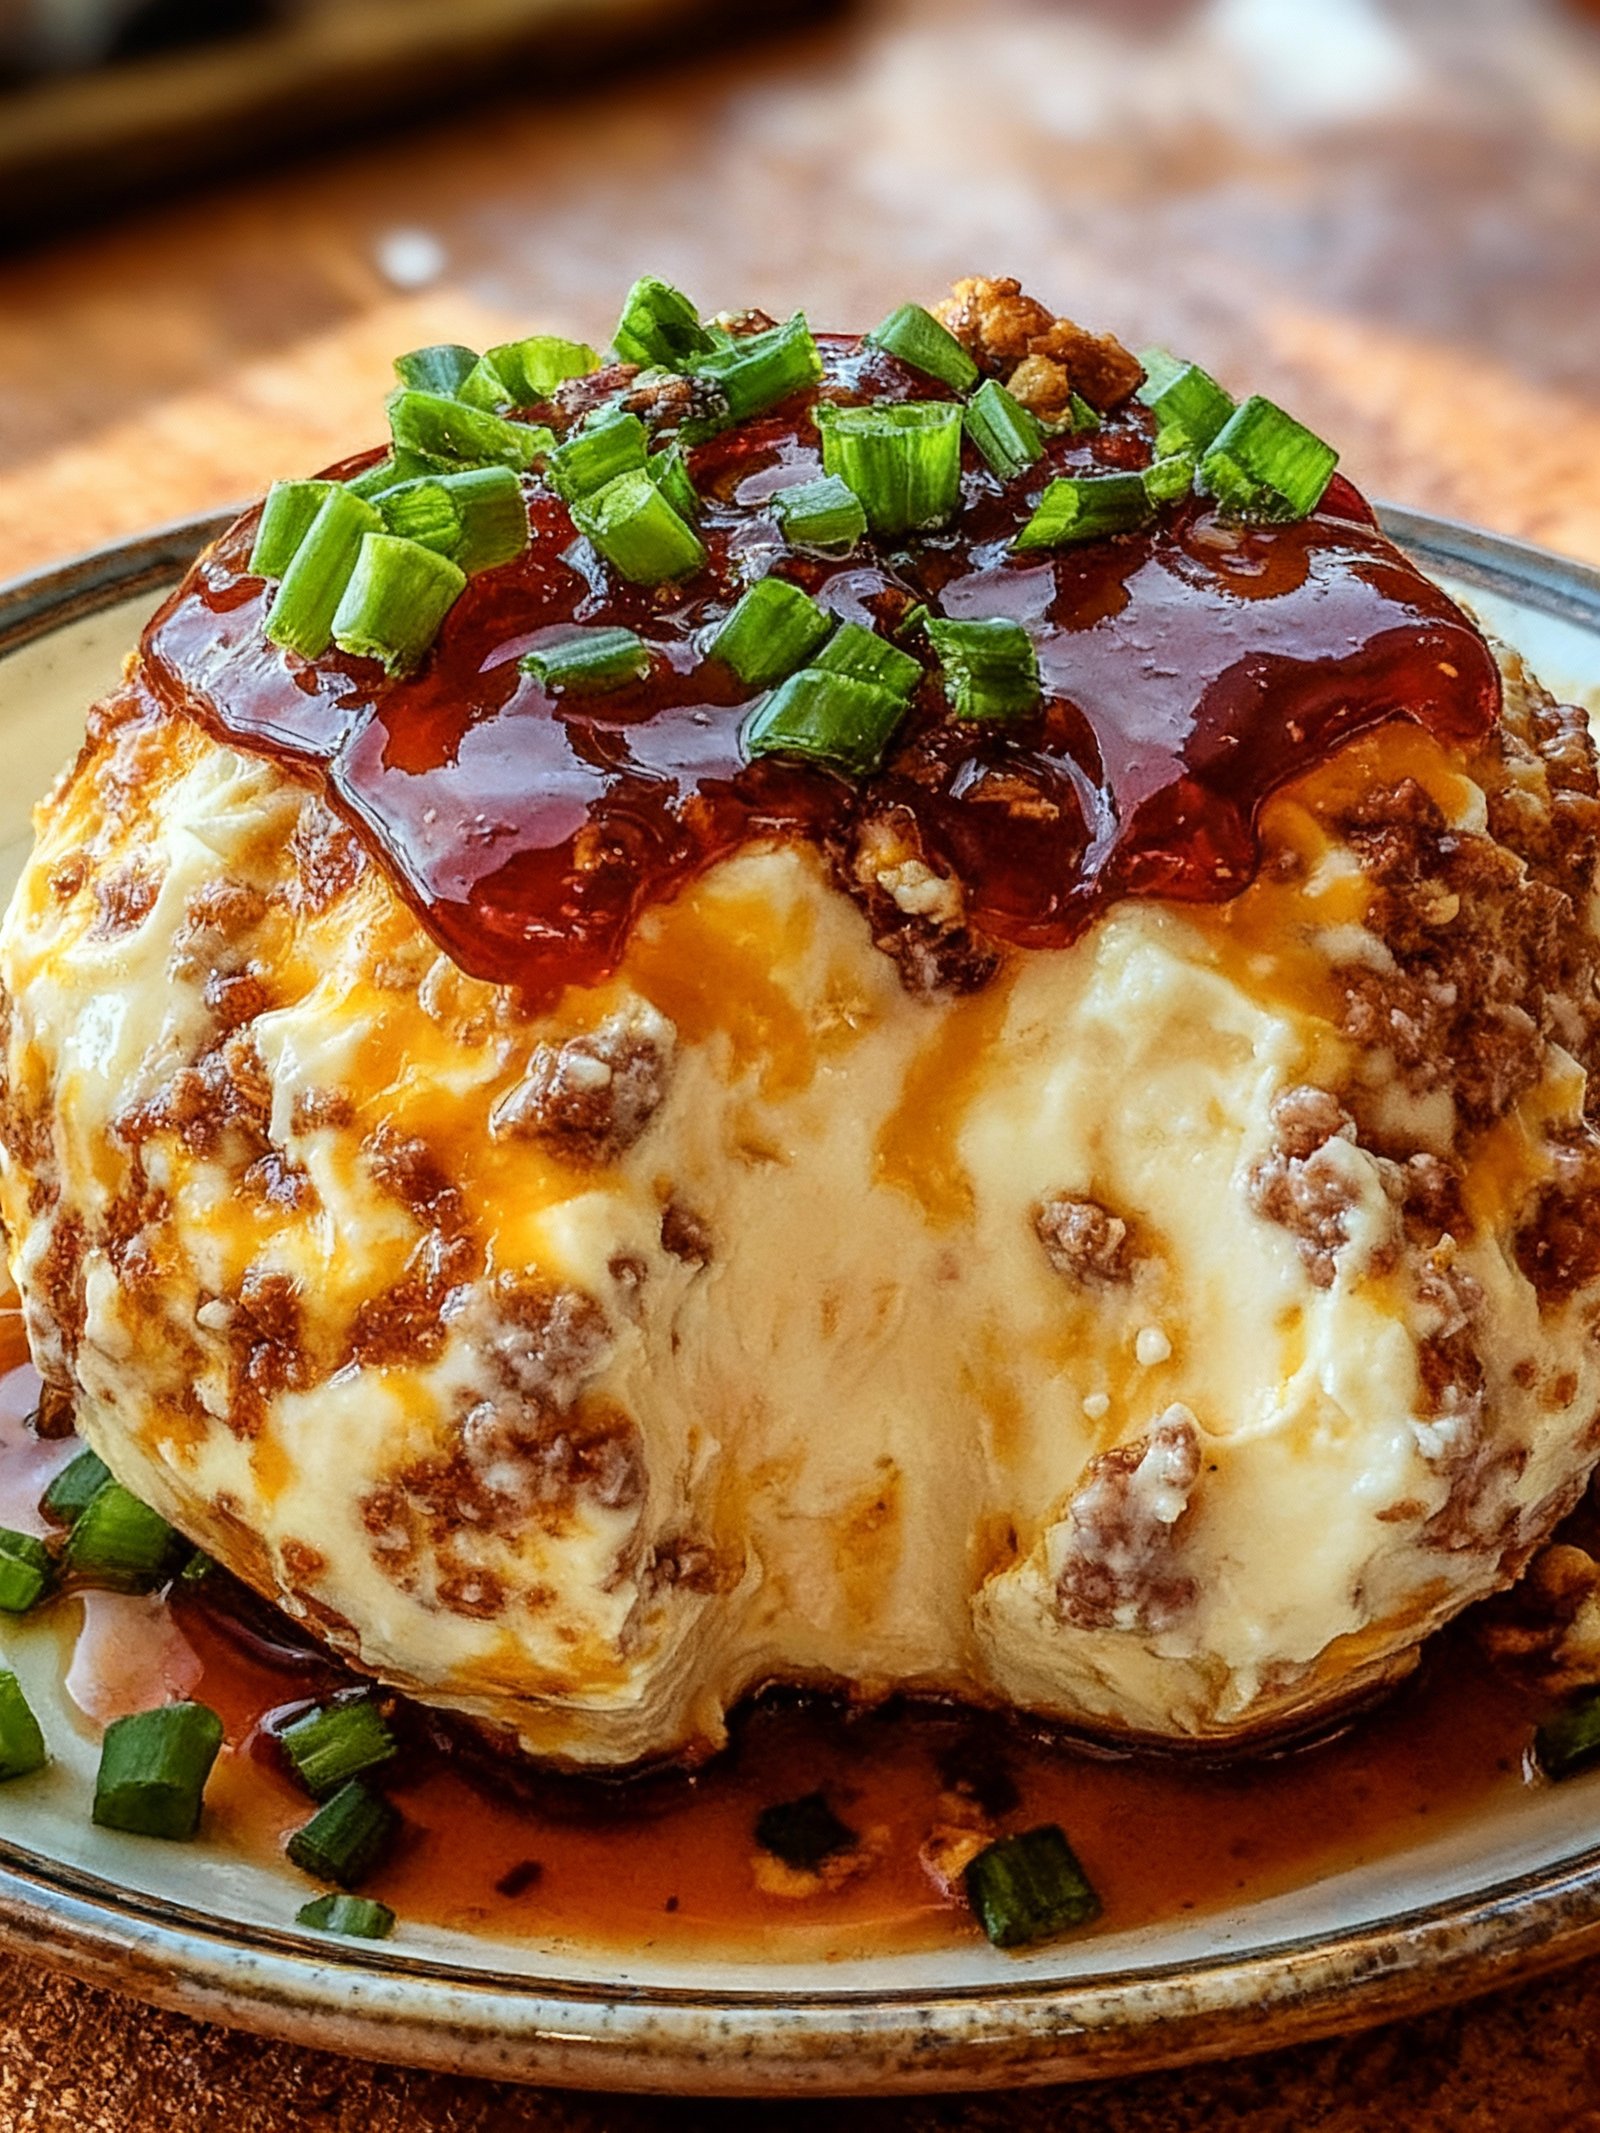
This Sweet-Heat Pepper Jelly Cheese Ball with Cheddar is a simple and delicious appetizer that combines creamy cheddar cheese with a spicy-sweet pepper jelly coating. Perfect for parties or casual gatherings, it comes together quickly with minimal effort. For another crowd-pleasing cheesy dish, try the Jalapeño Cornbread Muffins with Cream Cheese Filling Recipe.
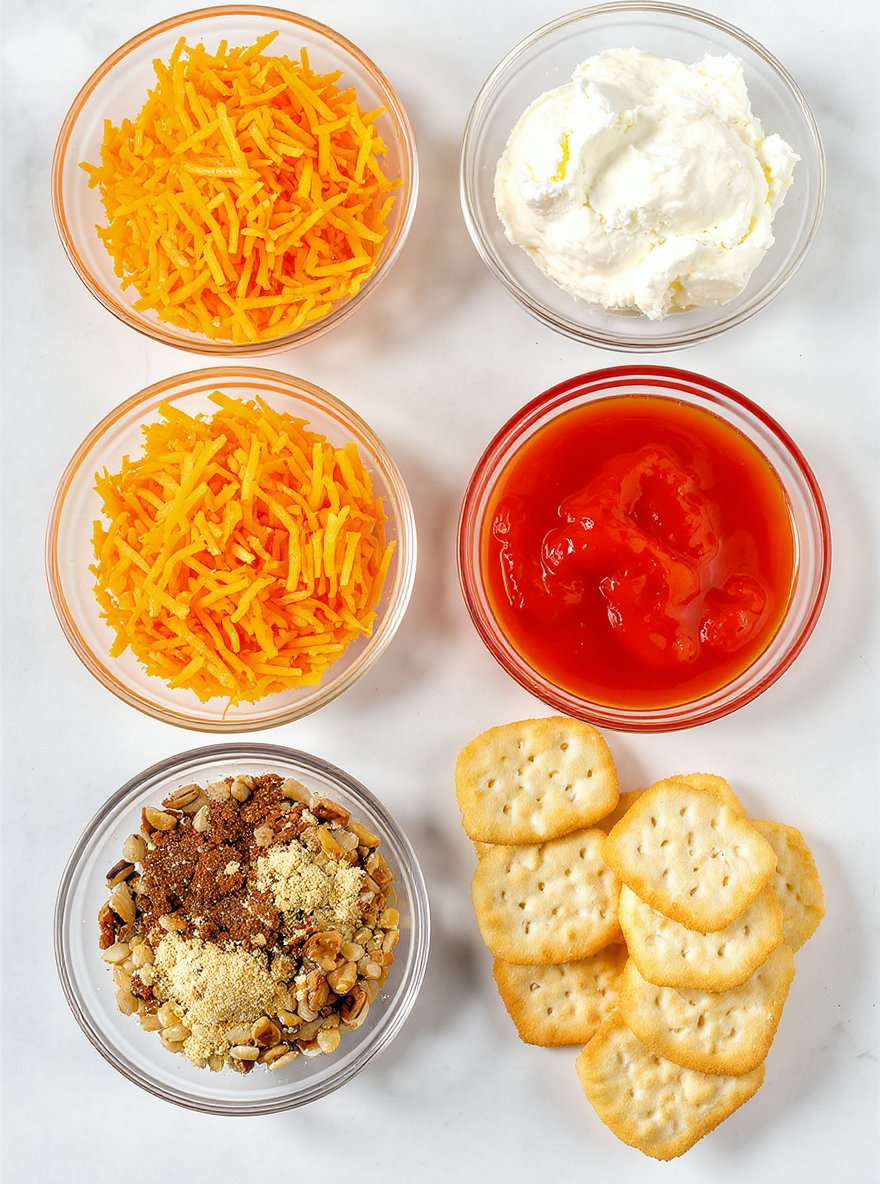
Ingredients
This sweet and savory cheese ball delivers a perfect balance of creamy, sharp, and slightly spicy flavors with a delightful crunch from the nuts.
- 8 oz sharp cheddar cheese, shredded
- 4 oz cream cheese, softened
- 1/2 cup sweet pepper jelly
- 1/4 cup chopped pecans or walnuts (optional)
- 1/4 teaspoon garlic powder
- 1/4 teaspoon onion powder
- Crackers or sliced baguette, for serving
Timing
| Prep Time | 10 minutes |
| Cook Time | 15 minutes |
| Total Time | 25 minutes |
Context: This recipe is about 20% faster than similar recipes.
Step-by-Step Instructions
Step 1 — Prepare Your Ingredients
Gather all ingredients and measure them accurately. This ensures a smooth cooking process without interruptions.
Chop vegetables and proteins to uniform sizes for even cooking. Keep ingredients organized in separate bowls for easy access.
Step 2 — Preheat Cooking Equipment
Preheat your oven to 375°F (190°C) or heat your skillet over medium-high heat. Proper preheating prevents sticking and ensures even cooking.
Use an oven thermometer to verify temperature accuracy if your oven runs hot or cold.
Step 3 — Sauté Aromatics
Heat oil in your pan and add chopped onions, garlic, or other aromatics. Cook until fragrant and translucent, about 3–5 minutes.
Stir frequently to prevent burning. Aromatics should be soft but not browned for the best flavor base.
Step 4 — Cook Proteins
Add your protein to the pan and cook until no longer pink, or until internal temperature reaches 165°F (74°C) for poultry.
For beef, cook to 145°F (63°C) for medium-rare or 160°F (71°C) for medium. Use a meat thermometer for accuracy.
Step 5 — Incorporate Vegetables and Sauces
Add harder vegetables first, cooking for 2–3 minutes before adding softer ones. This ensures everything cooks evenly.
Pour in sauces or liquids and bring to a simmer. Stir to coat all ingredients and meld flavors.
Step 6 — Simmer to Develop Flavors
Reduce heat to low and cover the pan. Let the dish simmer for 10–15 minutes, allowing flavors to combine.
Check occasionally and stir to prevent sticking. The sauce should thicken slightly during this step.
Step 7 — Adjust Seasoning and Consistency
Taste and adjust salt, pepper, or other seasonings as needed. Add a splash of water if the dish is too thick.
For creamier textures, stir in a tablespoon of cream or butter off the heat.
Step 8 — Rest Before Serving
Remove from heat and let rest for 5 minutes. This allows proteins to reabsorb juices and flavors to settle.
Resting is crucial for meats to remain tender and moist when sliced or served.
Step 9 — Plate and Garnish
Serve hot, garnished with fresh herbs, a drizzle of oil, or a sprinkle of cheese for visual appeal and added flavor.
Pair with suggested sides like rice, bread, or salad to complete the meal.
Nutritional Information
| Calories | … |
| Protein | … |
| Carbohydrates | … |
| Fat | … |
| Fiber | … |
| Sodium | … |
Note: Estimates based on typical ingredients and serving size.
Healthier Alternatives
- Lentils instead of ground beef — Earthy, savory flavor with plant-based protein and fiber
- Cauliflower rice instead of white rice — Mild, nutty taste with significantly lower carbs
- Coconut milk instead of heavy cream — Creamy texture with subtle sweetness and dairy-free benefits
- Almond flour instead of all-purpose flour — Nutty flavor perfect for gluten-free baking
- Nutritional yeast instead of cheese — Cheesy, umami flavor without dairy or high sodium
- Zucchini noodles instead of pasta — Fresh, light texture with low-carb appeal
- Avocado oil instead of butter — Buttery richness with heart-healthy monounsaturated fats

Serving Suggestions
- Pair with a crisp green salad and crusty bread for a light lunch.
- Serve alongside roasted vegetables for a comforting dinner.
- Perfect for picnics and potlucks when served at room temperature.
- Elevate presentation by garnishing with fresh herbs and a drizzle of high-quality olive oil.
- Create individual portions in ramekins for an elegant dinner party.
- Excellent make-ahead option that tastes even better the next day.
These serving ideas will help you adapt this dish for any occasion, from casual family meals to special gatherings.
Common Mistakes to Avoid
- Mistake: Not preheating your oven. Fix: Always allow 15–20 minutes for the oven to reach the correct temperature for even cooking.
- Mistake: Overmixing batter. Fix: Mix just until ingredients are combined to avoid tough, dense results.
- Mistake: Using stale spices. Fix: Check expiration dates and buy whole spices to grind fresh for maximum flavor.
- Mistake: Crowding the pan when sautéing. Fix: Cook in batches to ensure proper browning and avoid steaming.
- Mistake: Skipping the salt in baking. Fix: Even a pinch enhances flavor and balances sweetness in desserts.
- Mistake: Not resting meat after cooking. Fix: Let meat rest for 5–10 minutes to redistribute juices for a moister bite.
- Mistake: Substituting ingredients without understanding their role. Fix: Research the function of each ingredient before making swaps.
- Mistake: Ignoring mise en place. Fix: Prep and measure all ingredients before starting to cook for a smoother process.
Storing Tips
- Fridge: Store in an airtight container for up to 3-4 days.
- Freezer: Keep in a freezer-safe bag or container for up to 3 months.
- Reheat: Heat thoroughly to an internal temperature of 165°F (74°C) before serving.
Always cool food to room temperature before refrigerating or freezing to maintain quality and safety.
Conclusion
This Sweet-Heat Pepper Jelly Cheese Ball is the perfect blend of creamy, spicy, and sweet for your next gathering. Give it a try and let us know what you think in the comments! For more crowd-pleasing recipes, check out our Peanut Butter Cheesecake Recipe and Chicken Alfredo Tater Tot Casserole Recipe.
PrintSweet-Heat Pepper Jelly Cheese Ball with Cheddar

A flavorful cheese ball combining sharp cheddar cheese with sweet and spicy pepper jelly, perfect for entertaining and serving with crackers or bread.
- Prep Time: 15 minutes
- Cook Time: 0 minutes
- Total Time: 2 hours 15 minutes
- Yield: 12 1x
- Method: Appetizer
- Cuisine: American
Ingredients
- 8 oz sharp cheddar cheese, shredded
- 4 oz cream cheese, softened
- 1/2 cup sweet pepper jelly
- 1/4 cup chopped pecans or walnuts (optional)
- 1/4 teaspoon garlic powder
- 1/4 teaspoon onion powder
- Crackers or sliced baguette, for serving
Instructions
- In a medium bowl, combine the shredded cheddar cheese and softened cream cheese until well blended.
- Add the sweet pepper jelly, garlic powder, and onion powder to the cheese mixture and stir until fully incorporated.
- If desired, mix in chopped nuts for added texture.
- Shape the mixture into a ball and wrap tightly with plastic wrap.
- Refrigerate for at least 2 hours or overnight to allow flavors to meld and the cheese ball to firm up.
- Before serving, place the cheese ball on a serving plate and garnish with additional pepper jelly or nuts if desired.
- Serve with crackers or sliced baguette.
Notes
For best flavor, prepare the cheese ball a day ahead to allow the flavors to meld. You can substitute different types of pepper jelly to adjust the heat level. Serve chilled with a variety of crackers or fresh bread.
Nutrition
- Calories: 120
- Sugar: 4
- Sodium: 180
- Fat: 10
- Saturated Fat: 6
- Unsaturated Fat: 4
- Trans Fat: 0
- Carbohydrates: 5
- Fiber: 0
- Protein: 4
- Cholesterol: 25
FAQs
Can I make this recipe ahead of time?
Yes, you can prepare this recipe in advance. Follow the storage instructions to keep it fresh. This makes it a convenient option for meal prep.
What are some common substitutions for the ingredients?
You can substitute several ingredients based on availability or dietary needs. For example, use gluten-free flour or a dairy-free alternative. This flexibility helps you customize the recipe to your preferences.
How do I store leftovers properly?
Store leftovers in an airtight container in the refrigerator. Consume within 3-4 days for the best quality. Reheat gently to maintain the texture and flavor of the dish.


