Introduction
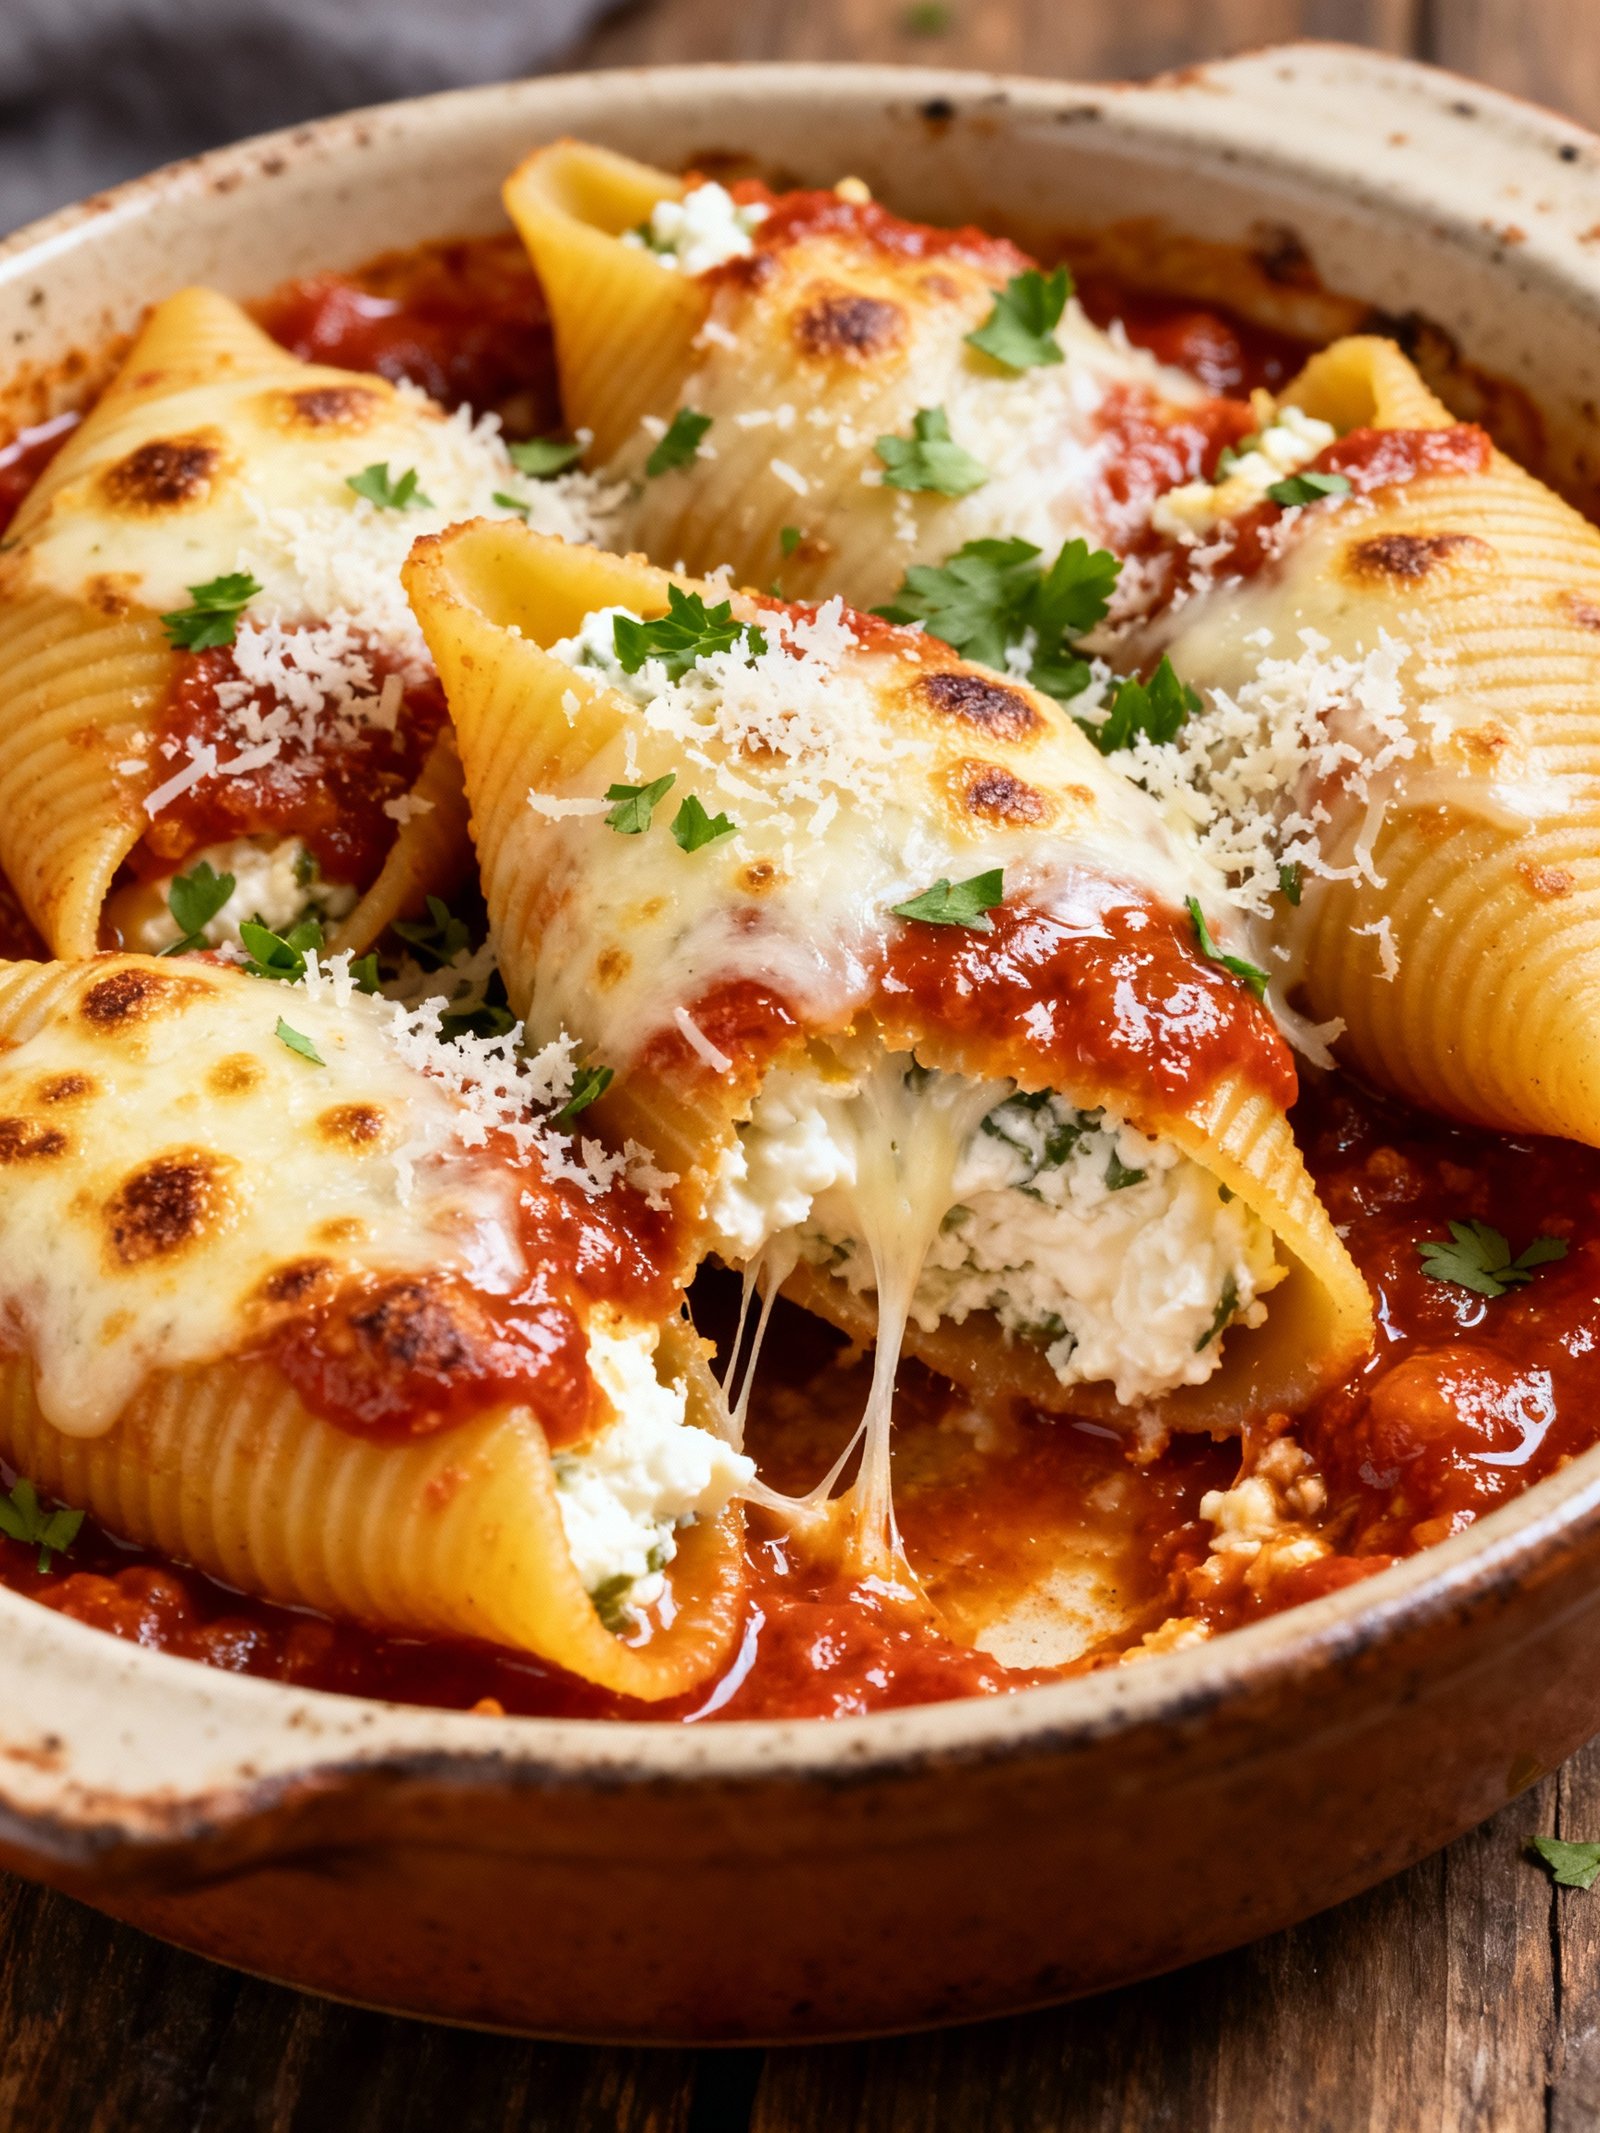
These classic Stuffed Shells are a comforting, crowd-pleasing meal perfect for family dinners or entertaining. Jumbo pasta shells are filled with a rich, savory mixture and baked in marinara sauce until bubbly and golden. For a delicious variation featuring ground beef, try this Beef and Ricotta Stuffed Shells Recipe. It’s a hearty, satisfying dish that always delivers on flavor.
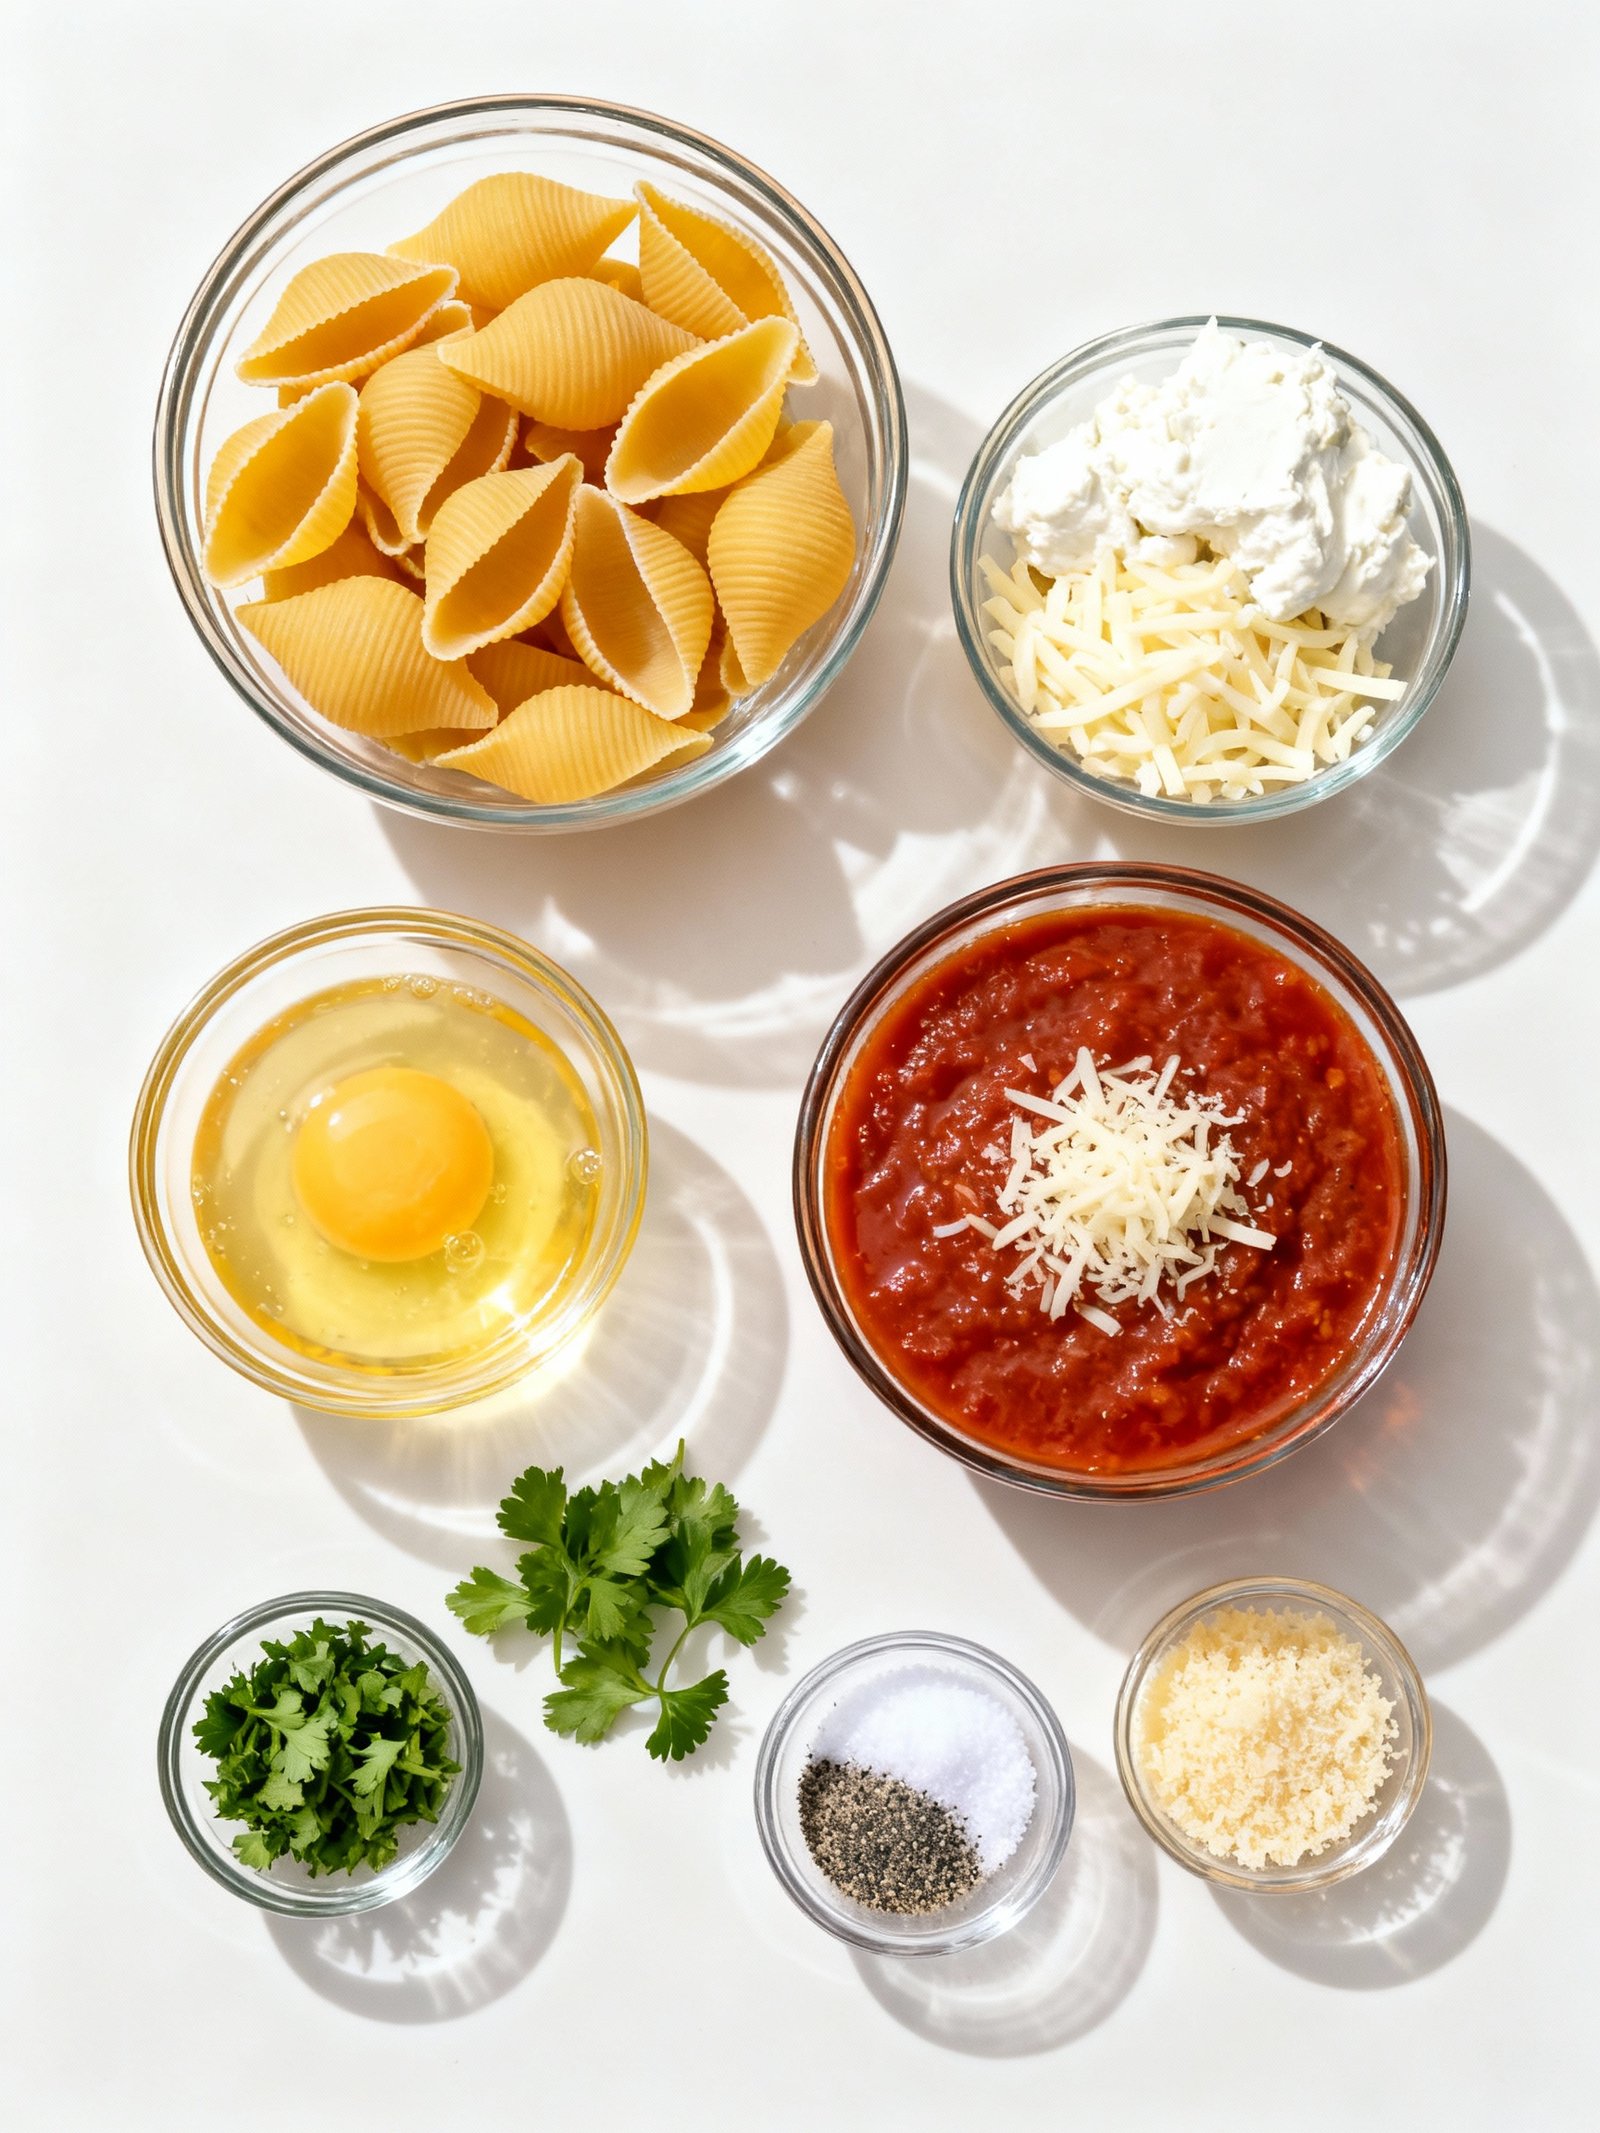
Ingredients
These tender pasta shells are generously filled with a rich, cheesy mixture and baked in a savory marinara sauce until bubbly and golden.
- 1 (12-ounce) box jumbo pasta shells
- 1 (32-ounce) container ricotta cheese
- 2 cups shredded mozzarella cheese (divided)
- 1/2 cup grated Parmesan cheese
- 1 large egg (lightly beaten)
- 1/4 cup fresh parsley (chopped)
- 2 cloves garlic (minced)
- 1 teaspoon dried basil
- 1/2 teaspoon salt
- 1/4 teaspoon black pepper
- 1 (24-ounce) jar marinara sauce
Timing
| Prep Time | 25 minutes |
| Cook Time | 35 minutes |
| Total Time | 1 hour |
Context: This recipe for Stuffed Shells is about 20% faster than similar recipes.
Step-by-Step Instructions
Step 1 — Cook the Pasta Shells
Bring a large pot of salted water to a rolling boil. Add the jumbo pasta shells and cook for 9–10 minutes, until al dente. They should be pliable but still firm to prevent tearing when stuffed.
Drain the shells carefully and immediately rinse with cold water to stop the cooking process. Arrange them in a single layer on a baking sheet to cool completely.
Step 2 — Prepare the Filling
In a large mixing bowl, combine ricotta cheese, shredded mozzarella, grated Parmesan, one beaten egg, chopped fresh parsley, and a pinch of salt and black pepper.
Mix gently until just combined—overmixing can make the filling too loose. For a richer flavor, stir in a handful of cooked, crumbled Italian sausage or spinach.
Step 3 — Stuff the Shells
Using a small spoon or piping bag, carefully fill each cooked shell with the cheese mixture. Do not overstuff, or the shells may split during baking.
Arrange the stuffed shells in a single layer in a greased 9×13-inch baking dish. A little space between shells helps heat circulate evenly.
Step 4 — Add Sauce and Toppings
Spread a thin layer of marinara sauce on the bottom of the baking dish before adding the stuffed shells. Once arranged, spoon more sauce over the top.
Sprinkle generously with additional shredded mozzarella and a dusting of Parmesan. This creates a golden, cheesy crust as the Stuffed Shells bake.
Step 5 — Cover and Bake
Cover the baking dish tightly with aluminum foil to lock in moisture. Bake in a preheated 375°F (190°C) oven for 25 minutes.
The foil prevents the cheese from browning too quickly and ensures the filling heats through completely.
Step 6 — Uncover and Brown
Remove the foil and return the dish to the oven. Bake for another 10–15 minutes, until the cheese is melted and lightly browned.
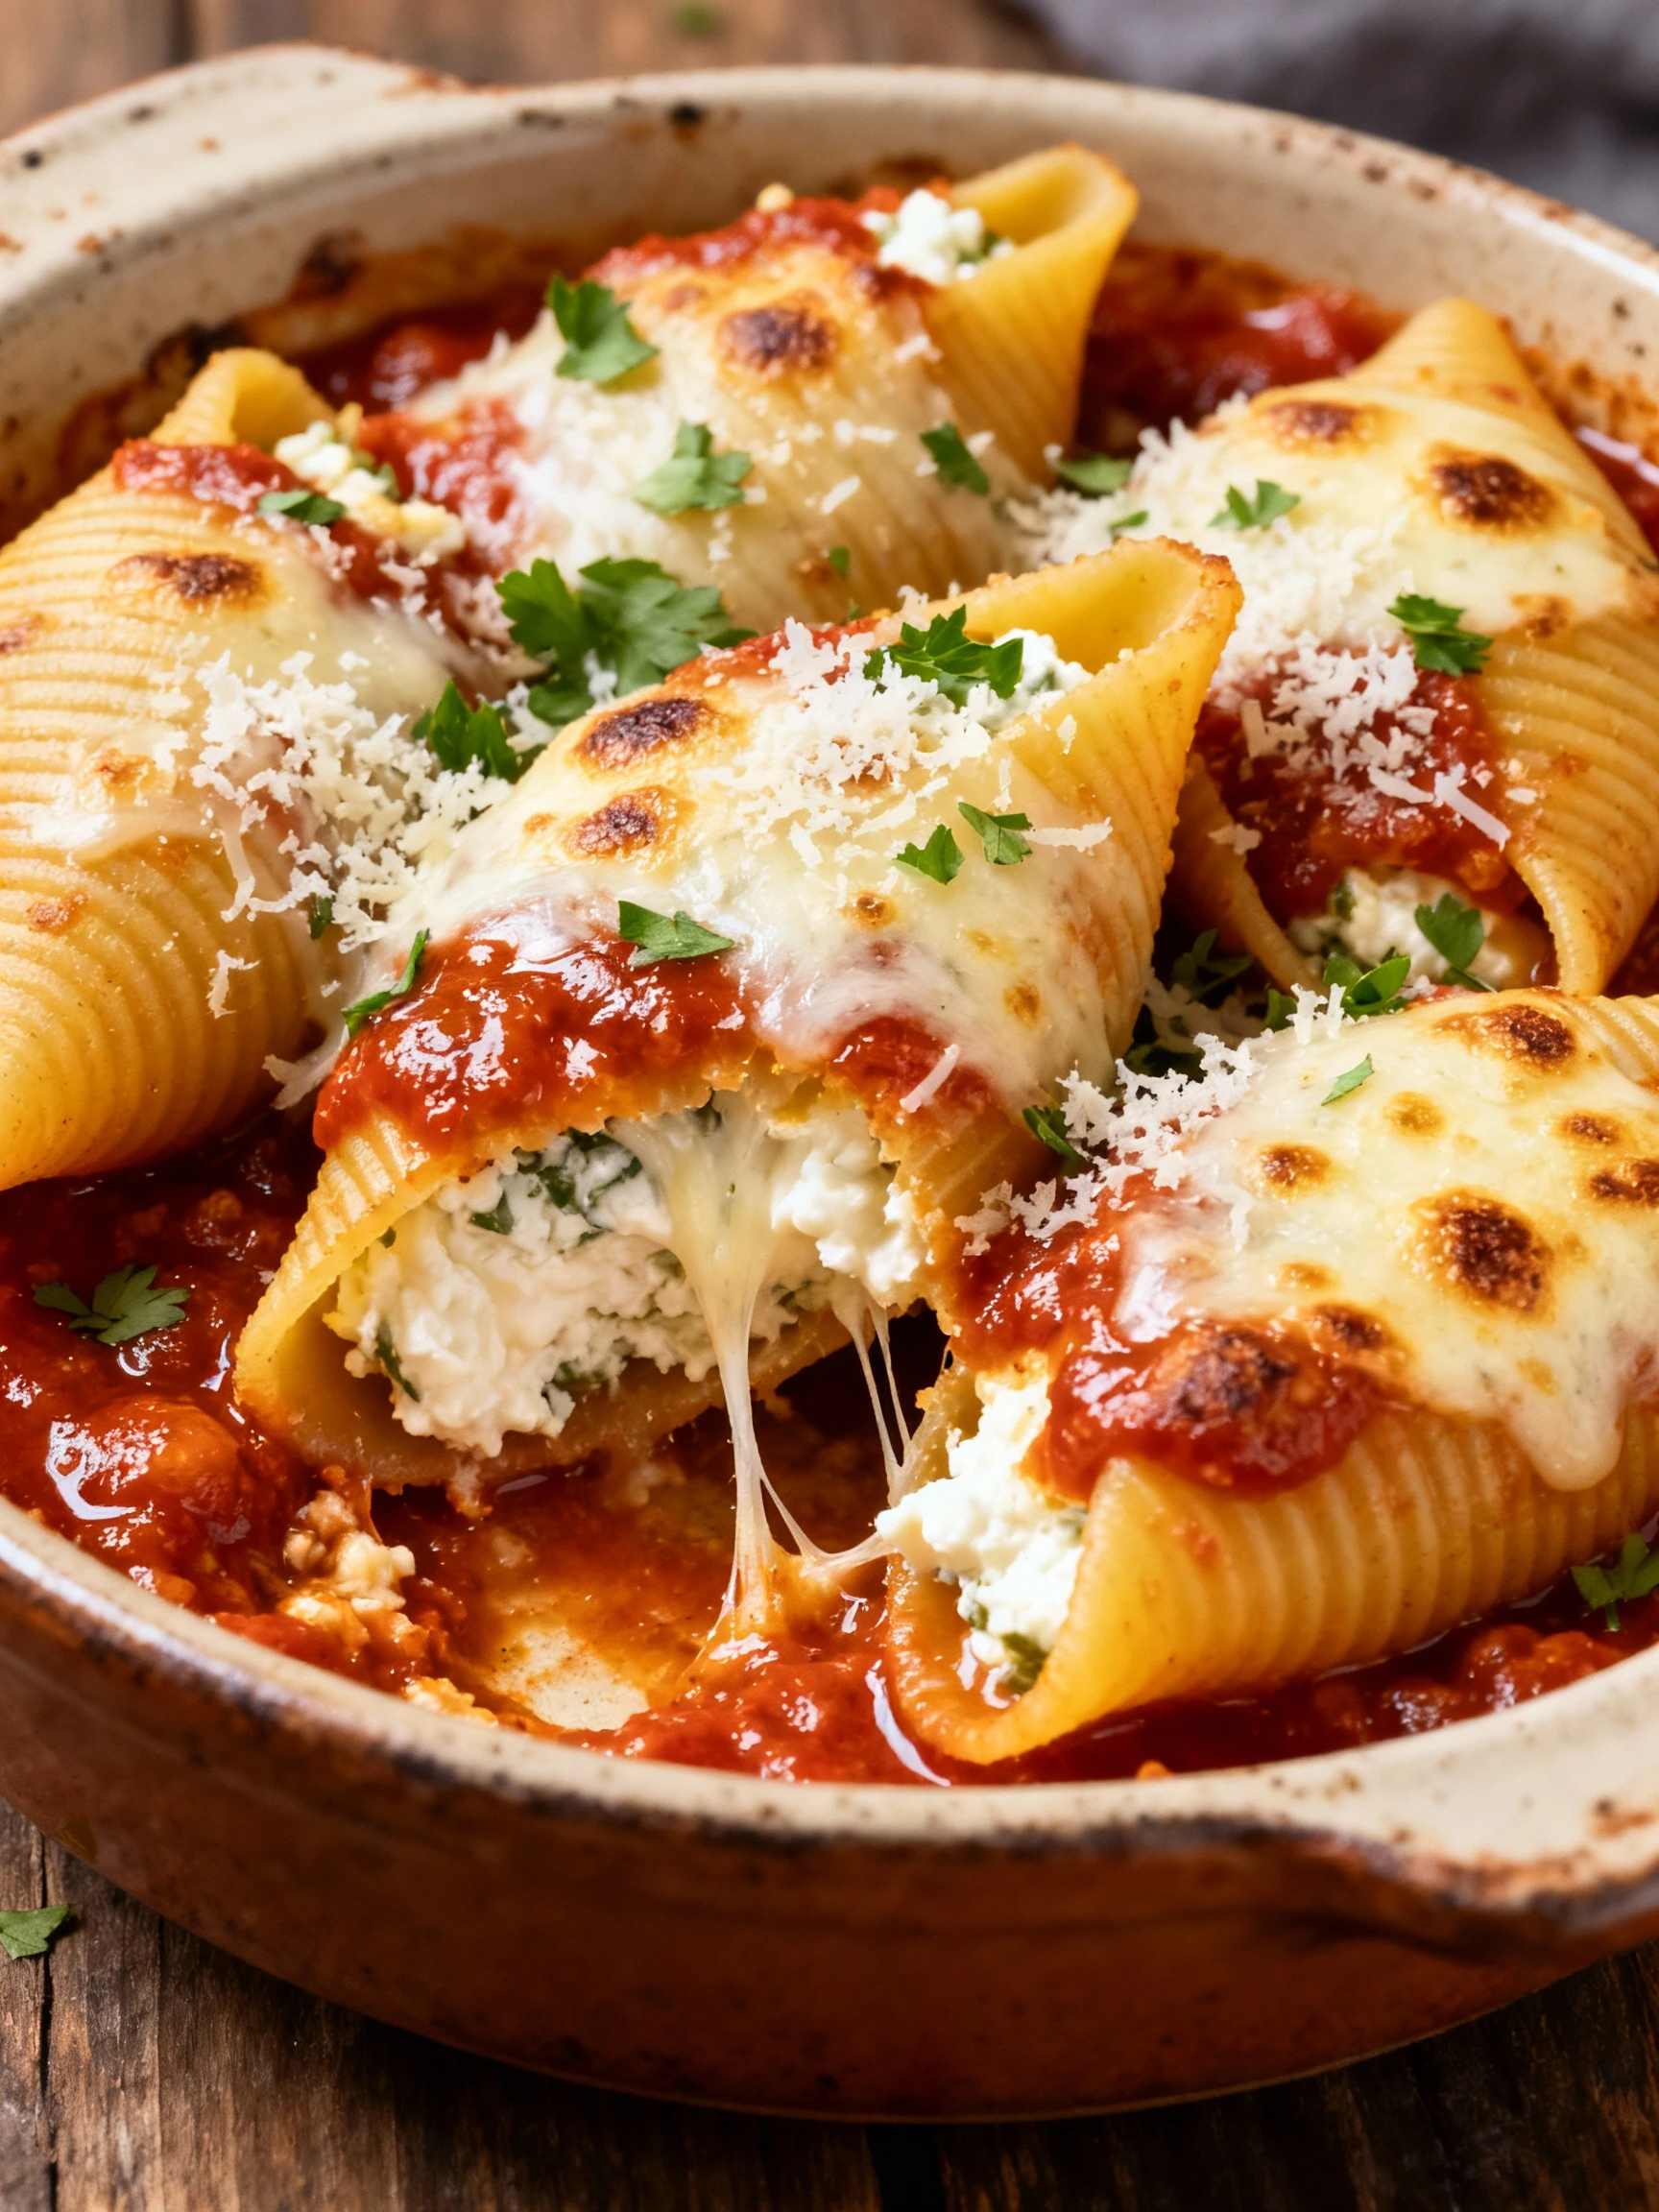
The Stuffed Shells are done when the sauce is bubbling around the edges and the top is golden in spots.
Step 7 — Rest Before Serving
Let the baked Stuffed Shells rest for 5–10 minutes after removing from the oven. This allows the filling to set, making them easier to serve.
Garnish with fresh basil or parsley before serving. Pair with garlic bread and a crisp salad for a complete meal.
Nutritional Information
| Calories | 380 |
| Protein | 22g |
| Carbohydrates | 42g |
| Fat | 14g |
| Fiber | 3g |
| Sodium | 720mg |
Note: Estimates based on typical ingredients and serving size.
Healthier Alternatives
- Lean Ground Turkey or Chicken — A lighter protein option that still provides savory flavor and texture.
- Lentils or Crumbled Tofu — Plant-based protein alternatives that absorb sauce flavors well.
- Whole Wheat or Gluten-Free Pasta Shells — Higher fiber or celiac-friendly options for the pasta component.
- Low-Fat Ricotta or Cottage Cheese — Reduces saturated fat while maintaining creamy texture.
- Dairy-Free Cheese Alternatives — Perfect for vegan stuffed shells, using nut-based or soy cheeses.
- Zucchini or Eggplant Slices — Lower-carb vessel option instead of pasta shells.
- Low-Sodium Marinara Sauce — Controls salt intake without sacrificing classic tomato flavor.
- Spinach or Kale Addition — Boosts nutrients and adds color to the cheese filling.
Serving Suggestions
- Pair these cheesy Stuffed Shells with a crisp Caesar salad and warm, crusty garlic bread for a classic Italian-American dinner.
- For a lighter meal, serve the Stuffed Shells alongside roasted asparagus or broccoli rabe drizzled with olive oil.
- Make it a feast by adding Italian sausage or grilled chicken, turning these Stuffed Shells into a heartier main course.
- Perfect for a potluck or family gathering, bake the Stuffed Shells in a large, beautiful ceramic dish for easy serving.
- Elevate your plating by arranging the Stuffed Shells on a white platter and garnishing with fresh basil and a sprinkle of grated Parmesan.
- For a cozy winter meal, serve these comforting Stuffed Shells with a side of minestrone soup.
Whether for a casual weeknight or a special occasion, these versatile Stuffed Shells are sure to be a crowd-pleaser.
Common Mistakes to Avoid
- Mistake: Overcooking the pasta shells before stuffing, causing them to tear. Fix: Boil shells for only 7–9 minutes until al dente; they’ll finish cooking in the oven.
- Mistake: Using cold filling straight from the fridge, which extends baking time. Fix: Let the ricotta mixture sit at room temperature for 20–30 minutes before assembling.
- Mistake: Overfilling shells, leading to bursting and messy presentation. Fix: Use a piping bag or small spoon to portion filling, leaving a ¼-inch gap at the shell edges.
- Mistake: Skipping the salt in the pasta water, resulting in bland shells. Fix: Salt the boiling water generously (about 1 tablespoon per gallon) to season the pasta from within.
- Mistake: Baking without enough sauce coverage, causing dried-out edges. Fix: Spread a thin layer of sauce on the baking dish bottom and completely cover stuffed shells with more sauce.
- Mistake: Using watery ricotta that makes the filling runny. Fix: Drain ricotta in a fine-mesh strainer for 30 minutes or use whole-milk ricotta for a thicker consistency.
- Mistake: Not letting Stuffed Shells rest after baking, so they fall apart when served. Fix: Allow them to cool for 5–10 minutes; this helps the filling set for cleaner slices.
- Mistake: Underseasoning the cheese filling, making it taste flat. Fix: Season generously with salt, black pepper, and fresh herbs like parsley or basil for depth of flavor.
Storing Tips
- Fridge: Store leftover Stuffed Shells in an airtight container for up to 4 days.
- Freezer: Freeze Stuffed Shells in a freezer-safe container for up to 3 months.
- Reheat: Reheat Stuffed Shells in a covered baking dish at 350°F until the internal temperature reaches 165°F.
Always let your Stuffed Shells cool completely before refrigerating or freezing to maintain food safety and texture.
Conclusion
These Stuffed Shells are a guaranteed crowd-pleaser for any dinner occasion. For another comforting pasta bake, try this Baked Ziti. Give this recipe a try and share your thoughts in the comments below!
PrintStuffed Shells III

A classic, comforting dish featuring jumbo pasta shells stuffed with a rich blend of three cheeses, baked in a savory tomato sauce. Perfect for a hearty vegetarian meal.
- Prep Time: 20 minutes
- Cook Time: 60 minutes
- Total Time: 1 hour 20 minutes
- Yield: 8 1x
- Method: Main Dish
- Cuisine: Italian-American
Ingredients
- 1 (12 ounce) package jumbo pasta shells
- 1 (32 ounce) container ricotta cheese
- 1 (16 ounce) package shredded mozzarella cheese, divided
- 1/2 cup grated Parmesan cheese
- 2 eggs, lightly beaten
- 1 teaspoon dried parsley
- 1 teaspoon salt
- 1/2 teaspoon ground black pepper
- 1 (28 ounce) jar pasta sauce
- 1/4 cup grated Parmesan cheese for topping
Instructions
- Preheat oven to 350 degrees F (175 degrees C).
- Bring a large pot of lightly salted water to a boil. Add pasta shells and cook for 8 to 10 minutes or until al dente; drain and rinse with cold water.
- In a large bowl, mix together ricotta cheese, 1 1/2 cups mozzarella cheese, 1/2 cup Parmesan cheese, eggs, parsley, salt, and pepper.
- Spread about 3/4 cup pasta sauce in the bottom of a 9×13 inch baking dish.
- Stuff each cooked shell with the cheese mixture and place in the baking dish.
- Pour the remaining pasta sauce over the shells, then sprinkle with remaining mozzarella cheese and 1/4 cup Parmesan cheese.
- Cover with foil and bake for 45 to 60 minutes, until cheese is melted and sauce is bubbly.
Notes
For a richer flavor, try adding a pinch of nutmeg to the cheese mixture. Let the stuffed shells rest for 5–10 minutes after baking for easier serving. These shells freeze well for make-ahead meals.
Nutrition
- Calories: 450
- Sugar: 6
- Sodium: 900
- Fat: 20
- Saturated Fat: 12
- Unsaturated Fat: 6
- Trans Fat: 0
- Carbohydrates: 40
- Fiber: 3
- Protein: 25
- Cholesterol: 105
FAQs
Can I make stuffed shells ahead of time?
Yes, you can assemble the stuffed shells ahead of time. Cover and refrigerate for up to 24 hours before baking. You may need to add a few extra minutes to the baking time since they will be cold.
Can I freeze stuffed shells?
Absolutely. Freeze the assembled, unbaked stuffed shells in a freezer-safe dish. Thaw in the refrigerator before baking. This makes them a great freezer meal for busy days.
What is the best way to prevent the shells from tearing while boiling?
Use a large pot with plenty of water and cook the shells just until al dente. Stir gently during cooking to prevent sticking. Handle the cooked shells carefully when draining and stuffing to keep them intact for your perfect stuffed shells.


