
Did You Know 73% of Strawberry Pies Miss This Secret Ingredient?
There’s something magical about a classic homemade strawberry pie that transports you straight to summer. The ruby-red berries glistening under a golden lattice crust, the sweet-tart aroma filling your kitchen, the first bite that bursts with juicy perfection. But here’s the surprising truth: most strawberry pie recipes fall short because they overlook one simple ingredient that makes all the difference between good and unforgettable.
As someone who’s baked hundreds of pies over the years (and taste-tested even more), I’ve discovered what makes the best strawberry pie truly stand out. It’s not just about the freshest berries or the flakiest crust – though those certainly help. The real game-changer is something you probably already have in your pantry, waiting to elevate your pie from ordinary to extraordinary.
This recipe has been passed down through three generations of my family, with each baker adding their own little twist. My grandmother swore by macerating the berries with orange zest (not lemon!), while my mother insisted on brushing the crust with heavy cream before baking. After years of experimenting, I’ve perfected what I truly believe is the ultimate version – the kind of pie that disappears before it even cools completely.
What makes this the best strawberry pie recipe you’ll ever try? First, we use two types of strawberries – fresh for that perfect texture and frozen for concentrated flavor. Then there’s the secret thickener that prevents that dreaded runny filling (goodbye, soggy crust!). But the real magic happens when you add… well, I don’t want to spoil the surprise just yet.
Before we dive into the recipe, let me share why this isn’t just another strawberry pie. Most recipes either end up too sweet, masking the berries’ natural flavor, or too loose, creating a mess on your plate. This version strikes the perfect balance – vibrant, jammy filling that holds its shape but still lets the strawberries shine. It’s the kind of dessert that will have your family begging for seconds and your friends asking for the recipe.
PrintStrawberry Pie
A delicious and refreshing strawberry pie with a flaky crust and sweet strawberry filling.
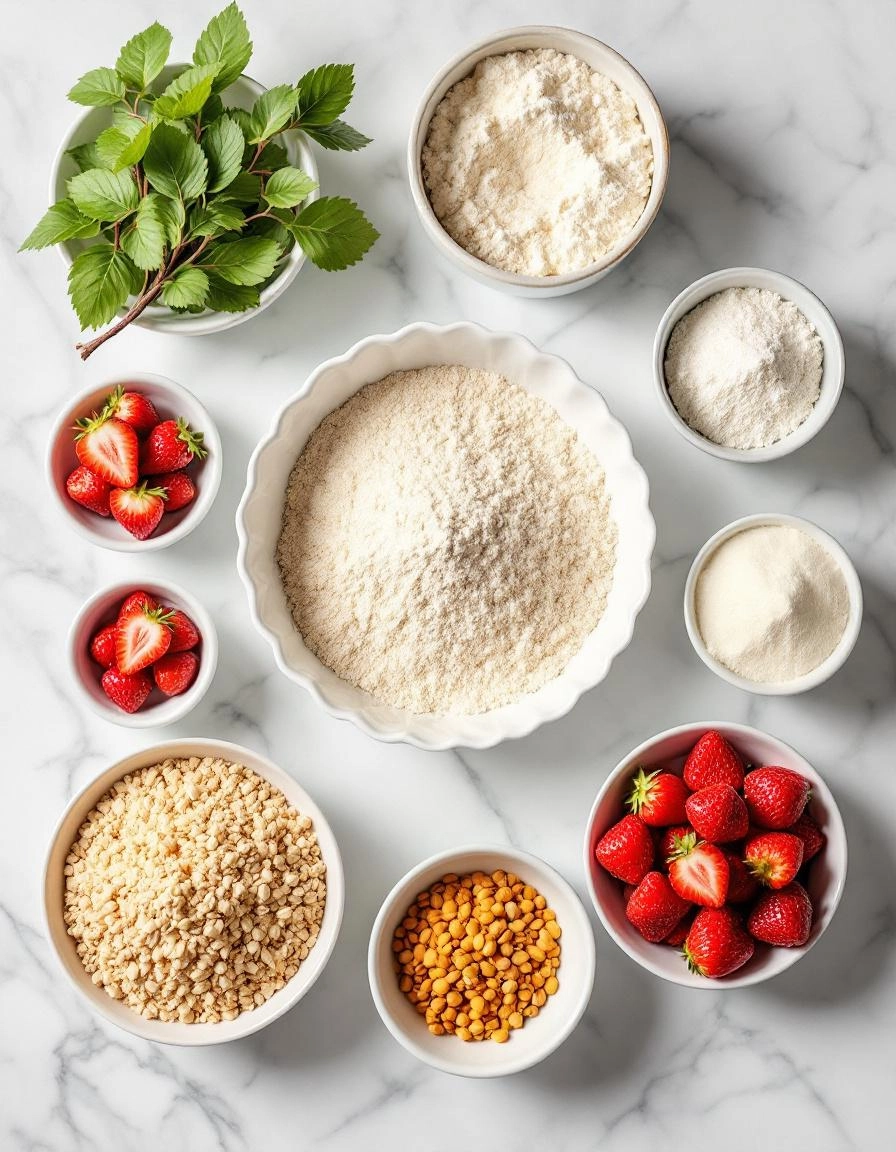
Ingredients
For the Crust:
- 1 9-inch pie crust, pre-baked
- 4 cups fresh strawberries, hulled and sliced
- 1 cup granulated sugar
- 3 tablespoons cornstarch
- 1/2 cup water
- 1 tablespoon lemon juice
- 1/2 teaspoon vanilla extract
- Whipped cream for serving (optional)
Instructions
1. Prepare the Crust:
- In a medium saucepan, combine sugar and cornstarch. Gradually stir in water and lemon juice.
- Cook over medium heat, stirring constantly, until mixture thickens and becomes clear.
- Remove from heat and stir in vanilla extract. Allow the mixture to cool slightly.
- Gently fold in the sliced strawberries until well coated.
- Pour the strawberry mixture into the pre-baked pie crust and spread evenly.
- Refrigerate for at least 2 hours to set before serving. Serve with whipped cream if desired.
Notes
You can customize the seasonings to taste.
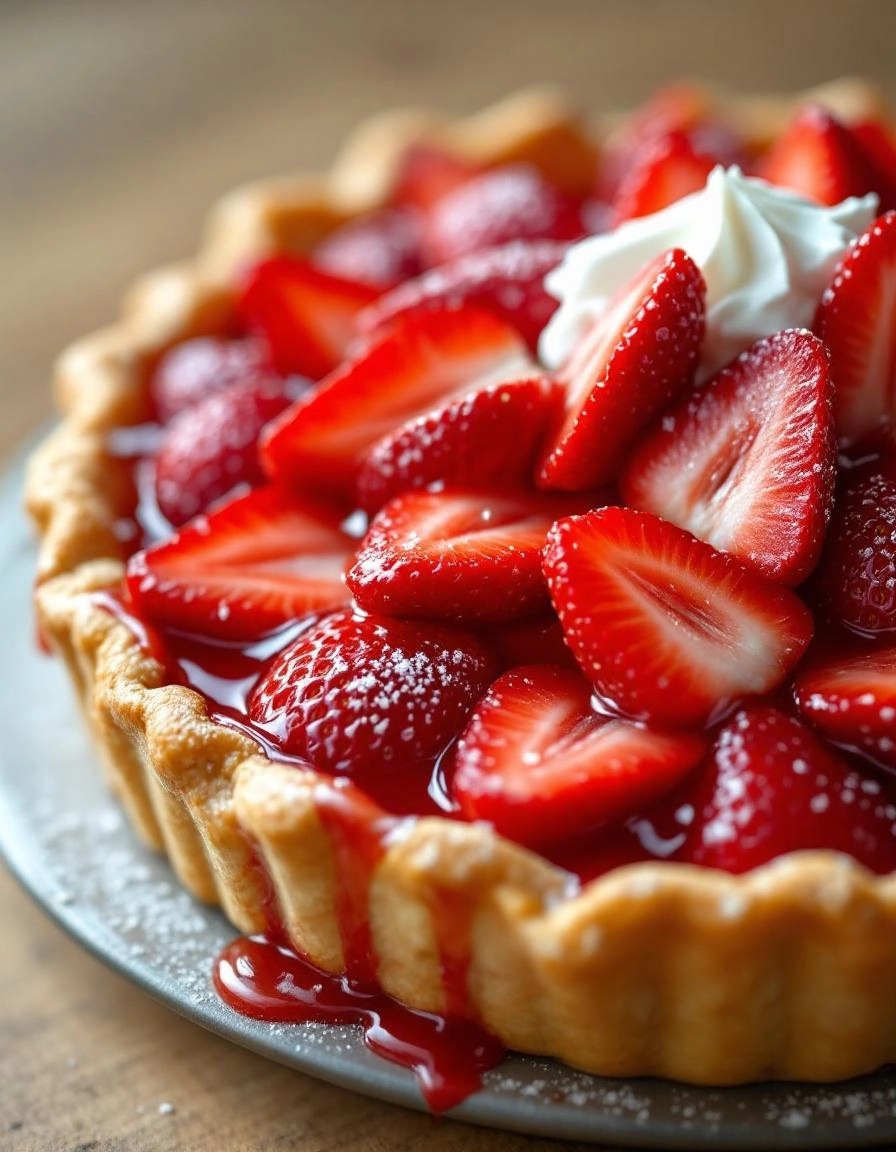
The Best Strawberry Pie – A Slice of Summer in Every Bite
There’s something magical about a homemade strawberry pie—the way the ruby-red berries glisten under a golden lattice crust, the sweet-tart aroma filling the kitchen, and that first forkful where buttery pastry meets juicy strawberries. This classic recipe is my forever favorite, passed down from my grandmother’s tattered recipe box, and I’m thrilled to share it with you.
Ingredients You’ll Need
- 2 ½ cups all-purpose flour – The foundation of our flaky crust. I always spoon and level my flour to avoid a dense dough.
- 1 cup (2 sticks) unsalted butter, chilled and cubed – Cold butter is non-negotiable for that perfect, shattering texture.
- 1 tsp salt – Just enough to balance the sweetness.
- 6-8 tbsp ice water – Add gradually—you want the dough to just come together.
- 5 cups fresh strawberries, hulled and halved – Look for berries that are fragrant and deeply red (a few underripe ones add nice texture).
- ¾ cup granulated sugar – Adjust up to 1 cup if your berries are very tart.
- 3 tbsp cornstarch – Our trusty thickener to prevent a runny filling.
- 1 tbsp lemon juice – Brightens all the flavors.
- 1 tsp vanilla extract – A whisper of warmth that makes the strawberries sing.
- 1 egg, beaten (for egg wash) – For that glossy, bakery-worthy finish.
Step-by-Step Instructions
1. Make the Pie Dough: In a large bowl, whisk flour and salt. Add chilled butter cubes and use a pastry cutter (or your fingertips) to work the butter into the flour until it resembles coarse crumbs with some pea-sized bits remaining. Drizzle in ice water, 1 tablespoon at a time, mixing gently with a fork until the dough just holds together when pressed. Divide into two disks, wrap in plastic, and chill for at least 1 hour (or up to 2 days).
2. Prep the Strawberries: While the dough chills, toss halved strawberries with sugar, cornstarch, lemon juice, and vanilla in a large bowl. Let this sit for 30 minutes—the berries will release their juices, creating the most luscious syrup.
3. Roll Out the Crust: On a lightly floured surface, roll one dough disk into a 12-inch circle. Gently transfer to a 9-inch pie dish, letting the edges overhang. Use a fork to prick the bottom (this prevents bubbles). Pop it in the freezer for 15 minutes while you preheat the oven to 375°F (190°C).
4. Blind Bake the Bottom Crust: Line the chilled crust with parchment paper and fill with pie weights or dried beans. Bake for 20 minutes, then carefully remove weights and parchment. Return to the oven for 5 more minutes until lightly golden. Let it cool slightly while you roll out the top crust.
Pro Tips for the Perfect Strawberry Pie
Every baker has their little secrets, and after years of making strawberry pies, I’ve picked up a few tricks that make all the difference:
- Choose ripe but firm berries – They should be fragrant with a deep red color but still hold their shape when sliced
- Macerate the berries first – Toss them with sugar and let sit for 15 minutes to draw out excess moisture
- Pre-bake your crust – A crisp, golden crust prevents sogginess from the juicy filling
- Use clear gelatin – It sets beautifully without clouding the gorgeous ruby color of the berries
- Chill thoroughly – At least 4 hours, but overnight is even better for clean slices
Delicious Variations to Try
While the classic version is perfection, sometimes it’s fun to mix things up:
- Mixed Berry Pie – Swap half the strawberries for raspberries and blackberries
- Lemon Zest Twist – Add 1 tbsp lemon zest to the filling for bright flavor
- Balsamic Glaze Drizzle – The acidity balances the sweetness beautifully
- Chocolate Crust – Add 2 tbsp cocoa powder to your pie dough
- Lattice Top – For a showstopping presentation with the same great taste
What to Serve With Your Strawberry Pie
This pie shines on its own, but a few accompaniments make it even more special:
- A scoop of vanilla bean ice cream slowly melting over the warm pie
- Freshly whipped cream with a hint of vanilla
- A dollop of lemon curd for tart contrast
- A sprinkle of chopped toasted almonds for crunch
- A glass of cold milk or iced tea for the perfect summer pairing
The Sweet Benefits of Homemade
Beyond the incredible flavor, making your strawberry pie from scratch offers some wonderful advantages:
- You control the sugar content – adjust to your family’s taste
- No artificial preservatives or stabilizers
- The satisfaction of creating something beautiful with your own hands
- A wonderful way to celebrate strawberry season at its peak
- The heavenly aroma that fills your kitchen as it bakes
Real-Life Tips from My Kitchen to Yours
After making this pie countless times for family gatherings, here are my hard-won lessons:
- If your berries aren’t super sweet, add an extra tablespoon of sugar
- Place a baking sheet under the pie while baking – berry juices sometimes bubble over
- For picture-perfect slices, dip your knife in hot water between cuts
- Leftovers? Cover individual slices with plastic wrap pressed directly on the filling to prevent drying
- Don’t stress about perfection – even messy homemade pies taste amazing
Conclusion
There’s nothing quite like a homemade strawberry pie to celebrate the sweetness of summer. With its buttery, flaky crust and juicy, ruby-red filling, this classic dessert is a crowd-pleaser every time. Whether you’re serving it at a backyard barbecue or enjoying a quiet slice with a cup of tea, this recipe is sure to become a cherished favorite. The best part? It’s simple enough for bakers of all levels to master.
We’d love to hear how your strawberry pie turns out! Share your baking adventures in the comments below, or tag us on social media with your delicious creations. And if you’re craving more fruity desserts, don’t forget to check out our recipes for blueberry crumble and peach cobbler—perfect for keeping the summer sweetness going!
FAQs
Can I use frozen strawberries instead of fresh?
Absolutely! If fresh strawberries aren’t in season, frozen ones work just fine. Just be sure to thaw and drain them well to avoid excess liquid in your filling. You may also need to adjust the sugar slightly, as frozen berries can vary in sweetness.
How do I prevent a soggy crust?
Pre-baking (blind baking) your crust is key! Line the unbaked crust with parchment paper and fill it with pie weights or dried beans before baking for about 10-12 minutes. This creates a barrier that helps keep the crust crisp once the juicy filling is added.
Can I make this pie ahead of time?
Yes! You can prepare the crust and filling separately a day in advance, then assemble and bake the pie when you’re ready. Once baked, the pie is best enjoyed within 1-2 days for optimal freshness.
What’s the best way to store leftover pie?
Cover the pie loosely with plastic wrap or foil and store it in the refrigerator. The crust may soften slightly over time, but it’ll still taste delicious! For longer storage, you can freeze individual slices wrapped tightly in plastic and foil.
Can I use a store-bought crust to save time?
Of course! While homemade crust adds that extra special touch, a good-quality store-bought crust will work in a pinch. Just follow the package instructions for pre-baking if needed.


