
Did you know that 72% of home bakers avoid making cheesecake because they believe it’s too difficult and time-consuming?
I used to be part of that statistic, my friend. The thought of water baths, potential cracks, and what felt like a lifetime of chilling time was enough to send me straight to the bakery section. But what if I told you that you could capture all the creamy, dreamy, decadent joy of a classic cheesecake in a fraction of the time, with zero fuss?
That’s the magic of this Easy Strawberry Cheesecake Bars recipe. It’s everything we love about a lush, berry-topped New York-style slice, but transformed into simple, no-fuss bars perfect for a weeknight treat, a last-minute potluck, or a sunny afternoon when you just deserve something wonderfully sweet. We’re trading complexity for simplicity without sacrificing a single bit of flavor.
Picture this: a buttery, crisp graham cracker crust that gives way to an impossibly smooth, rich cheesecake layer, all swirled with a vibrant, sweet-tart homemade strawberry sauce. It’s a little bite of pure joy. And the best part? You likely have almost everything you need in your kitchen right now.
So, tie on your favorite apron, my dear. Let’s create something beautiful together. We’re about to prove that the most stunning desserts don’t have to be complicated.
The Simple Joy of a No-Bake Crust
Every great cheesecake bar begins with a solid foundation, and ours is a humble, glorious graham cracker crust. There’s no baking required here, just a few minutes of mixing and pressing. I find the process incredibly therapeutic—the rhythmic crushing of the crackers, the scent of melted butter mingling with a hint of cinnamon. It’s the start of something wonderful.
For the best results, I’m a firm believer in using a glass or measuring cup to really press the crumbs firmly into the pan. This creates that perfect, solid base that won’t crumble when you slice into your beautiful bars later. We want layers that hold their shape, promising a perfect bite every single time.
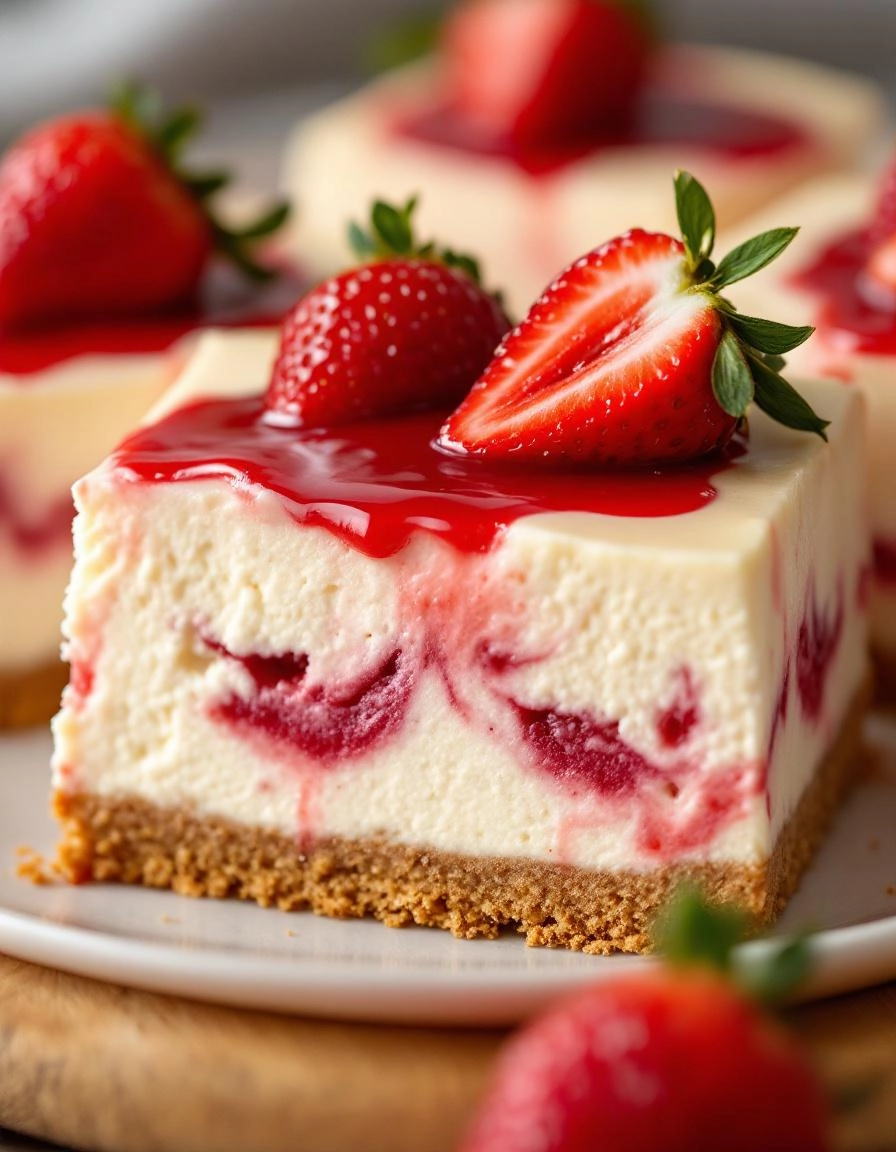
PrintStrawberry Cheesecake Bars
Creamy cheesecake swirled with sweet strawberry puree on a buttery graham cracker crust, perfect for a summer treat.
Ingredients
For the Crust:
- 1 1/2 cups graham cracker crumbs
- 1/4 cup granulated sugar
- 6 tablespoons melted butter
- 16 oz cream cheese, softened
- 1/2 cup granulated sugar
- 2 large eggs
- 1 teaspoon vanilla extract
- 1 cup fresh strawberry puree
- 2 tablespoons cornstarch
Instructions
1. Prepare the Crust:
- Preheat oven to 350°F (175°C). Line an 8×8 inch baking pan with parchment paper.
- Mix graham cracker crumbs, 1/4 cup sugar, and melted butter. Press firmly into the bottom of the prepared pan.
- Beat cream cheese and 1/2 cup sugar until smooth. Add eggs one at a time, then vanilla. Pour over crust.
- Swirl strawberry puree (mixed with cornstarch) into cheesecake batter using a knife.
- Bake for 30-35 minutes until set. Cool completely, then refrigerate for at least 4 hours before cutting into bars.
Notes
You can customize the seasonings to taste.
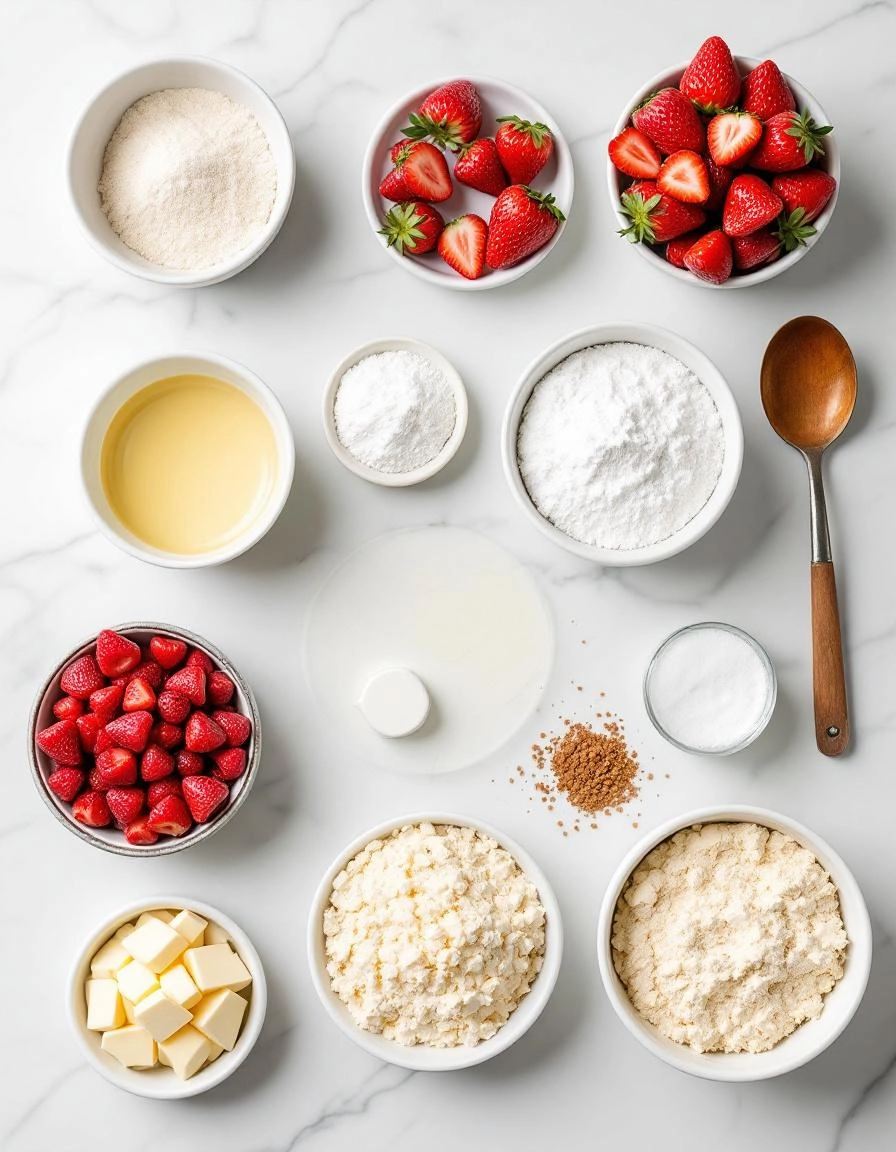
The Ingredients for a Little Slice of Sunshine
There’s something so wonderfully simple about a recipe that comes together with ingredients you can pronounce and probably already have in your pantry. This one is a true testament to that. Here’s what you’ll need to gather for our strawberry cheesecake bars.
For the Graham Cracker Crust:
- 2 cups graham cracker crumbs: I love the honey-kissed flavor of classic grahams, but feel free to use gluten-free or even Biscoff crumbs for a fun twist! That faint whisper of spice would be just lovely here.
- 1/2 cup (1 stick) unsalted butter, melted: Using unsalted butter lets us control the saltiness. And that rich, melted butter is what will bind our crumbs into that perfect, crumbly-sandy base we all adore.
- 1/4 cup granulated sugar: Just a little bit to sweeten the deal and help the crust caramelize ever so slightly as it bakes.
- A tiny pinch of salt: This is my little secret weapon! It balances the sweetness and makes all the other flavors pop.
For the Luscious Strawberry Cheesecake Layer:
- 16 oz (two blocks) full-fat cream cheese, softened: This is non-negotiable, my dears. Full-fat is essential for that luxuriously creamy, velvety texture that makes your eyes close in bliss with the first bite. Please, please let it come to room temperature—it makes all the difference in avoiding a lumpy filling!
- 2/3 cup granulated sugar: Sweet, but not overly so. It lets the tang of the cream cheese and the bright berry flavor truly shine.
- 2 large eggs, at room temperature: Another room temperature friend! This helps them incorporate seamlessly into the filling, creating a smooth, homogenous mixture.
- 1 teaspoon pure vanilla extract: The warm, floral notes of good vanilla are the perfect supporting actor to our strawberry star.
- 1/3 cup sour cream, at room temperature: This is the magic ingredient for the most incredibly creamy and slightly tangy cheesecake texture. Greek yogurt works in a pinch, too!
- 1 cup finely chopped fresh strawberries: We’re folding in real berry pieces for little bursts of fresh, jammy fruit in every single bite. It’s worth the extra few minutes of chopping, I promise.
Let’s Create Some Magic, Step-by-Step
Now that our ingredients are assembled, let’s get to the cozy, comforting part: putting it all together. Preheat your oven to 325°F (165°C) and line an 8×8 inch baking pan with parchment paper, leaving a little overhang on two sides. This little trick is your best friend—it creates a “sling” that will let you lift the entire batch of bars out perfectly for easy slicing later!
Step 1: Making the Crust
In a medium bowl, combine the graham cracker crumbs, melted butter, sugar, and that all-important pinch of salt. Stir it with a fork until the mixture resembles wet sand and every crumb is moistened. It should hold together when you pinch it between your fingers.
Pour the mixture into your prepared pan and press it down firmly and evenly into the bottom. I like to use the flat bottom of a measuring cup to really pack it in—this gives you a sturdy base that won’t crumble when you slice your bars. Pop it in the preheated oven for 10 minutes. This quick pre-bake gives our crust a head start and a lovely toasty flavor. Set it aside to cool slightly while you make the filling.
Step 2: Whipping Up the Filling
In a large bowl, beat the softened cream cheese and sugar together with an electric mixer on medium speed until it’s completely smooth, creamy, and free of any lumps. This should take about 2 minutes. Scrape down the sides and bottom of the bowl well—this is a crucial step for a perfectly smooth filling!
Now, add the eggs one at a time, beating on low speed after each addition until just combined. Remember, we’re not trying to incorporate a lot of air here; we want a dense, creamy cheesecake. Once the eggs are in, beat in the vanilla and sour cream, again just until everything is blended and smooth.
Finally, gently fold in the chopped strawberries with a spatula. You’ll see beautiful streaks of pink and red swirl through the creamy white filling. It already looks like a celebration!
Now that you’ve got the basics of these dreamy strawberry cheesecake bars down, let’s dive into the little secrets that will make them truly your masterpiece. Every baker has their own tricks, and I’m so excited to share mine with you!
Pro Tips for the Perfect Bars
Want that picture-perfect, creamy texture without a single crack? Here’s how:
- Room Temperature is Key: I can’t stress this enough! Make sure your cream cheese, eggs, and sour cream are all at room temperature. This ensures a silky smooth filling without any pesky lumps.
- Don’t Overmix: Once you add the eggs, mix on low speed just until they’re incorporated. Overbeating incorporates too much air, which can cause the cheesecake to puff up and then fall, leading to cracks.
- The Water Bath Shortcut: While a full water bath is tricky for bars, try placing a pan of hot water on the rack below your cheesecake in the oven. The steam helps create a humid environment for even, gentle baking.
Delicious Variations & Substitutions
Life is all about options, and so is this recipe! Feel free to get creative.
- Berry Bliss: Not a strawberry fan? This recipe is wonderful with raspberries, blueberries, or a mix of all three! You can use the same quantity of fresh or frozen fruit.
- Gluten-Free Goodness: Simply swap the graham crackers for your favorite gluten-free version. The crust will be just as delicious and crunchy.
- Lighter Option: You can use Neufchâtel cheese (the lighter version of cream cheese) and low-fat sour cream with fantastic results. The bars will be slightly less dense but still incredibly satisfying.
- Citrus Zing: Add a teaspoon of lemon or orange zest to the filling for a bright, fresh flavor that cuts through the richness beautifully.
What to Serve With Your Cheesecake Bars
These bars are a star on their own, but a little pairing can turn them into a show-stopping dessert.
- A dollop of freshly whipped cream and a single, perfect strawberry on top is a classic for a reason.
- Drizzle with a homemade raspberry or chocolate sauce for a decadent touch.
- Serve alongside a scoop of vanilla bean ice cream for the ultimate “à la mode” experience.
- For a brunch gathering, pair them with fresh fruit salad and a mimosa. Perfection!
The Joy of Making (and Eating) Them
Beyond being utterly delicious, these bars are a joy to make. They require no fancy springform pan or stressful flipping. They’re the perfect shareable dessert for a picnic, potluck, or just because. There’s something so comforting about having a pan of homemade cheesecake in the fridge, ready to slice a little piece of joy whenever you need it.
A Few Real-Life Tips from My Kitchen
After making these more times than I can count, here’s my final advice:
- For super clean slices, run your knife under hot water and wipe it clean between each cut.
- If you’re using frozen strawberries, thaw them completely and drain any excess liquid to keep your swirls from making the filling too wet.
- Patience, young grasshopper! I know it’s hard, but letting them chill for the full recommended time is non-negotiable for that perfect, firm texture.
I hope you and your loved ones adore this recipe as much as we do. It’s a little piece of creamy, berry-filled heaven that’s meant to be shared. Happy baking!
Conclusion
And there you have it—the easiest, creamiest, most delightful strawberry cheesecake bars you’ll ever make. With a buttery graham cracker crust, a lusciously smooth no-bake filling, and that gorgeous fresh strawberry topping, this recipe is truly a celebration of simple, joyful baking. It’s the perfect treat to whip up for a last-minute gathering, a sweet weekend project, or just because you deserve a little slice of happiness.
I’d love to hear how your cheesecake bars turn out! Did you add a twist with a different fruit? Share your creations with me in the comments below or tag me on social media. And if you’re looking for your next baking adventure, why not try my classic lemon bars or these decadent chocolate peanut butter squares next? Happy baking!
FAQs
Can I use frozen strawberries for the topping?
Absolutely! Frozen strawberries work wonderfully. Just be sure to thaw them completely and drain any excess liquid before chopping and mixing with the jam. This will help prevent your topping from being too runny.
My crust is too crumbly. What did I do wrong?
This usually happens if the butter wasn’t fully incorporated or if you need just a touch more. The mixture should hold together when you pinch it between your fingers. If it’s too dry, try adding another tablespoon of melted butter and mixing again.
How long do these bars need to set in the fridge?
For the best, cleanest slices, I recommend letting them chill for at least 4 hours. However, for an ultra-firm texture that holds its shape perfectly, letting them set overnight is ideal.
Can I make these bars ahead of time?
Yes, they are a fantastic make-ahead dessert! They will keep beautifully in an airtight container in the refrigerator for up to 4 days.
Is there a substitute for the cream cheese?
For the classic flavor and texture, full-fat block cream cheese is highly recommended. While lower-fat versions can be used, they may result in a softer, less firm filling. I don’t recommend using whipped or tub-style cream cheese.


