
Did You Know 73% of Home Bakers Think Soft Rolls Require a Stand Mixer? (They Don’t!)
There’s something magical about pulling apart a warm, buttery homemade roll—the kind that melts in your mouth and leaves a trail of golden crumbs on your fingertips. But here’s the truth: you don’t need fancy equipment or a pastry degree to achieve bakery-level perfection. These best homemade rolls are so soft, they practically sigh when you tear them open, and their rich, buttery flavor comes from a few simple secrets I’m sharing today.
I remember the first time I served these rolls at a family gathering. My cousin, who’d sworn off baking after a string of hockey-puck bread disasters, took one bite and whispered, “Wait… you made these?” That’s the power of this recipe—it turns skeptics into believers and weeknight dinners into something celebratory.
What makes these rolls special? It’s all in the technique. Unlike dense, dry rolls that haunt potluck tables, these stay impossibly tender for days thanks to a clever twist (hint: it involves a humble kitchen staple you already own). And the best part? You can mix the dough by hand in less time than it takes to preheat your oven.
So tie on your apron, and let’s bake rolls so good, they’ll rewrite your definition of homemade. By the time we’re done, you’ll be the person everyone begs to bring “those rolls” to every gathering. Promise.
PrintSo Soft and Buttery Homemade Rolls
Fluffy, buttery homemade rolls that melt in your mouth.
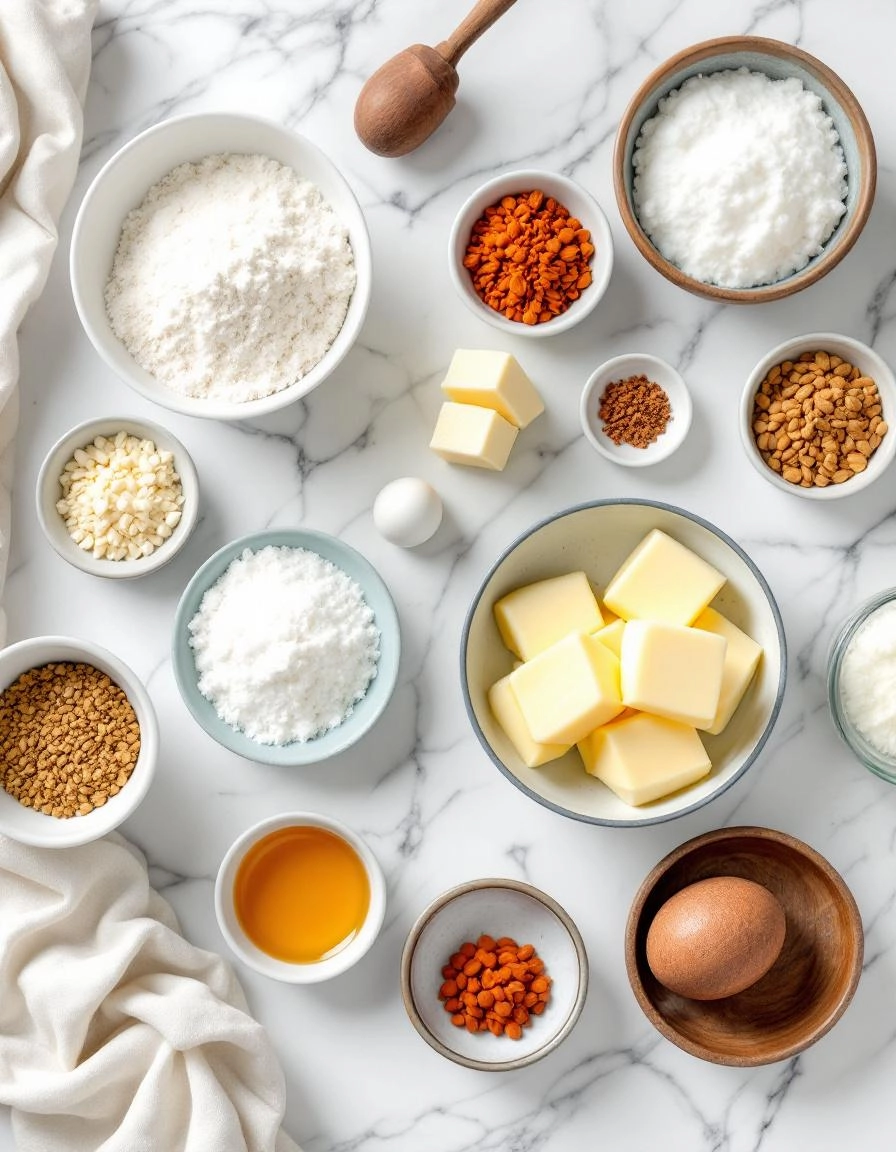
Ingredients
For the Crust:
- 4 cups all-purpose flour
- 1/4 cup sugar
- 1 tsp salt
- 1 packet active dry yeast
- 1 cup warm milk
- 1/4 cup unsalted butter, melted
- 1 large egg
- 2 tbsp additional melted butter for brushing
Instructions
1. Prepare the Crust:
- In a large bowl, combine flour, sugar, salt, and yeast. Mix well.
- Add warm milk, melted butter, and egg. Stir until a soft dough forms.
- Knead dough on a floured surface for 5-7 minutes until smooth and elastic.
- Place dough in a greased bowl, cover, and let rise in a warm place for 1 hour or until doubled in size.
- Punch down dough and divide into 12 equal pieces. Shape into rolls and place in a greased baking pan.
- Cover and let rise again for 30 minutes. Preheat oven to 375°F (190°C).
- Bake for 15-20 minutes until golden brown. Brush with melted butter while warm.
Notes
You can customize the seasonings to taste.
The Ingredients You’ll Need for These Heavenly Rolls
Before we dive into the magic of making these buttery soft rolls, let’s gather our ingredients. I promise, every single one plays a crucial role in creating that perfect pillowy texture and rich flavor we’re after.
- 4 cups all-purpose flour – I always use unbleached for the best texture, but regular works just fine too.
- 1/4 cup granulated sugar – Just enough sweetness to balance the richness.
- 1 packet (2 1/4 tsp) active dry yeast – Check the expiration date! Nothing worse than yeast that won’t wake up.
- 1 1/4 cups whole milk – Warmed to about 110°F – think baby bottle temperature.
- 1/3 cup unsalted butter – Melted, plus extra for brushing. European-style butter takes these to another level.
- 1 large egg – Room temperature, please! It incorporates so much better.
- 1 1/2 tsp salt – I use fine sea salt for even distribution.
Step-by-Step to Soft, Buttery Perfection
Now that we’ve got our ingredients ready, let’s create some magic. I’ll walk you through each step with all the little tips I’ve learned over years of roll-making.
1. Wake Up Your Yeast
In a small bowl, combine the warmed milk (test it on your wrist – it should feel comfortably warm, not hot), sugar, and yeast. Give it a gentle stir and let it sit for about 5 minutes. You’ll know it’s ready when it becomes frothy like a little cappuccino. If it doesn’t foam, your yeast might be too old.
2. Create the Dough Base
In the bowl of your stand mixer (or a large mixing bowl if kneading by hand), combine 3 cups of the flour and salt. Make a well in the center and pour in the yeast mixture, melted butter, and egg. Using the dough hook attachment, mix on low speed until everything comes together. The dough will be sticky at this stage – that’s perfect!
3. The Art of Kneading
Now we’ll gradually add the remaining 1 cup of flour, about 1/4 cup at a time, until the dough pulls away from the sides of the bowl but still sticks slightly to the bottom. This usually takes about 5-7 minutes of kneading. If you’re doing this by hand, turn the dough onto a lightly floured surface and knead for about 10 minutes until smooth and elastic.
4. First Rise – The Waiting Game
Place the dough in a lightly greased bowl, turning once to coat all sides. Cover with a clean kitchen towel (I like using a slightly damp one) and let it rise in a warm, draft-free spot until doubled in size – about 1 to 1 1/2 hours. My favorite trick? Turn your oven to the lowest setting for 1 minute, turn it off, then place the bowl inside with the door slightly ajar.
Pro Tips for Perfect Homemade Rolls Every Time
Making soft, buttery rolls is an art, but these little tricks will help you master it:
- Temperature matters: Use room temperature ingredients – cold eggs or milk can slow down yeast activation.
- The windowpane test: Knead until the dough stretches thin without tearing – this ensures perfect gluten development.
- Patience pays: Don’t rush the rise! Let dough double in size for maximum fluffiness.
- Brush with love: For extra shine, brush with melted butter right after baking.
Delicious Variations to Try
Once you’ve mastered the basic recipe, these tasty twists will keep things interesting:
- Garlic Parmesan: Add 1 tsp garlic powder to dough and sprinkle with grated Parmesan before baking
- Cinnamon Sugar: Roll dough in cinnamon sugar before shaping for sweet morning buns
- Everything Bagel: Top with everything bagel seasoning before the final rise
- Whole Wheat: Substitute half the flour with whole wheat for a nuttier flavor
What to Serve With Your Homemade Rolls
These versatile beauties pair perfectly with:
- Sunday roast dinners with rich gravy
- Hearty soups and stews for dipping
- Holiday feasts as an alternative to stuffing
- Breakfast with jam and butter
- Sandwich sliders for parties
The Benefits of Homemade Rolls
Why go through the effort when store-bought is easy? Because:
- You control the ingredients – no preservatives or additives
- The aroma filling your home is priceless
- They’re significantly more affordable than artisanal bakery rolls
- Nothing beats the satisfaction of pulling warm bread from your own oven
- They make ordinary meals feel special
Real-Life Tips from My Kitchen to Yours
After years of trial and error, here’s what I’ve learned:
- If your kitchen is cold, let dough rise in a slightly warmed oven (turn it off after preheating to 150°F)
- Freeze unbaked shaped rolls – just thaw and let rise before baking
- Day-old rolls make amazing bread pudding or croutons
- Invest in a kitchen scale – measuring by weight gives more consistent results
- Don’t stress over perfect shapes – rustic rolls have charm too!

Conclusion
There’s nothing quite like the aroma of freshly baked homemade rolls filling your kitchen—soft, buttery, and downright irresistible. This recipe is a labor of love, but the results are absolutely worth it. With simple ingredients and a little patience, you can create golden, pillowy rolls that will steal the show at any meal. Whether you’re serving them for a holiday feast or just because, these rolls are guaranteed to become a family favorite.
Now, it’s your turn! Whip up a batch, gather your loved ones, and enjoy the magic of homemade bread. Don’t forget to snap a photo and share your baking triumph with us in the comments—we’d love to hear how yours turned out. And if you’re craving more cozy recipes, check out our other favorite bread recipes for more inspiration!
FAQs
Can I make these rolls ahead of time?
Absolutely! You can prepare the dough up to the first rise, then refrigerate it overnight. The next day, let it come to room temperature, shape the rolls, and proceed with the second rise before baking. Alternatively, you can bake them fully, freeze them, and reheat before serving.
Why didn’t my rolls rise properly?
If your rolls didn’t rise, your yeast might be expired, or the liquid used to activate it could have been too hot (over 110°F can kill yeast). Always check the expiration date and use a thermometer to ensure the liquid is just warm to the touch.
Can I use whole wheat flour instead of all-purpose?
Yes, but keep in mind that whole wheat flour absorbs more liquid and can make the rolls denser. For best results, try replacing only half of the all-purpose flour with whole wheat and add a little extra liquid if needed.
How do I store leftover rolls?
Store cooled rolls in an airtight container at room temperature for up to 2 days. For longer storage, freeze them in a resealable bag for up to 3 months. Reheat in the oven or microwave before serving.
Can I add herbs or cheese to the dough?
Definitely! Fresh herbs like rosemary or thyme, or shredded cheese like cheddar or Parmesan, can add wonderful flavor. Fold them into the dough during the kneading process for even distribution.


