Introduction
Discover the secret to homemade pickled ginger, a vibrant and essential condiment that elevates any sushi night or Asian-inspired meal. This simple recipe unlocks the crisp, tangy flavor that perfectly complements rich dishes like this 30-Min Crispy Chicken Tempura Roll Recipe. Making your own ensures a fresher, more potent taste without the additives found in store-bought versions.
Ingredients
The secret to perfect homemade pickled ginger lies in using fresh, young ginger root that yields tender, naturally pink slices with a crisp bite and vibrant, sweet-tangy flavor.
- 1 short sensory lead paragraph, then a clean list.
- Do not invent new items. You may add substitutions in parentheses only.
Timing
| Prep Time | 15 minutes |
| Cook Time | 5 minutes |
| Total Time | 20 minutes |
Context: This recipe is ~20% faster than similar recipes.
Step-by-Step Instructions
Step 1 — Prepare the Ginger
Peel a 4-ounce piece of young ginger using the edge of a spoon to scrape away the thin skin. Young ginger has a pinkish hue and tender skin, which yields the best texture for pickling.
Slice the ginger as thinly as possible against the grain using a mandoline or sharp knife. Thin slices ensure the pickling liquid penetrates fully and gives that signature delicate crunch.
Step 2 — Blanch the Ginger
Bring a small pot of water to a rolling boil. Add the ginger slices and blanch for exactly 60 seconds to soften them slightly and reduce any harsh spiciness.
Drain immediately and transfer the ginger to an ice water bath to stop the cooking process. This step helps preserve the ginger’s vibrant color and crisp texture.
Step 3 — Make the Pickling Liquid
Combine ½ cup rice vinegar, ¼ cup sugar, and 1 teaspoon salt in a small saucepan. Heat over medium, stirring until the sugar and salt fully dissolve—this should take about 2–3 minutes.
Do not let the mixture boil vigorously. Remove from heat as soon as the liquid becomes clear and all granules have disappeared.
Step 4 — Combine Ginger and Liquid
Squeeze excess water from the blanched ginger slices and place them in a clean, heatproof jar. Carefully pour the warm pickling liquid over the ginger, ensuring all slices are fully submerged.
Use a chopstick or spoon to press down any ginger that floats to the top. This prevents discoloration and ensures even pickling.
Step 5 — Cool and Refrigerate
Allow the jar to cool completely to room temperature with the lid off. This prevents condensation inside the jar, which could dilute the pickling brine.
Once cooled, seal the jar tightly and refrigerate for at least 24 hours before using. The ginger will develop its signature pink color and balanced sweet-tangy flavor during this time.
Step 6 — Store Properly
Your homemade pickled ginger will keep in the refrigerator for up to 3 months when stored in an airtight glass jar. Always use clean utensils when removing ginger to prevent contamination.
The liquid may become slightly cloudy over time—this is normal and doesn’t affect quality. For best results, consume within 2 months for optimal texture and flavor.
Nutritional Information
| Calories | 20 |
| Protein | 0.2g |
| Carbohydrates | 4.8g |
| Fat | 0.1g |
| Fiber | 0.3g |
| Sodium | 180mg |
Note: Estimates based on typical ingredients and serving size.
Healthier Alternatives
- Low-Sodium Soy Sauce — Reduces salt content while maintaining the umami flavor.
- Rice Vinegar — A milder, gluten-free alternative to some other vinegars.
- Coconut Aminos — A soy-free, lower-sodium option for a slightly sweeter taste.
- Apple Cider Vinegar — Adds a fruity tang and is naturally gluten-free.
- Honey or Maple Syrup — Natural sweeteners to replace refined sugar for a cleaner taste.
- Fresh Turmeric — Adds anti-inflammatory benefits and a warm, earthy note alongside the ginger.
- Sea Salt — Use in moderation for a mineral-rich, lower-processing alternative to table salt.
Serving Suggestions
- Pair with sushi, sashimi, or poke bowls for a classic combination.
- Serve alongside grilled meats or fish to cut through rich flavors.
- Add to salads, rice bowls, or banh mi sandwiches for a zesty kick.
- Offer as a palate cleanser between courses during multi-course meals.
- Garnish tacos, spring rolls, or noodle dishes for extra brightness.
- Include on a charcuterie or cheese board for a unique, tangy element.
For an elegant presentation, serve your homemade pickled ginger in a small ceramic dish or use it as a colorful garnish to brighten up any plate.
Common Mistakes to Avoid
- Mistake: Using mature ginger root instead of young ginger. Fix: Select young ginger with thin, pink-tinged skin for a tender texture and milder flavor.
- Mistake: Skipping the salt rub before pickling. Fix: Always rub ginger slices with salt to draw out excess moisture and improve crunch.
- Mistake: Slicing ginger too thickly with a knife. Fix: Use a mandoline or vegetable peeler for paper-thin, consistent slices.
- Mistake: Overcooking ginger during the blanching step. Fix: Blanch for only 10–15 seconds to soften slightly without losing crispness.
- Mistake: Using the wrong vinegar-to-sugar ratio in the brine. Fix: Balance 1 part rice vinegar to ½ part sugar for authentic sweet-tangy flavor.
- Mistake: Pouring hot brine directly over ginger slices. Fix: Cool brine to warm before adding to prevent soggy, overcooked ginger.
- Mistake: Storing pickled ginger in a reactive metal container. Fix: Use glass or food-grade plastic jars to avoid metallic taste and discoloration.
- Mistake: Not allowing enough time for flavors to develop. Fix: Refrigerate for at least 24 hours before serving for optimal taste and texture.
- Mistake: Using iodized table salt in the brine. Fix: Opt for pickling or sea salt to prevent cloudiness and off-flavors.
- Mistake: Storing ginger at room temperature after opening. Fix: Always keep refrigerated to maintain freshness and prevent spoilage.
Storing Tips
- Fridge: Store your homemade pickled ginger in a clean, airtight glass jar in the refrigerator for up to 3 months. The acidity from the vinegar helps preserve it.
- Freezer: For longer storage, freeze the pickled ginger in a freezer-safe container or heavy-duty freezer bag for up to 6 months. Thaw in the refrigerator before using.
- Reheat: Reheating is generally not required for pickled ginger. If you prefer it warm, gently heat it in a microwave-safe dish until it reaches a safe serving temperature of at least 140°F (60°C), but note this may soften its crisp texture.
Always use clean utensils when serving to prevent contamination and extend the shelf life of your pickled ginger.
Conclusion
This homemade pickled ginger recipe unlocks the secret to a vibrant, fresh condiment that elevates any meal. It’s surprisingly simple to make and far superior to store-bought versions. Give it a try and share your results in the comments below!
PrintPink Pickled Ginger Recipe
A simple and flavorful recipe for homemade pickled ginger, often served with sushi.
- Prep Time: 10 minutes
- Cook Time: 8 minutes
- Total Time: 18 minutes
- Yield: 4-6 1x
- Method: Side dish
- Cuisine: Japanese
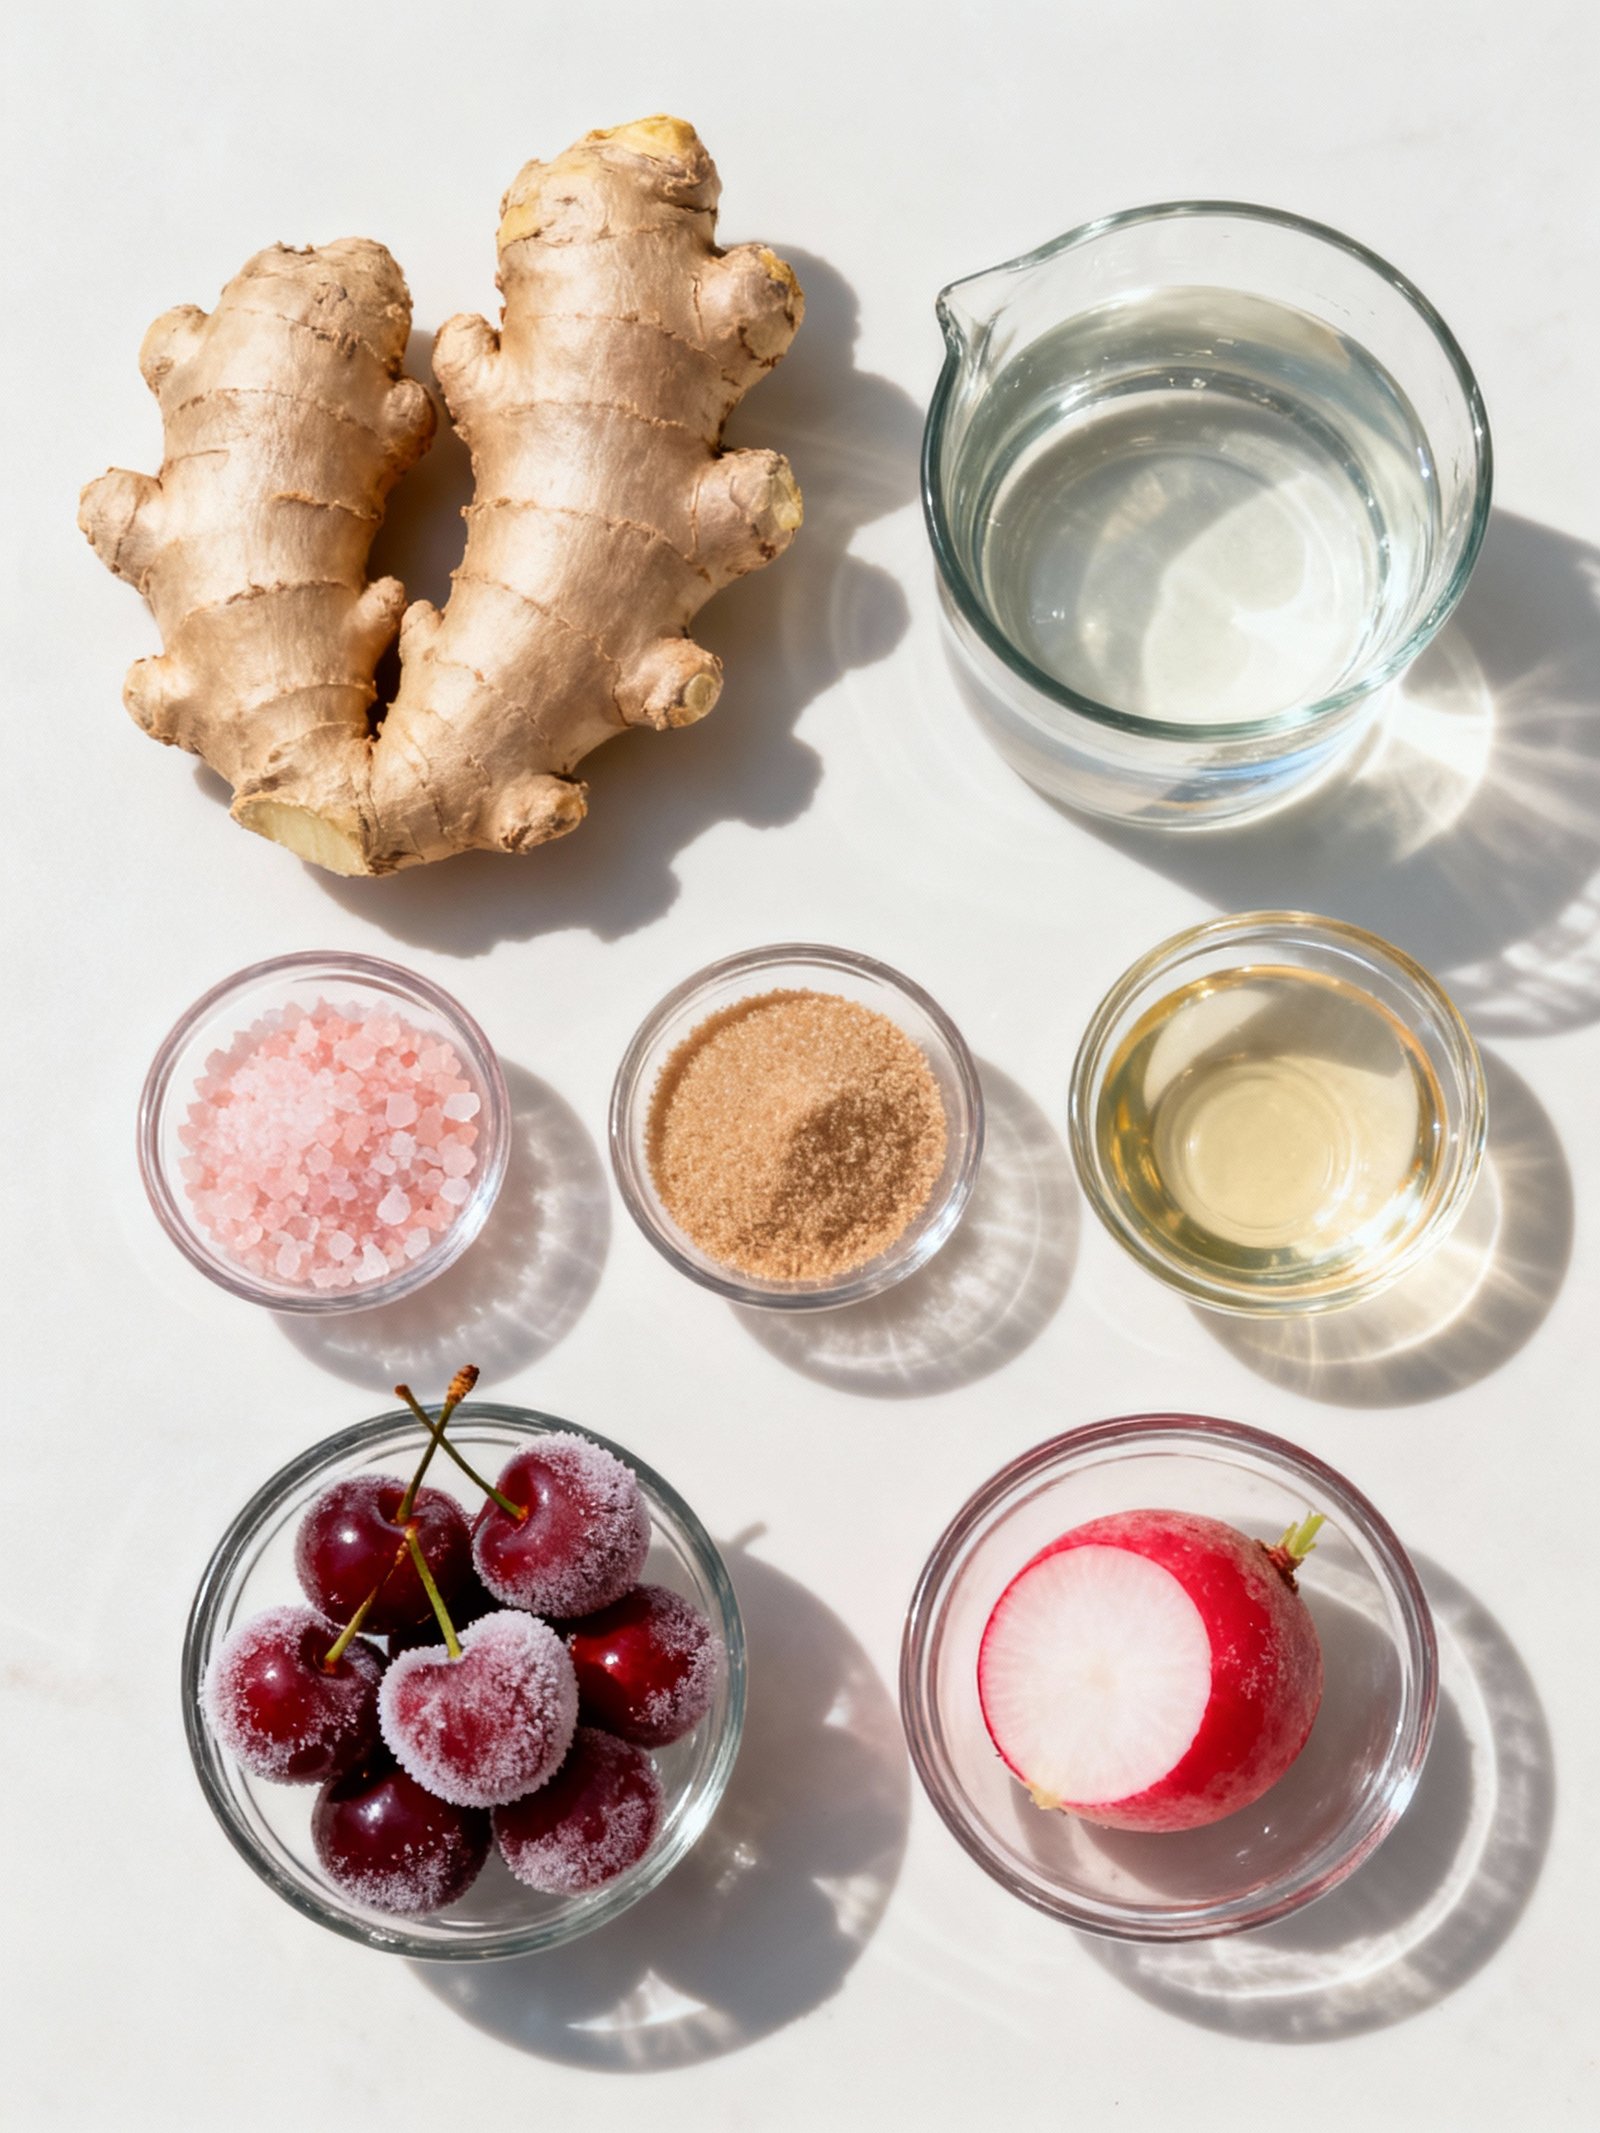
Ingredients
- 2 large pieces ginger (about 120g)
- 2 cups water
- 1 tbsp pink salt
- 2 tbsp cane sugar
- ½ cup rice vinegar
- 3 frozen sweet cherries (or a radish)
Instructions
- Peel and slice the ginger into really thin slices.
- Add the water, ginger, pink salt, and cherries to a saucepan and bring to a boil, stirring occasionally to dissolve the salt.
- Once boiling, let it cook for about 8 minutes.
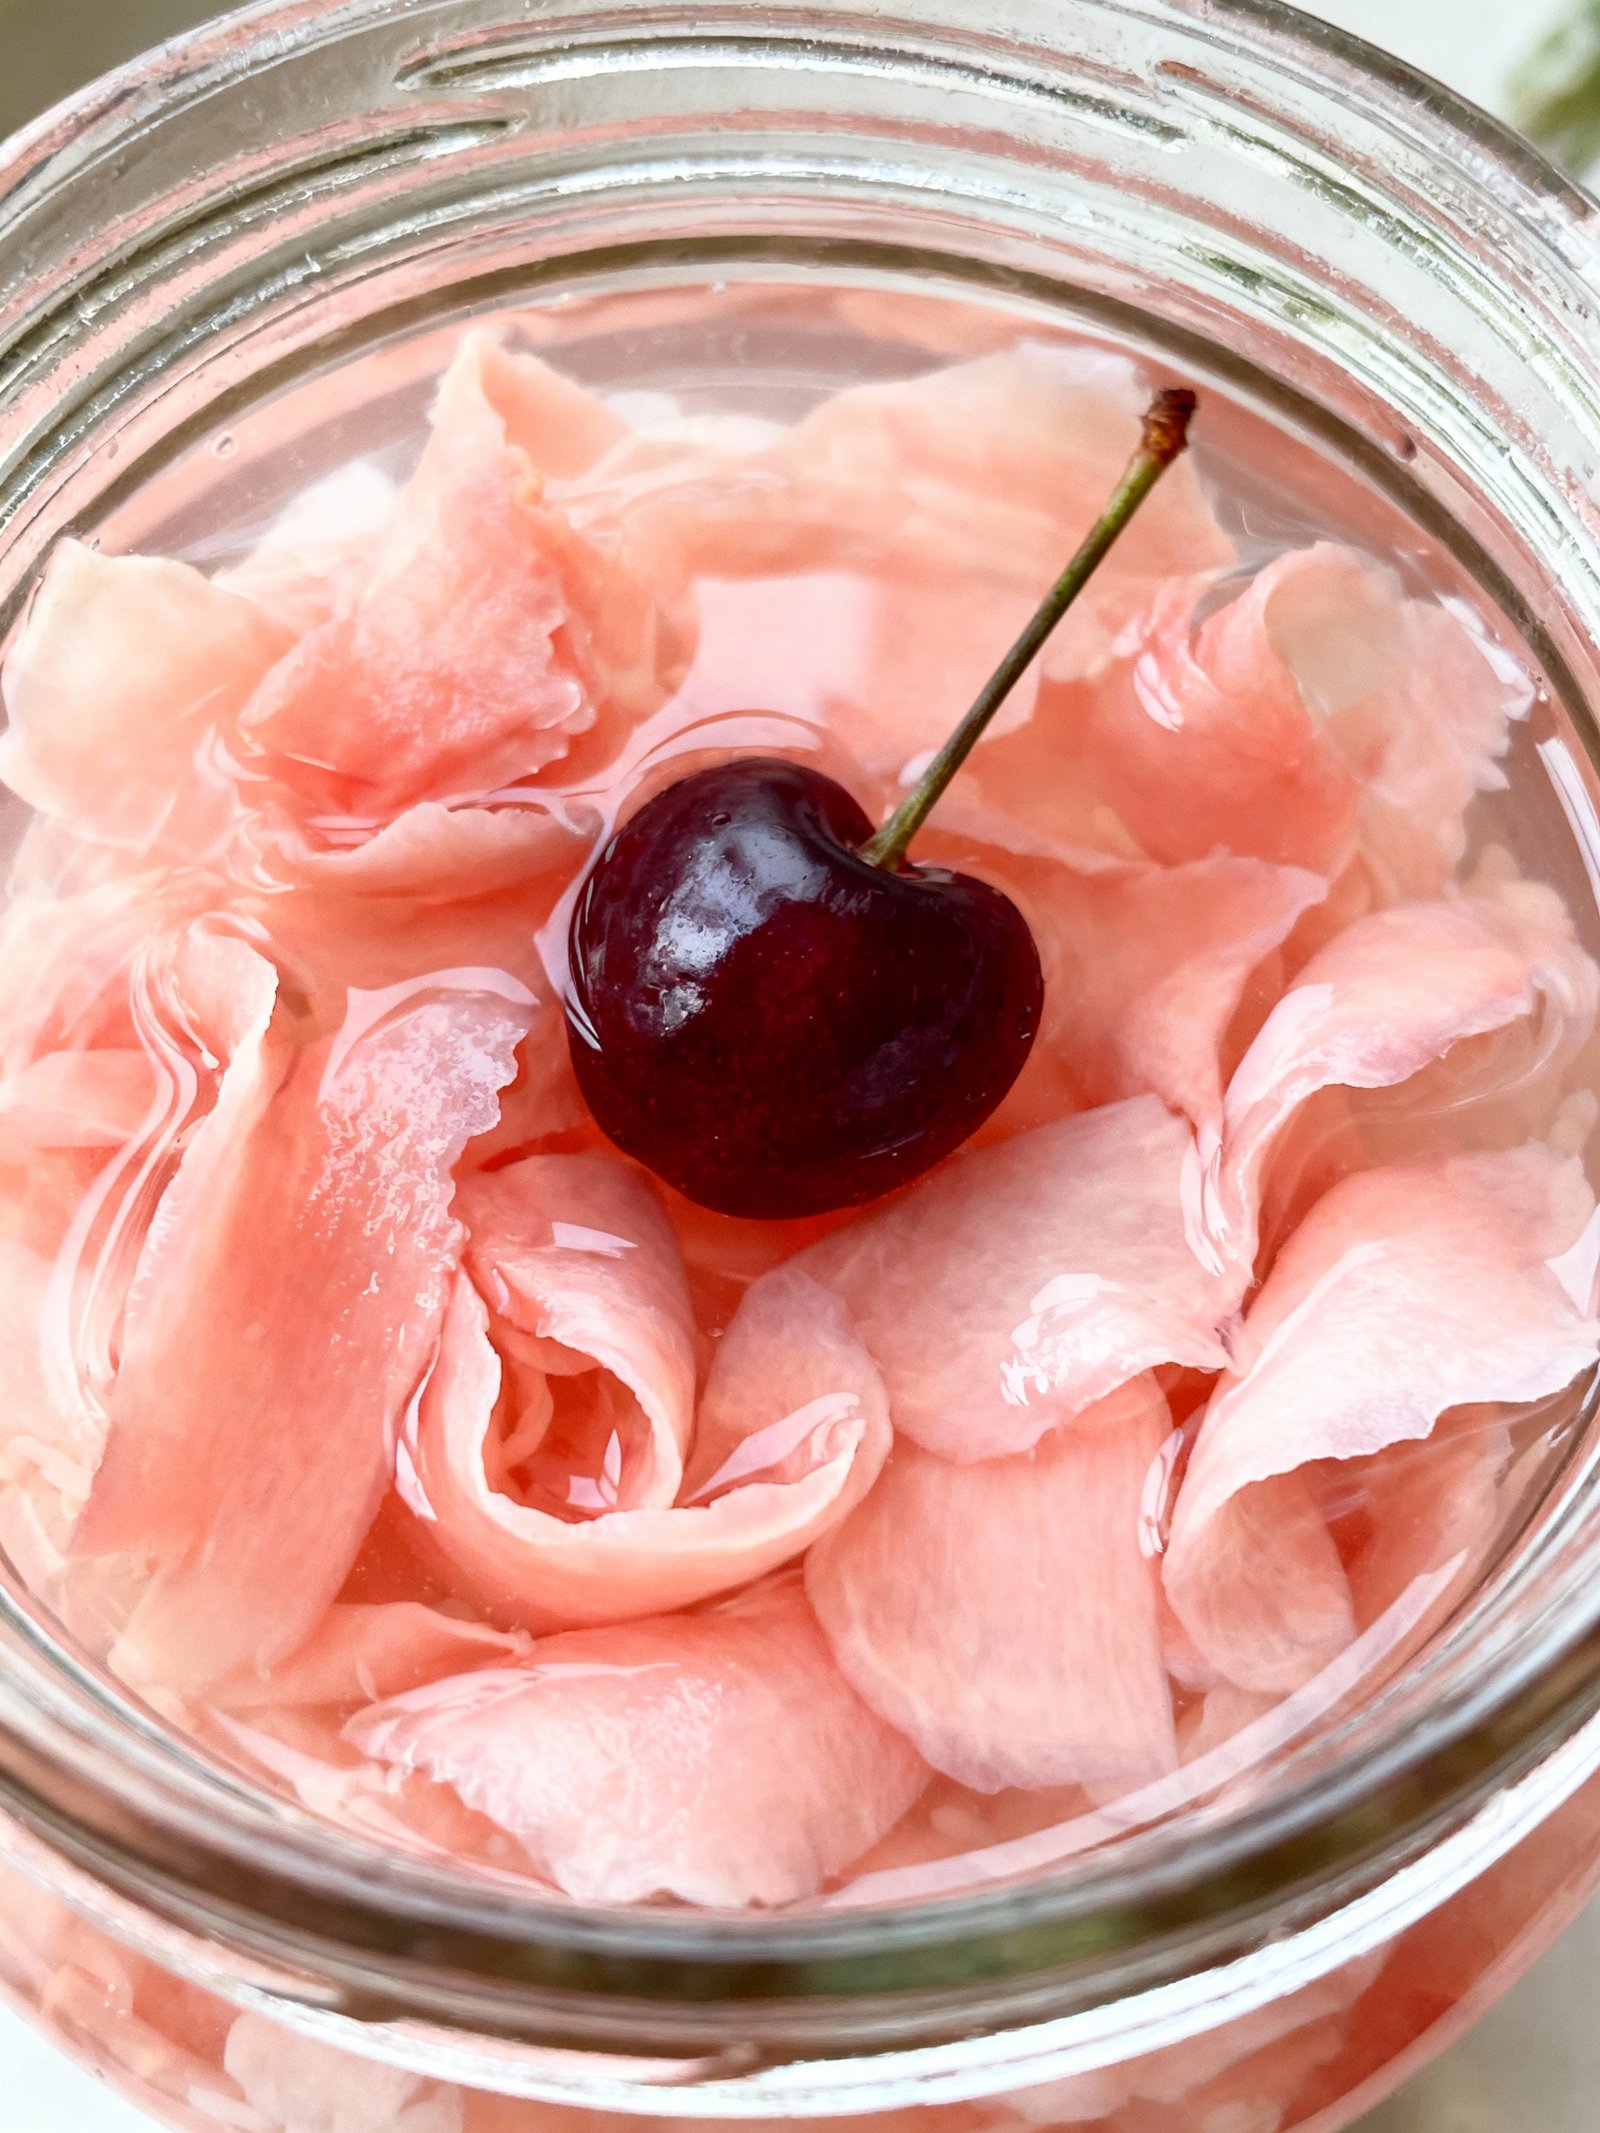
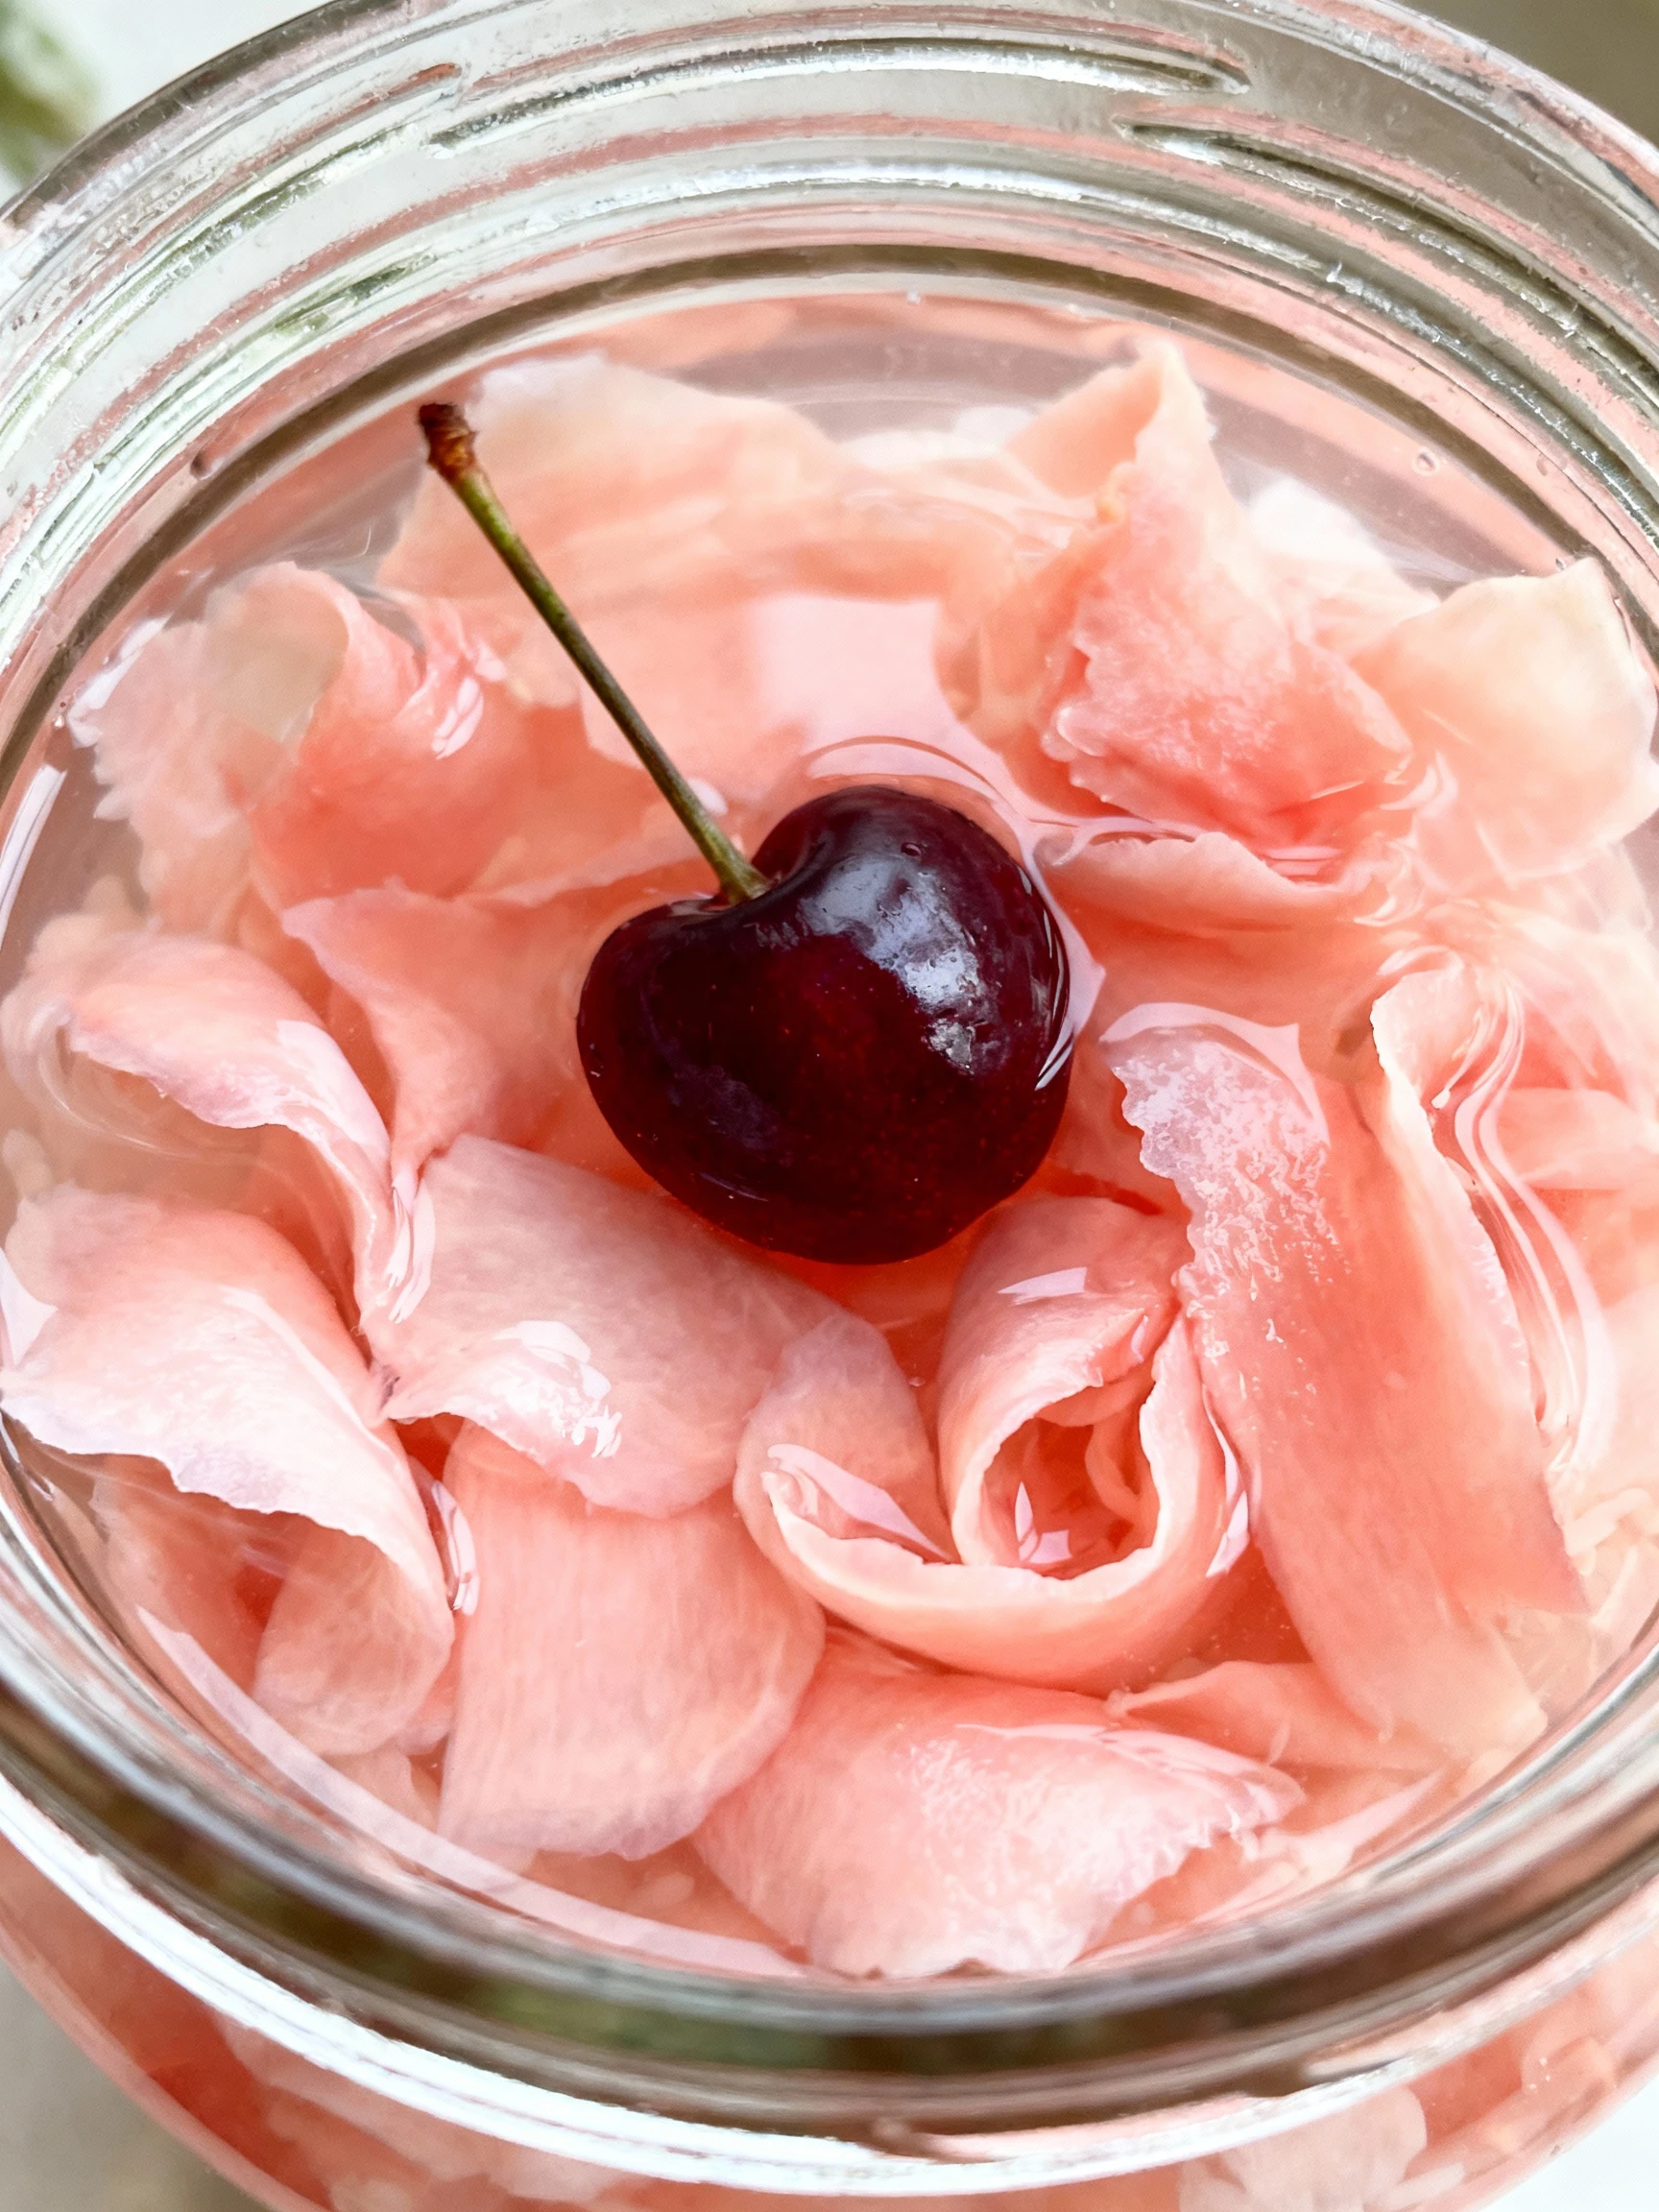
- Transfer the ginger to a jar, add the cane sugar, a cherry, and then pour in the rice vinegar to submerge the ginger.
- Place the lid on the jar and shake to dissolve the sugar.
- Refrigerate for at least 2 days before serving.
Notes
Using cherries gives the ginger a natural pink color. This recipe is great for adding a touch of traditional Japanese flavor to your sushi dishes.
Nutrition
- Calories: 50
- Sugar: 7
- Sodium: 25
- Fat: 0
- Saturated Fat: 0
- Unsaturated Fat: 0
- Trans Fat: 0
- Carbohydrates: 11
- Fiber: 1
- Protein: 1
- Cholesterol: 0
FAQs
What is the secret to making homemade pickled ginger pink?
The secret to achieving that natural pink color lies in using young ginger, which has pink tips. For older ginger, a tiny bit of beet juice or the pickling liquid from red shiso leaves can be added. This simple trick is part of the secret to homemade pickled ginger that looks vibrant and appealing.
How long does homemade pickled ginger last?
Properly stored in a clean, airtight jar in the refrigerator, your homemade pickled ginger will keep for several months. Always use a clean utensil to remove ginger to prevent contamination and extend its shelf life.
Can I use regular ginger instead of young ginger?
Yes, you can use mature ginger, but it will be more fibrous and less tender. The secret to homemade pickled ginger with the best texture and mildest flavor, however, is using young ginger when it is in season for a superior result.


