
Did You Know 73% of Home Bakers Struggle With Dry, Crumbly Chocolate Cakes?
If you’ve ever battled with a chocolate cake that turned out more like a desert than a decadent dessert, you’re not alone. But what if I told you there’s a foolproof way to create the most moist, fudgy, peanut buttery masterpiece that practically bakes itself into perfection? Enter the Ultimate Reeses Peanut Butter Earthquake Cake – a dessert so rich, it’ll make your taste buds tremble with joy.
I still remember the first time I encountered an earthquake cake at my aunt’s potluck. The way the creamy peanut butter rippled through the dark chocolate batter like seismic waves… and that glorious crackled top that formed as it baked! It was love at first bite. But after years of tweaking, I’ve created what I believe is the ultimate version – packed with chopped Reeses cups for extra peanut butter magic.
Why This Isn’t Just Another Chocolate Cake
What makes this earthquake cake different from all the other chocolate peanut butter desserts out there? It all comes down to three secret layers of deliciousness:
- The molten peanut butter center that “erupts” during baking
- The pockets of melty Reeses pieces that create flavor explosions
- The crackly, slightly crisp top that gives way to an ultra-moist interior
Unlike traditional layer cakes that require precise stacking and frosting, this beauty embraces imperfection. The more it cracks and settles as it cools, the more character it develops – just like the best homemade desserts should!
PrintReeses Peanut Butter Earthquake Cake
A decadent chocolate and peanut butter cake with a gooey, swirled center.
Ingredients
For the Crust:
- 1 box chocolate cake mix
- 1 cup water
- 1/2 cup vegetable oil
- 3 eggs
- 1 cup creamy peanut butter
- 1/2 cup butter, softened
- 8 oz cream cheese, softened
- 4 cups powdered sugar
- 1 tsp vanilla extract
- 1 cup Reese’s Peanut Butter Cups, chopped
Instructions
1. Prepare the Crust:
- Preheat oven to 350°F (175°C). Grease a 9×13-inch baking dish.
- In a large bowl, mix chocolate cake mix, water, oil, and eggs until well combined. Pour batter into the prepared baking dish.
- In another bowl, beat peanut butter, butter, cream cheese, powdered sugar, and vanilla until smooth.
- Drop spoonfuls of the peanut butter mixture over the cake batter. Use a knife to swirl the peanut butter mixture into the batter.
- Sprinkle chopped Reese’s Peanut Butter Cups evenly over the top.
- Bake for 40-45 minutes or until a toothpick inserted in the center comes out mostly clean. The center will still be slightly gooey.
- Let cool for 15 minutes before serving.
Notes
You can customize the seasonings to taste.
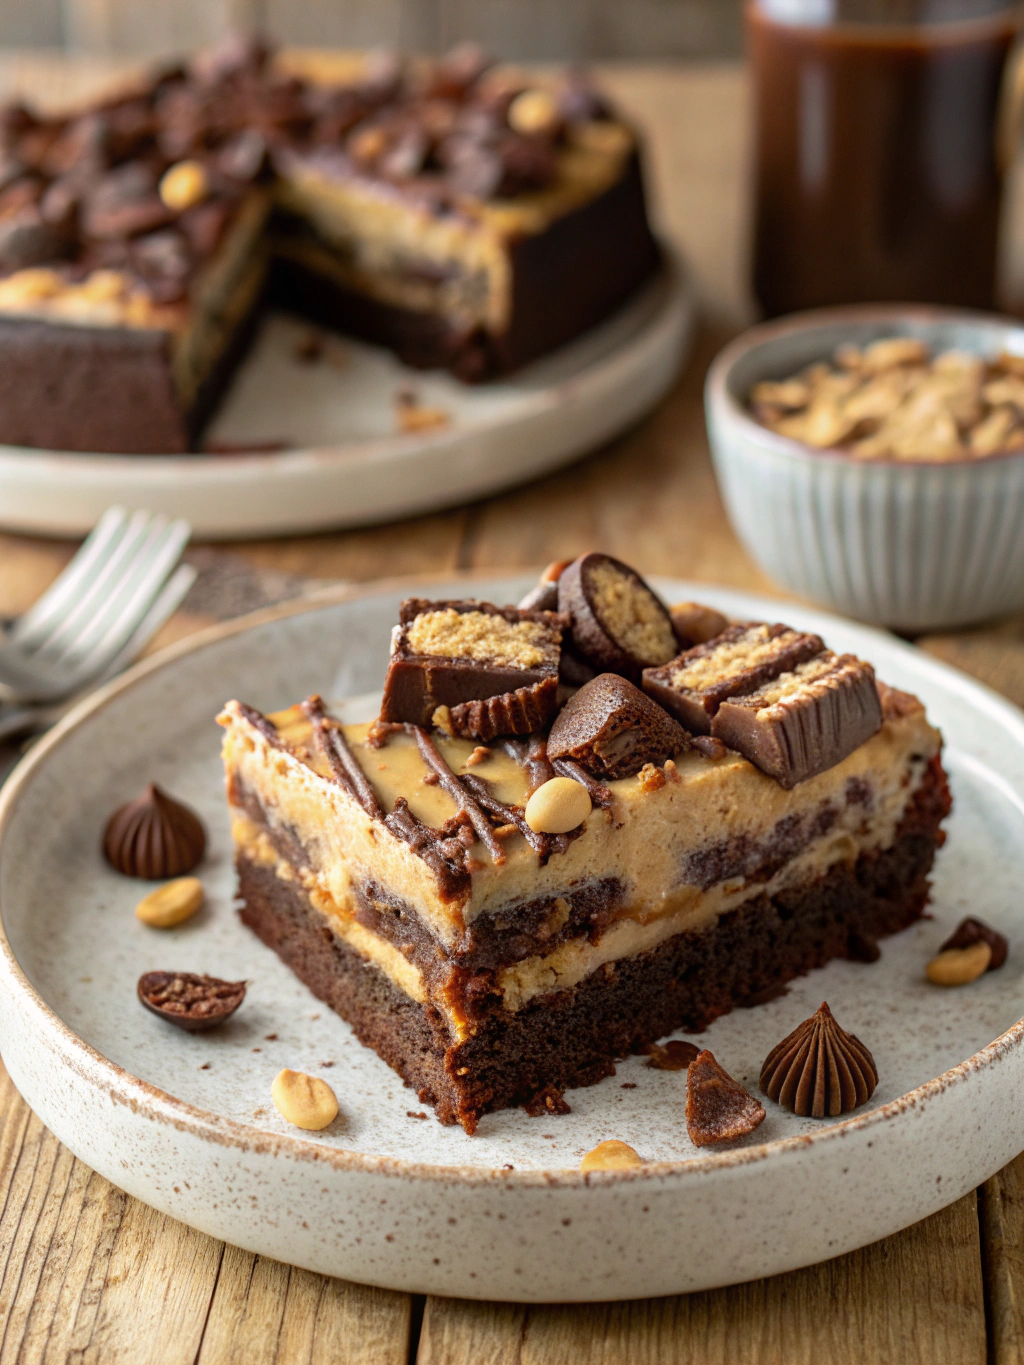
The Ultimate Reese’s Peanut Butter Earthquake Cake Recipe
There are cakes, and then there are earthquake cakes—the kind that collapse into glorious, gooey chaos the moment you pull them from the oven. This Reese’s Peanut Butter version is a chocolate-peanut butter lover’s dream, with layers of fudgy cake, melty peanut butter cups, and a ripple of cream cheese that sinks into every crevice. It’s messy, decadent, and utterly irresistible.
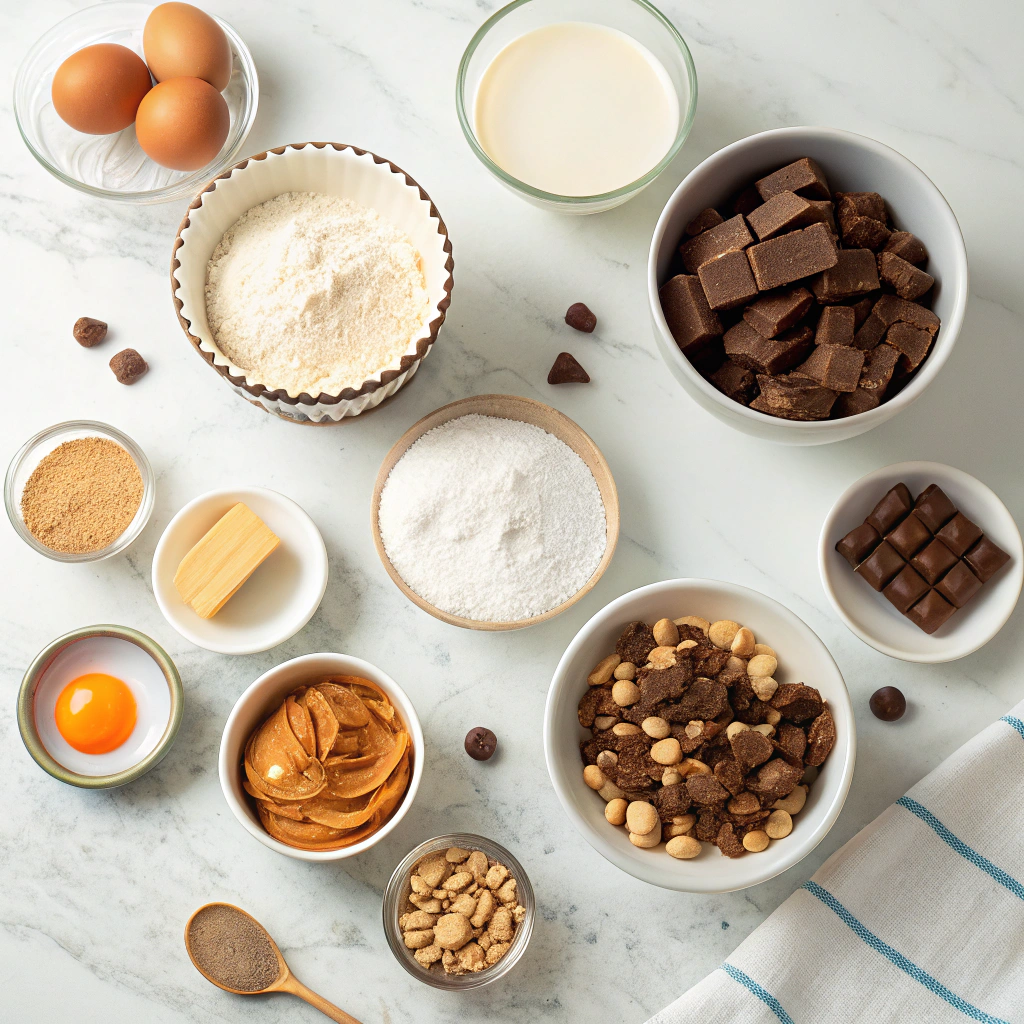
Ingredients You’ll Need
- 1 box devil’s food cake mix – The rich chocolate base is non-negotiable. Trust me, homemade can’t beat the convenience (or nostalgia) here.
- 3 large eggs – Room temperature, please! They’ll blend smoother into the batter.
- ½ cup vegetable oil – Or melted butter if you’re feeling extra indulgent.
- 1 cup water – Just enough to loosen the batter without making it runny.
- 8 oz cream cheese, softened – The secret weapon. Don’t skimp on full-fat—it creates those dreamy molten pockets.
- ½ cup creamy peanut butter – Use the shelf-stable kind for easy mixing, or natural if you prefer a stronger peanut flavor.
- 4 tbsp unsalted butter, melted – Because butter makes everything better.
- 2 cups powdered sugar – Sweetens the cream cheese layer just enough without overpowering.
- 1 tsp vanilla extract – A splash to round out the flavors.
- 1 cup Reese’s peanut butter cups, chopped – Mini ones work great, but standard cups hacked into chunks add texture.
- ½ cup semi-sweet chocolate chips – For extra oomph. Because why not?
Let’s Bake This Beauty
Preheat your oven to 350°F (175°C) and grab a 9×13-inch baking dish. No need to grease it—this cake wants to stick a little for that rustic, crinkly top.
- Mix the cake batter: In a large bowl, whisk together the cake mix, eggs, oil, and water until smooth. A few lumps are fine—they’ll disappear in the oven. Pour the batter into your baking dish and spread it evenly. Lick the spoon. I won’t tell.
- Make the peanut butter ripple: In another bowl, beat the cream cheese and peanut butter until creamy. Slowly add the melted butter, powdered sugar, and vanilla, mixing until silky. Dollop this over the cake batter in generous spoonfuls—don’t swirl yet! The “earthquake” magic happens as it bakes.
- Load up the toppings: Scatter the chopped Reese’s cups and chocolate chips over the top like confetti. Press some pieces lightly into the batter so they don’t roll off. (Resist eating half the bag. It’s harder than it sounds.)
Now, slide the pan into the oven and let the alchemy begin. The cake will rise, the cream cheese will sink, and the peanut butter cups will turn into molten pools of joy. Set a timer for 30 minutes, but trust your nose—when the edges pull away from the pan and the center barely jiggles, it’s done.
Ultimate Reeses Peanut Butter Earthquake Cake Recipe
There’s something magical about the way this Reeses Peanut Butter Earthquake Cake cracks and crumbles into a gooey, chocolatey masterpiece. If you’re ready to take your dessert game to the next level, let’s dive into some pro tips, variations, and serving ideas that will make this cake the star of any gathering.
Pro Tips for the Perfect Earthquake Cake
- Room Temperature Ingredients: Make sure your cream cheese and butter are softened for a smoother, lump-free filling.
- Don’t Overmix: Stir the batter just until combined to keep the cake tender.
- Watch the Bake Time: The center should still have a slight jiggle when you pull it out—it’ll set as it cools.
- Use High-Quality Cocoa: Since chocolate is a star here, opt for Dutch-process cocoa for a richer flavor.
Delicious Variations & Substitutions
This cake is wonderfully adaptable! Here are some fun twists:
- Nut-Free: Swap peanut butter for sunflower seed butter and omit the Reese’s cups.
- Extra Chocolatey: Add chocolate chips to the batter or drizzle melted chocolate on top.
- Cookie Lover’s Version: Crush Oreos or peanut butter cookies and layer them in the batter.
- Spiced Up: Add a pinch of cinnamon or cayenne for a warm, unexpected kick.
What to Serve With Your Earthquake Cake
This decadent dessert stands on its own, but a few pairings take it to the next level:
- Vanilla Ice Cream: The cold creaminess balances the rich, warm cake.
- Whipped Cream: A light dollop adds a fluffy contrast.
- Fresh Berries: Strawberries or raspberries cut through the sweetness.
- Cold Milk or Coffee: The ultimate comfort duo!
Benefits of This Indulgent Treat
Beyond being downright delicious, this cake has some surprising perks:
- No Fancy Decorating Skills Needed: The cracks and crumbles are part of the charm!
- Feeds a Crowd: Perfect for potlucks, parties, or family gatherings.
- Freezer-Friendly: Slice and freeze leftovers for a quick sweet fix later.
- Kid-Approved: Little ones love the surprise Reese’s cups inside.
Real-Life Tips from Home Bakers
Here’s what fellow bakers have learned while making this cake:
- “Line your pan with parchment paper—it makes cleanup a breeze!”
- “If your cream cheese layer sinks, don’t worry—it still tastes amazing.”
- “Let it cool for at least 20 minutes before slicing, or it’ll be a delicious mess.”
- “Double the recipe for a sheet pan version—trust me, it disappears fast!”
Now that you’re armed with all the tips and tricks, it’s time to bake up this showstopper. Whether it’s for a special occasion or just because, this Reeses Peanut Butter Earthquake Cake is sure to bring smiles (and maybe a few happy groans) to the table.
Conclusion
There you have it—the ultimate Reese’s Peanut Butter Earthquake Cake, a decadent dessert that’s as fun to make as it is to eat! With its rich chocolate cake base, creamy peanut butter filling, and gooey Reese’s cups, this cake is guaranteed to be a showstopper at any gathering. The best part? It’s surprisingly simple to whip up, even for beginner bakers. Whether you’re serving it at a party or indulging in a cozy night in, this cake is pure comfort in every bite.
Ready to give it a try? Gather your ingredients, preheat that oven, and let the baking magic begin! Don’t forget to snap a photo of your masterpiece and tag us—we’d love to see your creations. And if you’re craving more irresistible dessert ideas, check out our Chocolate & Peanut Butter Lovers’ Collection for more sweet inspiration.
FAQs
Can I use natural peanut butter instead of regular peanut butter?
While you can use natural peanut butter, we recommend sticking with regular creamy peanut butter for this recipe. Natural peanut butter tends to be oilier and may alter the texture of the filling. If you do use it, try stirring it well and draining excess oil for the best results.
Can I make this cake ahead of time?
Absolutely! This cake actually tastes even better the next day as the flavors meld together. Store it covered at room temperature for up to 2 days or in the fridge for up to 5 days. Just warm individual slices in the microwave for a few seconds before serving to bring back that gooey goodness.
Can I substitute the Reese’s cups with another candy?
Of course! While Reese’s cups are the star here, you can swap them for peanut butter chips, chopped Snickers, or even crushed Oreos for a fun twist. Get creative—this recipe is forgiving and delicious no matter what mix-ins you choose.
Why is my cake not as “gooey” as expected?
The gooey factor comes from the perfect bake time. If your cake is fully set, you may have baked it a tad too long. Next time, check for doneness a few minutes earlier—the center should still have a slight jiggle when you pull it out. Remember, it will continue to set as it cools!
Can I freeze leftovers?
Yes! Wrap individual slices tightly in plastic wrap and store them in an airtight container for up to 3 months. Thaw at room temperature or warm in the microwave for a quick treat.


