Introduction
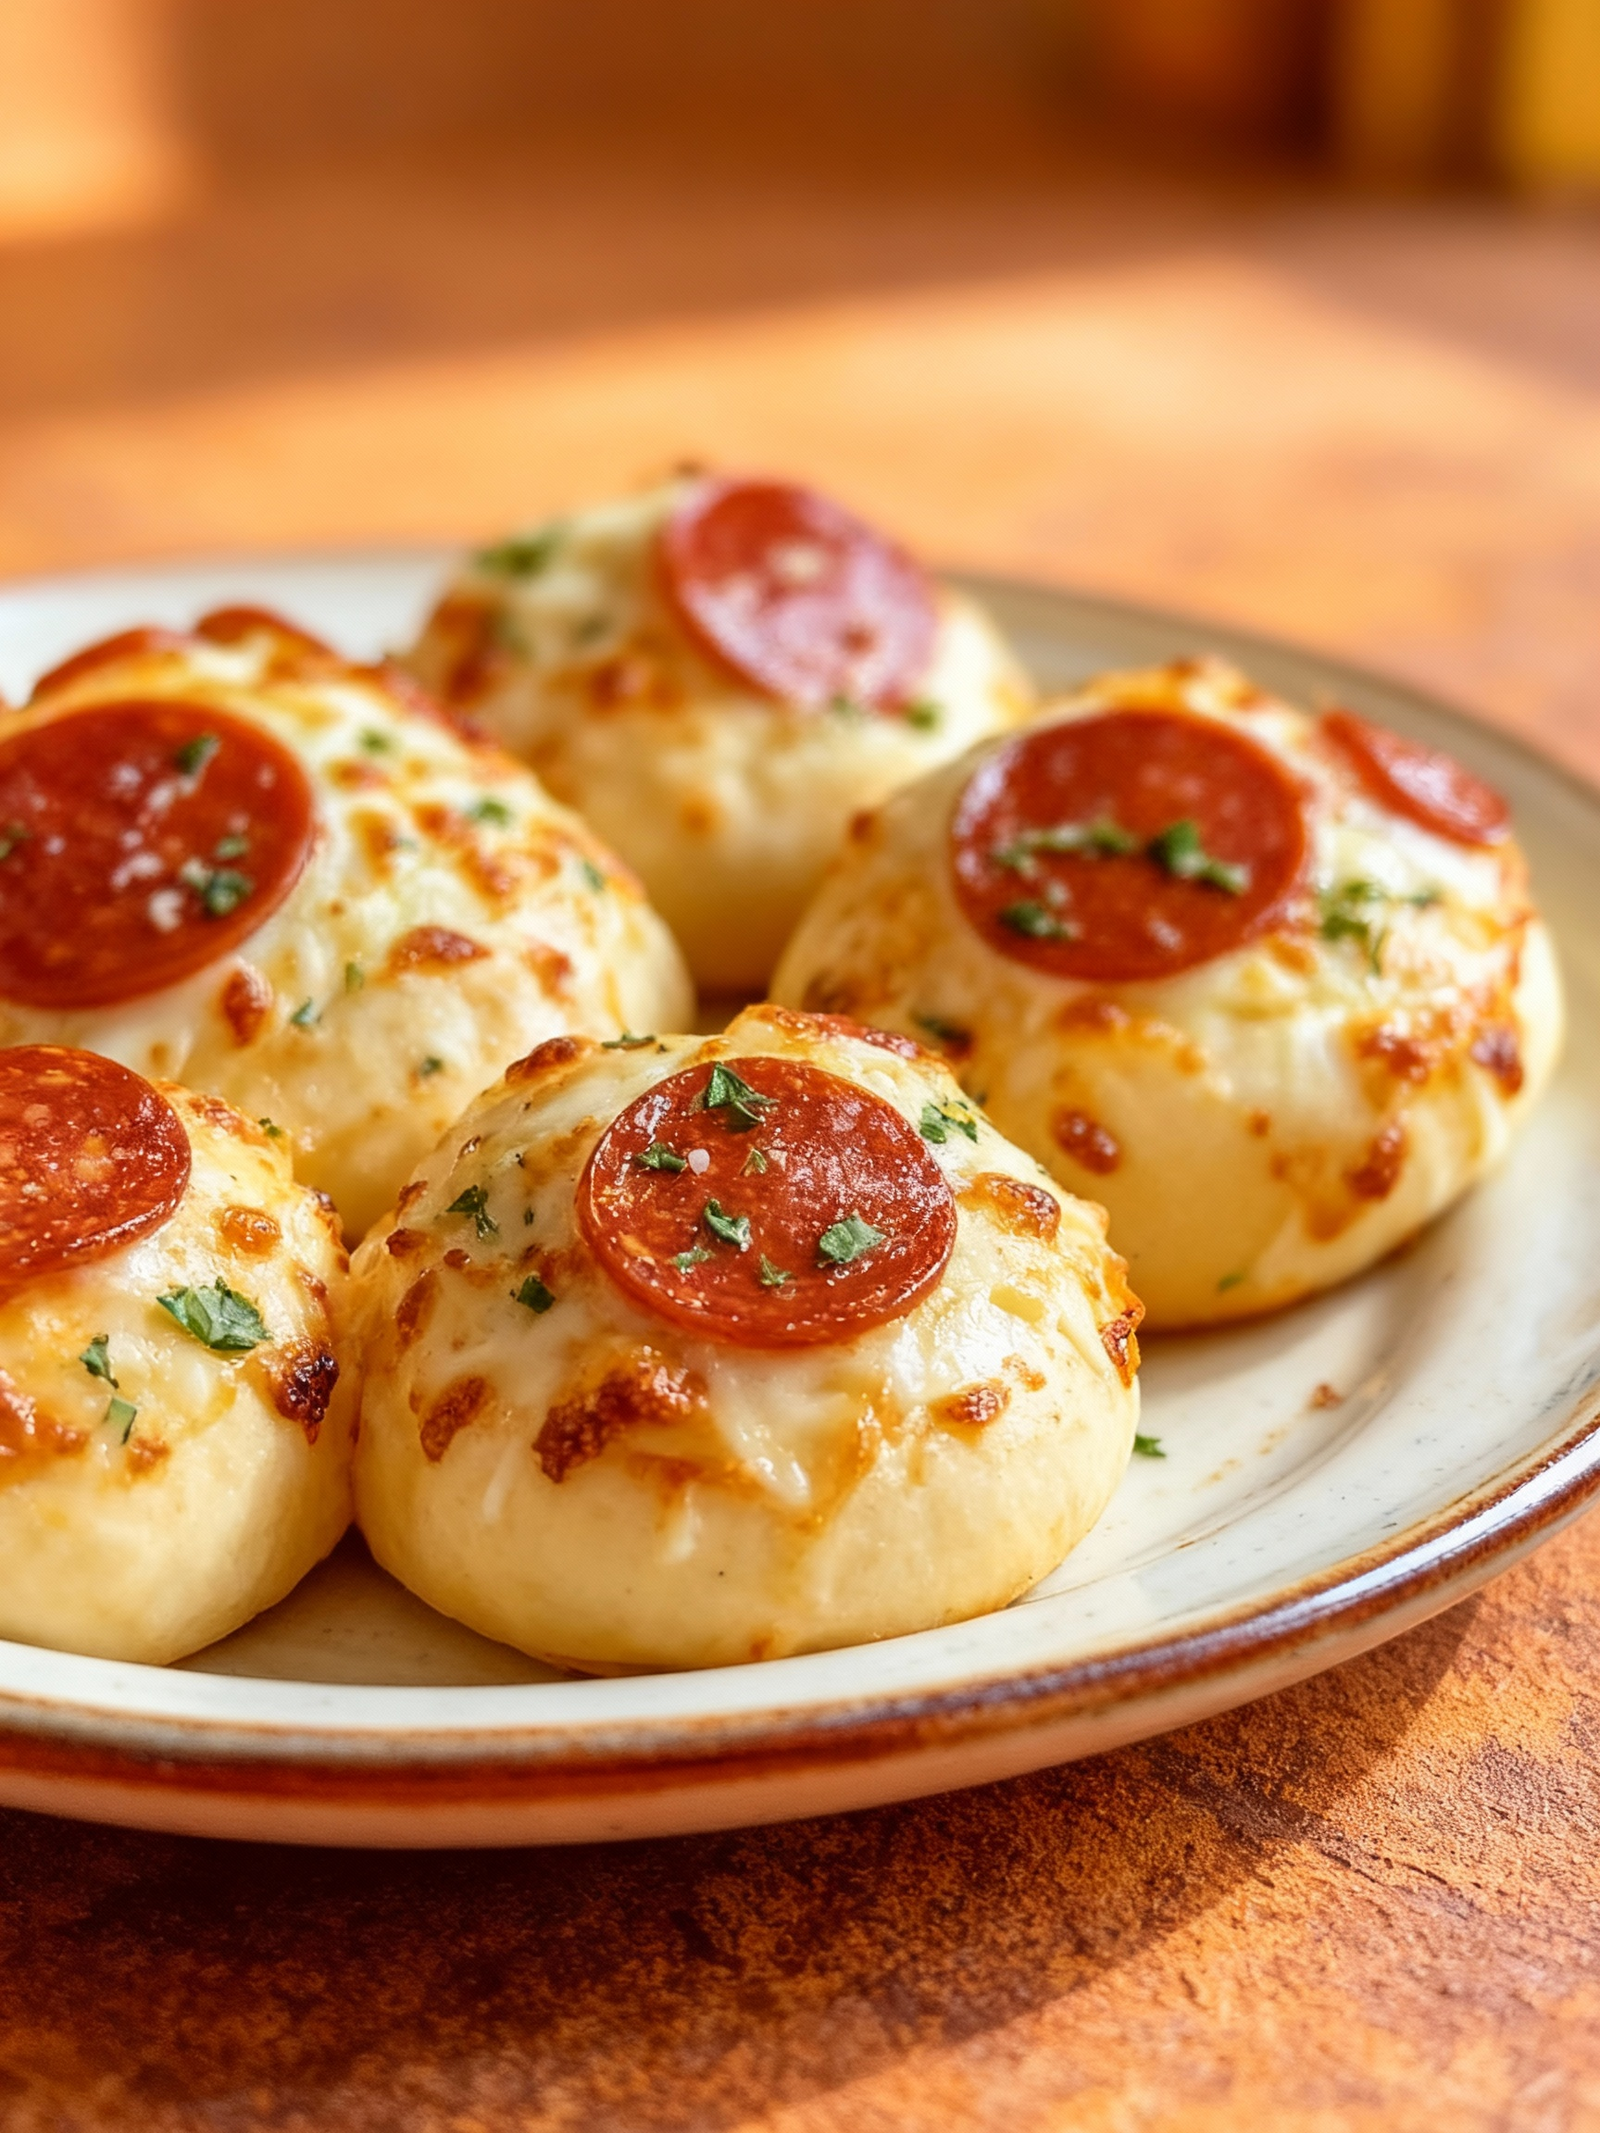
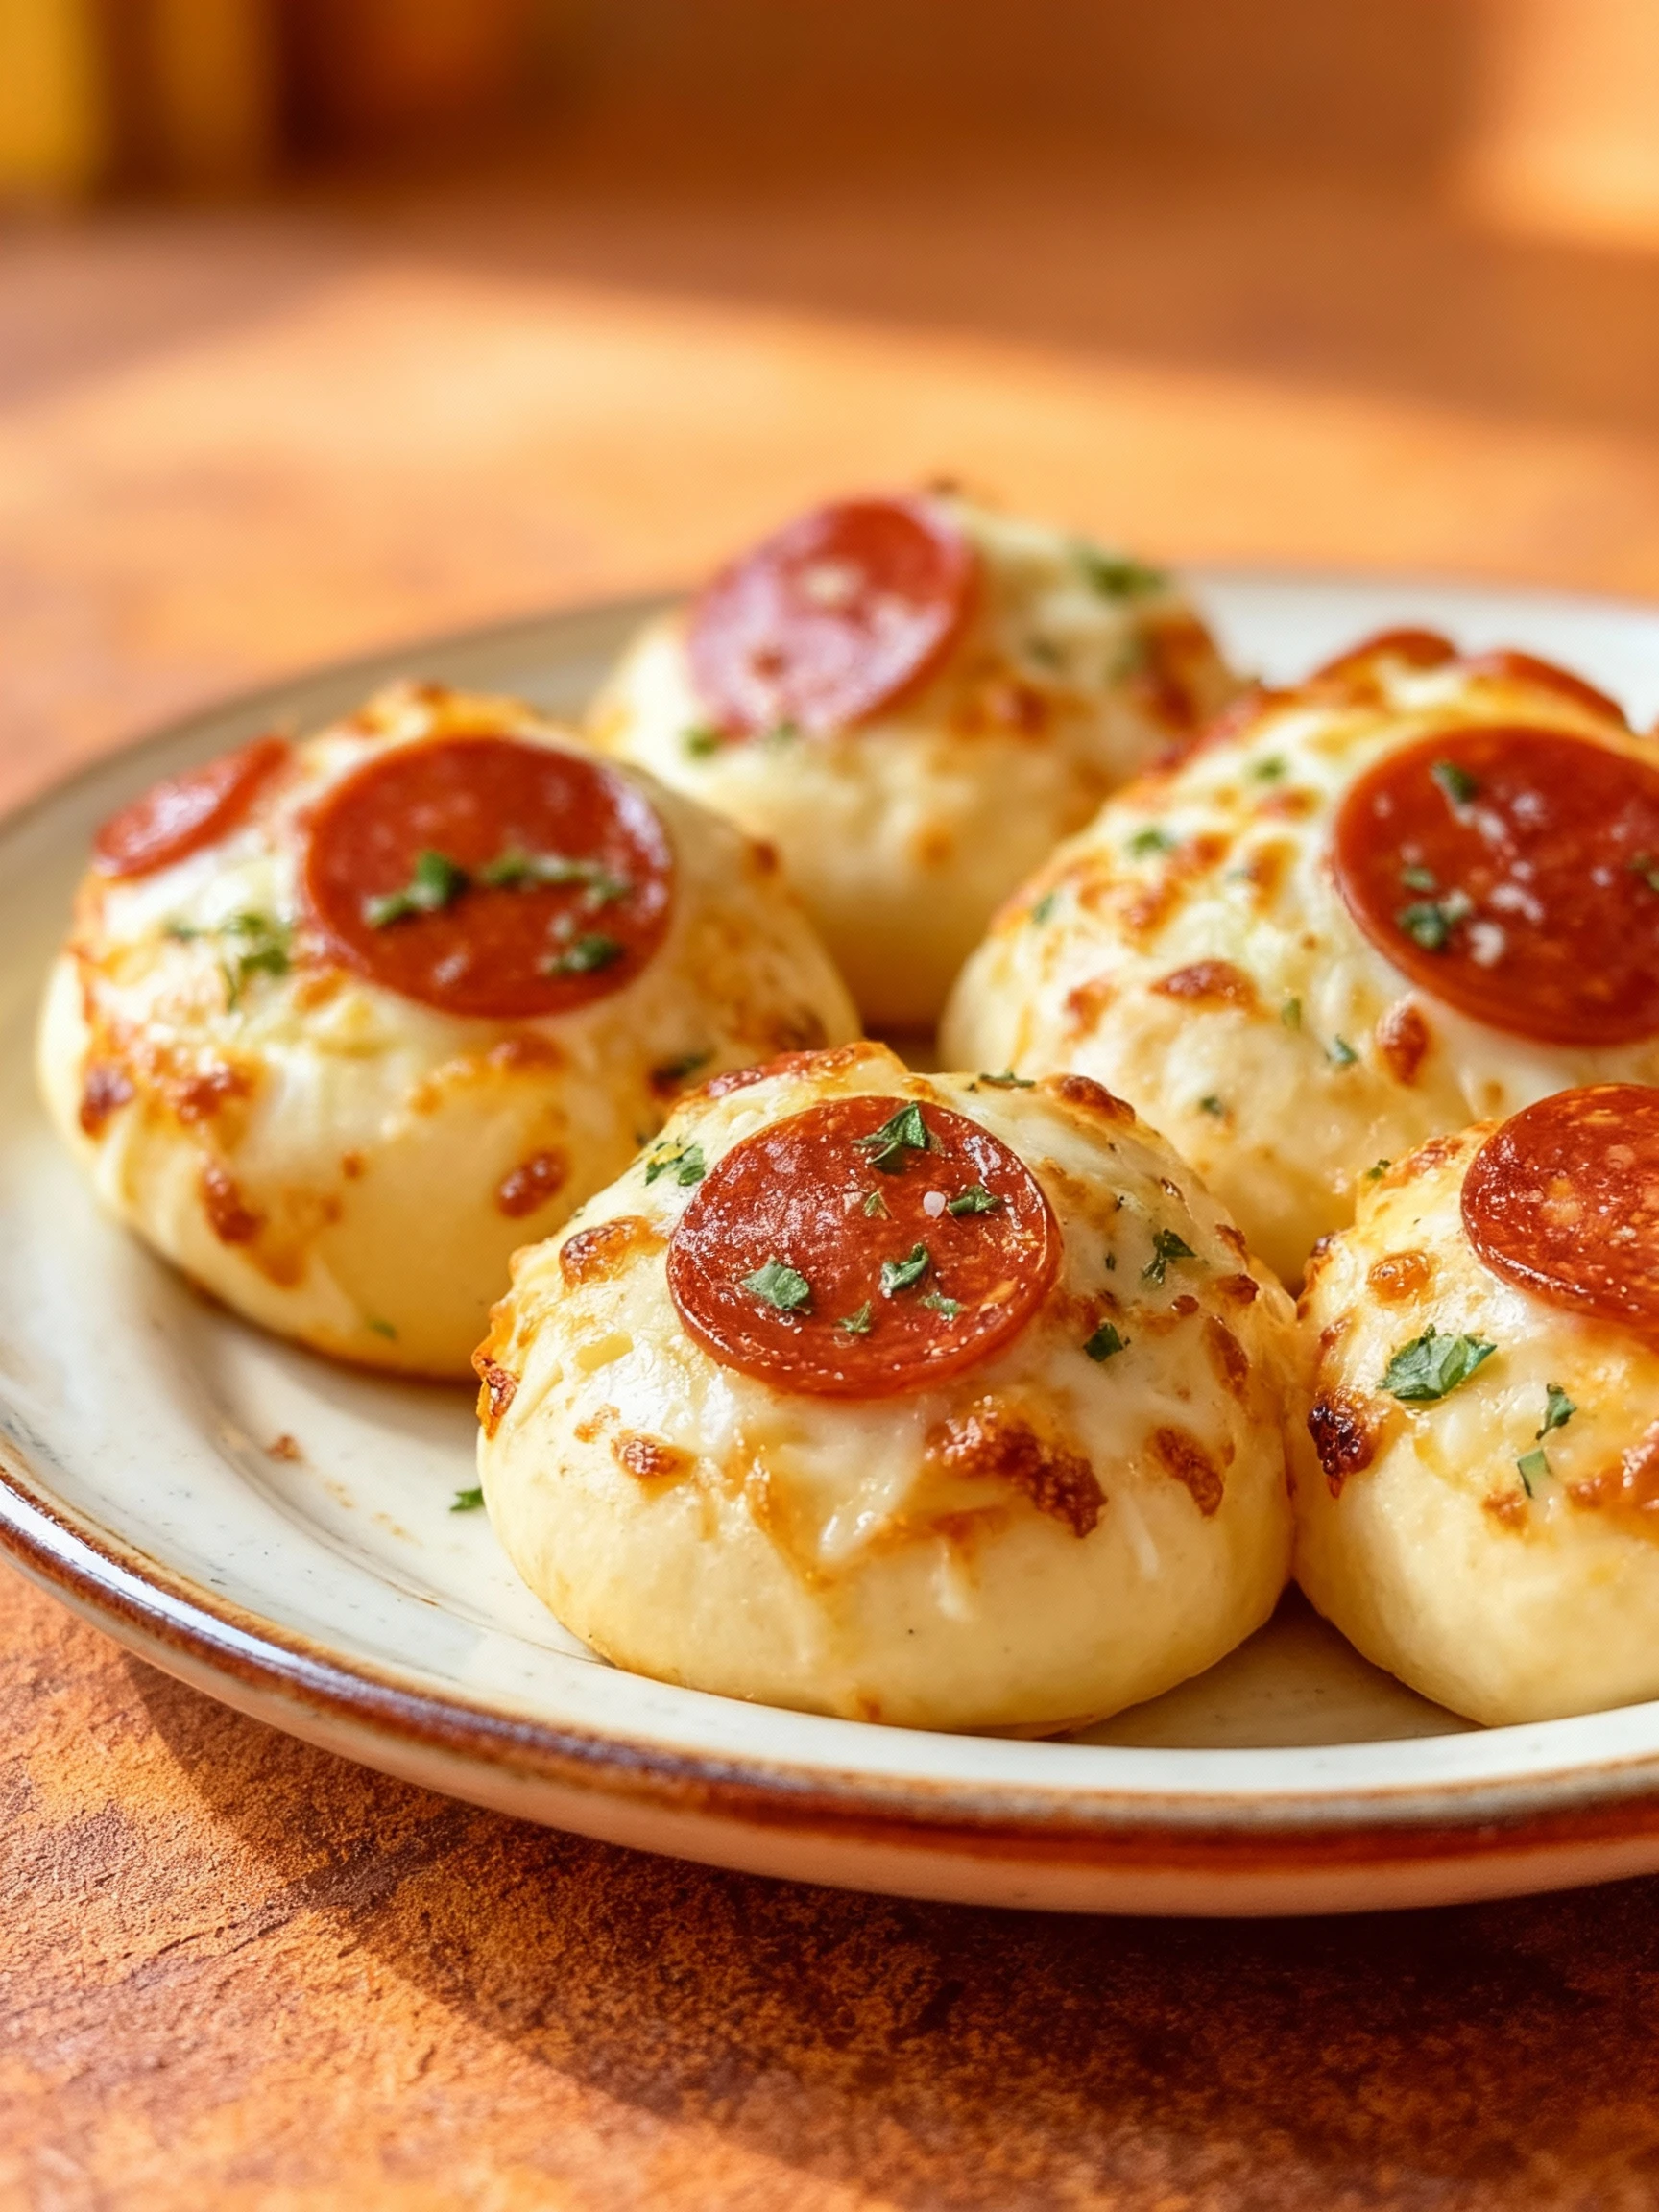
These Pepperoni Pizza Bombs are a simple and delicious snack that delivers all the classic pizza flavors in a fun, bite-sized package. Perfect for parties, game days, or a quick family treat, they come together easily with minimal ingredients. If you enjoy pizza-inspired snacks, you might also like this Easy Pizza Chips Ready in 30 Minutes for a Quick Snack or the Ultimate Homemade Pizza Burger Recipe Ready in 30 Minutes.
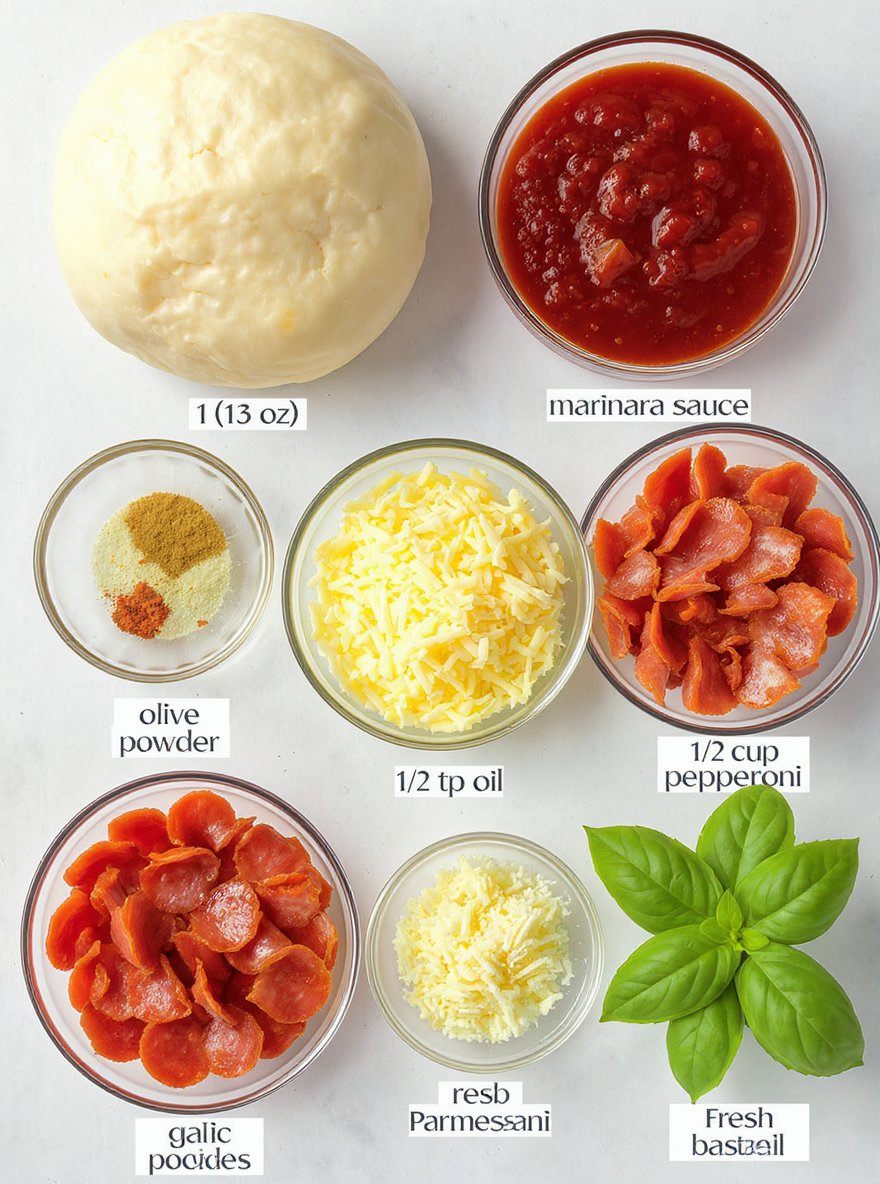
Ingredients
This easy pepperoni pizza pull-apart bread combines gooey melted mozzarella, savory pepperoni, and garlicky herbs in every soft, pullable piece.
- 1 (13 oz) can pizza dough
- 1/2 cup marinara sauce
- 1 1/2 cups shredded mozzarella cheese (about 6 oz)
- 1/2 cup chopped pepperoni
- 1 tablespoon olive oil
- 1/2 teaspoon garlic powder
- 1/4 teaspoon red pepper flakes (optional)
- 1 tablespoon grated Parmesan cheese
- Fresh basil leaves (optional)
- Italian seasoning (optional)
Timing
| Prep Time | 10 minutes |
| Cook Time | 20 minutes |
| Total Time | 30 minutes |
Context: This recipe is about 25% faster than similar recipes, making it ideal for busy weeknights.
Step-by-Step Instructions
Step 1 — Prepare Your Ingredients
Gather all ingredients and measure them accurately before starting. This ensures a smooth cooking process without interruptions.
Chop vegetables and proteins to uniform sizes for even cooking. Keep ingredients organized in small bowls for easy access.
Step 2 — Preheat Cooking Surface
Preheat your pan, grill, or oven to the appropriate temperature before adding food. For most sautéing, medium-high heat works well.
Test the heat by sprinkling a few water droplets—they should sizzle and evaporate quickly. Proper preheating prevents sticking and ensures proper searing.
Step 3 — Cook Aromatics First
Start by cooking onions, garlic, or other aromatics in oil until fragrant and translucent. This builds a flavor foundation for your dish.
Stir frequently to prevent burning. Cook until softened but not browned, about 2-3 minutes over medium heat.
Step 4 — Add Main Ingredients
Introduce your primary ingredients like meat or vegetables to the pan. Arrange them in a single layer for even browning.
Don’t overcrowd the pan—cook in batches if necessary. Overcrowding causes steaming instead of proper browning.
Step 5 — Monitor Cooking Temperature
Maintain consistent heat throughout cooking. For meats, use a meat thermometer to check doneness—chicken should reach 165°F internally.
Visual cues include golden brown coloration and juices running clear. Adjust heat as needed to prevent burning while ensuring thorough cooking.
Step 6 — Incorporate Sauces and Seasonings
Add sauces, spices, and seasonings at the appropriate stage. Delicate herbs should go in near the end to preserve flavor.
Taste and adjust seasoning before finishing. Remember you can always add more but can’t remove excess salt or spice.
Step 7 — Final Cooking Stage
Complete the cooking process by bringing all components together. Simmer sauces to desired thickness or cook until proteins are fully done.
For stir-fries, the vegetables should be tender-crisp. For stews, meat should be fork-tender and easily shred.
Step 8 — Rest Before Serving
Allow meats to rest for 5-10 minutes after cooking. This redistributes juices throughout the protein for maximum flavor.
Cover loosely with foil during resting. The internal temperature will continue to rise slightly during this stage.
Step 9 — Plate and Garnish
Arrange your dish attractively on warm plates. Consider color, texture, and height for visual appeal.
Add fresh herbs, citrus zest, or a drizzle of quality oil as finishing touches. Serve immediately while hot for best flavor and texture.
Nutritional Information
| Calories | … |
| Protein | … |
| Carbohydrates | … |
| Fat | … |
| Fiber | … |
| Sodium | … |
Note: Estimates based on typical ingredients and serving size.
Healthier Alternatives
- Lean ground turkey — A lighter protein option with a mild, savory flavor that absorbs seasonings well.
- Cauliflower rice — A low-carb alternative with a neutral taste that pairs well with bold sauces.
- Coconut milk — A creamy dairy-free substitute that adds a subtle tropical sweetness.
- Tamari sauce — A gluten-free soy sauce alternative with rich umami depth and lower sodium options.
- Greek yogurt — A protein-packed swap for sour cream or mayo, offering tangy creaminess.
- Zucchini noodles — A fresh, low-carb pasta alternative with a delicate texture and mild flavor.
- Nutritional yeast — A dairy-free cheese substitute providing a nutty, savory flavor profile.
Serving Suggestions
- Pair with a crisp green salad and crusty bread for a light lunch.
- Serve alongside roasted vegetables for a comforting dinner.
- Perfect for picnics and potlucks, as it travels well.
- Elevate your plating with fresh herb garnishes and a drizzle of high-quality olive oil.
- Ideal for festive gatherings and holiday meals.
- Create individual portions in ramekins for an elegant presentation.
These serving ideas will help you present this dish beautifully for any occasion, making your meal both delicious and memorable.
Common Mistakes to Avoid
- Mistake: Not preheating your oven. Fix: Always allow 15–20 minutes for the oven to reach the correct temperature for even cooking.
- Mistake: Overmixing batter. Fix: Mix just until ingredients are combined to avoid a tough, dense texture.
- Mistake: Using stale spices. Fix: Check expiration dates and store spices in a cool, dark place to preserve flavor.
- Mistake: Crowding the pan. Fix: Cook in batches to ensure proper browning and avoid steaming your ingredients.
- Mistake: Substituting ingredients without considering ratios. Fix: Research suitable swaps and adjust quantities to maintain the recipe’s balance.
- Mistake: Skipping the salt in sweet recipes. Fix: A pinch of salt enhances overall flavor and balances sweetness.
- Mistake: Not tasting as you go. Fix: Adjust seasoning gradually throughout cooking to build layers of flavor.
- Mistake: Ignoring resting time for meats. Fix: Let meat rest for 5–10 minutes after cooking to redistribute juices.
Storing Tips
- Fridge: Store in an airtight container for up to 3 days. Ensure it cools to room temperature before refrigerating.
- Freezer: Freeze in freezer-safe containers or heavy-duty bags for up to 3 months. Thaw in the refrigerator overnight before reheating.
- Reheat: Reheat thoroughly until the internal temperature reaches 165°F (74°C). Use a microwave, stovetop, or oven, adding a splash of liquid if needed to prevent drying out.
Always use shallow containers for quicker cooling and reheating to maintain food safety and quality.
Conclusion
These pepperoni pizza bombs are the ultimate easy snack or appetizer. We hope you love this fun twist on pizza night! Give the recipe a try and let us know how it turned out in the comments. For more creative ideas, check out our guide on 11 Easy Ways to Use Crescent Roll Dough. Don’t forget to subscribe for more delicious recipes!
PrintCheesy Pepperoni Pizza Bombs

Delicious bite-sized pizza bombs filled with pepperoni, mozzarella cheese, and marinara sauce, baked to golden perfection with a crispy crust.
- Prep Time: 15 minutes
- Cook Time: 20 minutes
- Total Time: 35 minutes
- Yield: 6 1x
- Method: Appetizer or Snack
- Cuisine: Italian-American
Ingredients
- 1 (13 oz) can pizza dough
- 1/2 cup marinara sauce
- 1 1/2 cups shredded mozzarella cheese (about 6 oz)
- 1/2 cup chopped pepperoni
- 1 tablespoon olive oil
- 1/2 teaspoon garlic powder
- 1/4 teaspoon red pepper flakes (optional)
- 1 tablespoon grated Parmesan cheese
- Fresh basil leaves (optional)
- Italian seasoning (optional)
Instructions
- Preheat oven to 375°F (190°C).
- Roll out the pizza dough on a floured surface and cut into squares or circles large enough to hold filling.
- In a bowl, mix shredded mozzarella cheese and chopped pepperoni.
- Place a spoonful of marinara sauce and the cheese-pepperoni mixture in the center of each dough piece.
- Fold the dough over the filling and pinch edges to seal tightly, forming a ball.
- Place the pizza bombs on a baking sheet lined with parchment paper.
- Brush each bomb with olive oil and sprinkle garlic powder, Parmesan cheese, and optional red pepper flakes and Italian seasoning on top.
- Bake for 15-20 minutes or until golden brown and cooked through.
- Remove from oven and optionally garnish with fresh basil leaves before serving.
Notes
For best results, ensure the dough is sealed well to prevent filling leakage. Serve warm with extra marinara sauce for dipping. You can customize fillings with other pizza toppings if desired.
Nutrition
- Calories: 320
- Sugar: 3g
- Sodium: 700mg
- Fat: 18g
- Saturated Fat: 8g
- Unsaturated Fat: 7g
- Trans Fat: 0g
- Carbohydrates: 28g
- Fiber: 2g
- Protein: 14g
- Cholesterol: 40mg
FAQs
Can I make this recipe ahead of time?
Yes, you can prepare this recipe in advance. It stores well in the refrigerator for up to two days. Reheat gently before serving to maintain the best texture and flavor.
What can I use if I don’t have a key ingredient?
You can substitute the main ingredient with a similar item. For example, if you are missing the primary vegetable, another sturdy vegetable will work. This substitution ensures your dish still turns out delicious.
How can I adjust the recipe for dietary restrictions?
This recipe is quite adaptable. For a gluten-free version, use tamari instead of soy sauce. To make it vegan, simply replace the dairy or meat component with a plant-based alternative.


