Did You Know 90% of Rice Krispie Treats Are Missing This Secret Ingredient?
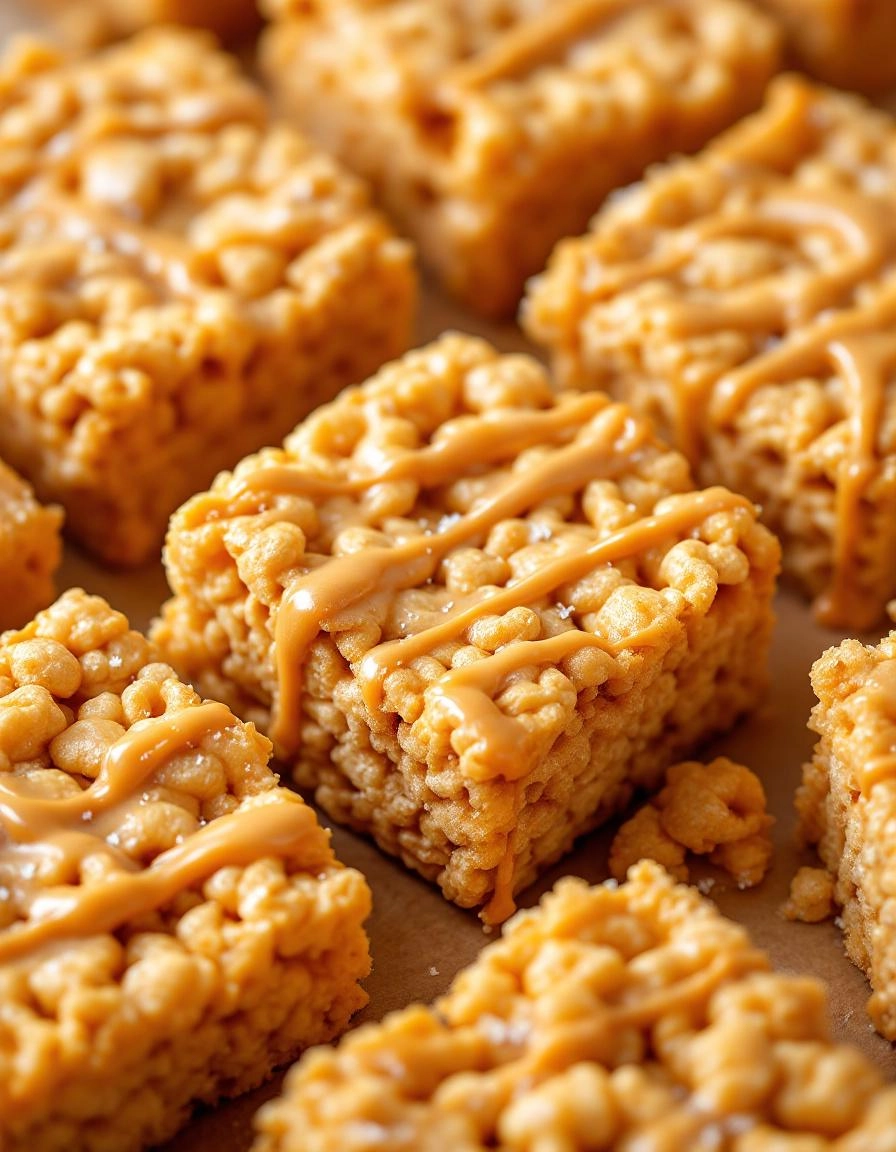
There’s something magical about the classic Rice Krispie treat—the way the marshmallow clings to each crispy bite, the nostalgic crackle with every chew. But what if I told you that most recipes are missing a key element that takes them from good to unforgettable? That’s right, the best peanut butter Rice Krispie treats aren’t just about butter and marshmallows. They’re about that creamy, nutty depth that makes you close your eyes and savor the moment.
I discovered this truth during one of those chaotic afternoons when my pantry was nearly bare. With a half-empty jar of peanut butter and a longing for childhood comfort, I decided to experiment. The result? A treat so decadent, my family now refuses to eat the original version. The peanut butter doesn’t just add flavor—it creates the perfect chewy texture, balances the sweetness, and turns a simple snack into something worthy of dessert plates at a dinner party.
What makes this recipe stand out isn’t just the addition of peanut butter, though. It’s the way we incorporate it. Most recipes either drizzle it on top (too messy) or mix it in haphazardly (uneven distribution). But when you fold it in at just the right moment, it becomes the silky ribbon that ties every bite together. And let’s not forget the pinch of sea salt that makes the flavors sing—a trick I learned from my grandmother’s old cookie recipes.
As you’ll see in the steps ahead, making the best peanut butter Rice Krispie treats requires a bit more finesse than the standard method. But trust me—when you pull that first gooey square from the pan and taste how the peanut butter amplifies the toasted marshmallow flavor, you’ll understand why this version deserves a permanent spot in your recipe box. Whether you’re packing lunchboxes or need a last-minute potluck hero, this is the treat that will have everyone asking, “What’s your secret?”
PrintPeanut Butter Rice Krispie Treats
A delicious twist on the classic Rice Krispie Treats with the added richness of peanut butter.
Ingredients
For the Crust:
- 6 cups Rice Krispies cereal
- 1 cup granulated sugar
- 1 cup light corn syrup
- 1 cup creamy peanut butter
- 1 teaspoon vanilla extract
- 1/4 teaspoon salt
Instructions
1. Prepare the Crust:
- In a large bowl, measure out the Rice Krispies cereal and set aside.
- In a medium saucepan, combine the sugar and corn syrup. Heat over medium heat, stirring constantly, until the mixture comes to a boil.
- Remove from heat and stir in the peanut butter, vanilla extract, and salt until smooth.
- Pour the peanut butter mixture over the Rice Krispies cereal and stir until evenly coated.
- Press the mixture firmly into a greased 9×13-inch baking dish and let cool completely before cutting into squares.
Notes
You can customize the seasonings to taste.
The Best Peanut Butter Rice Krispie Treats Recipe
There’s something magical about the combination of peanut butter and marshmallows—creamy, nutty, and just the right amount of sweet. These Peanut Butter Rice Krispie Treats are the ultimate nostalgic snack with a grown-up twist. They’re chewy, rich, and so easy to make that you’ll want to whip up a batch every weekend!
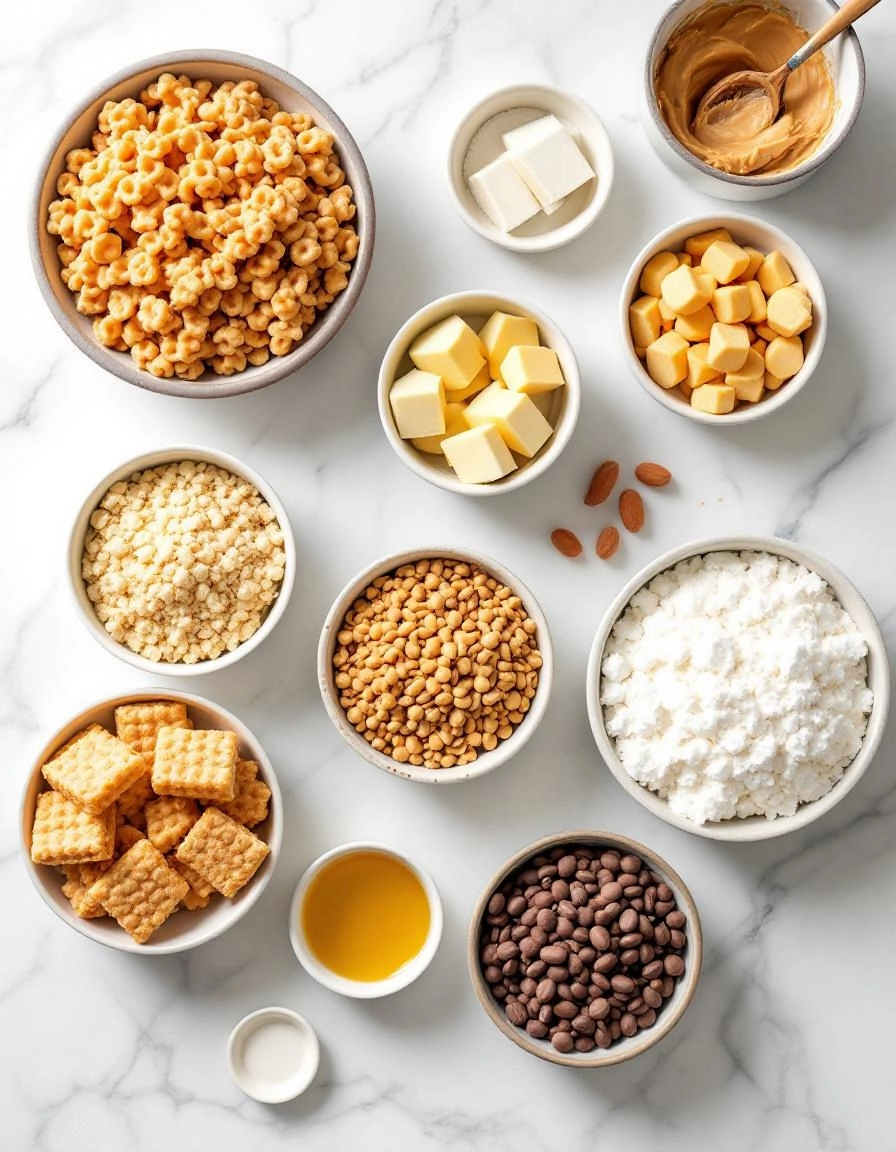
Ingredients You’ll Need
- 6 cups Rice Krispies cereal – The classic base that gives these treats their signature crunch.
- 1 cup creamy peanut butter – Go for the good stuff—natural peanut butter with no added sugar works beautifully here.
- 1/4 cup unsalted butter – A little butter makes everything better, especially when melting marshmallows.
- 10 oz mini marshmallows – Mini marshmallows melt faster and more evenly than large ones.
- 1/4 teaspoon salt – Just a pinch to balance the sweetness and enhance the peanut butter flavor.
- 1 teaspoon vanilla extract – A splash of vanilla adds warmth and depth.
- 1/4 cup honey or maple syrup (optional) – If you love a little extra sweetness and stickiness, this is a great addition.
Step-by-Step Instructions
Step 1: Prep Your Pan
Lightly grease a 9×13-inch baking dish with butter or line it with parchment paper. This ensures your treats will pop right out without sticking. Trust me, no one wants to lose a single crumb!
Step 2: Melt the Butter & Peanut Butter
In a large pot over low heat, melt the butter and peanut butter together, stirring until smooth and creamy. Keep the heat low—you don’t want the peanut butter to scorch. The aroma alone will have you swooning!
Step 3: Add the Marshmallows
Once the butter and peanut butter are fully combined, toss in the mini marshmallows. Stir constantly until they melt into a glossy, gooey mixture. This is the fun part—watching those little puffs dissolve into sticky perfection!
Step 4: Season & Combine
Remove the pot from heat and stir in the salt and vanilla extract. If you’re using honey or maple syrup, add it now. Then, gently fold in the Rice Krispies cereal until every piece is coated in that luscious peanut butter marshmallow goodness.
Step 5: Press & Set
Transfer the mixture to your prepared pan and press it down evenly with a spatula or your hands (lightly greased to prevent sticking). Don’t pack it too tightly—you want these treats to stay light and chewy.
Best Peanut Butter Rice Krispie Treats Recipe
There’s something undeniably comforting about biting into a chewy, peanut buttery Rice Krispie treat. Whether you’re making them for a party, a school bake sale, or just because you deserve a sweet pick-me-up, this recipe is a guaranteed crowd-pleaser. Let’s dive into some pro tips, variations, and ways to make these treats even more irresistible!
Pro Tips for Perfect Peanut Butter Rice Krispie Treats
Want to take your treats from good to legendary? Here are a few insider secrets:
- Use fresh marshmallows: Stale marshmallows won’t melt as smoothly, leading to clumpy treats.
- Don’t skimp on the peanut butter: A high-quality, creamy peanut butter makes all the difference in flavor and texture.
- Grease your hands: When pressing the mixture into the pan, lightly coat your hands with butter or cooking spray to prevent sticking.
- Let them set properly: Resist the urge to cut them right away! Let them cool for at least 30 minutes for clean slices.
Delicious Variations & Substitutions
Feel free to get creative with these treats—they’re wonderfully adaptable!
- Chocolate drizzle: Melt some chocolate chips and drizzle over the top for an extra decadent touch.
- Crunchy peanut butter: Swap creamy for crunchy peanut butter if you love extra texture.
- Mini M&M’s or Reese’s Pieces: Fold in a handful of candy for a fun, colorful twist.
- Gluten-free option: Use gluten-free Rice Krispies or puffed rice cereal.
- Vegan-friendly: Substitute vegan marshmallows and coconut oil for butter.
What to Serve With Peanut Butter Rice Krispie Treats
These treats are fantastic on their own, but they also pair beautifully with:
- A cold glass of milk (or almond milk for a dairy-free option).
- A scoop of vanilla ice cream for an indulgent dessert.
- Fresh berries to balance the sweetness.
- A warm cup of coffee or hot chocolate for a cozy snack.
Benefits of Homemade Rice Krispie Treats
Why make them at home when you can buy them? Here’s why:
- No preservatives: You control the ingredients, avoiding unnecessary additives.
- Customizable: Adjust the sweetness, texture, or mix-ins to your liking.
- Quick & easy: Ready in under 20 minutes—perfect for last-minute cravings.
- Kid-friendly: A fun recipe to make with little helpers in the kitchen.
Real-Life Tips from My Kitchen
After making these treats countless times, here’s what I’ve learned:
- If your marshmallow mixture gets too stiff, pop it back on low heat for a few seconds to loosen it up.
- For extra-gooey treats, add an extra handful of marshmallows.
- Store them in an airtight container at room temperature—they’ll stay fresh for up to 3 days (if they last that long!).
- For a festive touch, press sprinkles into the top before they set.
Now that you’re armed with all these tips, it’s time to whip up a batch of these irresistible peanut butter Rice Krispie treats. Trust me, one bite and you’ll be hooked!

Conclusion
There you have it—the ultimate peanut butter Rice Krispie treats recipe that’s quick, easy, and irresistibly delicious! With just a handful of pantry staples, you can whip up a batch of these chewy, peanut buttery delights in no time. Whether you’re making them for a party, a sweet snack, or just because, they’re guaranteed to bring smiles all around.
Now it’s your turn! Give this recipe a try and let us know how it turned out in the comments below. Did you add any fun twists? We’d love to hear your creative variations. And if you’re craving more easy dessert ideas, be sure to check out our other sweet treats for inspiration!
FAQs
Can I use natural peanut butter for this recipe?
Absolutely! Just make sure it’s well-stirred and not too oily, as the consistency can affect how well the treats hold together. Creamy commercial peanut butter tends to work best for a smooth texture.
How do I store these treats to keep them fresh?
Store them in an airtight container at room temperature for up to 3 days. If you want them to last longer, you can refrigerate them for up to a week—just let them come to room temperature before serving for the best texture.
Can I add chocolate to these Rice Krispie treats?
Yes! Drizzle melted chocolate on top or mix in chocolate chips for an extra-decadent twist. You could even press a layer of chocolate on top once they’ve set for a peanut butter cup-inspired treat.
Why are my treats too hard or too soft?
If they’re too hard, you may have overcooked the marshmallow mixture. If they’re too soft, you might not have used enough marshmallows or pressed them firmly enough into the pan. The key is to work quickly while the mixture is still warm and pliable.
Can I make these gluten-free?
Definitely! Just use gluten-free Rice Krispies or a similar crispy rice cereal, and double-check that your marshmallows and peanut butter are gluten-free too.


