
Did you know that 75% of home bakers admit to feeling intimidated by recipes that layer multiple components?
It’s a statistic I find utterly heartbreaking. Because here’s the beautiful, messy, delicious truth: the most spectacular desserts are often just a series of simple, joyful steps stacked together with love. And friends, I have the most glorious stack to share with you today. I’m talking about my Ultimate Peanut Butter Caramel Toffee Cookie Bars, a recipe that completely shatters that intimidation factor.
This creation was born on a rainy Sunday, the kind of day that begs for the warm, buttery scent of baking to fill the house. I was craving something that hit every single note—chewy, crunchy, salty, sweet—and I simply started pulling my favorite ingredients from the pantry. A classic cookie dough base, a jar of my favorite creamy peanut butter, a bag of those irresistible little toffee bits… and then I saw it. A lonely jar of caramel sauce tucked in the back, and the final, brilliant piece clicked into place.
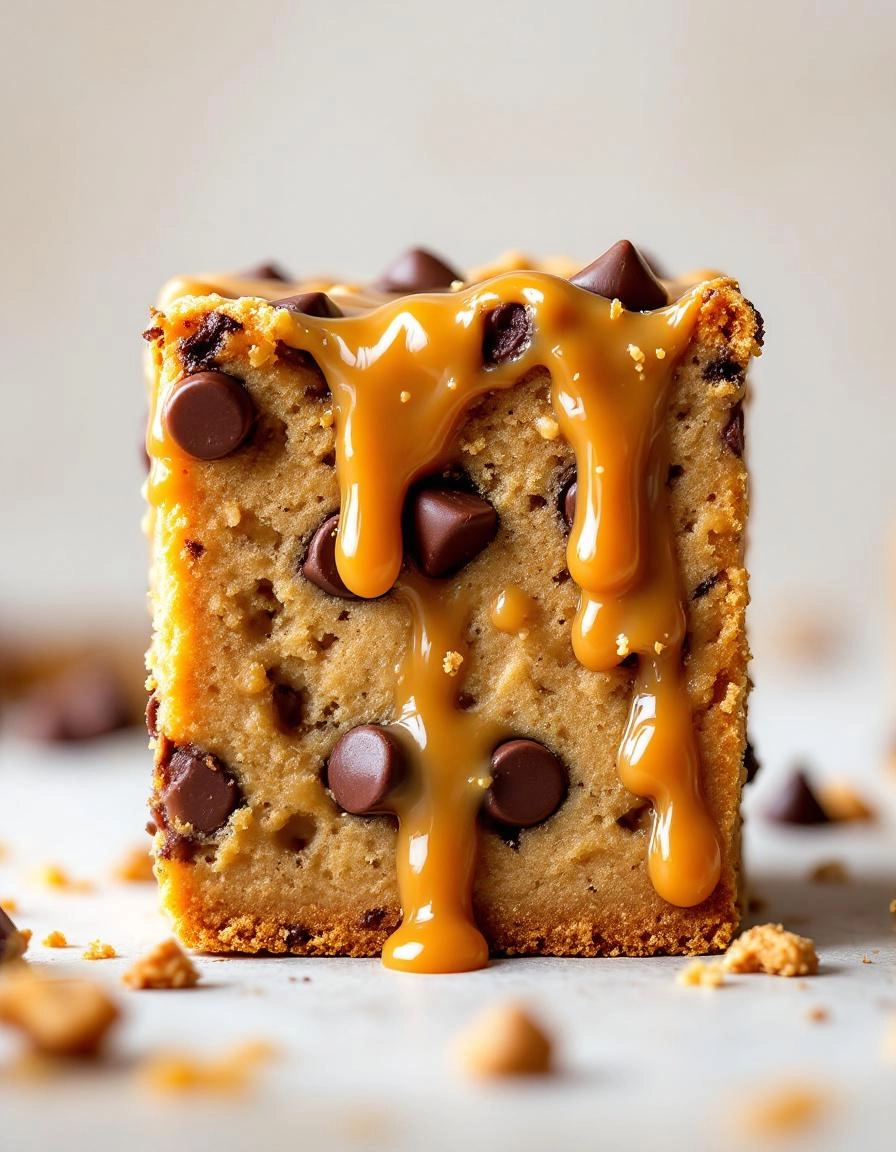
What emerged from my oven was nothing short of magic. A buttery, shortbread-like cookie crust gives way to a rich, swirled layer of peanut butter, all blanketed by a river of gooey, salted caramel. The grand finale? A generous, crackly topping of chocolate and toffee that provides the most satisfying crunch. It’s not just a bar; it’s an experience. It’s the kind of treat that makes you close your eyes for a second after the first bite, the kind that sparks a chorus of “oh my goodness” around the kitchen table.
So, let’s toss that statistic out the window, shall we? Grab your favorite mixing bowl, and let’s create some layered magic together.
PrintPeanut Butter Caramel Toffee Chocolate Chip Cookie Bars
Decadent layered bars featuring a chewy cookie base, swirls of peanut butter, gooey caramel, crunchy toffee bits, and melty chocolate chips.
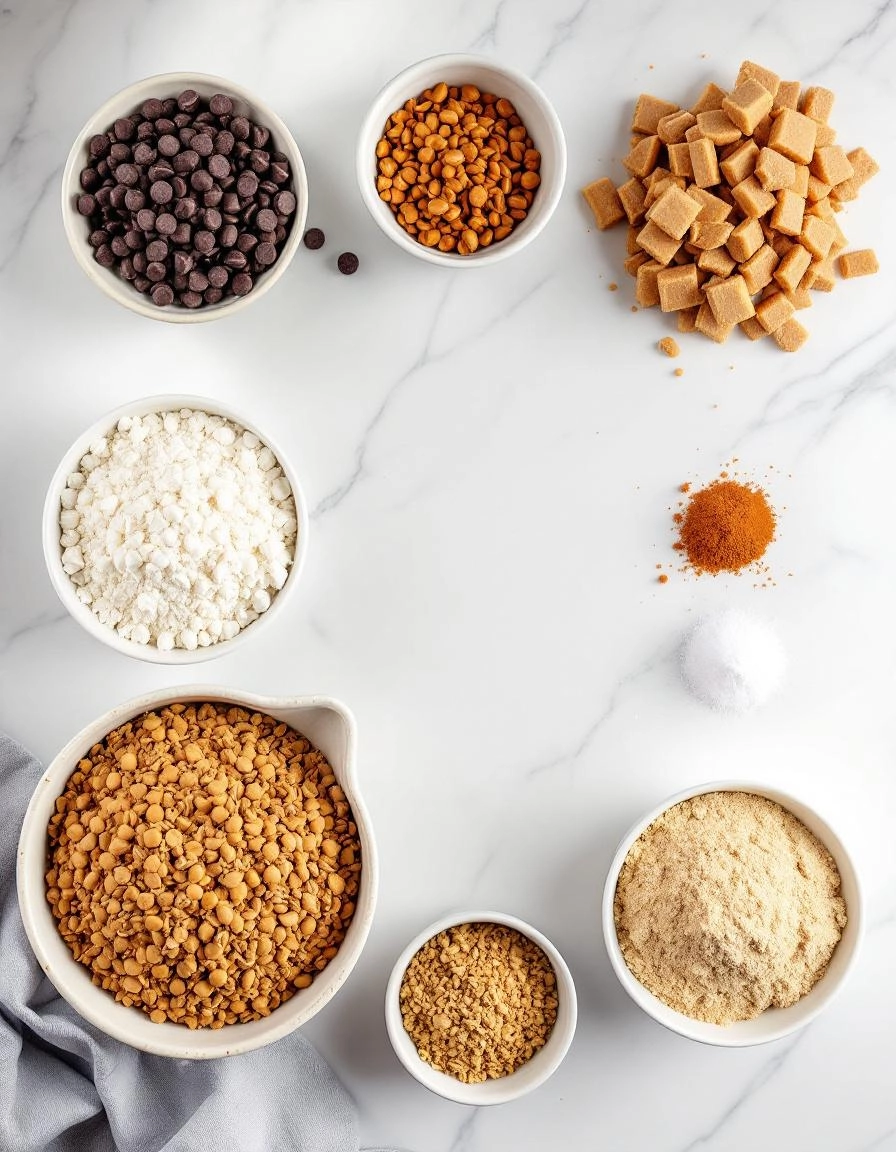
Ingredients
For the Crust:
- 1 cup unsalted butter, softened
- 1 cup brown sugar
- 1/2 cup granulated sugar
- 2 large eggs
- 1 teaspoon vanilla extract
- 2 1/4 cups all-purpose flour
- 1 teaspoon baking soda
- 1/2 teaspoon salt
- 1 cup semi-sweet chocolate chips
- 1/2 cup peanut butter
- 1/2 cup caramel sauce
- 1/2 cup toffee bits
Instructions
1. Prepare the Crust:
- Preheat oven to 350°F (175°C). Grease a 9×13 inch baking pan.
- Cream together butter, brown sugar, and granulated sugar until fluffy. Beat in eggs and vanilla.
- Whisk together flour, baking soda, and salt. Gradually mix into butter mixture until combined.
- Fold in chocolate chips. Spread 2/3 of the dough into the prepared pan.
- Drizzle peanut butter and caramel sauce over the dough. Sprinkle with toffee bits.
- Drop remaining dough by spoonfuls over the top. Bake for 25-30 minutes until golden brown.
- Cool completely in pan before cutting into bars.
Notes
You can customize the seasonings to taste.
The Ultimate Peanut Butter Caramel Toffee Cookie Bars
There are some recipes that feel like a warm hug, and this is one of them. It all started on a blustery Sunday afternoon. The sky was that particular shade of grey that promises rain, and I found myself craving something deeply comforting. I wanted the chewy satisfaction of a cookie, the gooey richness of caramel, and the buttery crunch of toffee, all in one glorious bite. And so, these bars were born in my little kitchen, filling the house with the most incredible aroma of roasting peanuts and brown sugar.
I think of these as my “special occasion” treat, though I firmly believe that making it through a Tuesday is a special occasion in itself. They’re a bit of a project, but oh, are they worth every single minute. Let’s gather our ingredients and create some magic together.
What You’ll Need
I like to separate the ingredients by layer to make the process feel less daunting. Trust me, it helps!
For the Cookie Base & Topping:
- 1 cup (2 sticks) unsalted butter, softened – This is the foundation of our rich, buttery base. Please take it out of the fridge at least an hour beforehand!
- 1 cup creamy peanut butter – I use a standard grocery store brand, not the natural kind that separates, for the best consistency.
- 1 cup light brown sugar, packed – For that classic, molasses-y depth.
- 1/2 cup granulated sugar – To balance the brown sugar and create a lovely crispness on the edges.
- 2 large eggs, room temperature – Room temp eggs incorporate so much better into the batter.
- 2 teaspoons pure vanilla extract – The real stuff, always. It makes a world of difference.
- 2 ½ cups all-purpose flour – Fluff it up in the container before you scoop and level it off.
- 1 teaspoon baking soda – Our leavening agent for a perfect rise.
- 1/2 teaspoon salt – To cut through all the sweetness and make the flavors pop.
- 1 (8 oz) bag of milk chocolate toffee bits (like Heath) – The star of the crunchy, buttery show!
For the Luscious Caramel Layer:
- 1 (11 oz) bag of soft caramel candies, unwrapped – Yes, unwrapping them is a labor of love. Pop on some music and make it a ritual.
- 1/3 cup heavy cream – This transforms those chewy caramels into a silky, pourable sauce.
- A generous pinch of flaky sea salt – For that sweet-and-salty finish we all adore.
Let’s Start Baking
Preheat your oven to 350°F (175°C). Grease a 9×13 inch baking pan and line it with parchment paper, leaving a slight overhang on two sides. This little trick is my secret weapon for lifting the entire slab of bars out perfectly for clean slicing later!
Step 1: The Cookie Dough
In the bowl of your stand mixer fitted with the paddle attachment (or using a large bowl and a hand mixer), cream together the softened butter, peanut butter, brown sugar, and granulated sugar on medium speed for a good 2-3 minutes. You want it to be light and fluffy. Scrape down the sides of the bowl with a spatula. This is a crucial step for a uniform texture!
Add the eggs, one at a time, beating well after each addition. Then beat in the vanilla. The mixture might look a little curdled at this point—that’s perfectly normal, I promise.
Step 2: The Dry Goods
In a separate bowl, whisk together the flour, baking soda, and salt. With the mixer on low, gradually add the flour mixture to the wet ingredients, mixing just until the flour disappears. Don’t overmix! Fold in the entire bag of toffee bits by hand. The dough will be thick and glorious.
Step 3: The Base Layer
Set aside about 1 ½ cups of the cookie dough for the topping. Press the remaining dough evenly into the bottom of your prepared pan. I find lightly wetting my fingertips helps prevent the sticky dough from clinging to me. Get it nice and even—this is our foundation!
Pop the pan in the preheated oven and bake for 12-13 minutes, until it’s just set and lightly golden at the edges. It will go back in the oven, so don’t overbake it now! Let it cool on a wire rack while you make the caramel. Don’t turn the oven off.
Taking Your Cookie Bars to the Next Level
Now that you’ve got the base recipe down, let’s talk about how to truly make these bars your own. The beauty of this recipe is its incredible flexibility. Whether you’re baking for a crowd with dietary restrictions or just want to use what’s in your pantry, I’ve got you covered.
Pro Tips, Variations, and Substitutions
First, a few pro tips from my kitchen to yours. For a picture-perfect clean cut, let the bars cool completely—I know, the wait is torture!—and use a sharp knife dipped in hot water. For an extra flavor boost, try browning your butter for the cookie base. It adds a wonderfully nutty, rich dimension that pairs beautifully with the toffee.
- Gluten-Free? No problem! A 1:1 gluten-free flour blend works wonderfully in place of the all-purpose flour.
- Dairy-Free Delight: Use your favorite plant-based butter and ensure your chocolate chips and toffee bits are dairy-free. For the caramel, a store-bought vegan caramel sauce is a perfect swap.
- Nut-Free Version: Simply replace the peanut butter with sunflower seed butter. It provides a similar texture and a delicious, slightly earthy flavor.
- Mix-In Magic: Feel free to get creative! A half cup of chopped pretzels for salty crunch or crispy bacon bits would be a wildly delicious savory-sweet addition.
The Perfect Pairing: What to Serve Them With
These bars are a star all on their own, but they also love company. For the ultimate indulgence, serve a warm square à la mode with a big scoop of vanilla bean ice cream. The melty, gooey bar against the cold, creamy ice cream is a little slice of heaven.
For a cozy afternoon treat, pair a bar with a hot mug of coffee—the bitterness cuts through the sweetness perfectly—or a tall glass of cold milk for that classic, nostalgic combo. They also make a fabulous dessert on a holiday platter alongside other festive cookies and treats.
The Benefits of Baking (and Eating!) These Bars
Beyond the obvious benefit of having a pan of incredible cookies at your disposal, baking these bars is good for the soul. There’s something incredibly therapeutic about creaming butter and sugar, swirling in the caramel, and creating something from scratch to share with people you love.
These bars are a guaranteed crowd-pleaser, making them the perfect offering for bake sales, potlucks, or as a heartfelt gift for a neighbor. They’re a tangible expression of care and comfort, one delicious, chewy bite at a time.
Real-Life Tips from My Kitchen
Life is messy, and baking should be fun, not stressful! Here are my real-life, no-fuss tips:
- Line your pan with parchment paper, leaving an overhang on two sides. This is your ultimate lifeline for lifting the entire batch out of the pan for easy slicing.
- Short on time? A good-quality store-bought caramel sauce is a fantastic shortcut. No one will know!
- If your caramel is too thick to drizzle, warm it for a few seconds in the microwave to make it more pourable.
- Don’t overbake! The bars will continue to set as they cool. You want the edges to be golden and the center to still look just a tiny bit soft.
I hope these tips inspire you to get baking and make this recipe your own. Happy baking!
Conclusion
And there you have it! The ultimate treat that brings together the best of all worlds: the nutty richness of peanut butter, the deep, buttery sweetness of caramel, and the satisfying crunch of toffee. These bars are a true celebration of texture and flavor, perfect for sharing with loved ones (or keeping all to yourself—we won’t judge!).
I truly hope this recipe brings as much joy to your kitchen as it does to mine. If you give these Ultimate Peanut Butter Caramel Toffee Cookie Bars a try, I would be absolutely thrilled to hear how they turned out for you! Leave a comment below with your thoughts, or share a photo of your creation on Instagram and tag me. And if you’re looking for your next baking adventure, be sure to check out my recipe for Chewy Chocolate Chip Cookies or these decadent Salted Caramel Brownies.
Happy baking!
FAQs
Can I use homemade caramel instead of store-bought?
Absolutely! While the soft store-bought caramels make for a quick and easy melt, a homemade caramel sauce can work wonderfully. I’d recommend a thicker, chewier caramel sauce rather than a thin, runny one to prevent it from soaking too far into the cookie base.
My caramel layer is very hard after cooling. How can I fix this?
This can happen if the caramel is overheated. To make slicing easier, let the bars come to room temperature for about 30 minutes before cutting. You can also pop an individual bar in the microwave for a mere 10 seconds to soften the caramel layer perfectly.
Can I make these bars gluten-free?
Yes, you can! Simply swap the all-purpose flour for a 1:1 gluten-free baking blend. Be sure to check that your toffee bits are also gluten-free, as some brands may contain wheat.
How should I store these cookie bars, and how long will they keep?
For the best texture, store them in an airtight container at room temperature for up to 4 days. The layers hold up beautifully. If your kitchen is particularly warm, you can store them in the fridge, but I recommend letting them sit out for 15 minutes before serving to let the caramel soften up.
Can I freeze these bars?
You sure can! These bars freeze beautifully. Slice them completely first, then wrap each bar tightly in plastic wrap and place them in a freezer-safe bag or container. They’ll keep for up to 3 months. Thaw at room temperature whenever a craving strikes.


