Introduction
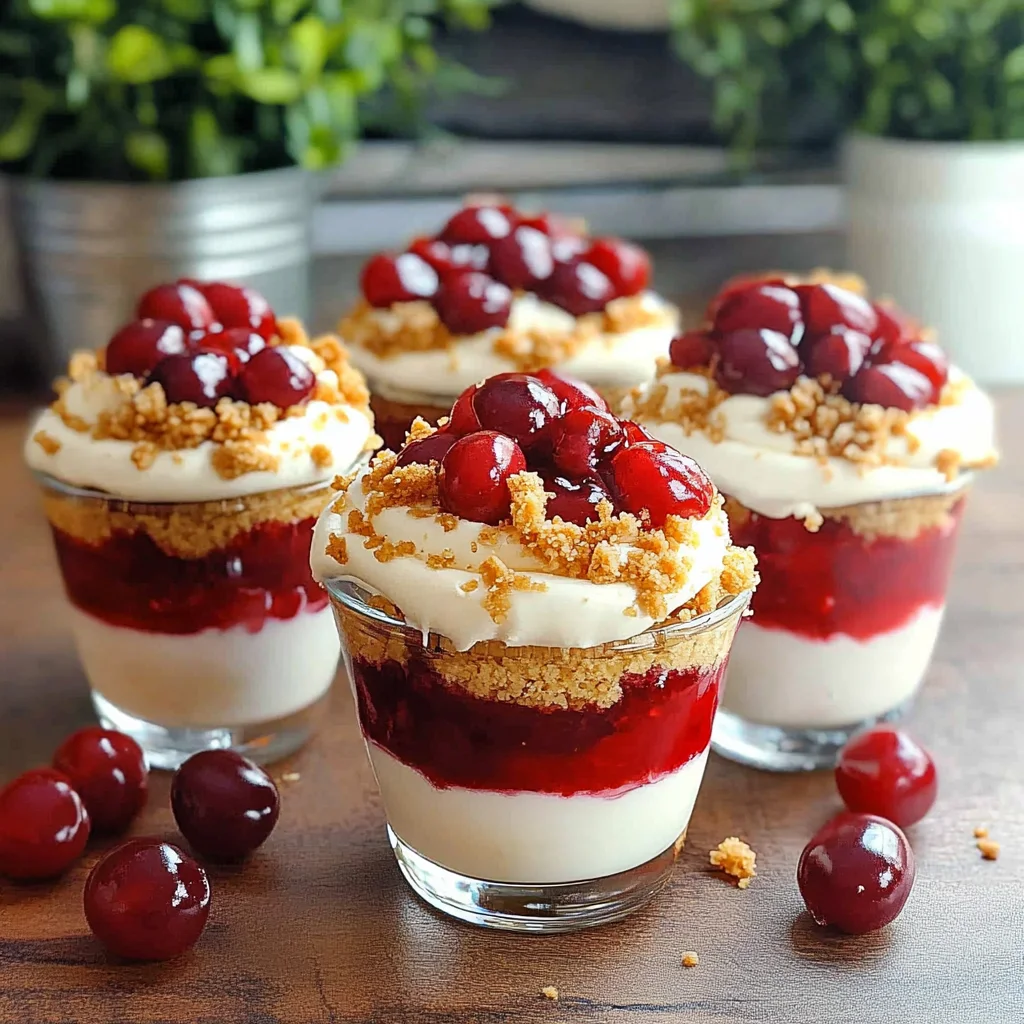
This Easy No-Bake Cherry Cheesecake Parfait is the ultimate 5-minute dessert for when a sweet craving strikes. With layers of creamy cheesecake filling, crumbled graham crackers, and sweet cherry pie filling, it delivers all the classic flavor without any oven time. It’s a perfect make-ahead treat for parties or a quick weeknight indulgence. For another simple no-bake delight, try this Raspberry Chocolate Lasagna Recipe.
Ingredients
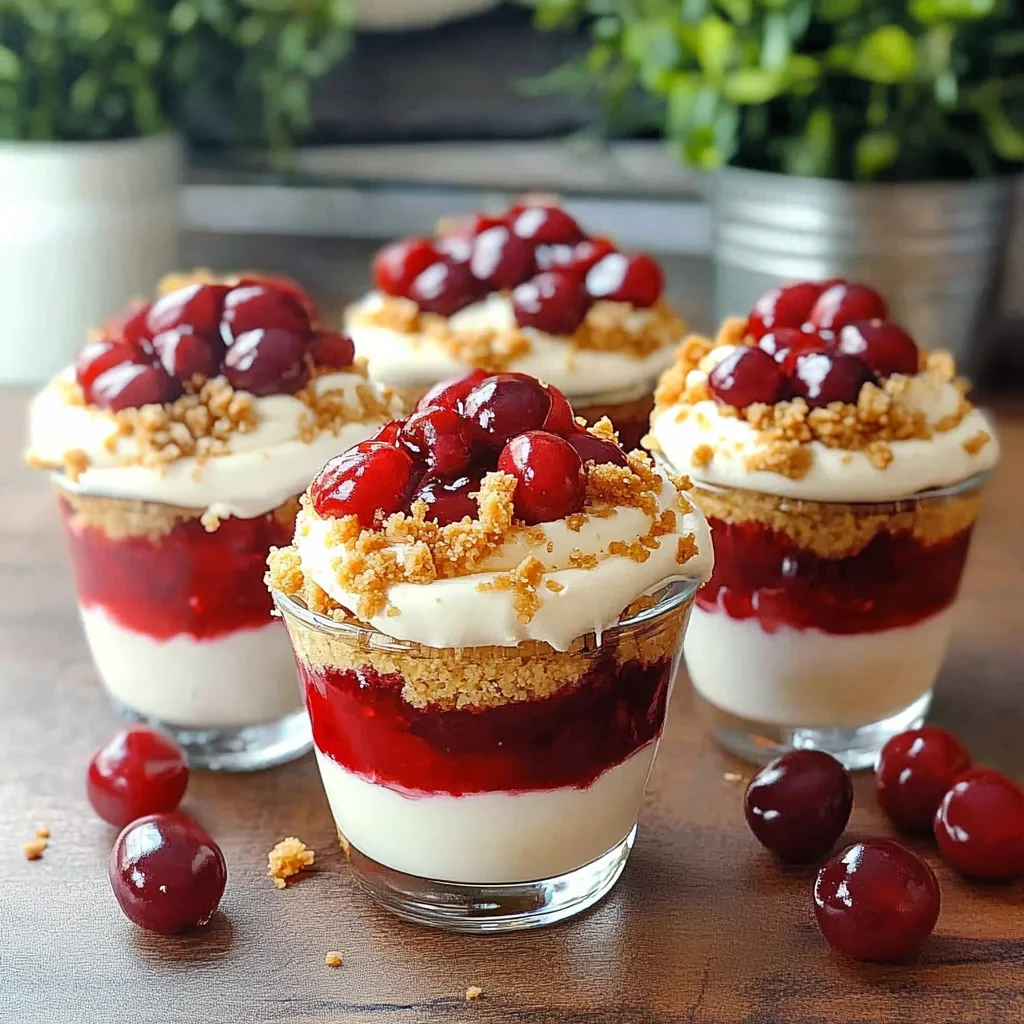
This No Bake Cheesecake Parfait with Cherry Pie Filling layers a sweet, buttery crust with a lusciously tangy cream cheese filling and vibrant, glossy cherries for a dessert that’s as stunning as it is simple.
- 1 1/2 cups finely crushed graham cracker crumbs
- 3 tablespoons granulated sugar
- 7 tablespoons butter, melted
- 1 (8 ounce) package cream cheese, softened
- 1 (14 ounce) can sweetened condensed milk
- 1/3 cup freshly squeezed lemon juice
- 1 teaspoon vanilla extract
- 1 (21 ounce) can cherry pie filling
Timing
| Prep Time | 15 minutes |
| Cook Time | 0 minutes |
| Total Time | 15 minutes |
Context: This No Bake Cheesecake Parfait with Cherry Pie Filling comes together in about half the time of a traditional baked cheesecake, making it a perfect quick dessert.
Step-by-Step Instructions
Step 1 — Prepare the Crust
Place graham crackers in a sealed plastic bag and crush them into fine crumbs using a rolling pin. For a quicker option, pulse them in a food processor. Mix the crumbs with melted butter and a pinch of sugar until the mixture resembles wet sand.
Tip: Press a small amount of the mixture into the bottom of your serving glass to test consistency; it should hold together when pinched.
Step 2 — Make the Cheesecake Filling
In a large bowl, beat softened cream cheese with an electric mixer until completely smooth and lump-free. This is crucial for a silky texture. Gradually add in powdered sugar and vanilla extract, beating until fully incorporated.
Tip: Ensure your cream cheese is at room temperature to prevent a grainy filling. Scrape down the sides of the bowl frequently.
Step 3 — Whip the Cream
In a separate chilled bowl, whip heavy cream until soft peaks form. For best results, chill your beaters and bowl beforehand. Gently fold the whipped cream into the cream cheese mixture until no white streaks remain.
Tip: Do not over-whip the cream to stiff peaks, as folding will become difficult and can deflate the mixture.
Step 4 — Layer the Parfait Base
Begin assembly by adding a tablespoon of the graham cracker crust mixture to the bottom of each serving glass or jar. Gently press it down with the back of a spoon. Next, pipe or spoon a generous layer of the no-bake cheesecake filling over the crust.
Step 5 — Add the Cherry Pie Filling
Spoon a layer of cherry pie filling over the cheesecake layer. For a cleaner presentation, use the back of the spoon to push the cherries toward the glass sides, creating a visible ring of red.
Tip: If your cherry pie filling is very syrupy, you can drain a little of the excess liquid to prevent the layers from becoming too runny.
Step 6 — Repeat the Layers
Repeat the layering process: another sprinkle of crust crumbs, another layer of cheesecake filling, and a final top layer of cherry pie filling. The number of layers depends on the size of your glass.
Tip: For a professional look, use a piping bag for the cheesecake layers to keep the glass sides clean.
Step 7 — Chill Before Serving
Cover the parfaits loosely with plastic wrap and refrigerate for at least 2-4 hours, or ideally overnight. This chilling time allows the flavors to meld and the crust to set slightly.
Doneness Cue: The parfait is ready when the layers are distinct and the dessert is cold throughout. The cheesecake filling will be firm to a gentle touch.
Step 8 — Garnish and Serve
Just before serving, add a final garnish. A dollop of whipped cream, a fresh cherry, or a sprinkle of graham cracker crumbs adds the perfect finishing touch to your No Bake Cheesecake Parfait with Cherry Pie Filling.
Nutritional Information
| Calories | Approx. 420 kcal |
| Protein | 6g |
| Carbohydrates | 48g |
| Fat | 23g |
| Fiber | 1g |
| Sodium | 280mg |
Note: These are estimated values for one serving of this No Bake Cheesecake Parfait with Cherry Pie Filling. Actual nutrition can vary based on specific brands and ingredient quantities used.
Healthier Alternatives
This no bake cheesecake parfait with cherry pie filling is wonderfully adaptable. Here are several ingredient swaps to tailor it to your dietary needs without sacrificing the creamy, indulgent texture.
- Greek Yogurt for Cream Cheese — For a high-protein, lower-fat alternative, swap half the cream cheese for plain Greek yogurt. It adds a tangy flavor and keeps the filling wonderfully thick.
- Nut or Seed Butter for Graham Cracker Crumbs — To make this no bake cheesecake parfait gluten-free and lower-carb, replace the crust layer with a sprinkle of crushed nuts or a teaspoon of almond butter for healthy fats and crunch.
- Coconut Cream for Dairy — Use full-fat coconut cream in place of cream cheese and whipped cream for a rich, dairy-free version. Chill the can overnight and scoop out the solid cream for best results.
- Fresh or Frozen Cherries for Canned Filling — Simmer fresh or frozen cherries with a little honey or maple syrup and a thickener like chia seeds to control sugar and create a low-sodium cherry topping.
- Low-Sodium Graham Crackers or Almond Flour — If using a crust, seek out low-sodium graham crackers or use almond flour mixed with a touch of melted coconut oil for a gluten-free, lower-sodium base.
- Natural Sweeteners for Granulated Sugar — Substitute powdered erythritol or monk fruit sweetener in the filling for a lower-carb, sugar-free no bake cheesecake parfait that doesn’t spike blood sugar.
- Silken Tofu for Cream Cheese — Blend silken tofu with lemon juice and sweetener for a surprisingly smooth, protein-packed, and lower-calorie filling alternative.
- Homemade Whipped Coconut Cream — Instead of store-bought whipped topping, whip the solid part of chilled coconut cream with vanilla for a dairy-free topping free of additives.
Serving Suggestions
- Pair this No Bake Cheesecake Parfait with Cherry Pie Filling with a cup of strong, dark roast coffee or a glass of sparkling Moscato to balance the sweet and tangy flavors.
- For a festive brunch, serve individual parfaits alongside other no-bake treats like fruit salad or mini quiches for a delightful contrast.
- Transform it into a stunning dessert centerpiece by layering it in a large glass trifle bowl, creating beautiful stripes of creamy filling, crumbly crust, and vibrant cherry topping.
- Make it a fun, interactive dessert bar for parties by setting out the components—cheesecake filling, graham cracker crumbs, cherry pie filling, and whipped cream—and letting guests build their own parfaits.
- For a summer BBQ, serve these parfaits in chilled mason jars; they’re portable, mess-free, and look wonderfully rustic.
- Elevate the plating for a dinner party by using elegant coupe glasses and garnishing each No Bake Cheesecake Parfait with a fresh mint sprig and a drizzle of dark chocolate sauce.
- Create a kid-friendly version by using fun, colorful cups and swapping the cherry pie filling for a rainbow of fresh berries or a dollop of chocolate sauce.
This versatile dessert is perfect for any occasion, from a casual weeknight treat to an elegant finale for a special meal. The key is to keep the components cold until serving for the best texture.
Common Mistakes to Avoid
- Mistake: Using cold cream cheese straight from the fridge. Fix: Let it soften at room temperature for an hour to prevent a lumpy, grainy filling.
- Mistake: Over-whipping the heavy cream into butter. Fix: Whip to stiff peaks that hold their shape but are still smooth and creamy.
- Mistake: Not draining the cherry pie filling. Fix: Briefly drain excess syrup to keep your parfait layers distinct and prevent sogginess.
- Mistake: Using a soggy or flavorless crust base. Fix: Toast your graham cracker crumbs with a little melted butter for a sturdy, flavorful foundation.
- Mistake: Assembling parfaits too far in advance. Fix: Layer them just 1-2 hours before serving so the crust stays crisp.
- Mistake: Under-sweetening the cheesecake layer. Fix: Taste the filling before assembling; the cherries provide tartness that needs balancing.
- Mistake: Skipping the chill time for the filling. Fix: Chill the mixed cheesecake filling for 20 minutes to firm it up for cleaner layers.
- Mistake: Creating messy, uneven layers in the glass. Fix: Use a piping bag or a spoon pressed against the glass side for neat, defined strata.
Storing Tips
- Fridge: Store assembled parfaits in an airtight container in the refrigerator for up to 3 days. The graham cracker layer will soften over time.
- Freezer: For longer storage, freeze individual portions in freezer-safe containers for up to 1 month. Thaw overnight in the refrigerator before serving.
- Reheat: This is a no-bake dessert and is not meant to be reheated. Always serve chilled. For food safety, keep refrigerated at or below 40°F (4°C).
For the best texture and to prevent the cherry pie filling from bleeding into the creamy layers, enjoy your No Bake Cheesecake Parfait with Cherry Pie Filling within 1-2 days of assembly.
Conclusion
This No Bake Cheesecake Parfait with Cherry Pie Filling is the perfect easy dessert for any occasion. It’s creamy, fruity, and requires zero oven time. If you loved this simple treat, you might also enjoy our Raspberry Chocolate Lasagna Recipe or Strawberry Earthquake Cake Recipe. Give it a try and let us know what you think in the comments!
PrintNo-Bake Cheesecake Parfait
Ingredients
- 1 1/2 cups finely crushed graham cracker crumbs
- 3 tablespoons granulated sugar
- 7 tablespoons butter (melted)
- 1 8 ounce package cream cheese, softened
- 1 14 ounce can sweetened condense milk
- 1/3 cup freshly squeezed lemon juice
- 1 teaspoon vanilla extract
- 1 21 ounce can cherry pie filling
Instructions
- In a small mixing bowl, combine the graham cracker crumbs, granulated sugar, and melted butter; set aside.
- In a medium mixing bowl, beat the cream cheese with an electric mixer on medium speed until smooth. Beat in the sweetened condense milk until combined.
- Add the freshly squeezed lemon juice and vanilla extract and stir well.
- Set 6 plastic, 9 ounce punch cups on the counter or a cookie sheet. Scoop 2 tablespoons of the graham cracker crumb mixture into the bottom of each cup and press down lightly.
- Add 3 tablespoons of the cheesecake mixture to each cup and spread out evenly.
- Next, evenly distribute half of the cherry pie filling between the 6 cups, reserving the other half of the pie filling for another layer.
- Sprinkle 2 tablespoons of the graham crack crumb mixture over the cherry layer.
- Divide the remaining cheesecake mixture between the 6 cups and spread out evenly.
- Divide the reserved cherry pie filling evenly between the 6 cups, then sprinkle the top with a little graham cracker crumb mixture.
- Serve immediately or chill for up to 24 hours before serving.
FAQs
Can I make this No Bake Cheesecake Parfait with Cherry Pie Filling ahead of time?
Yes, you can assemble the parfaits a few hours in advance. For the best texture, store them covered in the refrigerator. The graham cracker layer may soften slightly, but the dessert will still be delicious.
What can I use instead of cherry pie filling?
You can easily substitute the cherry pie filling with other canned fruit toppings like blueberry, strawberry, or apple. This flexibility makes the No Bake Cheesecake Parfait with Cherry Pie Filling a versatile dessert you can customize.
Do I need a special type of cream cheese?
Use full-fat, brick-style cream cheese for the best consistency and flavor. Ensure it is fully softened at room temperature to blend smoothly with the other ingredients without lumps.


