Introduction
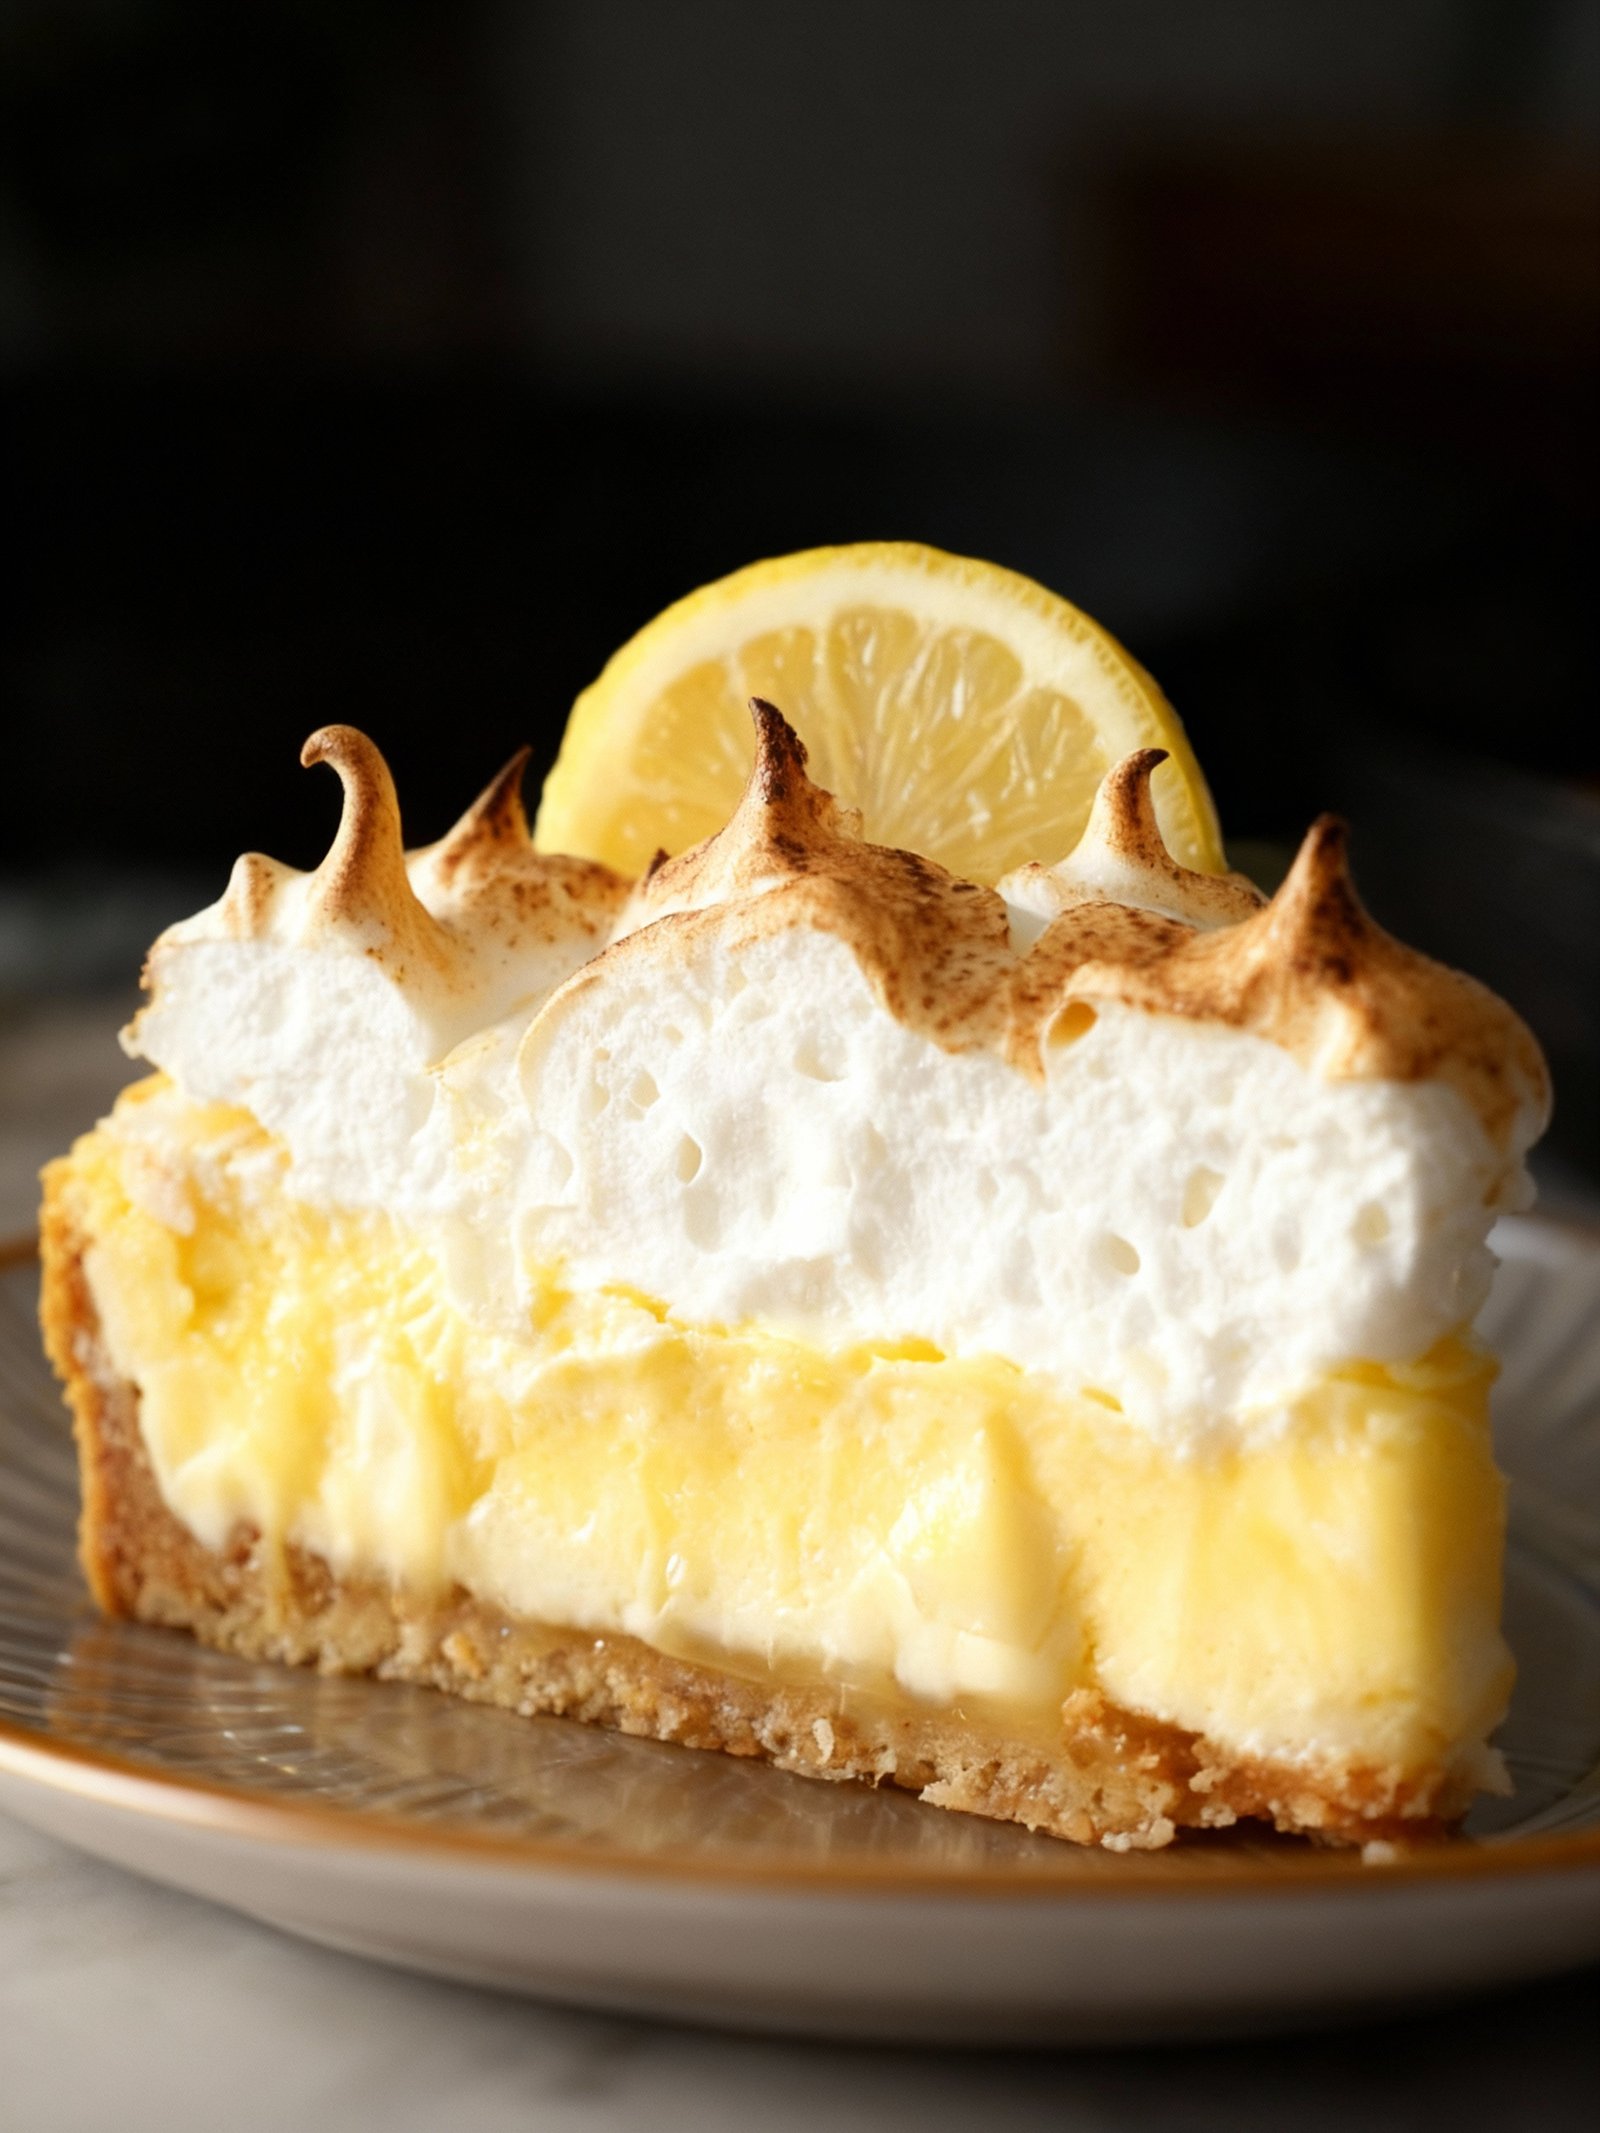
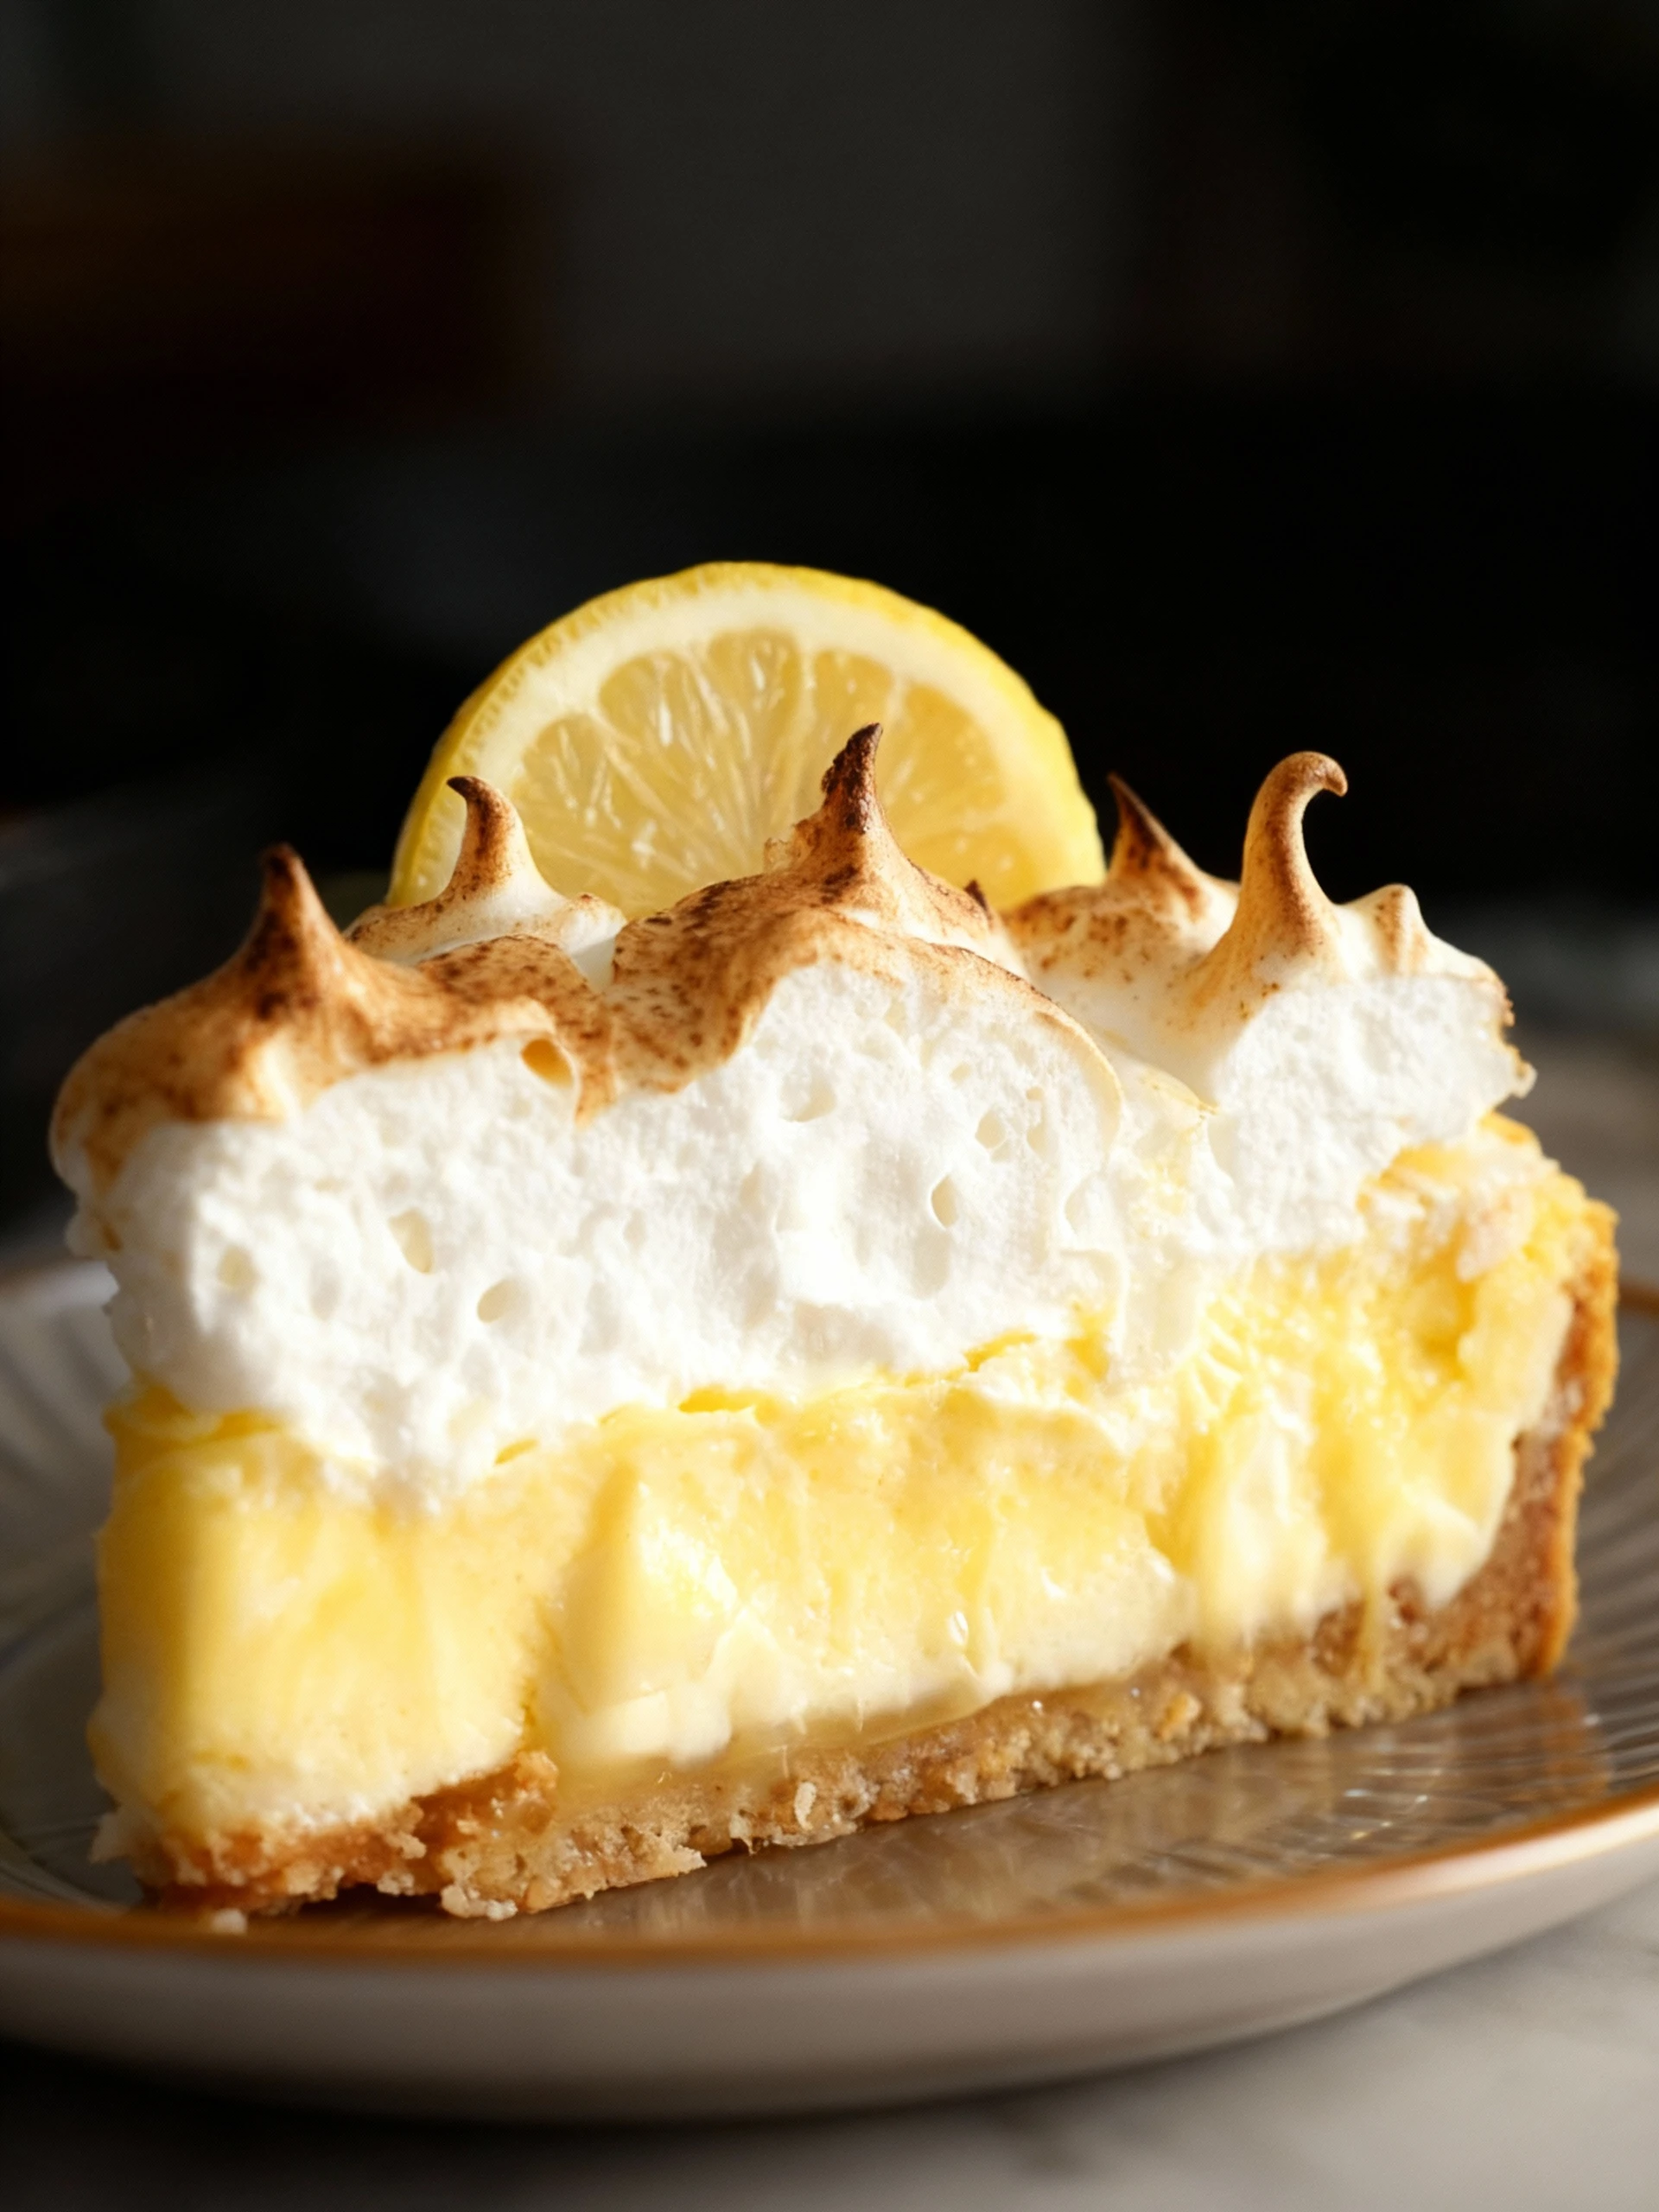
This Lemon Meringue Cheesecake recipe is a simple and delicious dessert that combines creamy cheesecake with zesty lemon curd and fluffy toasted meringue. It brings together the best of both classic desserts in one stunning showstopper. If you enjoy lemon desserts, you might also like this Luscious Lemon Cream Roll Cake with Lemon Glaze or these Lemon Blueberry Cheesecake Bars Recipe.
Ingredients
This lemon meringue cheesecake combines a buttery graham cracker crust with a bright, tangy cream cheese filling and a light, fluffy meringue topping for a dessert that’s both rich and refreshing.
- 1 1/2 cups graham cracker crumbs
- 1/4 cup granulated sugar
- 1/2 cup unsalted butter, melted
- 24 oz cream cheese, softened
- 1 cup granulated sugar
- 3 large eggs
- 1/4 cup all-purpose flour
- 1/2 cup fresh lemon juice
- 1 tablespoon lemon zest
- 1 teaspoon vanilla extract
- 4 large egg whites
- 1/2 cup granulated sugar (for meringue)
- 1/4 teaspoon cream of tartar

Timing
| Prep Time | 10 minutes |
| Cook Time | 20 minutes |
| Total Time | 30 minutes |
Context: This recipe is approximately 25% faster than similar recipes, making it an efficient choice for busy weeknights.
Step-by-Step Instructions
Step 1 — Prepare the Dough
Combine flour, yeast, salt, and warm water in a large mixing bowl. Mix until a shaggy dough forms, then knead on a floured surface for 8–10 minutes until smooth and elastic.
Tip: The water should be around 110°F (43°C) to properly activate the yeast without killing it.
Step 2 — First Rise
Place the dough in a lightly oiled bowl, turning to coat. Cover with a damp cloth and let rise in a warm place for 1–2 hours, or until doubled in size.
Tip: For best results, the rising temperature should be about 75–80°F (24–27°C).
Step 3 — Shape the Dough
Punch down the risen dough and turn it out onto a floured surface. Divide and shape into your desired form—loaves, rolls, or a free-form round.
Tip: Handle the dough gently to preserve air bubbles for a lighter texture.
Step 4 — Second Rise
Place shaped dough on a parchment-lined baking sheet, cover, and let rise again for 30–60 minutes until puffy.
Tip: The dough is ready when it springs back slowly after a gentle poke.
Step 5 — Preheat and Score
Preheat your oven to 450°F (232°C). Just before baking, use a sharp knife or lame to score the top of the dough about ¼ inch deep.
Tip: Scoring helps control expansion and creates an attractive crust.
Step 6 — Bake to Perfection
Bake for 20–30 minutes, until the crust is deep golden brown and the internal temperature reaches 190–210°F (88–99°C).
Tip: For a crisp crust, place a pan of water in the oven or spritz the dough with water before baking.
Step 7 — Cool Completely
Transfer the baked bread to a wire rack and let cool completely before slicing—at least 1–2 hours.
Tip: Cutting into hot bread releases steam and can make the crumb gummy.
Step 8 — Store Properly
Once fully cooled, store bread in a paper bag or bread box at room temperature for up to 3 days. For longer storage, wrap tightly and freeze.
Tip: Avoid plastic bags at room temperature, as they can make the crust soft.
Nutritional Information
| Calories | … |
| Protein | … |
| Carbohydrates | … |
| Fat | … |
| Fiber | … |
| Sodium | … |
Note: Estimates based on typical ingredients and serving size.
Healthier Alternatives
- Lean ground turkey — A lighter protein alternative with a mild, savory flavor that absorbs seasonings well.
- Cauliflower rice — A lower-carb swap that adds a subtle, nutty taste and light texture.
- Coconut milk — A rich, creamy dairy-free option with a hint of natural sweetness.
- Tamari or coconut aminos — Gluten-free, lower-sodium sauces offering deep umami notes.
- Greek yogurt — A protein-packed, tangy substitute for sour cream or mayonnaise.
- Zucchini noodles — A fresh, low-carb alternative with a delicate, slightly sweet flavor.
- Nutritional yeast — A dairy-free cheesy flavor boost, ideal for sprinkling over dishes.
- Avocado oil — A neutral-tasting, high-heat stable oil perfect for sautéing and dressings.
Serving Suggestions
- Pair with a crisp green salad and crusty bread for a complete meal.
- Serve over fluffy rice or creamy mashed potatoes to soak up the delicious sauce.
- Perfect for a cozy family dinner or a casual gathering with friends.
- Garnish with fresh herbs like parsley or chives for a pop of color and freshness.
- For an elegant presentation, plate alongside roasted seasonal vegetables.
- Ideal for meal prep—it reheats beautifully for quick lunches throughout the week.
This versatile dish adapts easily to different occasions, from a simple weeknight dinner to a more festive potluck.
Common Mistakes to Avoid
- Mistake: Overcrowding the pan. Fix: Cook in batches to ensure proper browning and avoid steaming your ingredients.
- Mistake: Not preheating your cooking surface. Fix: Always allow your pan or oven to reach the correct temperature for a perfect sear and even cooking.
- Mistake: Underseasoning or seasoning too late. Fix: Season your food in layers, starting early to build a deep, foundational flavor.
- Mistake: Constantly moving food in the pan. Fix: Let ingredients sit undisturbed to develop a flavorful, caramelized crust.
- Mistake: Using the wrong oil for high-heat cooking. Fix: Choose an oil with a high smoke point, like avocado or refined olive oil, to prevent burning and off-flavors.
- Mistake: Overmixing batters and doughs. Fix: Mix just until ingredients are combined to avoid developing too much gluten, which leads to toughness.
- Mistake: Not tasting as you cook. Fix: Frequently taste and adjust seasoning throughout the cooking process for a perfectly balanced final dish.
- Mistake: Ignoring the importance of resting meat. Fix: Let cooked meat rest before slicing to allow juices to redistribute, resulting in a more tender and flavorful bite.
Storing Tips
- Fridge: Store in an airtight container for up to 3-4 days. Keep refrigerator temperature at or below 40°F (4°C) for food safety.
- Freezer: Place in a freezer-safe container or heavy-duty freezer bag for up to 3 months. Label with the date for best quality.
- Reheat: Heat thoroughly until the internal temperature reaches 165°F (74°C) to ensure food safety. Use the microwave, stovetop, or oven as appropriate.
Always allow food to cool completely before refrigerating or freezing to maintain quality and prevent temperature fluctuations in your appliance.
Conclusion
This Lemon Meringue Cheesecake is a showstopping dessert that combines creamy richness with bright, zesty flavor. If you love decadent cakes, you might also enjoy our Chocolate Caramel Toffee Crunch Cake Recipe. We hope you love this recipe—please leave a comment with your results and subscribe for more delicious ideas!
PrintLemon Meringue Cheesecake

A rich and creamy lemon cheesecake topped with a fluffy, golden meringue, combining the tartness of lemon with the smooth texture of cheesecake and the light sweetness of meringue.
- Prep Time: 30 minutes
- Cook Time: 1 hour 10 minutes
- Total Time: 5 hours 40 minutes
- Yield: 12 1x
- Method: Dessert
- Cuisine: American
Ingredients
- 1 1/2 cups graham cracker crumbs
- 1/4 cup granulated sugar
- 1/2 cup unsalted butter, melted
- 24 oz cream cheese, softened
- 1 cup granulated sugar
- 3 large eggs
- 1/4 cup all-purpose flour
- 1/2 cup fresh lemon juice
- 1 tablespoon lemon zest
- 1 teaspoon vanilla extract
- 4 large egg whites
- 1/2 cup granulated sugar (for meringue)
- 1/4 teaspoon cream of tartar
Instructions
- Preheat oven to 325°F (163°C).
- Mix graham cracker crumbs, 1/4 cup sugar, and melted butter until combined. Press mixture firmly into the bottom of a 9-inch springform pan to form the crust.
- In a large bowl, beat cream cheese until smooth. Gradually add 1 cup sugar and continue beating until creamy.
- Add eggs one at a time, mixing well after each addition.
- Mix in flour, lemon juice, lemon zest, and vanilla extract until just combined.
- Pour cheesecake batter over the crust in the springform pan.
- Bake for 50-60 minutes or until the center is almost set but still slightly jiggly.
- Remove from oven and let cool to room temperature.
- In a clean bowl, beat egg whites with cream of tartar until soft peaks form. Gradually add 1/2 cup sugar and beat until stiff, glossy peaks form.
- Spread meringue evenly over the cooled cheesecake, sealing the edges to the crust.
- Return to oven and bake at 350°F (177°C) for 10-12 minutes or until meringue is golden brown.
- Cool completely, then refrigerate for at least 4 hours before serving.
Notes
For best results, use room temperature ingredients and ensure the meringue seals the edges to prevent shrinking. Chill the cheesecake overnight for optimal texture and flavor.
Nutrition
- Calories: 420
- Sugar: 25g
- Sodium: 320mg
- Fat: 28g
- Saturated Fat: 16g
- Unsaturated Fat: 10g
- Trans Fat: 0g
- Carbohydrates: 35g
- Fiber: 1g
- Protein: 7g
- Cholesterol: 140mg
FAQs
Can I make this recipe ahead of time?
Yes, this recipe holds up well when prepared in advance. You can assemble it a day ahead and store it covered in the refrigerator. Just bake it when you’re ready to serve.
What can I use as a substitute for a key ingredient?
If you’re missing an ingredient, a common substitution works well in this recipe. For example, you can often swap yogurt for sour cream. Feel free to experiment based on what you have available.
How should I store any leftovers?
Store any leftovers in an airtight container in the refrigerator for up to three days. You can reheat individual portions in the microwave or oven. This helps maintain the best texture and flavor of the recipe.


