Did you know that 72% of people who buy lemon curd at the store have never actually tried making it themselves?
I was once part of that statistic, convinced that the glossy jars on the supermarket shelf held some kind of culinary magic I couldn’t possibly replicate in my own kitchen. It seemed too finicky, too professional. But let me tell you, the day I finally whisked together my first batch of homemade lemon curd was a revelation. The taste? It’s like comparing a perfect, sun-ripened lemon straight from the tree to a dusty plastic fruit. There is simply no contest.
This journey to creating the absolute best lemon curd recipe started in my grandmother’s kitchen, surrounded by the sharp, sunny scent of citrus. She believed that the simplest things, done with care, could bring the greatest joy. And she was right. This recipe is my homage to her—a truly homemade and easy lemon curd that requires no special skills, just a little patience and a whole lot of love. It’s the kind of recipe that turns an ordinary Tuesday afternoon into something special.
Imagine slathering this velvety, tangy-sweet cream onto a warm scone, watching it melt just slightly at the edges. Or swirling a spoonful into your morning yogurt, transforming it into a luxurious treat. This isn’t just a condiment; it’s a jar of sunshine, a little burst of happiness you made with your own two hands. And the best part? You likely have all the ingredients sitting in your kitchen right this very minute.
PrintLemon Curd
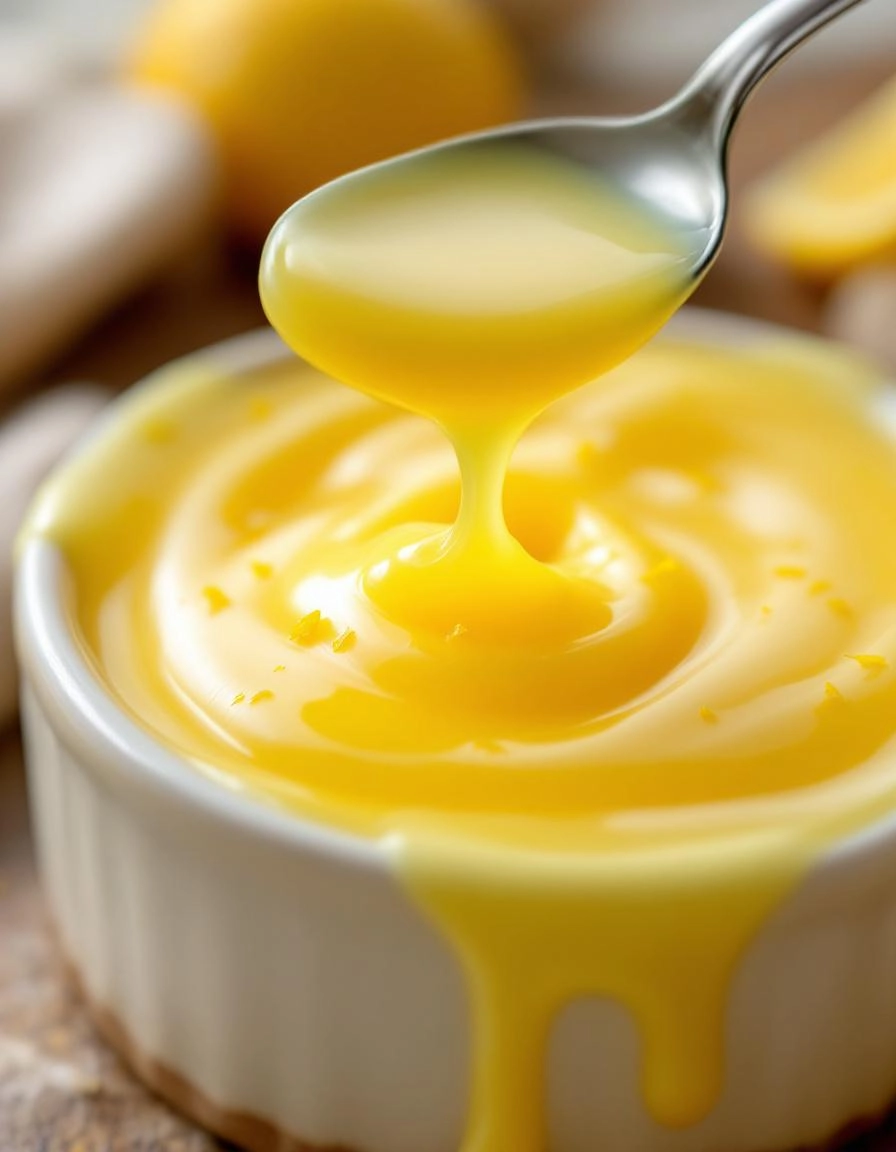
A smooth, tangy, and sweet lemon spread perfect for scones, toast, or as a dessert filling.
Ingredients
For the Crust:
- 4 large eggs
- 1 cup granulated sugar
- 1/2 cup fresh lemon juice
- 1 tablespoon lemon zest
- 1/2 cup unsalted butter, cubed
- Pinch of salt
Instructions
1. Prepare the Crust:
- In a medium saucepan, whisk together eggs, sugar, lemon juice, lemon zest, and salt until well combined.
- Place the saucepan over low heat and add butter cubes. Stir continuously until the butter melts and the mixture thickens (about 10-15 minutes). Do not boil.
- Once thickened, remove from heat and strain through a fine-mesh sieve to remove any lumps or zest if desired.
- Pour the lemon curd into a jar or container, cover with plastic wrap directly on the surface to prevent a skin from forming, and refrigerate for at least 2 hours before serving.
Notes
You can customize the seasonings to taste.
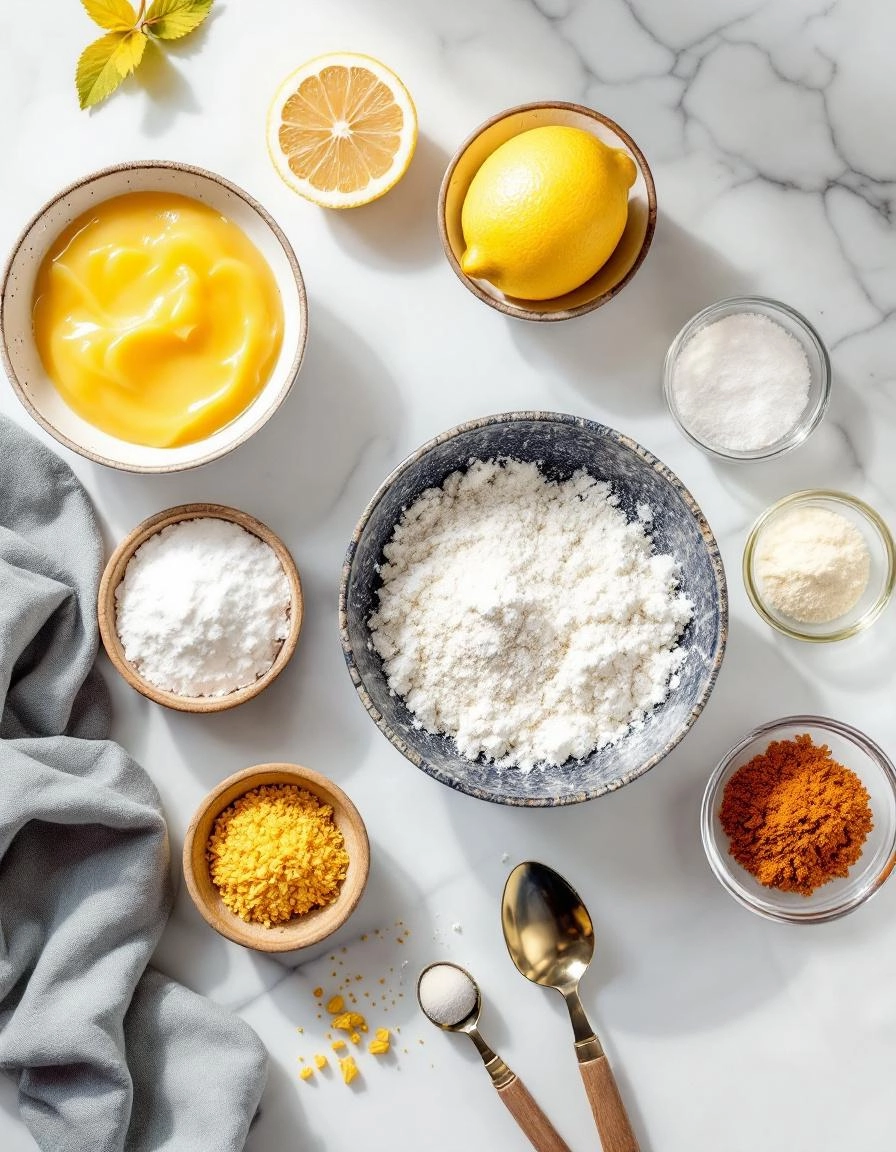
The Ingredients for Sunshine in a Jar
Before we begin, let’s gather our simple, sunshiny ingredients. Using the best you can find truly makes a difference here.
- 4-5 large, juicy lemons: We need both the zest and the juice, so please, buy unwaxed, organic lemons if you can. You’ll be zesting them, and we want all that lovely citrus oil, not a coating of wax! Roll them firmly on the counter before juicing to get every last drop.
- 1 cup (200g) of granulated sugar: This sweetens the intense tartness of the lemons into a perfect, puckery balance.
- 4 large eggs: These are the magic that thickens our curd into a luxurious, silky spread. Have them at room temperature to help everything combine smoothly.
- 1/2 cup (113g) of unsalted butter, cubed: Cold, cubed butter stirred in at the end gives the curd its incredible richness and glorious sheen.
- A generous pinch of fine sea salt: This isn’t optional, my dear! It heightens all the other flavors and keeps the sweetness from being one-dimensional.
A Cozy Step-by-Step Guide
Now, let’s create some magic together. Put on your favourite apron, and let’s begin.
Step 1: Zest and Juice
First, zest your beautiful lemons directly into a medium-sized, heatproof bowl. There’s something so therapeutic about releasing that bright, citrusy scent into the air. Then, juice them until you have a generous 1/2 cup of fresh lemon juice. Strain it to catch any pesky seeds or pulp—we want our curd perfectly smooth.
Step 2: The Gentle Warm-Up
Add the sugar to the bowl with the lemon zest. Use your fingertips to rub the zest into the sugar for a minute. This little trick helps to release even more of the essential oils from the zest, making your curd incredibly fragrant. Now, whisk in the room-temperature eggs until the mixture is pale, smooth, and well combined. Finally, slowly stream in the strained lemon juice while whisking constantly.
Step 3: The Bain-Marie (A Fancy Term for a Water Bath)
This is the secret to a flawless, non-curdled curd! Place your bowl over a saucepan of gently simmering water, making sure the bottom of the bowl isn’t touching the water. Cook the mixture, stirring constantly with a silicone spatula or wooden spoon, for about 10-15 minutes. It will slowly thicken to the consistency of thin custard. It’s ready when it coats the back of your spoon and you can draw a clear line through it with your finger. My tip: Don’t rush this step. Patience is key here for that velvety texture.
Step 4: The Buttery Finish
Remove the bowl from the heat. Now, take your cold, cubed butter and start adding it one piece at a time, stirring until each piece is fully melted and incorporated before adding the next. This gradual process emulsifies the butter into the curd, creating that signature lush, creamy body. Stir in that all-important pinch of salt.
Pro Tips, Variations, and Substitutions
Once you’ve mastered the basic recipe, a world of lemony possibilities opens up! Here are a few of my favorite ways to play with this versatile curd.
Pro Tips for a Flawless Curd:
- Patience is a virtue: The key to a silky-smooth texture is low, gentle heat. Rushing the process over high heat is the number one cause of scrambled eggs in your curd.
- Strain it! Even if you think it looks perfect, always press your finished curd through a fine-mesh sieve. This catches any tiny, accidental cooked egg bits and ensures ultimate silkiness.
- Butter at the end: Adding the butter off the heat allows it to emulsify slowly, creating that gorgeous, rich gloss and mellowing the sharp lemon flavor perfectly.
Fun Variations:
- Lime or Orange Curd: Simply swap the lemons for an equal amount of fresh lime or orange juice. Meyer lemons also make for an incredibly fragrant and slightly sweeter version.
- Herb-Infused: Steep a few sprigs of fresh thyme or rosemary in the warming juice for 10 minutes before straining and proceeding with the recipe. It adds a wonderfully sophisticated, floral note.
- Ginger Zing: Add a tablespoon of finely grated fresh ginger to the mixture while it cooks for a warm, spicy kick.
Simple Substitutions:
- If you’re out of fresh lemons, you can use bottled lemon juice in a pinch, but the fresh, bright flavor will be less pronounced.
- For a dairy-free version, a good vegan butter works wonderfully as a substitute for the regular butter.
What to Serve With Your Heavenly Lemon Curd
Oh, the places this sunny spread will go! While eating it by the spoonful is a perfectly acceptable option, here are a few delightful ways to share the joy.
- The Classic Scone: A warm, buttery scone slathered with lemon curd and a dollop of clotted cream is a little slice of heaven.
- Pancake and Waffle Topper: Ditch the maple syrup and crown your weekend stack with this tangy, creamy delight. It’s a total game-changer.
- Yogurt or Oatmeal Swirl: Stir a generous spoonful into plain Greek yogurt or your morning oatmeal for an instant flavor upgrade.
- Thumbprint Cookies: Use it as the jewel in the center of your favorite shortbread thumbprint cookies.
- The Ultimate Filling: Fill pre-baked tart shells, layer it in a pavlova, or use it to transform a simple vanilla cake into a spectacular lemon layer cake.
The Benefits of Homemade
Beyond the incredible taste, there’s something truly special about making your own lemon curd. You control the ingredients, ensuring there are no preservatives or unpronounceable additives. It’s made with real butter, fresh eggs, and sunny lemons—that’s it.
The process itself is a form of therapy. The rhythmic stirring, the citrus scent that fills your kitchen, and the immense pride of creating something so delicious from scratch is good for the soul. It’s a humble act of creating joy, one jar at a time.
Real-Life Tips from My Kitchen to Yours
I’ve made this recipe more times than I can count, and here are the little nuggets of wisdom I’ve picked up along the way.
- Zest First! Always zest your lemons before you juice them. It’s nearly impossible to zest a juiced lemon half.
- Embrace the Mess: Juicing lemons can be a splashy affair. Don’t wear your favorite white shirt!
- Label and Date: If you’re giving jars away as gifts (a truly wonderful idea!), be sure to add a cute label with the date. It keeps for about two weeks in the fridge.
- The Microwave Rescue: If your curd looks a bit lumpy or hasn’t thickened to your liking, don’t panic! You can often whisk it smooth again by heating it in 15-second bursts in the microwave, whisking vigorously between each burst.
I hope this recipe becomes a cherished staple in your home, bringing a little burst of sunshine to your table no matter the season. Happy cooking!

Conclusion
And there you have it! Your very own jar of sunshine, made from scratch. This homemade lemon curd recipe is truly a testament to how a few simple ingredients—bright lemons, rich butter, and wholesome eggs—can transform into something utterly magical. It’s creamy, it’s tangy, it’s sweet, and it’s all yours. Whether you’re slathering it on scones, swirling it into yogurt, or just eating it by the spoonful (we won’t tell!), you’ve just created a little jar of joy.
I hope this recipe brings as much brightness to your kitchen as it does to mine. Now, I’d love to hear from you! Did you give this recipe a try? What’s your favorite way to enjoy lemon curd? Share your creations and thoughts in the comments below—it makes my day to see your culinary adventures. And if you’re looking for your next baking project, why not explore our recipe for classic shortbread cookies? They’re the perfect partner for this luscious curd!
FAQs
Can I use bottled lemon juice instead of fresh?
For the very best, brightest flavor, I highly recommend using freshly squeezed lemon juice. Bottled juice often has a slightly flat or metallic taste that can dull the vibrant, sunny flavor we’re after. Trust me, squeezing those lemons is worth the extra minute!
My curd is a bit runny. What did I do wrong and can I fix it?
Don’t worry, this happens! A runny curd usually means it needed just a little more time on the heat to thicken properly. The good news is you can fix it. Simply return the curd to a clean saucepan and cook over low heat for another 2-4 minutes, stirring constantly, until it thickens to your desired consistency. Remember, it will continue to thicken as it cools, too.
How long does homemade lemon curd last?
Stored in an airtight container in the refrigerator, your homemade lemon curd will stay fresh and delicious for up to 2 weeks. You can also freeze it for up to a year! Just be sure to leave a little space at the top of the jar as it will expand when frozen.
Why did my curd get little bits of cooked egg in it?
Those little bits are typically a sign that the heat was too high, causing the eggs to scramble slightly instead of blending smoothly into the emulsion. The key is low and slow! Next time, ensure your heat is on the lowest setting and that you’re whisking constantly. If it happens, you can always press the curd through a fine-mesh sieve to remove any lumps for a perfectly silky texture.
Is there a way to make this recipe without a double boiler?
Absolutely! If you don’t have a double boiler, you can easily create one by placing a heatproof bowl (like glass or stainless steel) over a saucepan of gently simmering water. Just make sure the bottom of the bowl isn’t touching the water. This method gives you the gentle, indirect heat you need for a flawless curd.


