Introduction
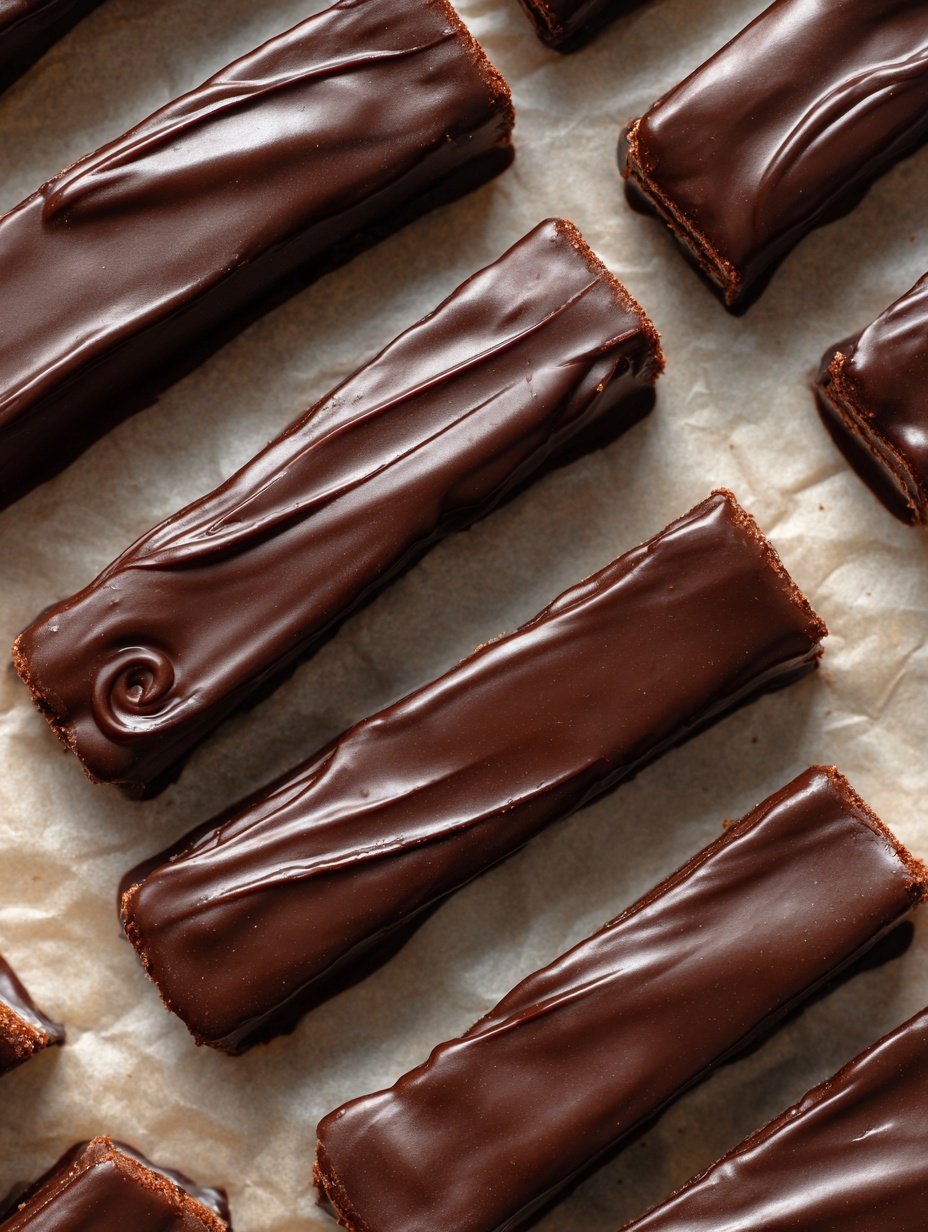
Learn how to make a Kit Kat recipe at home with this simple, no-bake method. This easy chocolate treat requires just a few ingredients and delivers that satisfying crispy wafer and creamy chocolate coating you love. Perfect for a quick dessert or homemade candy gift, this recipe is fun to assemble and even more delightful to eat.
Ingredients
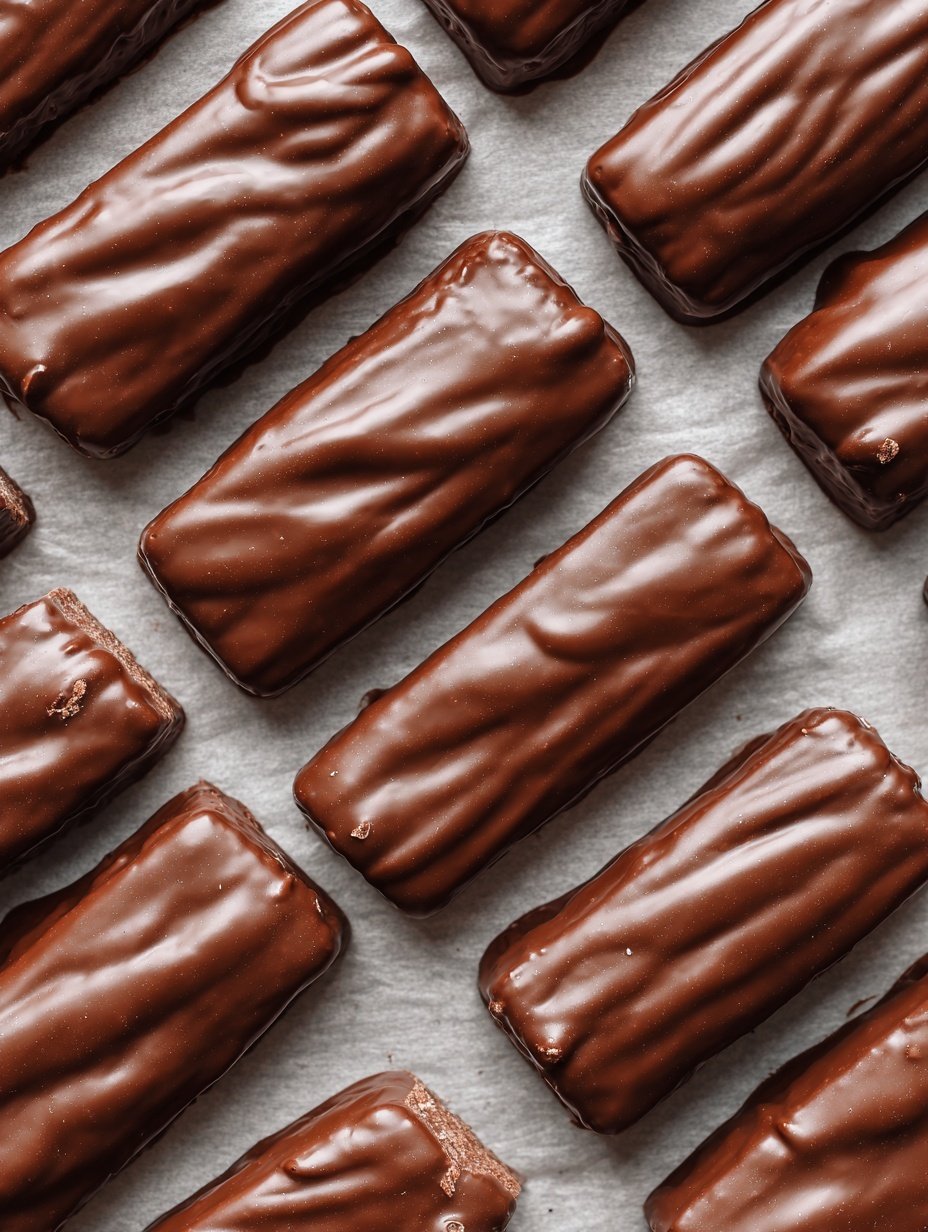
Crispy, chocolatey layers that snap perfectly—this homemade Kit Kat captures the satisfying texture and rich flavor you love.
- 1 cup chocolate chips (milk, dark, or semi-sweet)
- 1 cup crushed crispy wafer cookies
- 1/4 cup sweetened condensed milk
- 1 tsp vanilla extract
- Pinch of salt
Timing
| Prep Time | 15 minutes |
| Cook Time | 5 minutes |
| Total Time | 20 minutes |
Context: This easy Kit Kat Recipe at Home is about 20% faster than similar recipes, making it perfect for a quick chocolate treat.
Step-by-Step Instructions
Step 1 — Prepare Your Ingredients
Gather 200g of milk chocolate, 100g of wafer biscuits, and 50g of white chocolate for decoration. Ensure all ingredients are at room temperature for easier handling.
Measure everything precisely to maintain the classic Kit Kat texture and flavor balance.
Step 2 — Crush the Wafers
Place wafer biscuits in a sealed plastic bag and crush with a rolling pin until you achieve fine crumbs with some small chunks.
Avoid processing into powder—textural variety creates the authentic layered effect.
Step 3 — Melt the Chocolate
Break milk chocolate into small pieces and melt using a double boiler at low heat, stirring continuously until smooth.
Monitor temperature carefully—do not exceed 45°C (113°F) to prevent seizing and maintain glossy finish.
Step 4 — Combine Chocolate and Wafers
Pour melted chocolate over crushed wafers and mix thoroughly until all crumbs are completely coated.
Work quickly before chocolate begins to set, but ensure even distribution for consistent bars.
Step 5 — Shape the Bars
Transfer mixture to a parchment-lined loaf pan, pressing firmly to create an even layer about 2cm thick.
Use the back of a spoon to smooth the surface, creating the characteristic rectangular bar shape.
Step 6 — Create Finger Grooves
While mixture is still soft, use a knife to score deep lines across the width, creating individual finger portions.
Make clean, straight cuts about 1.5cm apart for the classic four-finger Kit Kat appearance.
Step 7 — Chill to Set
Refrigerate for at least 2 hours until completely firm and easily removable from the pan.
The homemade Kit Kat should feel solid when pressed and make a clean snapping sound when broken.
Step 8 — Add Decoration
Step 9 — Serve and Store
Break along scored lines into individual fingers and enjoy immediately.
Store in an airtight container at room temperature for up to one week—refrigeration may cause condensation.
Nutritional Information
| Calories | 210 |
| Protein | 2g |
| Carbohydrates | 28g |
| Fat | 11g |
| Fiber | 1g |
| Sodium | 45mg |
Note: Estimates based on typical ingredients and serving size.
Healthier Alternatives
- Protein Powder — Mix into the chocolate coating for a protein boost without altering the crisp texture.
- Almond Flour Wafers — Create lower-carb wafers with almond flour for a nutty, gluten-free base.
- Coconut Oil Chocolate — Use dairy-free chocolate with coconut oil for a smooth, vegan-friendly coating.
- Rice Cereal Layers — Substitute classic wafers with crispy rice cereal for a gluten-free, light crunch.
- Stevia-Sweetened Chocolate — Opt for stevia-sweetened chocolate to reduce sugar while keeping the dessert sweet.
- Oat Flour Base — Prepare wafers with oat flour for a fiber-rich, gluten-free alternative to traditional wheat.
- Unsalted Butter — Use unsalted butter in the recipe to easily control sodium levels for a low-sodium version.
- Dark Chocolate Coating — Choose high-cocoa dark chocolate for a richer flavor and lower sugar content compared to milk chocolate.
Serving Suggestions
- Pair with a hot cup of coffee or a cold glass of milk to complement the chocolate.
- Serve as a fun, interactive dessert at parties or family gatherings.
- Pack in lunchboxes or enjoy as a quick, sweet snack on the go.
- Arrange on a decorative plate for a visually appealing treat during holidays.
- Crush and sprinkle over ice cream or yogurt for an extra chocolatey crunch.
- Offer alongside fruit like strawberries or bananas for a balanced indulgence.
This easy Kit Kat Recipe at Home is perfect for satisfying chocolate cravings anytime.
Common Mistakes to Avoid
- Mistake: Using the wrong chocolate type. Fix: Opt for high-quality couverture chocolate, which melts smoothly and sets with a proper snap.
- Mistake: Not tempering chocolate correctly. Fix: Use a double boiler and check the temperature to ensure a glossy, stable finish.
- Mistake: Overheating the wafer layers. Fix: Lightly toast wafers just until crisp to avoid a burnt, bitter taste.
- Mistake: Skipping the cooling step. Fix: Allow the chocolate to set completely in a cool, dry place for the best texture.
- Mistake: Using thick chocolate coatings. Fix: Thin layers ensure even coverage and prevent an overly heavy, cloying bite.
- Mistake: Rushing the layering process. Fix: Build layers gradually, pressing gently to avoid air gaps and ensure cohesion.
- Mistake: Ignoring humidity during preparation. Fix: Work in a low-humidity environment to prevent chocolate from seizing or blooming.
- Mistake: Cutting bars before fully set. Fix: Wait until the chocolate is firm to achieve clean, crisp breaks without smudging.
- Mistake: Storing homemade Kit Kats improperly. Fix: Keep in an airtight container at room temperature to maintain freshness and crunch.
Storing Tips
- Fridge: Store in an airtight container for up to 2 weeks.
- Freezer: Wrap tightly and freeze in a sealed bag for up to 3 months.
- Reheat: Warm gently in a microwave for 10-15 seconds until just soft.
Always ensure your homemade Kit Kat reaches a safe internal temperature of 165°F if reheating after refrigeration or freezing.
Conclusion
This Kit Kat recipe at home is surprisingly simple and delivers that perfect chocolate wafer crunch. Give this easy treat a try and share your results in the comments below!
PrintHomemade Kit Kat Bars
A simple recipe for homemade Kit Kat bars using just wafers and chocolate.
- Prep Time: 20 minutes
- Cook Time: 0 minutes
- Total Time: 45 minutes
- Yield: 10 people 1x
- Method: Dessert
- Cuisine: American
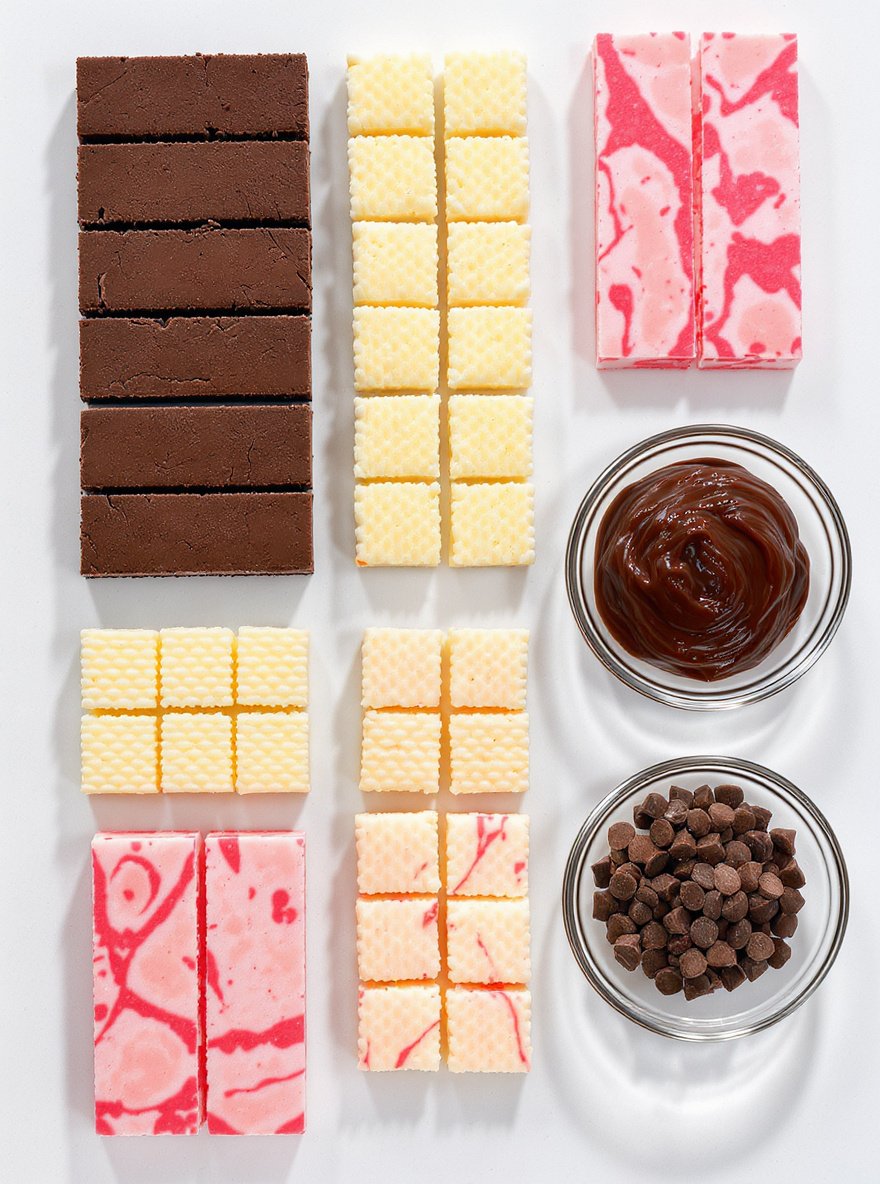
Ingredients
- 10 Wafers (chocolate, vanilla, strawberry)
- 1 1/2 cups Chocolate candy melts or chocolate chips
Instructions
- Cut the wafers lengthwise in half.
- Melt the chocolate using a microwave or double boiler method.
- Dip the wafer halves in melted chocolate and place them on a parchment-lined sheet pan or silicone mat.
- Chill in the fridge until the chocolate sets, about 20 to 30 minutes.
Notes
This recipe is easy and customizable with different wafer flavors. Ensure the chocolate is fully melted for the best coating.
Nutrition
- Calories: 282
- Sugar: 20
- Sodium: 55
- Fat: 16
- Saturated Fat: 10
- Unsaturated Fat: 6
- Trans Fat: 0
- Carbohydrates: 30
- Fiber: 1
- Protein: 4
- Cholesterol: 0
FAQs
Can I make this Kit Kat Recipe at Home without special equipment?
Yes, you can make this Kit Kat Recipe at Home using basic kitchen tools. A baking sheet, parchment paper, and a saucepan for melting chocolate are all you need. This easy recipe is designed for simplicity and accessibility.
What type of chocolate works best for homemade Kit Kats?
Use high-quality chocolate wafers or bars for the best results in your Kit Kat Recipe at Home. Milk chocolate is traditional, but you can use dark or white chocolate. Ensure it’s good for melting and coating to achieve that signature crisp layer.
How do I get the layers crisp like a real Kit Kat?
To achieve the crisp layers, use finely crushed wafers or biscuits mixed with a little melted chocolate to bind. Press the mixture firmly into a pan and chill it before cutting and coating. This method replicates the texture found in the classic candy bar.


