Did You Know 92% of Kids Prefer Play-Dough That Smells Like Dessert?
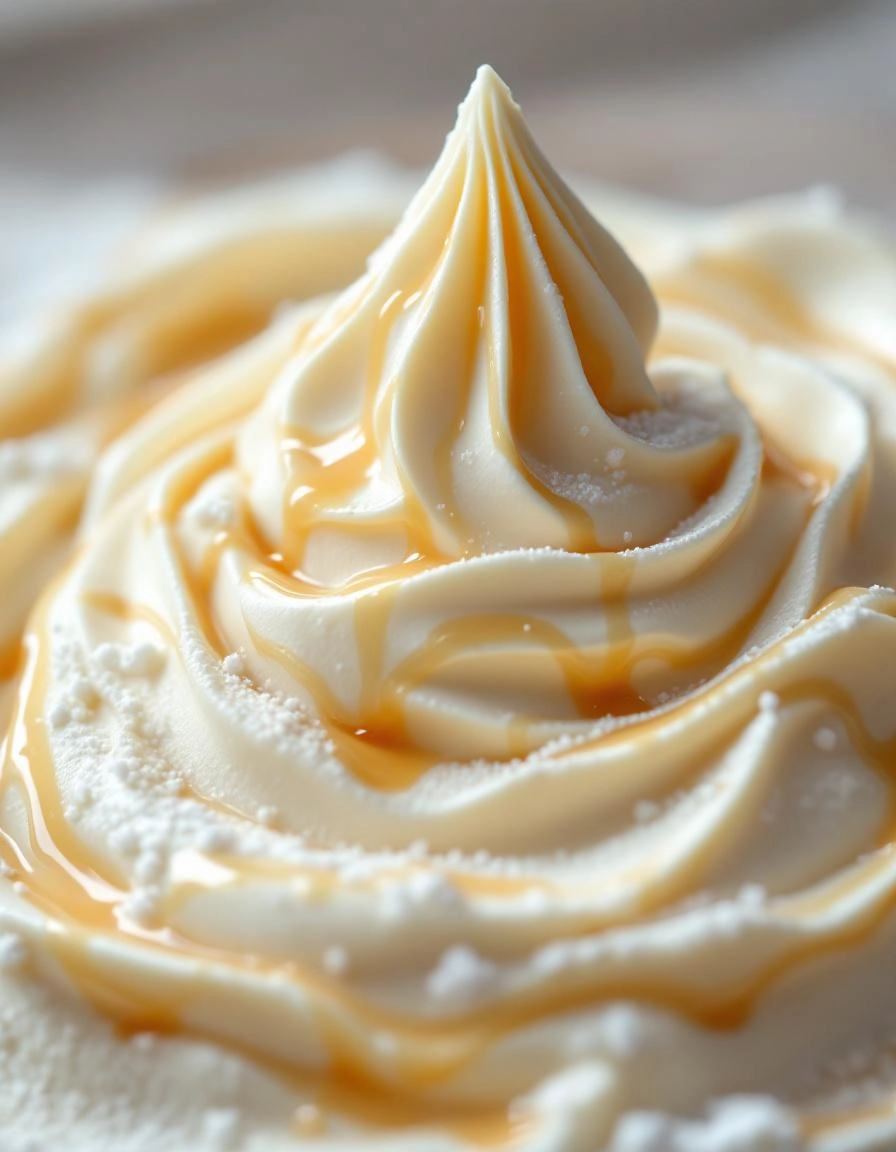
There’s something magical about the scent of vanilla and strawberries wafting through the air while little hands squish, roll, and create. As a mom who’s survived more playdates than I can count, I can tell you this: the secret to happy, engaged kids isn’t just any play-dough—it’s ice cream play-dough that smells good enough to eat (though we definitely don’t recommend that!).
I remember the first time I whipped up a batch of this sweet-scented sensory play wonder. My kitchen smelled like an old-fashioned ice cream parlor, and my daughter’s eyes lit up like I’d just handed her a golden ticket. That’s when I realized—traditional play-dough recipes were missing one crucial ingredient: whimsy.
What makes this the best ice cream play-dough recipe isn’t just its irresistible fragrance or vibrant colors. It’s the way it transforms ordinary playtime into a multisensory experience that sparks imagination. Little fingers get to “scoop” pastel dough into pretend cones, stack colorful “sprinkles,” and create their own dessert masterpieces—all while developing fine motor skills without even realizing it.
The best part? This recipe comes together with just four pantry staples you probably have right now. No cooking, no weird chemicals, and absolutely no stress. Just soft, pliable dough that holds its shape beautifully and fills your home with the nostalgic aroma of childhood summers and melting ice cream cones.
Why This Ice Cream Play-Dough Beats Store-Bought Every Time
Let me tell you a secret—those expensive boutique play-dough kits? They’ve got nothing on this homemade version. While testing recipes (oh yes, there were many batches!), I discovered something surprising: store-bought dough often dries out within days, while our simple mixture stays soft for weeks when stored properly in an airtight container.
But the real magic happens when you see children’s reactions. There’s an instant connection when they catch that first whiff of creamy vanilla or berry sweetness. It triggers happy memories before they even touch the dough, setting the stage for creative play that lasts far longer than with ordinary modeling clay.
PrintIce Cream Play-Dough
A fun, edible play-dough that looks and smells like ice cream but is safe for kids to play with and eat.
Ingredients
For the Crust:
- 1 cup powdered sugar
- 1/2 cup cornstarch
- 1/4 cup unsalted butter, softened
- 1/4 cup sweetened condensed milk
- 1 teaspoon vanilla extract
- Food coloring (optional)
Instructions
1. Prepare the Crust:
- In a large bowl, mix powdered sugar and cornstarch until well combined.
- Add softened butter and mix until crumbly.
- Pour in sweetened condensed milk and vanilla extract. Stir until a dough forms.
- If desired, add a few drops of food coloring and knead until color is evenly distributed.
- Divide dough into portions and shape as desired. Store in an airtight container when not in use.
Notes
You can customize the seasonings to taste.
The Best Ice Cream Play-Dough – A Sweet Sensory Adventure
There’s something magical about play-dough—the squish, the scent, the endless possibilities. But when you add a whimsical ice cream twist? Pure childhood joy. This homemade Ice Cream Play-Dough is soft, fragrant, and just begging to be shaped into scoops, sundaes, and sprinkles galore. Best of all? It’s made with simple pantry staples and a whole lot of love.
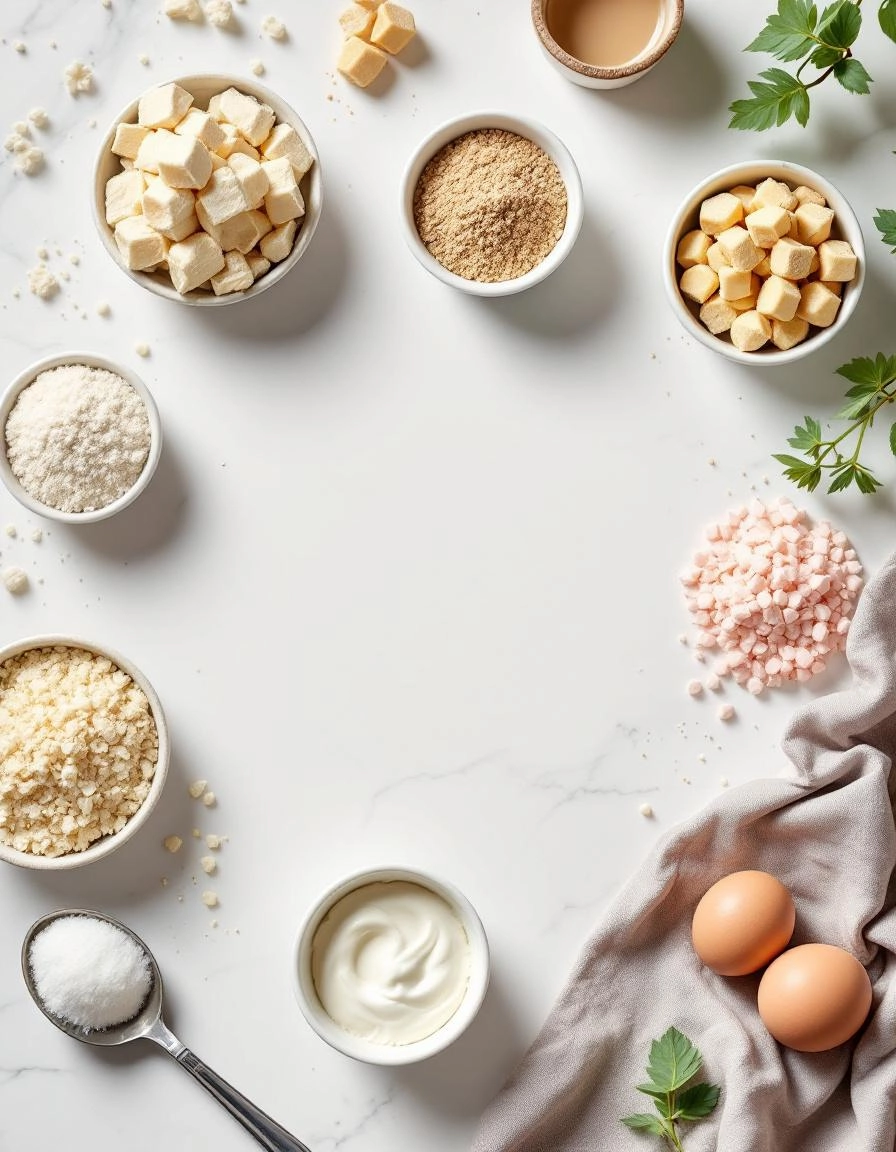
Ingredients You’ll Need
- 1 cup all-purpose flour – The base of our dough, giving it that perfect malleable texture.
- 1/2 cup table salt – A key preservative to keep your play-dough fresh longer (and adds a fun gritty texture kids adore).
- 2 tablespoons cream of tartar – The secret weapon for elasticity! This keeps the dough from crumbling.
- 1 tablespoon coconut oil (or vegetable oil) – For that dreamy smoothness. Coconut oil adds a subtle sweetness, but any neutral oil works.
- 1 cup boiling water – Hot water binds everything together—just be careful with little hands around this step!
- 1 teaspoon vanilla extract (or almond extract) – Because what’s ice cream play-dough without that nostalgic, bakery-sweet aroma?
- Gel food coloring (pastel shades work best!) – Think strawberry pink, minty green, or buttery vanilla yellow. Liquid dyes can make the dough sticky, so gel is ideal.
- Sprinkles (optional but highly encouraged) – For that authentic ice cream parlor flair! Mix them in or roll the dough in them for texture.
Let’s Make Some Play-Dough Magic
- Mix the dry ingredients. In a large bowl, whisk together the flour, salt, and cream of tartar. If you’re adding sprinkles directly into the dough (not just as a topping), toss them in now—they’ll distribute more evenly.
- Add the oil and extract. Drizzle in the coconut oil and vanilla, stirring with a wooden spoon. The mixture will look crumbly, and that’s okay! The hot water is coming to the rescue.
- Carefully pour in boiling water. Slowly stream in the water while stirring continuously. The dough will start to clump and pull away from the sides of the bowl. Tip: If it’s too sticky, let it cool for a minute before handling—it firms up as it rests!
- Knead with love. Once cool enough to touch, turn the dough onto a lightly floured surface and knead for 2-3 minutes until smooth and stretchy. If using food coloring, add a few drops now and knead until the color is fully blended. Pro tip: Wear gloves if using bold colors to avoid stained hands!
At this point, your kitchen likely smells like a candy shop, and your dough should be soft, pliable, and ready for play. But before the little ones dive in, let’s talk about storage and extra fun ideas…
Best Ice Cream Play-Dough – Easy Homemade Recipe
There’s something magical about the smell of fresh play-dough—especially when it’s homemade and scented like your favorite ice cream! This easy recipe is perfect for sensory play, rainy-day activities, or even as a sweet-smelling gift for little ones. Let’s dive into some pro tips, fun variations, and creative ways to enjoy this delightful DIY project.
Pro Tips for the Perfect Play-Dough
- Knead with Love: Let the dough cool slightly before kneading to avoid burns, but don’t wait too long—warm dough is easier to mix and shape.
- Storage Smarts: Keep your play-dough fresh by storing it in an airtight container or ziplock bag. It’ll last for weeks if sealed properly!
- Texture Tweaks: If your dough feels too sticky, add a sprinkle more flour. Too dry? A few drops of water or lotion will bring it back to life.
Fun Variations & Substitutions
Why stick to vanilla when you can mix it up? Here are some playful twists:
- Chocolate Dream: Add cocoa powder for a rich, chocolatey scent and color.
- Strawberry Swirl: Mix in a few drops of strawberry extract and pink food coloring for a fruity twist.
- Mint Chip: Peppermint extract and green food coloring make a refreshing, cool treat for the senses.
- Gluten-Free Option: Swap regular flour for gluten-free flour—just adjust the consistency as needed.
What to Serve It With
Turn playtime into an ice cream parlor adventure! Pair your play-dough with:
- Plastic ice cream cones or bowls
- Kid-safe spoons and scoops
- Sprinkles (real or craft versions) for decorating
- Mini pom-poms as “toppings”
Benefits of Homemade Play-Dough
Beyond the fun, this recipe offers so much more:
- Sensory Development: The squishy texture and sweet scents engage little hands and minds.
- Creativity Boost: Kids can invent endless flavors and designs, building imagination and fine motor skills.
- Budget-Friendly: Skip the store-bought versions—this costs pennies to make!
Real-Life Tips from Parents
Here’s what other families have learned along the way:
- “Double the batch—it disappears fast during playdates!”
- “Use silicone molds for easy ‘scooping’ and shaping.”
- “Add a drop of vanilla extract to the bag when storing for an extra burst of sweetness next time.”
Whether you’re making memories or just need a mess-free activity, this ice cream play-dough is sure to be a hit. Happy playing—and pretend scooping!

Conclusion
Making your own ice cream Play-Dough at home is a delightful way to spark creativity and sensory play for little ones. With just a few simple ingredients—flour, salt, cream of tartar, oil, and water—you can whip up a soft, moldable dough that smells just like your favorite ice cream flavors. Whether you choose vanilla, chocolate, or strawberry, this recipe is easy to customize and safe for kids to enjoy. Plus, it’s a fantastic activity for rainy days, playdates, or just some quality bonding time.
Ready to give it a try? Gather your ingredients, follow the simple steps, and watch your child’s imagination come to life. We’d love to hear how your ice cream Play-Dough turns out—share your creations in the comments below! And if you’re looking for more fun DIY projects, check out our other easy homemade playdough recipes.
FAQs
How long does homemade ice cream Play-Dough last?
When stored in an airtight container or sealed plastic bag, your ice cream Play-Dough should stay fresh for up to 2 weeks. If it starts to dry out, you can revive it with a few drops of water and knead it until soft again.
Can I use food coloring instead of flavored extracts?
Absolutely! While extracts add a lovely scent, food coloring works just as well for vibrant hues. Just mix a few drops into the water before adding it to the dry ingredients for even color distribution.
Is this Play-Dough safe for toddlers?
Yes! This recipe uses non-toxic, edible ingredients, making it safe for little ones who might be tempted to taste it. However, supervision is always recommended during playtime.
Why is my Play-Dough sticky?
If your dough feels too sticky, simply knead in a little extra flour, one tablespoon at a time, until it reaches the perfect consistency. Too much water during mixing can cause stickiness, so add it gradually.
Can I make this recipe gluten-free?
Yes! Substitute the all-purpose flour with a gluten-free flour blend for a safe alternative. The texture may vary slightly, but it will still be fun to play with.


