Introduction
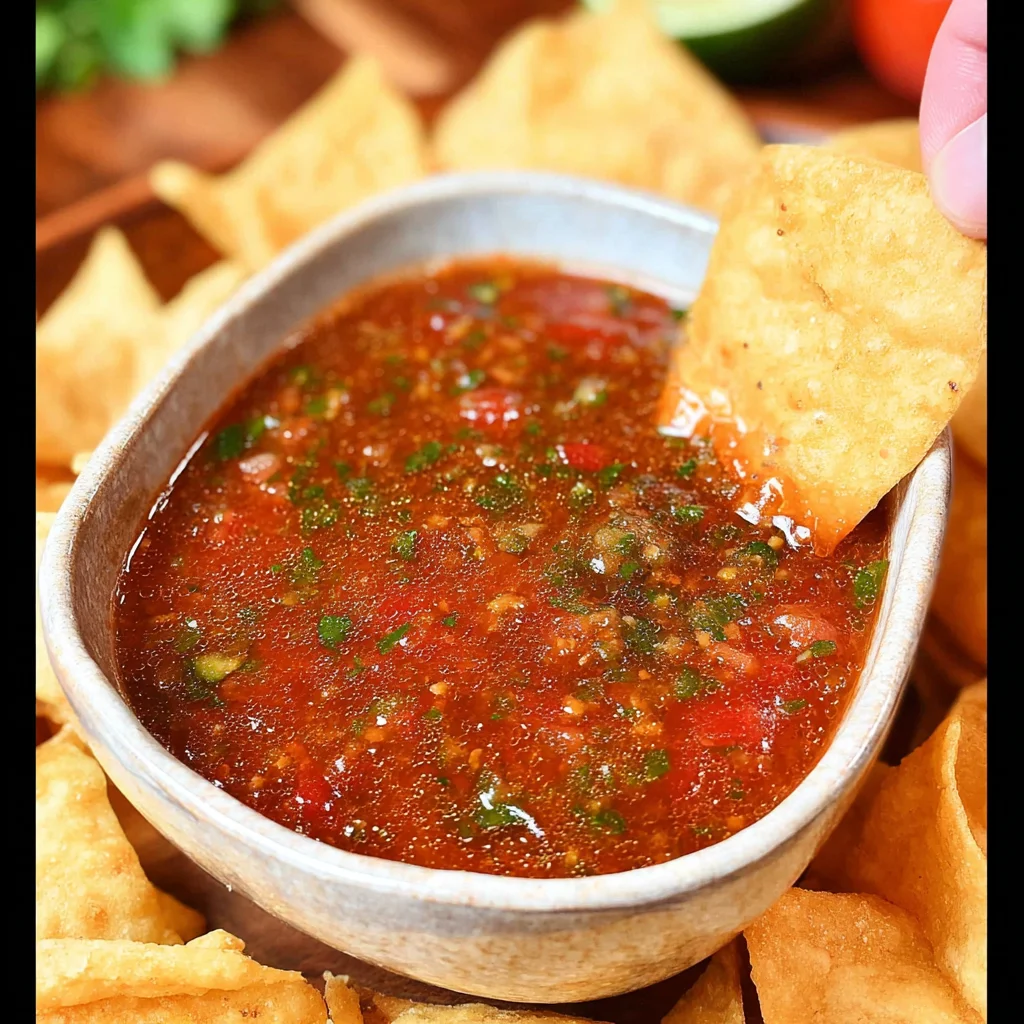
Nothing beats the vibrant, fresh flavor of a great Homemade Salsa Recipe. This version, perfected through countless test batches, uses fire-roasted tomatoes for a smoky depth and fresh jalapeños for a bright, customizable kick. It’s a restaurant-quality dip you can whip up in minutes, far surpassing anything from a jar.
Ingredients
The magic of this fresh salsa comes from simple, high-quality ingredients. Using fire-roasted canned tomatoes builds a complex base, while fresh cilantro and lime juice add the essential zesty finish.
- 28 oz fire roasted canned tomatoes
- 1/2 medium white onion
- 2 jalapeno peppers
- 2 garlic cloves
- 1 lime – juice only
- 1/3 cup fresh cilantro
- 1/2 tsp white granulated sugar
- 1 tsp salt (more or less to taste)
- 1 tsp cumin
- 1/2 tsp chipotle chili powder (more or less to taste)
Timing
| Prep Time | 15 minutes |
| Cook Time | 0 minutes |
| Total Time | 15 minutes |
Context: This no-cook method is about 50% faster than recipes requiring roasting or simmering, making it a perfect last-minute appetizer for gatherings. It’s also a fantastic make-ahead option, as the flavors meld beautifully when chilled for a few hours.
Step-by-Step Instructions
Step 1 — Prep the Aromatics
Roughly chop the white onion, jalapeños (remove seeds for less heat), and garlic cloves. Having them in similar-sized pieces ensures even distribution in the final salsa. (Pro tip: For a milder flavor, use only one jalapeño or scrape out all the seeds and white membranes).
Step 2 — Drain the Tomatoes
Open the can of fire-roasted tomatoes and pour them into a colander over the sink. Gently press to drain off most of the liquid. This step is crucial—it prevents your fresh tomato salsa from being watery. Reserve a tablespoon or two of the liquid in case you need to adjust consistency later.
Step 3 — Combine in Food Processor
Add the drained tomatoes, chopped onion, jalapeños, and garlic to the bowl of a food processor. Pulse 3-4 times until the ingredients are broken down but still chunky. Unlike blending, pulsing gives you control over the texture for that classic restaurant-style salsa feel.
Step 4 — Add Herbs and Seasonings
Add the fresh cilantro (stems are fine), lime juice, sugar, salt, cumin, and chipotle chili powder to the processor. The sugar balances the acidity, while the chipotle powder adds a subtle smokiness that complements the fire-roasted tomatoes.
Step 5 — Pulse to Desired Consistency
Pulse the mixture another 5-7 times. I’ve found that checking after 5 pulses is best; you want a cohesive blend with visible small bits of tomato and pepper. For a smoother salsa, pulse a few more times. If it seems too thick, add a splash of the reserved tomato liquid.
Step 6 — Taste and Adjust
Transfer the salsa to a bowl and taste with a clean spoon. This is the most important step. Adjust the salt, lime juice, or chipotle powder to your preference. Remember, the flavors will intensify slightly as it rests.
Step 7 — Rest and Serve
For the best flavor, let your homemade salsa recipe rest in the refrigerator for at least 30 minutes before serving. This allows the cumin and garlic to mellow and the ingredients to fully marry. Serve with tortilla chips, on tacos, or as a vibrant topping for grilled meats.
Nutritional Information
| Calories | 25 |
| Protein | 1g |
| Carbohydrates | 5g |
| Fat | 0g |
| Fiber | 1g |
| Sodium | 180mg |
This fresh salsa is naturally low in calories and fat, while providing a good source of Vitamin C from the tomatoes, lime, and peppers. The sodium level can be adjusted by reducing the added salt, making it a heart-healthy condiment option.
Note: Estimates are per 1/4-cup serving and based on typical ingredients. Values may vary with specific brands or ingredient adjustments.
Healthier Alternatives
- Low-Sodium Swap — Omit the added salt and use no-salt-added fire-roasted tomatoes. The lime, garlic, and cumin provide ample flavor, making this a great option for those monitoring sodium intake.
- Extra Fiber Boost — Add 1/2 cup of cooked black beans after pulsing. This increases protein and fiber, turning your dip into a more substantial bean salsa.
- Lower Sugar Option — Skip the 1/2 teaspoon of white sugar. The natural sweetness from the fire-roasted tomatoes is often sufficient, especially with high-quality brands.
- Increased Antioxidants — Swap one jalapeño for a roasted red bell pepper. This adds sweetness, reduces heat, and significantly boosts Vitamin A and C content.
- Citrus Variation — Replace lime juice with fresh orange or grapefruit juice for a subtly sweeter, less acidic profile that pairs wonderfully with fish tacos.
Serving Suggestions
- Classic Dip: Serve with sturdy, lightly salted tortilla chips. The robust texture of this homemade salsa holds up well to scooping.
- Taco Tuesday Essential: Spoon generously over beef, chicken, or fish tacos. Its acidity cuts through rich meats perfectly.
- Breakfast Upgrade: Top scrambled eggs, breakfast burritos, or huevos rancheros for a vibrant morning kick.
- Grilled Companion: Use as a fresh, chunky topping for grilled chicken breasts, steak, or shrimp skewers.
- Soup Garnish: Add a spoonful to black bean soup or tortilla soup just before serving for a burst of freshness.
- Cocktail Pairing: The bright flavors pair exceptionally well with a classic margarita, a cold Mexican lager, or a citrus-forward sparkling water.
This versatile salsa recipe is a meal-prep superstar. Make a double batch on Sunday; use half as a dip for the week and incorporate the rest into lunches like burrito bowls or as a salad dressing when thinned with a bit of olive oil.
Common Mistakes to Avoid
- Mistake: Skipping the tomato drain. Fix: As emphasized in Step 2, always drain the canned tomatoes thoroughly. A watery base is the #1 reason for a bland, separated salsa.
- Mistake: Over-processing into a puree. Fix: Use the pulse function as directed in Steps 3 and 5. Check texture frequently to maintain the desirable restaurant-style chunkiness.
- Mistake: Not tasting before serving. Fix: Always perform the taste test in Step 6. Acidity, salt, and heat levels can vary between limes and jalapeños, requiring final adjustment.
- Mistake: Using dried cilantro instead of fresh. Fix: Fresh cilantro is non-negotiable for its bright, citrusy notes. If you dislike cilantro, substitute with fresh parsley or a squeeze of extra lime.
- Mistake: Adding raw garlic without balancing it. Fix: The raw garlic flavor mellows as the salsa rests. If it’s too sharp initially, let it chill for the full 30+ minutes noted in Step 7 before reassessing.
- Mistake: Storing in a reactive metal bowl. Fix: The high acidity can react with metals like aluminum. Always store your finished salsa in a glass container or food-safe plastic with a tight lid.
Storing Tips
- Fridge: Transfer cooled salsa to an airtight glass container. It will keep at or below 40°F for 5-7 days. The flavors actually improve over the first 24 hours as they meld.
- Freezer: For longer storage, freeze in a freezer-safe container or heavy-duty bag for up to 3 months. Thaw overnight in the refrigerator. Note: the texture of fresh tomatoes may soften slightly, but the flavor remains excellent for cooked applications.
- Reheat: This is a no-cook, fresh salsa meant to be served cold. Do not reheat it. If it separates in the fridge, a quick stir is all that’s needed to recombine.
For optimal food safety, always use a clean spoon to scoop out what you need, and never return unused salsa from a serving bowl to the main storage container. Following these tips ensures your batch of homemade salsa stays fresh and delicious throughout the week.
Conclusion
This Homemade Salsa Recipe is your secret weapon for effortless entertaining, delivering complex, smoky flavor in just 15 minutes of active prep. Its versatility as a dip, topping, or condiment makes it a staple you’ll return to again and again. For another vibrant, no-cook side, try the refreshing Cucumber Carrot Salad Recipe. Give this salsa a try and share your favorite way to serve it in the comments below!
Frequently Asked Questions
How long does homemade salsa last in the refrigerator?
Properly stored in an airtight container, this fresh salsa will last for 5 to 7 days in the refrigerator. According to food safety guidelines, the high acidity from the tomatoes and lime juice helps preserve it. For the best flavor and texture, consume it within the first 4 days, as the vegetables will gradually soften.
What can I use if I don’t have a food processor?
You can make a chunky pico de gallo-style salsa by hand-dicing all ingredients finely. For a smoother texture closer to the original, use a blender, but pulse carefully to avoid pureeing it. I’ve tested both methods; a blender requires shorter bursts and frequent scraping down of the sides to achieve the right consistency.
Why is my homemade salsa tasting bitter?
Bitterness usually comes from the white pith and seeds of the jalapeños or from over-processed cilantro stems. The solution is to meticulously remove all seeds and membranes from your peppers and use primarily cilantro leaves. If bitterness persists, a pinch more sugar or a splash of orange juice can help balance the flavor.
PrintHomemade Salsa Recipe

Ingredients
- 28 oz fire roasted canned tomatoes
- 1/2 medium white onion
- 2 jalapeno peppers
- 2 garlic cloves
- 1 lime – juice only
- 1/3 cup fresh cilantro
- 1/2 tsp white granulated sugar
- 1 tsp salt (more or less to taste)
- 1 tsp cumin
- 1/2 tsp chipotle chili powder (more or less to taste)
Instructions
- Combine all the ingredients in a blender and pulse a few times until it's blended to small, coarse chunks. Don't make it too chunky because you don't' want to bite into a big piece of garlic or jalapeno.
- Serve right away to transfer into a glass jar with a lid and refrigerate.
- Cooking Tortilla Chips (Optional):


