
There’s something almost magical about turning simple ingredients into something as rich and comforting as homemade cheese. I remember the first time I tried making it—standing in my kitchen, stirring warm milk with a hopeful heart, wondering if it would really work. And when those soft curds finally formed, I felt like I’d unlocked a secret passed down through generations. Whether you’re a cheese lover or just craving a kitchen adventure, this recipe is a labor of love that rewards patience with creamy, dreamy results.
Ingredients You’ll Need
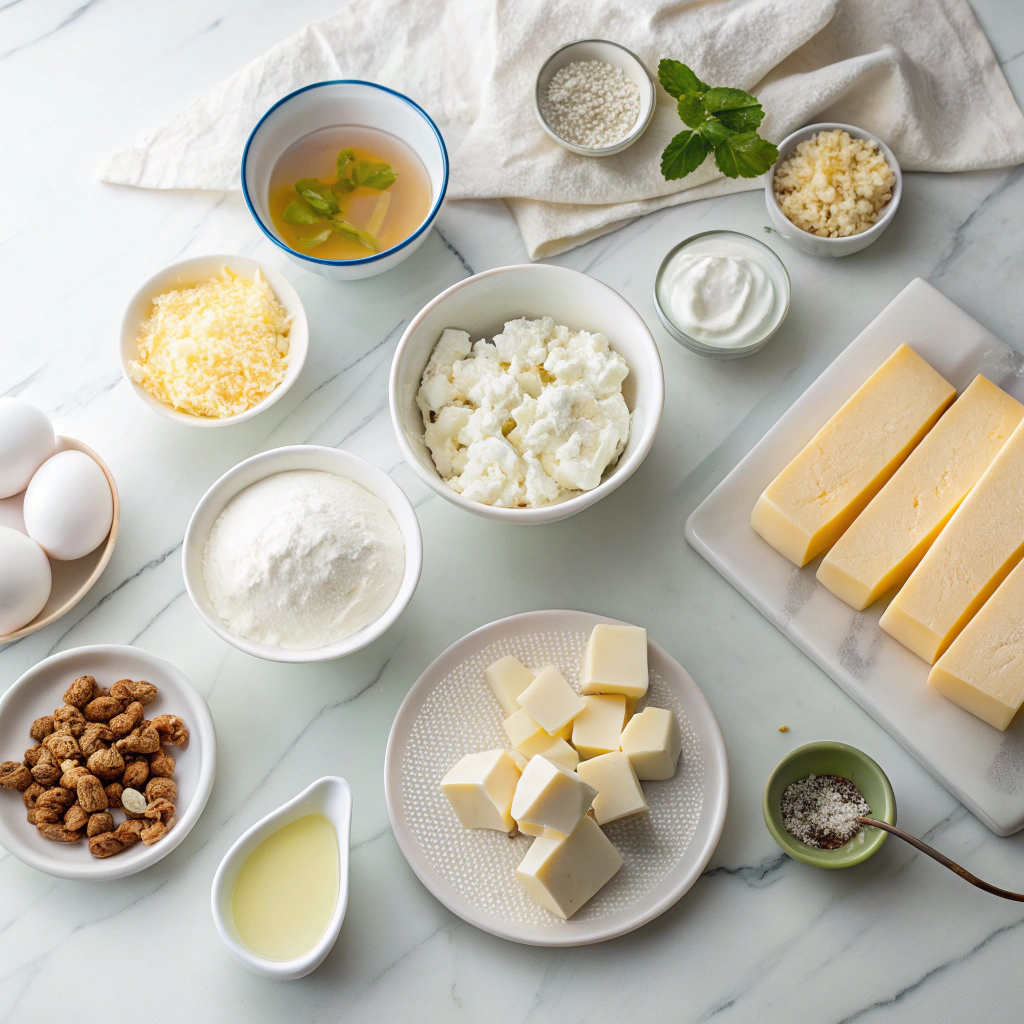
Gathering the right ingredients is the first step to cheese-making success. Here’s what you’ll need:
- 1 gallon whole milk – The richer the milk, the creamier your cheese. Avoid ultra-pasteurized versions, as they won’t curdle properly.
- 1/4 cup white vinegar or lemon juice – This acts as the acid to separate the curds and whey. Lemon juice gives a slightly tangier flavor, while vinegar keeps it mild.
- 1 teaspoon salt – A must for enhancing flavor. Feel free to adjust to taste.
- Herbs or spices (optional) – Fresh thyme, cracked black pepper, or even a pinch of smoked paprika can add lovely depth.
Step-by-Step Instructions
Making cheese at home is easier than you think—just follow these simple steps:
- Warm the milk. Pour the milk into a large pot and heat it over medium-low until it reaches about 185°F (85°C). Stir occasionally to prevent scorching. A candy thermometer is your best friend here!
- Add the acid. Once the milk is warm, remove it from the heat and gently stir in the vinegar or lemon juice. Within moments, you’ll see the curds (the solid part) separate from the whey (the liquid).
- Let it rest. Cover the pot and let it sit undisturbed for 10 minutes. This gives the curds time to fully form.
- Strain the curds. Line a colander with cheesecloth or a clean kitchen towel and carefully pour the mixture through it. The whey will drain away, leaving you with tender curds.
- Season and shape. Sprinkle the curds with salt and any herbs you like, then gather the cloth’s edges and gently squeeze out excess liquid. For a firmer cheese, press it under a light weight for an hour or two.
Tip: Don’t toss the whey! It’s great for baking bread or adding to smoothies for a protein boost.
Homemade Cheese: A Labor of Love Worth Every Moment
There’s something magical about transforming simple milk into creamy, dreamy cheese right in your own kitchen. Whether you’re a seasoned cheesemaker or a curious beginner, the satisfaction of slicing into your very own homemade cheese is unparalleled. Let’s dive into some pro tips and creative ways to make this recipe your own!
Pro Tips for Cheese-Making Success
- Temperature matters: Use a reliable thermometer – being off by just a few degrees can affect your results
- Quality ingredients: The better your milk, the better your cheese. Look for non-homogenized or organic milk when possible
- Patience is key: Don’t rush the draining process – good cheese takes time to develop its texture
- Clean workspace: Sanitize all equipment thoroughly to prevent unwanted bacteria
Delicious Variations to Try
Once you’ve mastered the basic recipe, the flavor possibilities are endless:
- Herbed cheese: Mix in fresh chives, dill, or thyme before shaping
- Spiced cheese: Add crushed red pepper, black pepper, or smoked paprika for a kick
- Garlic lover’s: Blend in roasted garlic for a mellow, aromatic flavor
- Sweet version: For dessert cheese, mix in honey and orange zest
Perfect Pairings
Your homemade cheese deserves to be the star of the show! Serve it with:
- Crusty bread or artisanal crackers
- Fresh fruit like grapes, apples, or pears
- Drizzled with quality olive oil and a sprinkle of flaky salt
- As part of a charcuterie board with cured meats and pickles
- Melted into omelets or grilled cheese sandwiches
Storing Your Homemade Cheese
To keep your cheese fresh and delicious:
- Store in an airtight container in the refrigerator for up to 1 week
- For longer storage, wrap in wax paper then plastic wrap and freeze for up to 2 months
- If mold appears (not the good kind!), it’s best to discard the cheese
- Bring to room temperature before serving for best flavor and texture
Frequently Asked Questions
Can I use plant-based milk to make cheese?
While traditional cheese requires dairy milk, you can make delicious nut-based “cheeses” using cashews or almonds. The process and results will be different, but equally tasty!
Why did my cheese turn out rubbery?
This usually happens when the milk is heated too quickly or at too high a temperature. Next time, try heating more gently and monitoring the temperature closely.
How do I know if my cheese has gone bad?
Trust your senses! If it develops an off smell, unusual color, or slimy texture, it’s best to err on the side of caution and discard it.
Can I make cheese without special equipment?
Absolutely! While cheese-making supplies are helpful, you can improvise with items you likely already have: a large pot, thermometer, colander, and cheesecloth or clean kitchen towel.
The Joy of Homemade Cheese
There’s something profoundly satisfying about creating cheese with your own hands – the gentle stirring, the patient waiting, and finally, that first creamy bite. Whether you’re making it for a special occasion or just because, homemade cheese turns ordinary meals into something extraordinary. As you dust your hands with flour or wrap your cheese in cloth, remember you’re participating in a tradition that spans centuries and cultures. Here’s to many delicious cheese-making adventures in your kitchen!
PrintHomemade Cheese
A simple and delicious homemade cheese recipe that requires minimal ingredients and effort.
Ingredients
For the Crust:
- 1 gallon whole milk
- 1/4 cup white vinegar or lemon juice
- 1 teaspoon salt
- Herbs or spices (optional)
Instructions
1. Prepare the Crust:
- Heat the milk in a large pot over medium heat until it reaches 180°F (82°C), stirring occasionally to prevent scorching.
- Remove the pot from heat and gently stir in the vinegar or lemon juice. Let it sit for 10 minutes until the milk curdles.
- Line a colander with cheesecloth and pour the curdled milk into it to separate the curds from the whey.
- Sprinkle salt over the curds and mix gently. Add optional herbs or spices if desired.
- Gather the cheesecloth around the curds and squeeze out excess whey. Hang the cheesecloth for 1-2 hours to drain further.
- Transfer the cheese to a container and refrigerate for at least 1 hour before serving.
Notes
You can customize the seasonings to taste.


