Introduction
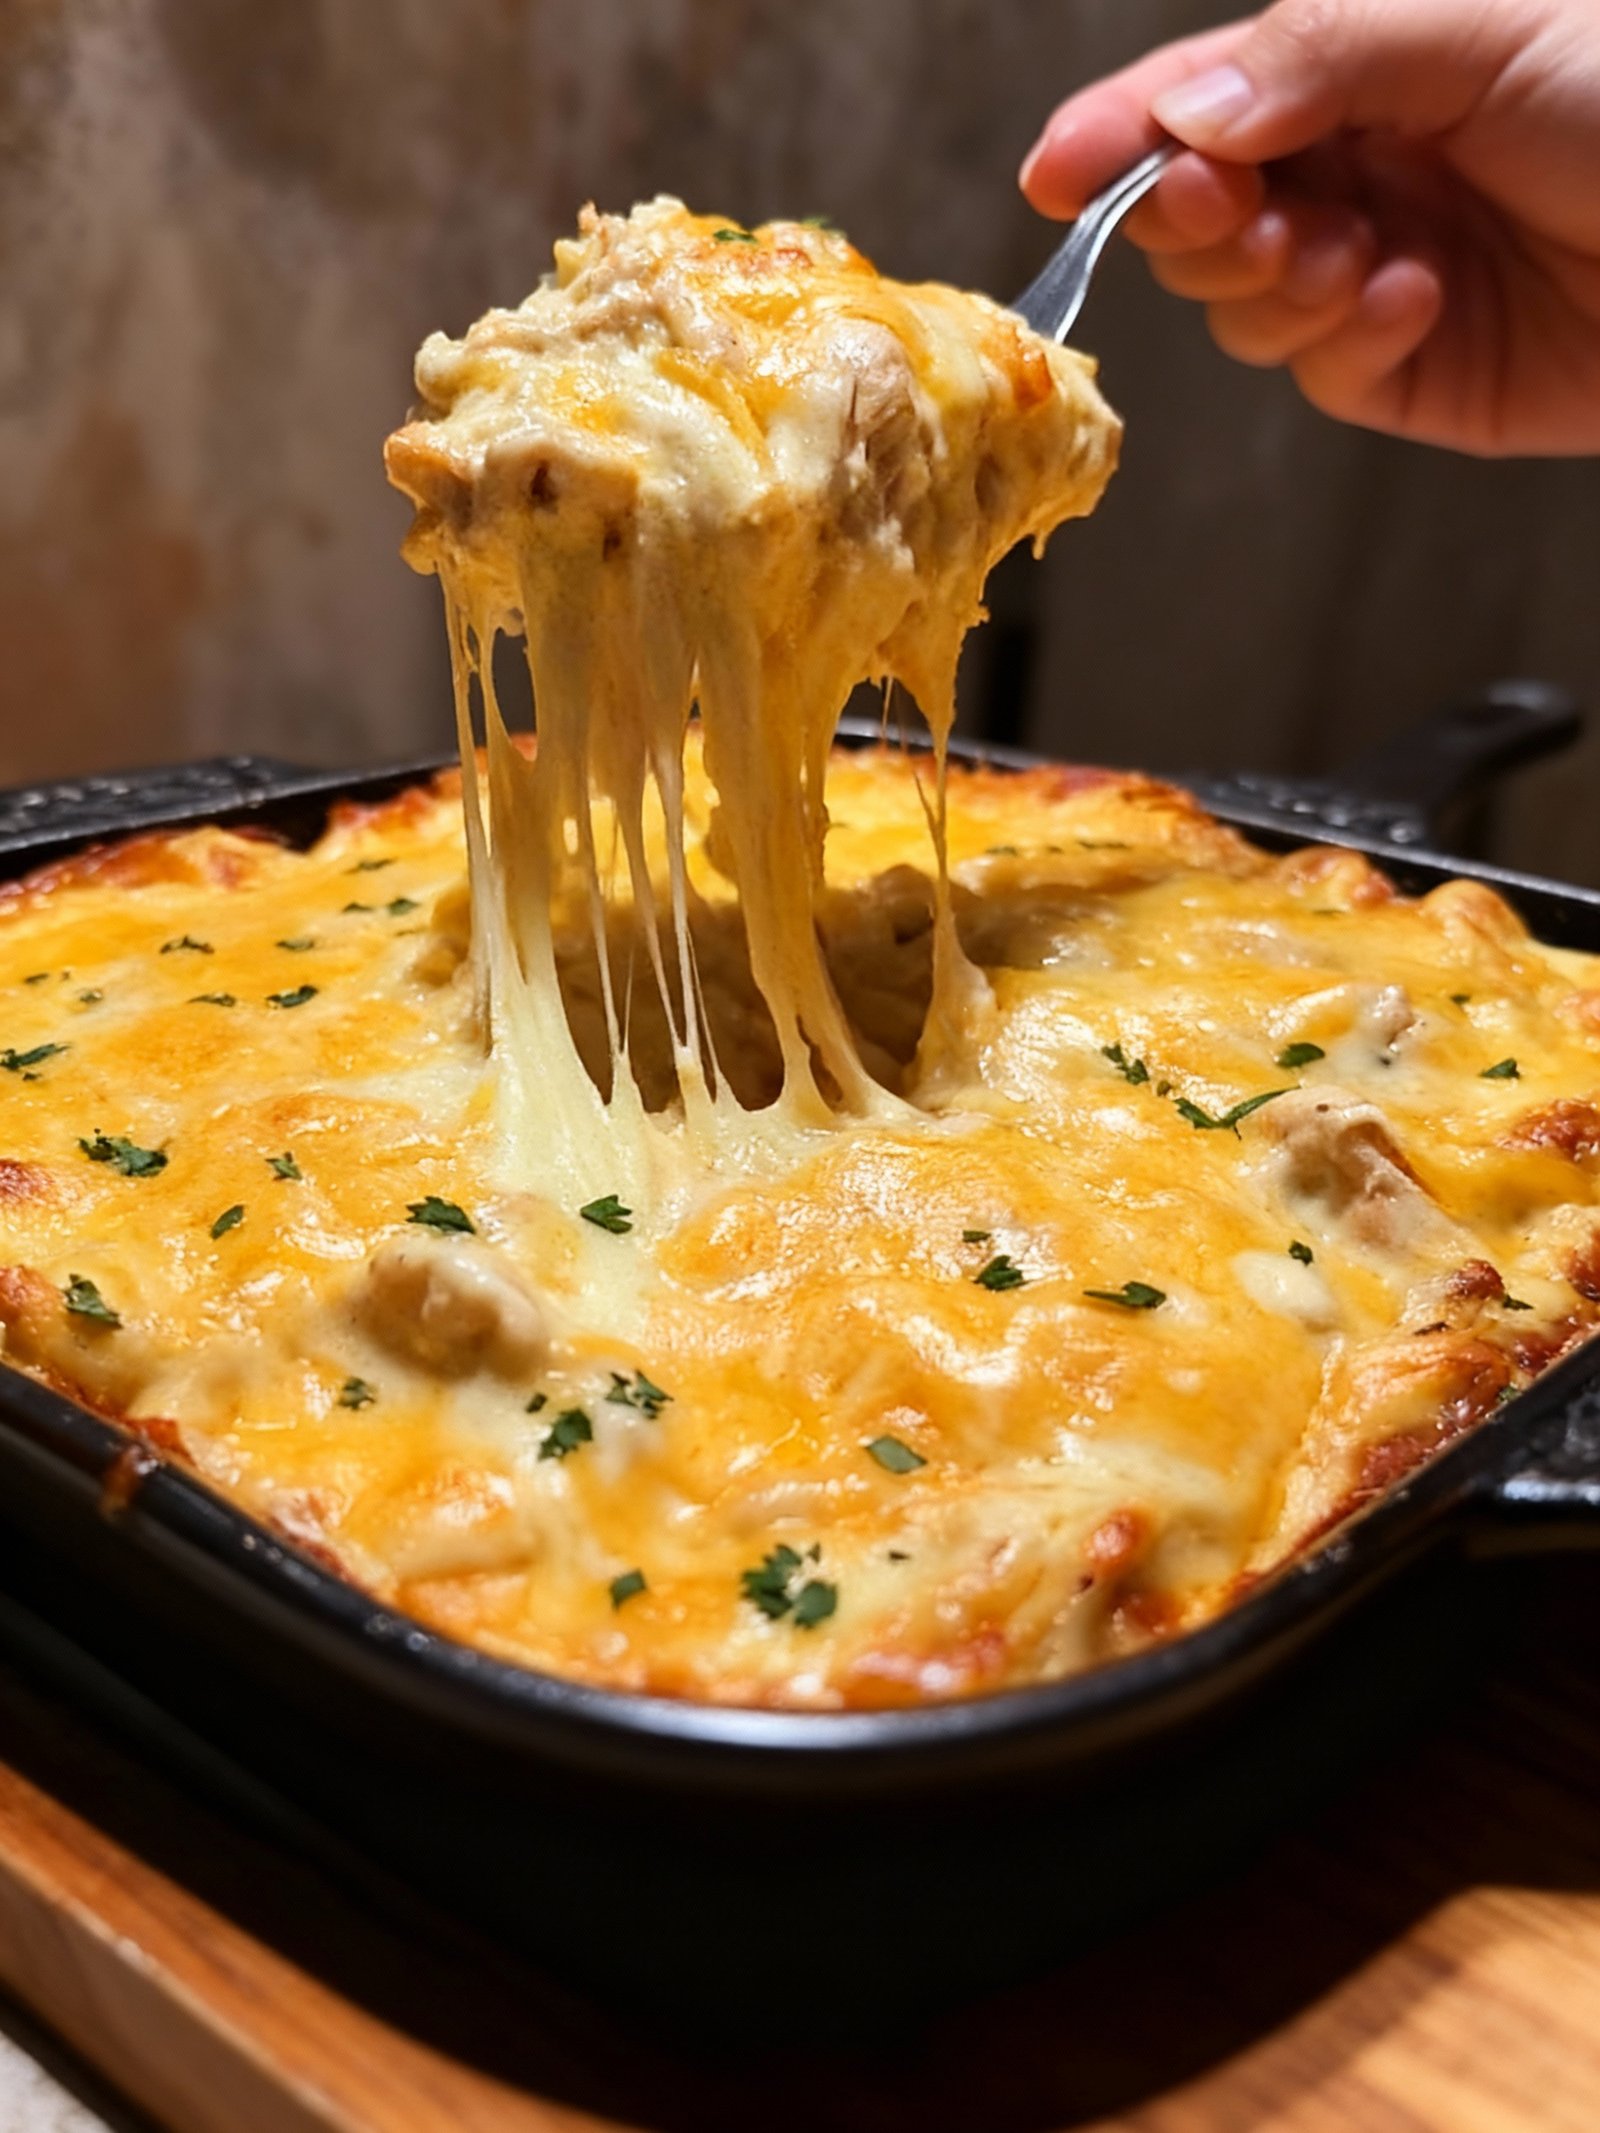
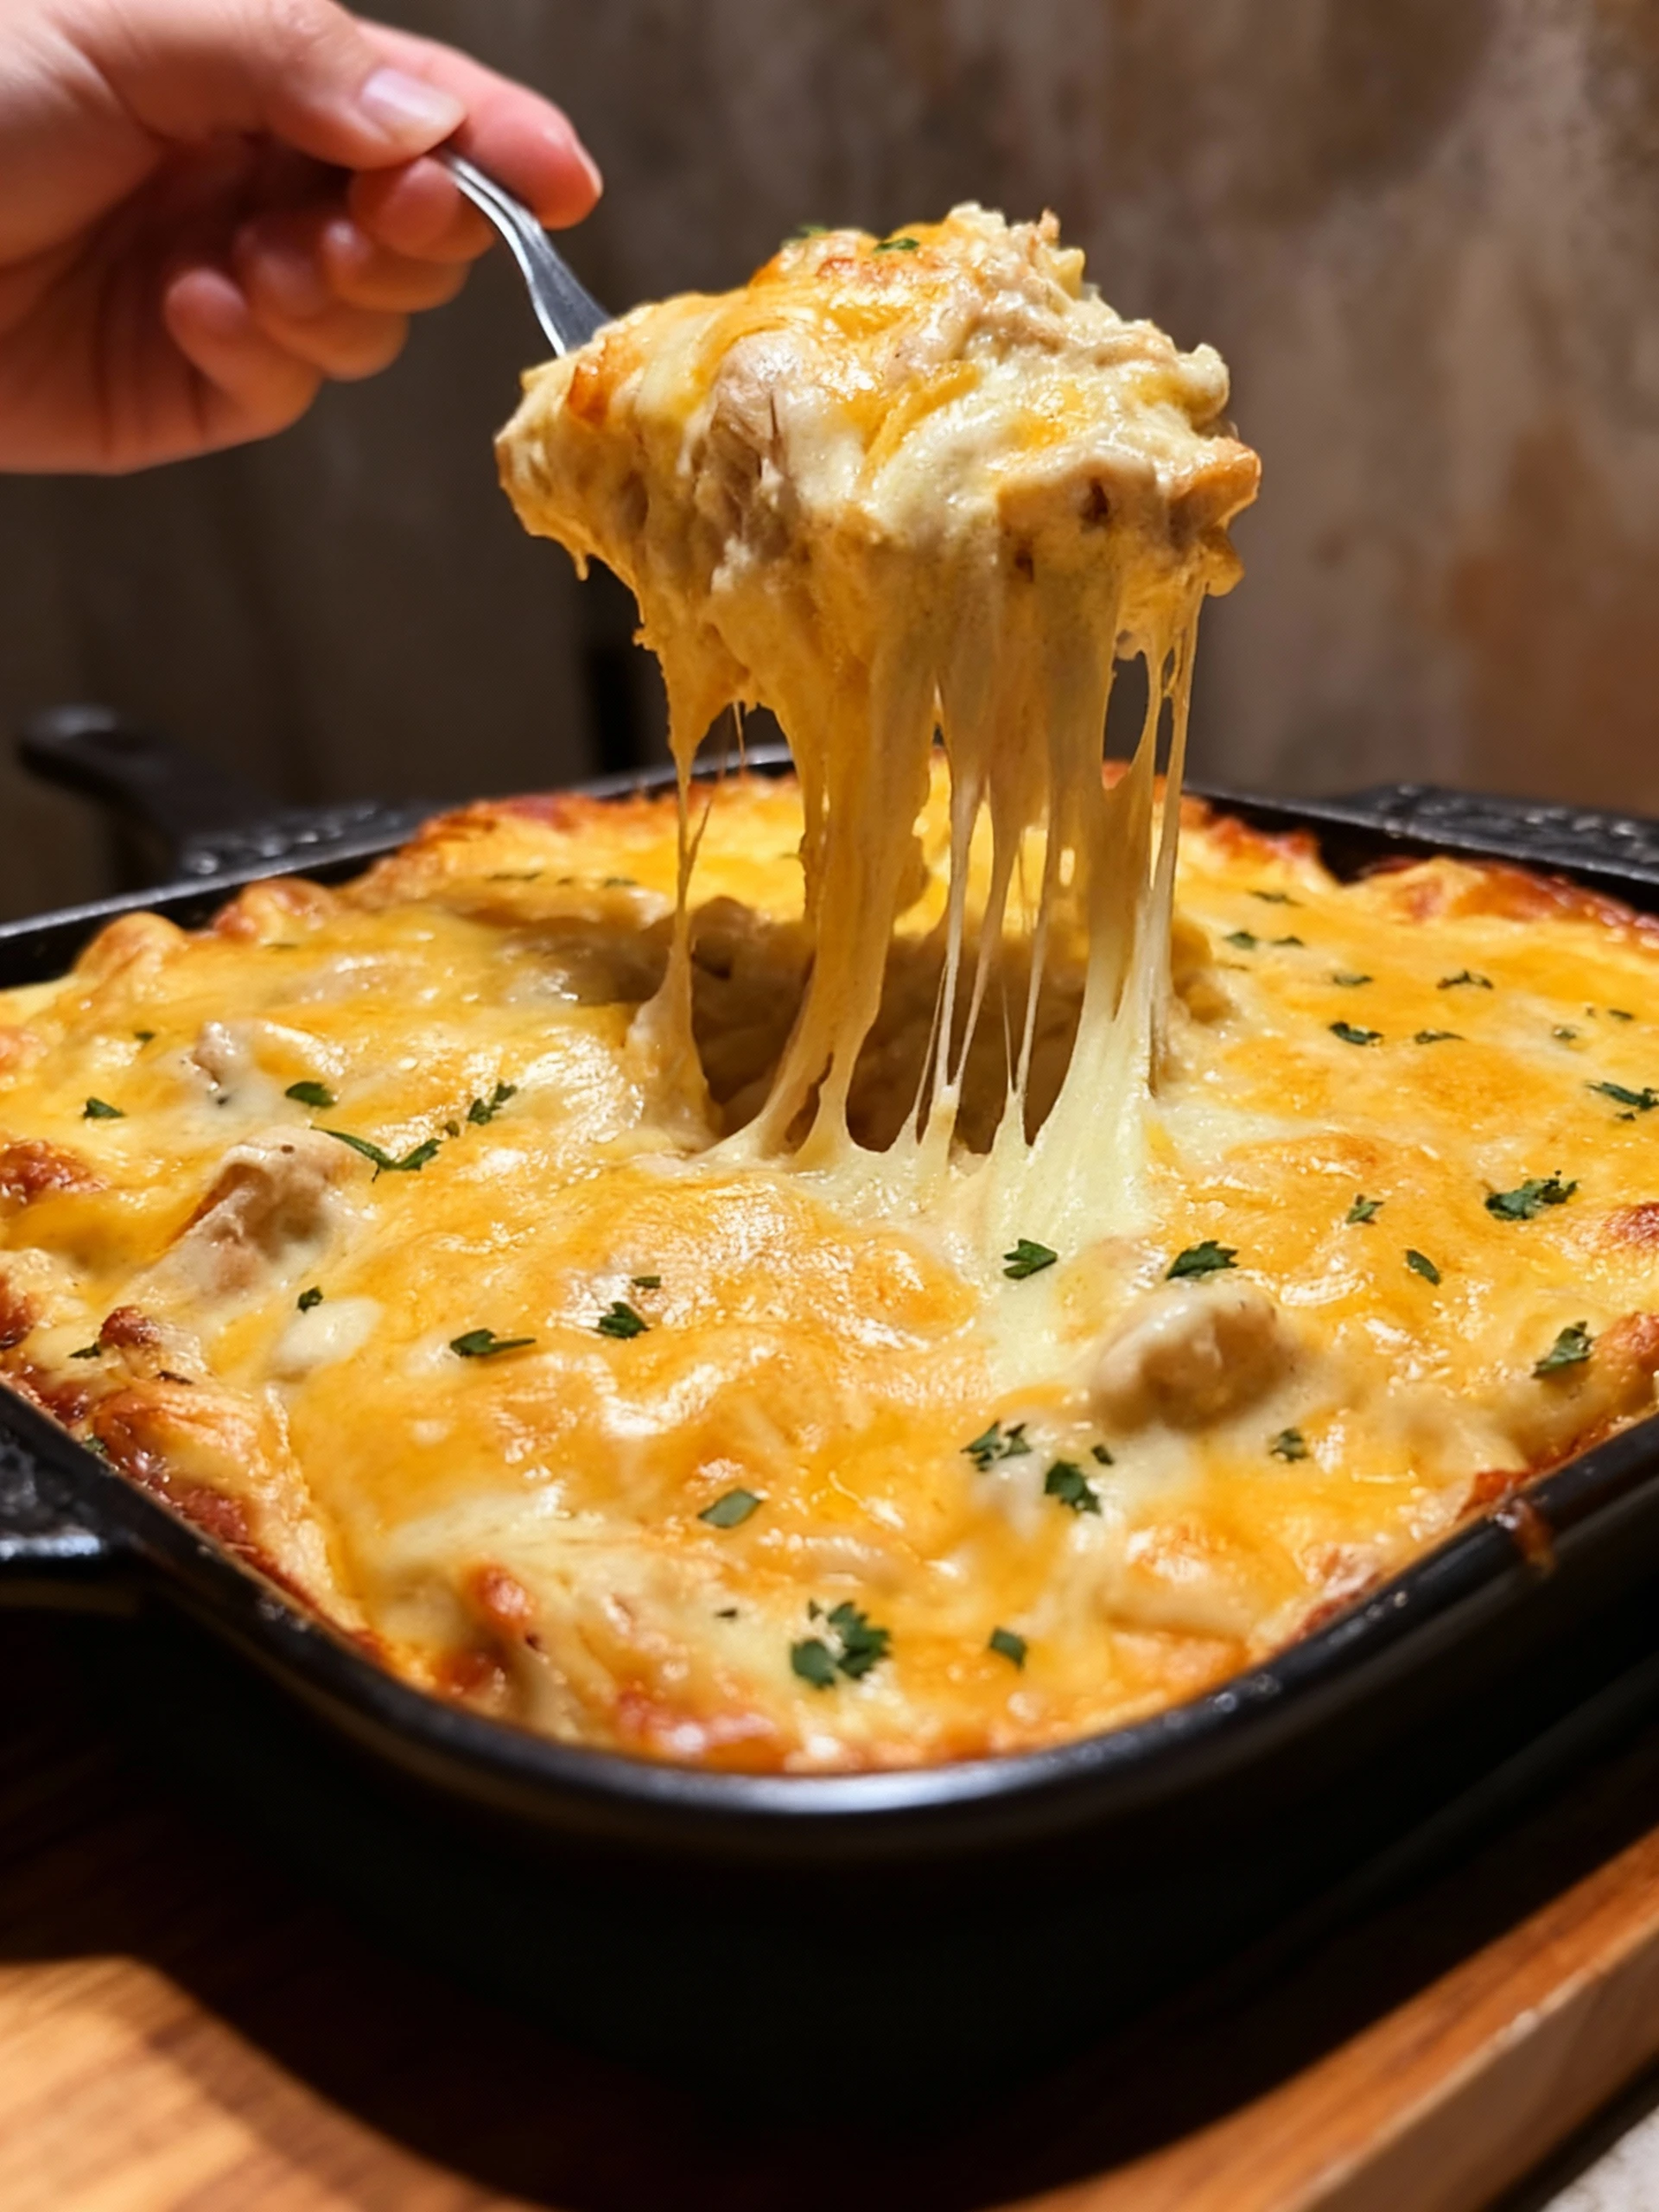
This Green Chile Chicken Enchilada Casserole is the perfect easy weeknight dinner. It layers tender chicken, mild green chiles, corn tortillas, and cheese into a comforting, family-friendly meal with minimal prep. For another simple enchilada-inspired dish, try this Easy Enchiladas Ground Beef Soup. Both are fantastic for busy evenings.
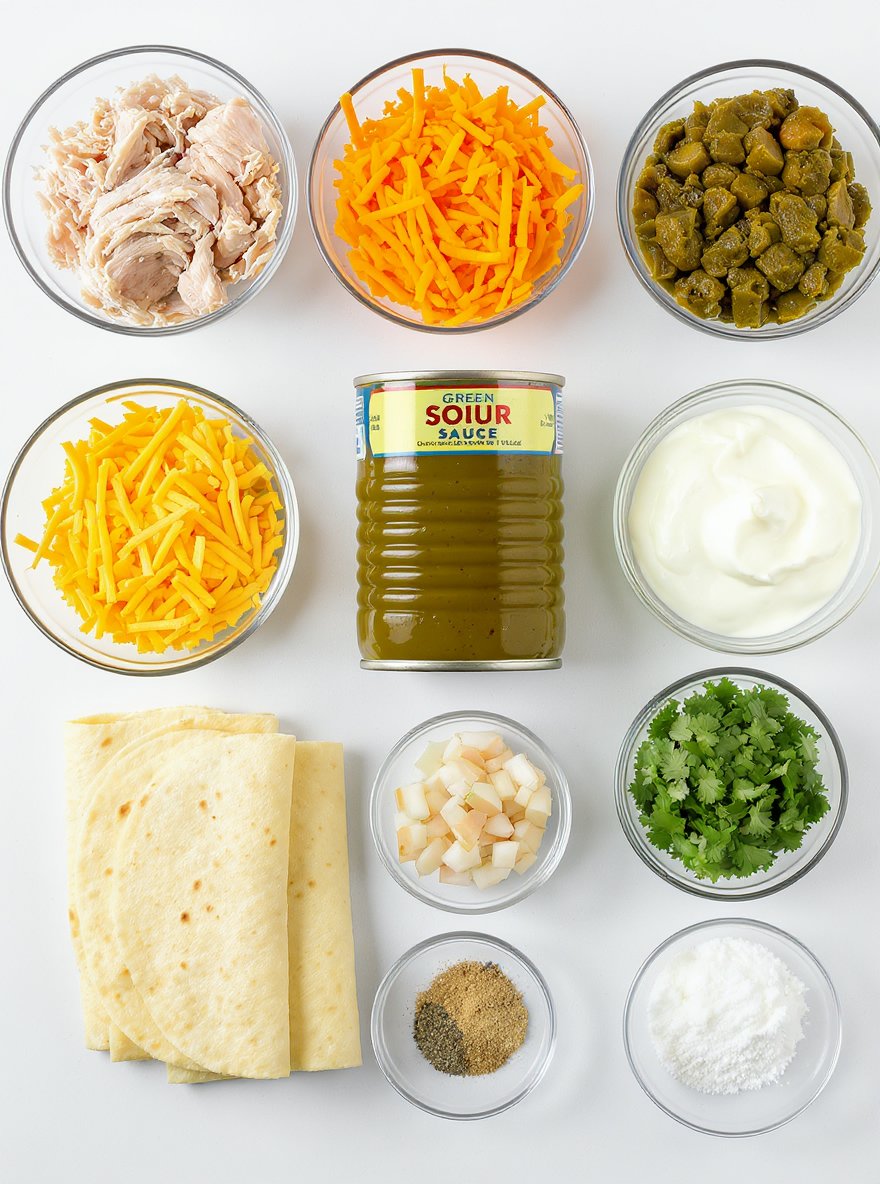
Ingredients
These enchiladas deliver a satisfying combination of tender shredded chicken, melted cheese, and zesty green chiles wrapped in soft tortillas and smothered in flavorful sauce.
- 3 cups cooked shredded chicken
- 1 can (4 oz) diced green chiles
- 2 cups shredded cheddar cheese
- 1 cup shredded Monterey Jack cheese
- 1 can (10 oz) green enchilada sauce
- 8 flour tortillas
- 1/2 cup chopped onion
- 1/2 cup sour cream
- 1/4 cup chopped fresh cilantro
- 1 teaspoon ground cumin
- 1/2 teaspoon garlic powder
- Salt and pepper to taste
Timing
| Prep Time | 15 minutes |
| Cook Time | 25 minutes |
| Total Time | 40 minutes |
Context: This recipe is about 20% faster than similar recipes, making it perfect for busy weeknights.
Step-by-Step Instructions
Step 1 — Prepare Your Ingredients
Gather all ingredients and measure them accurately before you begin cooking. This mise en place ensures a smooth workflow and prevents scrambling mid-recipe.
Chop vegetables, measure spices, and have oils or sauces ready. Preheating your oven or pans at this stage can save time.
Step 2 — Preheat Your Cooking Surface
Preheat your oven, skillet, or grill to the correct temperature. For stovetop cooking, a medium-high heat is often ideal for searing.
Use an instant-read thermometer to check grill or pan surface temperature if precision is required, aiming for 375–400°F for most searing tasks.
Step 3 — Sauté Aromatics
Heat oil in a pan over medium heat. Add diced onions, garlic, or other aromatics and cook until fragrant and translucent, about 3–5 minutes.
Stir frequently to prevent burning. A soft, golden color indicates they’re ready for the next ingredients.
Step 4 — Brown the Main Protein
Add your protein to the hot pan in a single layer, ensuring pieces don’t touch. Cook until a golden-brown crust forms, about 2–3 minutes per side.
Resist the urge to move the protein too soon—proper browning requires contact with the hot surface. Internal temperature should reach at least 145°F for poultry or pork before proceeding.
Step 5 — Simmer with Liquids and Seasonings
Pour in broth, wine, or sauce, scraping the bottom of the pan to incorporate flavorful browned bits. Bring to a gentle simmer.
Season with salt, pepper, and herbs. Reduce heat to low, cover, and let cook until proteins are tender and fully cooked, usually 20–30 minutes depending on size.
Step 6 — Add Vegetables or Starches
Introduce chopped vegetables, pasta, or grains partway through simmering to ensure even cooking. Root vegetables may need longer; leafy greens only a few minutes.
Test doneness with a fork—vegetables should be tender but not mushy. Pasta should be al dente, and grains fully hydrated.
Step 7 — Adjust Seasoning and Thicken if Needed
Taste the dish and adjust salt, acidity, or spice levels. A splash of lemon juice or vinegar can brighten flavors.
If the sauce is too thin, create a slurry with cornstarch and cold water, then stir it in and simmer until thickened.
Step 8 — Rest Before Serving
Remove the dish from heat and let it rest for 5–10 minutes. This allows flavors to meld and proteins to reabsorb juices.
Resting also brings the temperature down to a safe, enjoyable eating range and improves texture.
Step 9 — Garnish and Plate
Sprinkle fresh herbs, grated cheese, or a drizzle of oil over the finished dish just before serving to enhance appearance and flavor.
Serve hot, and pair with complementary sides like crusty bread or a simple salad for a complete meal.
Nutritional Information
| Calories | … |
| Protein | … |
| Carbohydrates | … |
| Fat | … |
| Fiber | … |
| Sodium | … |
Note: Estimates based on typical ingredients and serving size.
Healthier Alternatives
- Greek yogurt instead of sour cream — Creamy tang with boosted protein and reduced fat.
- Zucchini noodles instead of pasta — Light, fresh texture with significantly lower carbs.
- Nutritional yeast instead of cheese — Cheesy, savory flavor that’s completely dairy-free.
- Cauliflower rice instead of white rice — Mild, versatile base that cuts carbs and calories.
- Unsweetened applesauce instead of oil — Natural sweetness and moisture with less fat.
- Almond flour instead of all-purpose flour — Nutty, tender crumb that’s naturally gluten-free.
- Avocado instead of mayonnaise — Rich, creamy spread with healthy fats and no dairy.
- Herbs and citrus instead of salt — Bright, aromatic flavor without added sodium.
Serving Suggestions
- Pair with a crisp green salad and a glass of chilled white wine for a light, elegant lunch.
- Serve over a bed of fluffy jasmine rice or with crusty bread to soak up the delicious sauce.
- Perfect for a casual weeknight dinner or for impressing guests at a weekend gathering.
- Garnish with fresh, chopped herbs like parsley or cilantro to add a pop of color and freshness.
- For a heartier meal, accompany with roasted seasonal vegetables or creamy mashed potatoes.
- Plate in a shallow bowl to showcase the sauce and keep all the components together beautifully.
Common Mistakes to Avoid
- Mistake: Overmixing the batter. Fix: Mix until just combined to avoid tough, dense results.
- Mistake: Using cold ingredients straight from the fridge. Fix: Bring ingredients like eggs and dairy to room temperature for better emulsification.
- Mistake: Incorrect oven temperature. Fix: Use an oven thermometer to ensure accurate baking heat.
- Mistake: Opening the oven door too early. Fix: Wait until the last quarter of baking time to prevent collapse.
- Mistake: Not properly preparing the pan. Fix: Grease and flour the pan thoroughly, or use parchment paper for easy release.
- Mistake: Substituting ingredients haphazardly. Fix: Understand the role of each ingredient before making swaps.
- Mistake: Underbaking or overbaking. Fix: Use visual cues and a toothpick test to determine doneness.
- Mistake: Skipping the resting time for the batter. Fix: Let the batter rest for 15–30 minutes to allow hydration and improve texture.
Storing Tips
- Fridge: Store in an airtight container for up to 3 days.
- Freezer: Keep in a freezer-safe bag or container for up to 3 months.
- Reheat: Heat thoroughly to an internal temperature of 165°F (74°C) before serving.
Always let food cool to room temperature before refrigerating or freezing to maintain quality and safety.
Conclusion
This Green Chile Chicken Enchilada Casserole is a perfect weeknight dinner that’s both comforting and easy to assemble. If you love this recipe, try our Black Bean Enchiladas or Turkey Enchiladas next. Don’t forget to rate the recipe and leave a comment with your results!
PrintGreen Chile Chicken Enchilada Casserole

A flavorful and comforting casserole featuring shredded chicken, green chiles, and cheese layered with tortillas and baked to perfection.
- Prep Time: 20 minutes
- Cook Time: 35 minutes
- Total Time: 55 minutes
- Yield: 6 1x
- Method: Main Course
- Cuisine: Mexican
Ingredients
- 3 cups cooked shredded chicken
- 1 can (4 oz) diced green chiles
- 2 cups shredded cheddar cheese
- 1 cup shredded Monterey Jack cheese
- 1 can (10 oz) green enchilada sauce
- 8 flour tortillas
- 1/2 cup chopped onion
- 1/2 cup sour cream
- 1/4 cup chopped fresh cilantro
- 1 teaspoon ground cumin
- 1/2 teaspoon garlic powder
- Salt and pepper to taste
Instructions
- Preheat oven to 350°F (175°C).
- In a large bowl, combine shredded chicken, diced green chiles, half of the cheddar and Monterey Jack cheeses, chopped onion, sour cream, cilantro, cumin, garlic powder, salt, and pepper. Mix well.
- Spread a thin layer of green enchilada sauce on the bottom of a 9×13 inch baking dish.
- Place two tortillas over the sauce to cover the bottom.
- Spread one-third of the chicken mixture over the tortillas.
- Sprinkle with a little cheese and drizzle some enchilada sauce over the layer.
- Repeat layering two more times with tortillas, chicken mixture, cheese, and enchilada sauce.
- Top the final layer with the remaining cheese.
- Cover with foil and bake for 25 minutes.
- Remove foil and bake an additional 10 minutes or until cheese is bubbly and golden.
- Let stand for 5 minutes before serving.
Notes
For extra flavor, use homemade green enchilada sauce if available. This casserole can be prepared a day ahead and refrigerated before baking. Serve with fresh salsa or guacamole for added zest.
Nutrition
- Calories: 420
- Sugar: 4
- Sodium: 850
- Fat: 22
- Saturated Fat: 12
- Unsaturated Fat: 10
- Trans Fat: 0
- Carbohydrates: 30
- Fiber: 3
- Protein: 35
- Cholesterol: 110
FAQs
Can I make this recipe ahead of time?
Yes, you can prepare this recipe in advance. It stores well in the refrigerator for up to three days. This makes it a convenient option for meal prep.
What are some good substitutions for the main ingredient?
You can easily substitute the main ingredient with alternatives like chicken, tofu, or chickpeas. This flexibility allows you to customize the dish to your dietary preferences while keeping the core flavors intact.
How can I adjust the spice level?
You can control the spice level by reducing or increasing the amount of chili or hot sauce. For a milder version, simply omit the spicy elements entirely. This recipe is very adaptable to your preferred heat level.


