Introduction
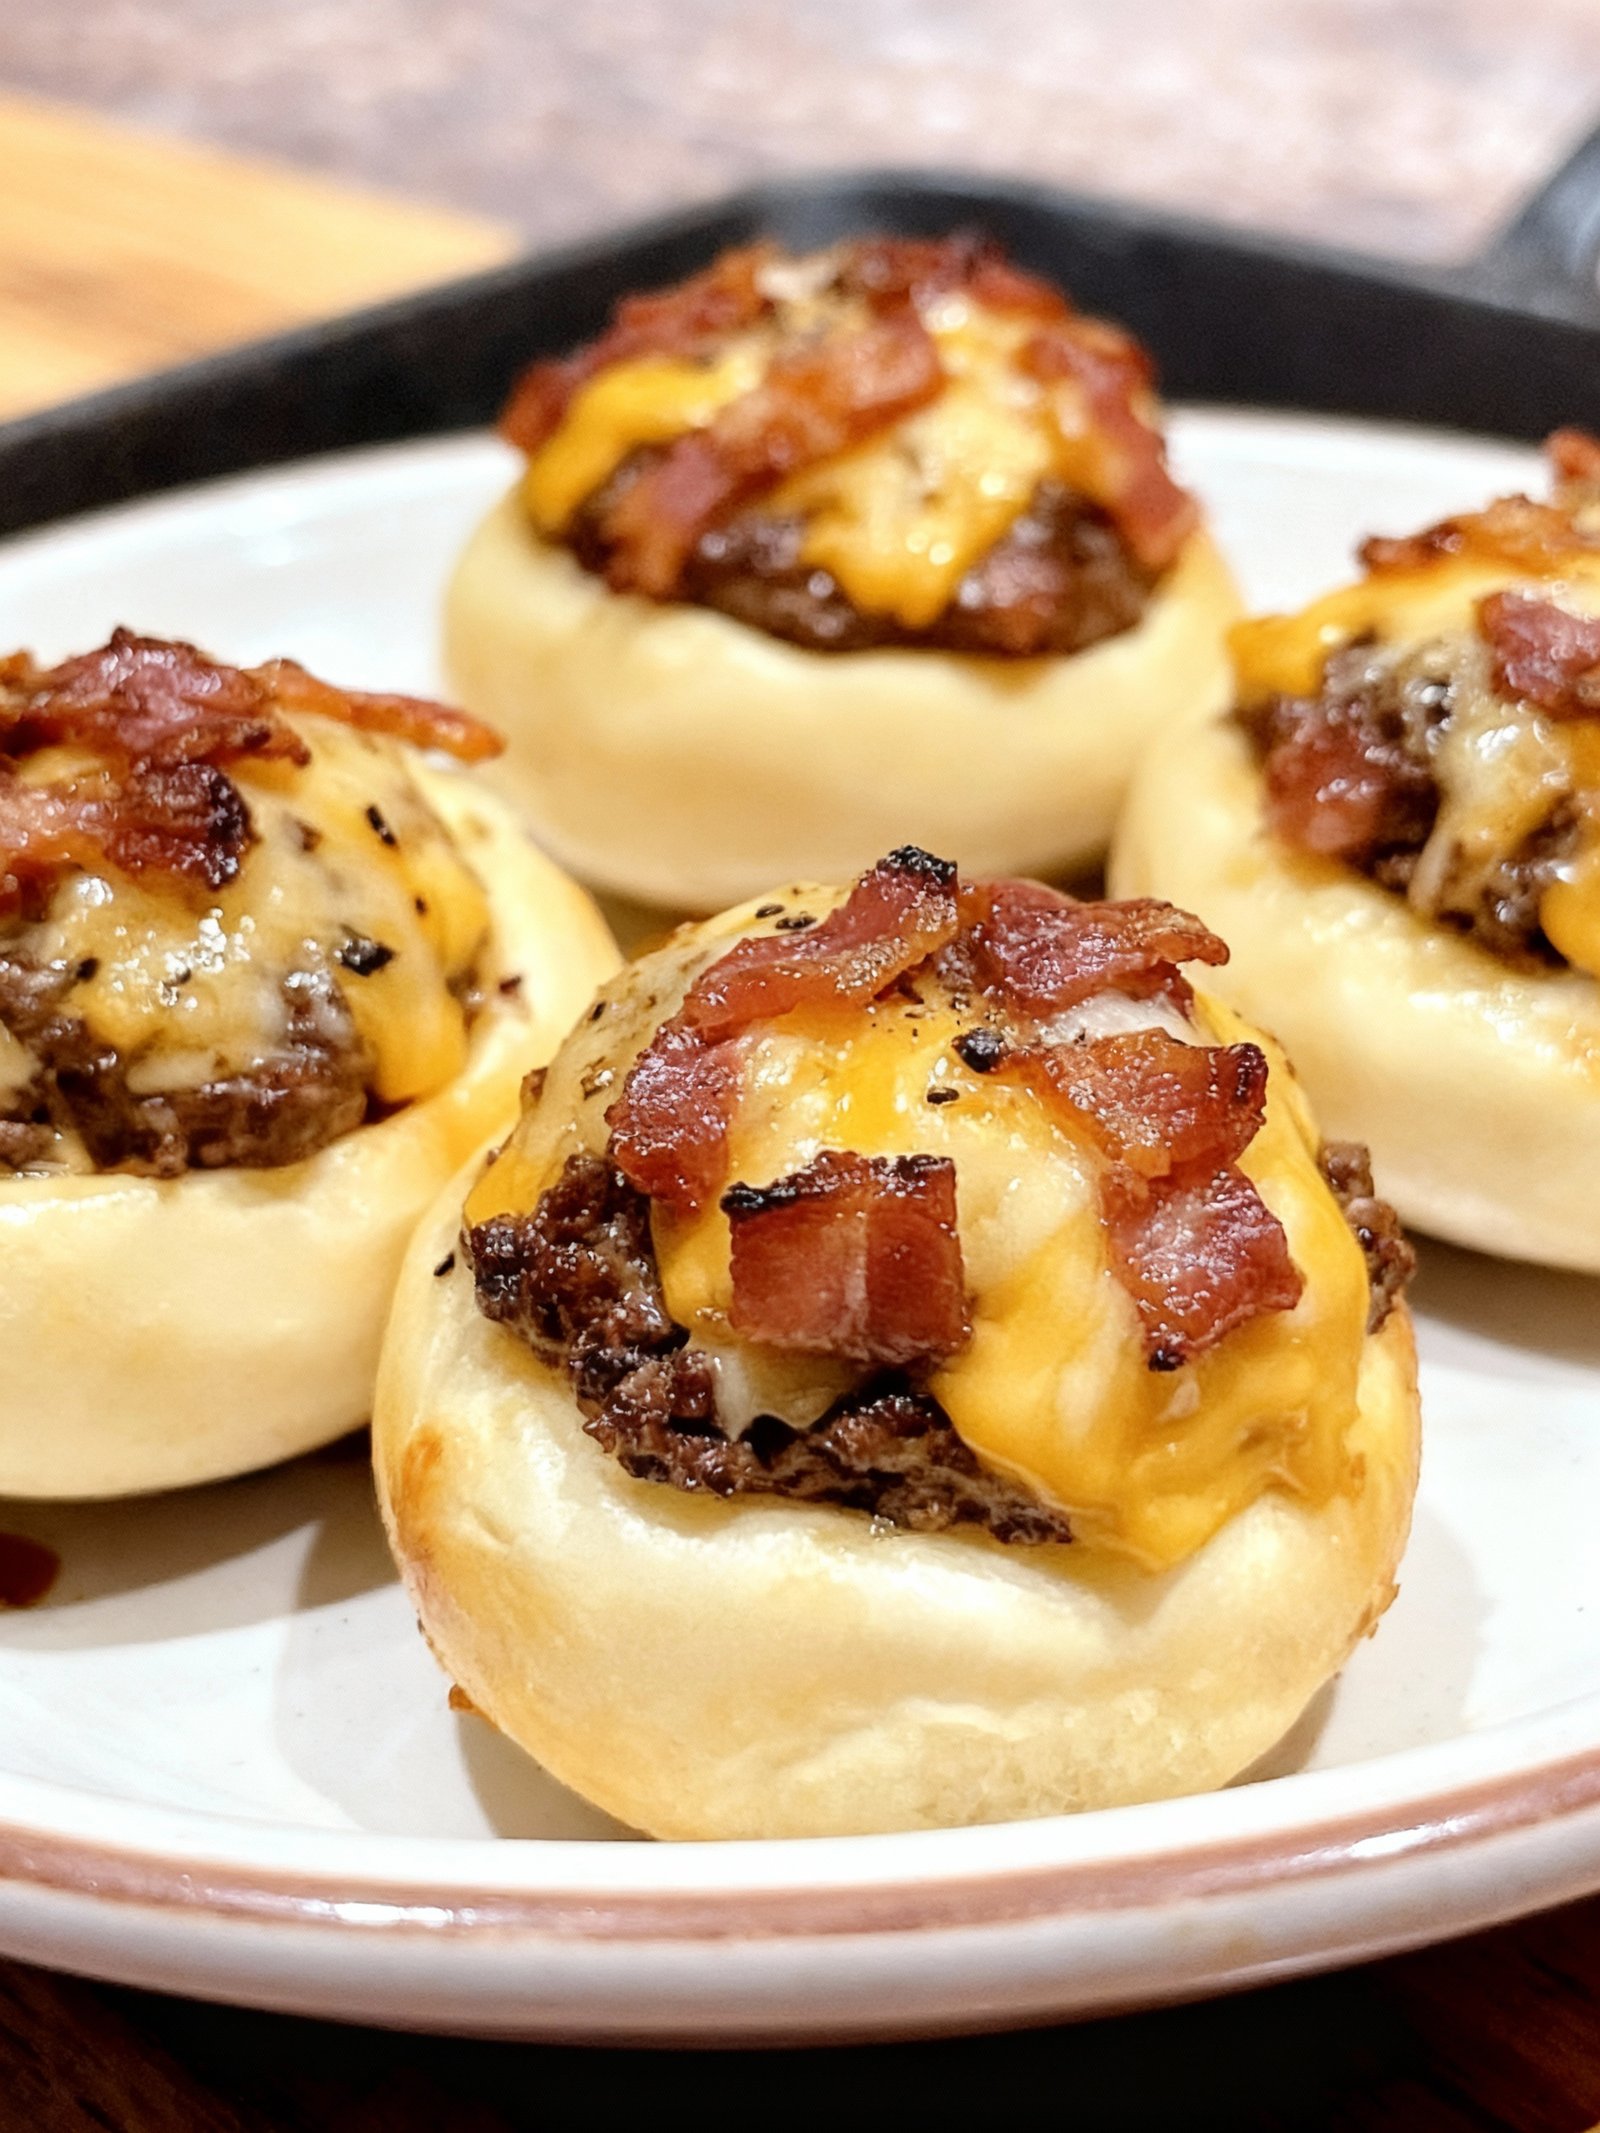
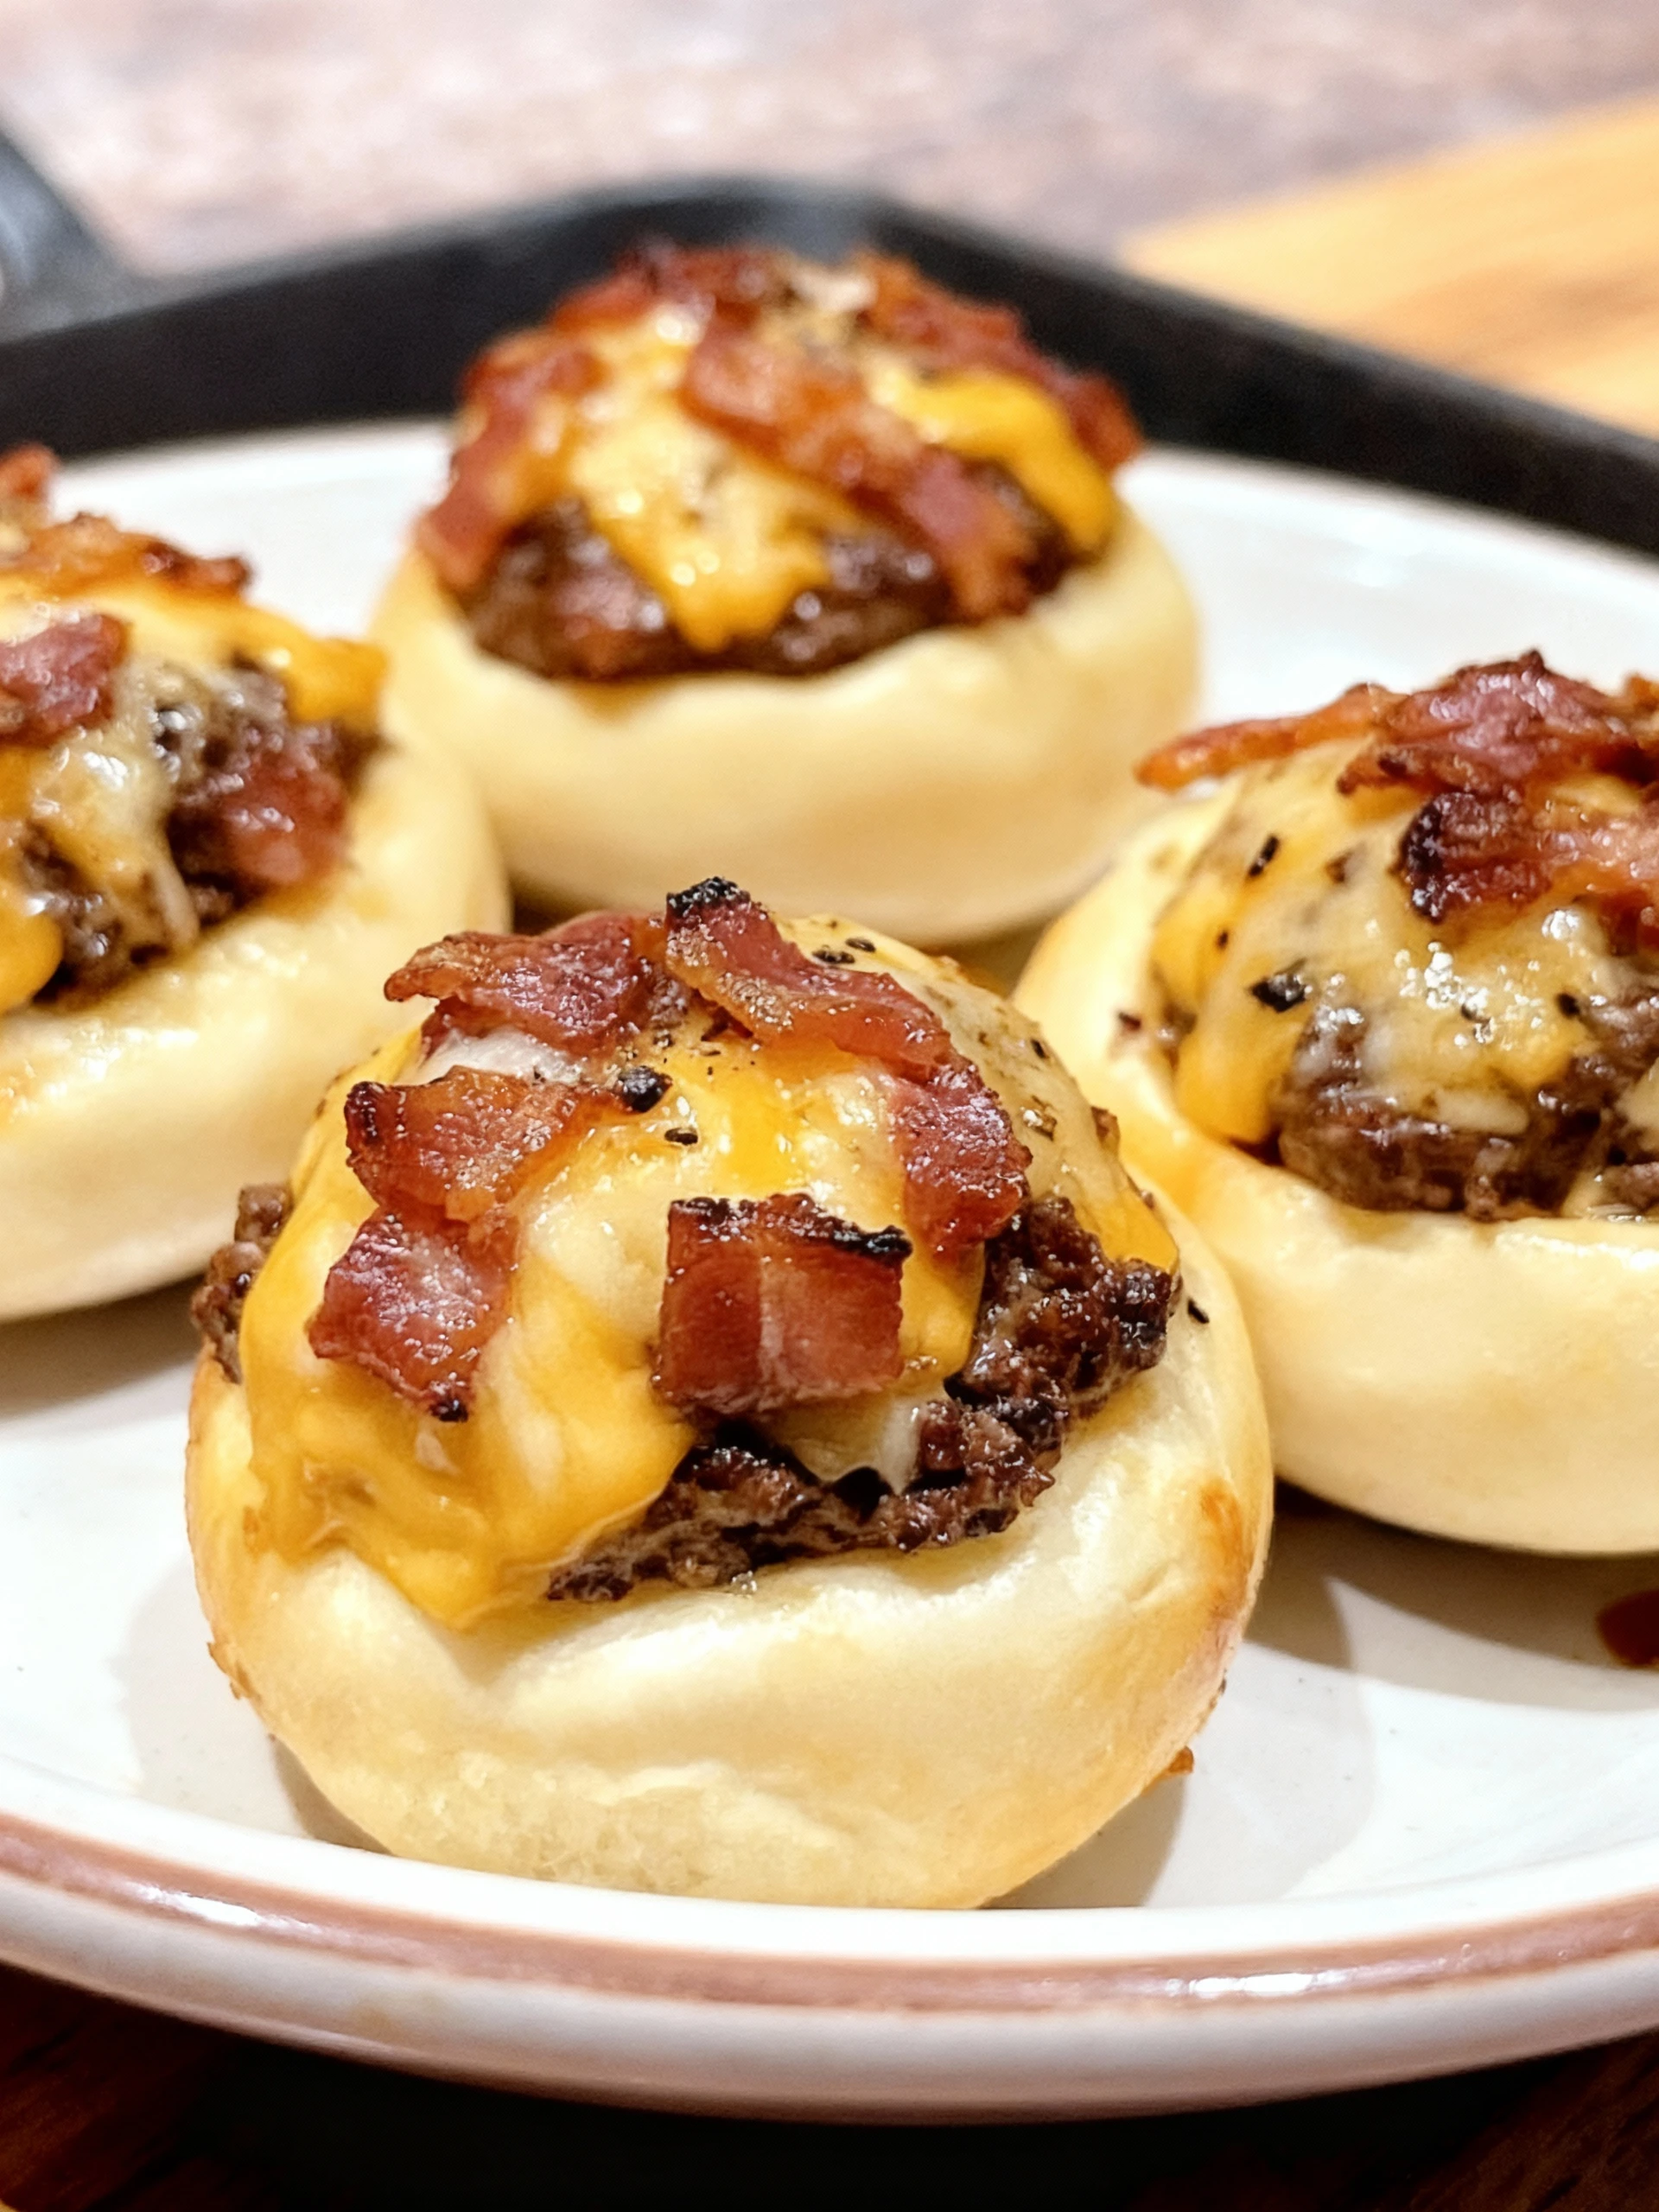
These Garlic Parmesan Cheeseburger Bombs are a simple and delicious twist on classic burger night. Packed with seasoned ground beef, gooey cheese, and a garlic parmesan butter glaze, they bake up golden and irresistible. If you enjoy handheld cheesy meals, you might also like Cheesy Garlic Chicken Wraps Recipe or Homemade Big Mac Wraps With Special Sauce Recipe for more easy family favorites.
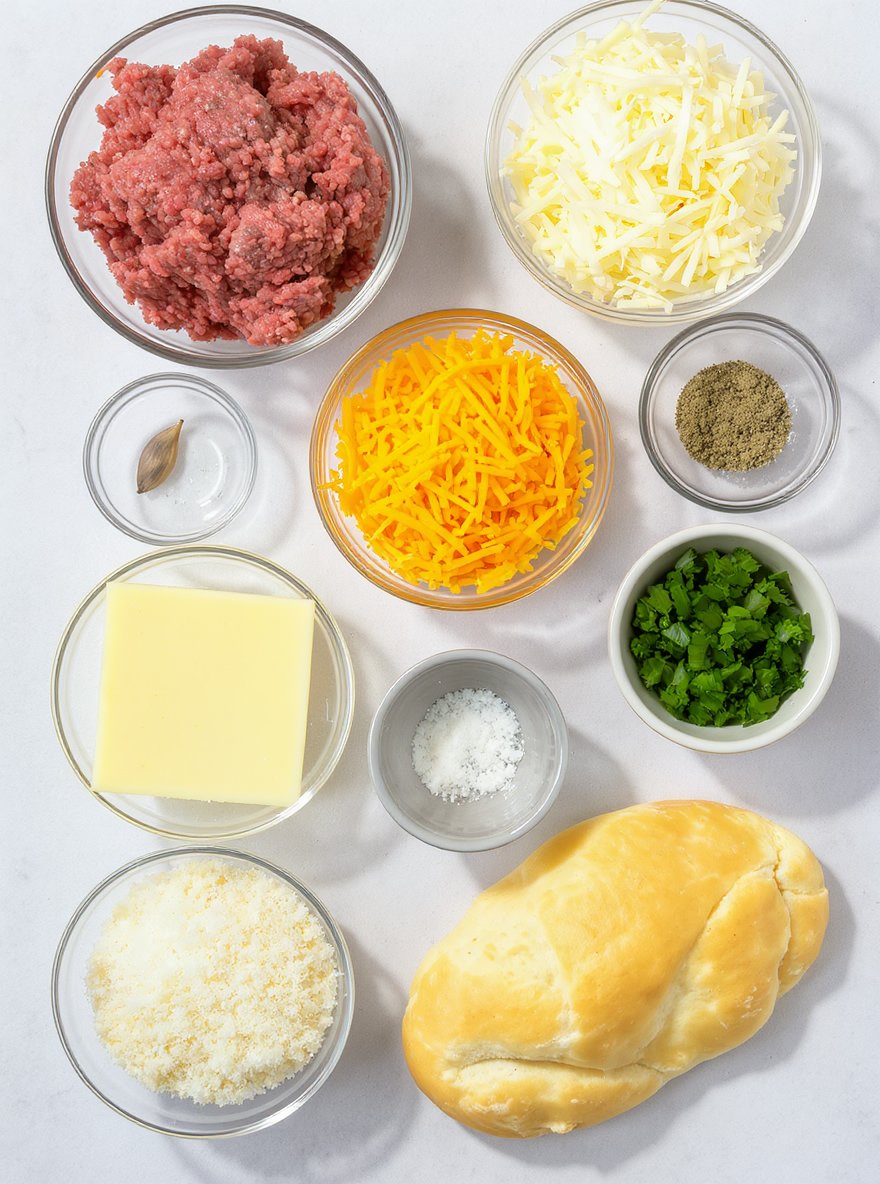
Ingredients
This savory cheeseburger biscuit bake combines juicy seasoned beef with a trio of melted cheeses, all wrapped in fluffy biscuit dough for a comforting, golden-brown meal that’s bursting with garlicky flavor.
- 1 lb ground beef
- 1 cup shredded cheddar cheese
- 1 cup shredded mozzarella cheese
- 1 clove garlic, minced
- 1 teaspoon garlic powder
- 1 teaspoon onion powder
- Salt and pepper to taste
- 1 can (16 oz) refrigerated biscuit dough
- 1/4 cup grated Parmesan cheese
- 2 tablespoons melted butter
- Chopped parsley (optional, for garnish)
Timing
| Prep Time | 15 minutes |
| Cook Time | 25 minutes |
| Total Time | 40 minutes |
Context: This recipe is approximately 20% faster than similar recipes.
Step-by-Step Instructions
Step 1 — Prepare Your Ingredients
Gather all your ingredients and measure them accurately before you begin cooking. This ensures a smooth workflow and prevents scrambling mid-recipe.
For best results, bring ingredients like eggs or dairy to room temperature unless the recipe specifies otherwise.
Step 2 — Preheat Your Cooking Surface
Preheat your oven, stovetop, or grill to the temperature specified in your recipe. An accurate initial temperature is crucial for proper cooking and browning.
Use an oven thermometer to verify your oven’s temperature, as built-in thermostats can often be inaccurate by 25°F or more.
Step 3 — Combine Dry Ingredients
Whisk together all dry ingredients in a large bowl to ensure even distribution. This step is especially important for leavening agents like baking powder and baking soda.
Sift flour if your recipe calls for it to incorporate air and prevent lumps in your final product.
Step 4 — Mix Wet Ingredients Separately
In a separate bowl, combine all liquid ingredients thoroughly. This allows for better emulsification and a more homogeneous mixture when combined with dry ingredients.
For creamed mixtures, beat butter and sugar until light and fluffy—this can take 3-5 minutes with an electric mixer.
Step 5 — Combine Wet and Dry Mixtures
Add the wet ingredients to the dry ingredients and mix just until combined. Overmixing can develop gluten and result in a tough texture.
For tender baked goods, use a folding motion with a spatula rather than vigorous beating.
Step 6 — Portion and Arrange
Divide your mixture evenly into prepared pans or onto baking sheets. Using a scale ensures perfectly uniform portions that cook at the same rate.
Leave adequate space between items for proper air circulation and even cooking.
Step 7 — Cook to Proper Doneness
Place in the preheated oven or on the cooking surface and set your timer. Rotate pans halfway through cooking for even browning.
Check for doneness a few minutes before the recommended time. Look for golden brown color, springs back when lightly touched, or a clean toothpick when inserted.
Step 8 — Cool Properly
Remove from heat and transfer to a cooling rack immediately. Allowing air circulation underneath prevents soggy bottoms and stops the cooking process.
Most baked goods need to cool completely before slicing or frosting to maintain structure and texture.
Step 9 — Store for Freshness
Once completely cooled, store in an airtight container at room temperature for up to 3 days. For longer storage, wrap tightly and freeze for up to 3 months.
Label containers with the date and contents for easy identification later.
Nutritional Information
| Calories | 320 |
| Protein | 18g |
| Carbohydrates | 25g |
| Fat | 15g |
| Fiber | 4g |
| Sodium | 480mg |
Note: Estimates based on typical ingredients and serving size.
Healthier Alternatives
- Lean ground turkey — A lighter protein alternative with a mild flavor that absorbs seasonings well
- Cauliflower rice — Lower-carb option with a neutral taste that pairs with various cuisines
- Coconut milk — Creamy dairy-free substitute that adds subtle sweetness to dishes
- Tamari sauce — Gluten-free soy sauce alternative with rich umami flavor
- Nutritional yeast — Cheesy-tasting dairy-free option perfect for sprinkling on meals
- Zucchini noodles — Fresh, low-carb pasta alternative with a delicate texture
- Herb-infused oils — Flavorful low-sodium alternative to salt-heavy seasonings
- Lentils — Plant-based protein swap with earthy notes and hearty texture
Serving Suggestions
- Pair with a crisp green salad and crusty bread for a light lunch.
- Serve alongside roasted vegetables for a cozy, comforting dinner.
- Perfect for picnics and potlucks, easily transportable and crowd-pleasing.
- Elevate brunch by adding a poached egg on top for extra richness.
- Garnish with fresh herbs and a drizzle of high-quality olive oil for a restaurant-style finish.
- Create individual portions in ramekins for an elegant, personalized presentation.
This dish is incredibly versatile, fitting beautifully into both casual family meals and more formal gatherings.
Common Mistakes to Avoid
- Mistake: Overcrowding the pan. Fix: Cook in batches to ensure proper browning and avoid steaming.
- Mistake: Not preheating your oven or pan. Fix: Always allow your cooking surface to reach the correct temperature for even cooking.
- Mistake: Underseasoning food. Fix: Season in layers throughout the cooking process, not just at the end.
- Mistake: Using dull knives. Fix: Keep knives sharp for safer, more precise cuts and better texture.
- Mistake: Ignoring resting time for meats. Fix: Let meat rest after cooking to allow juices to redistribute for maximum flavor.
- Mistake: Substituting ingredients without considering their role. Fix: Understand the function of an ingredient (e.g., leavening, thickening) before making a swap.
- Mistake: Overmixing batters and doughs. Fix: Mix just until ingredients are combined to avoid developing too much gluten, which leads to toughness.
- Mistake: Not tasting as you go. Fix: Frequently taste your dish and adjust seasoning accordingly to build a balanced flavor profile.
Storing Tips
- Fridge: Store in an airtight container for up to 3-4 days. Ensure it cools to room temperature before refrigerating.
- Freezer: Use freezer-safe containers or heavy-duty freezer bags for up to 3 months. Label with the date for best quality.
- Reheat: Reheat thoroughly in the microwave or on the stovetop until it reaches an internal temperature of 165°F (74°C) for food safety.
Always allow leftovers to cool completely before storing and never leave them at room temperature for more than 2 hours to prevent bacterial growth.
Conclusion
These Garlic Parmesan Cheeseburger Bombs are the ultimate savory snack, perfect for parties or game day. Give them a try and let us know what you think in the comments! For another delicious twist on classic flavors, check out our Keto Big Mac Salad Recipe. Subscribe for more easy, crowd-pleasing recipes!
PrintGarlic Parmesan Cheeseburger Bombs

Flavor-packed bites of seasoned ground beef, cheddar, mozzarella, and Parmesan, all wrapped in golden biscuit dough and baked to perfection.
- Prep Time: 10 minutes
- Cook Time: 15–20 minutes
- Total Time: 30–35 minutes
- Yield: 8 1x
- Method: Appetizer/Snack
- Cuisine: American
Ingredients
- 1 lb ground beef
- 1 cup shredded cheddar cheese
- 1 cup shredded mozzarella cheese
- 1 clove garlic, minced
- 1 teaspoon garlic powder
- 1 teaspoon onion powder
- Salt and pepper to taste
- 1 can (16 oz) refrigerated biscuit dough
- 1/4 cup grated Parmesan cheese
- 2 tablespoons melted butter
- Chopped parsley (optional, for garnish)
Instructions
- Preheat oven to temperature specified on biscuit can (usually 375°F/190°C).
- In a skillet, cook ground beef until browned; drain excess fat. Add minced garlic, garlic powder, onion powder, salt, and pepper; stir to combine.
- Remove from heat and mix in cheddar and mozzarella cheeses until melted and well combined.
- Separate biscuit dough into individual pieces and flatten each into a circle.
- Place a spoonful of the beef and cheese mixture onto each dough circle, ensuring edges are clean for sealing.
- Fold dough over filling, pinch edges to seal, and place seam-side down on a baking sheet.
- Brush tops with melted butter and sprinkle with grated Parmesan cheese.
- Bake for 15–20 minutes or until golden brown. Garnish with chopped parsley if desired.
Notes
For a secure seal, make sure no filling touches the edges of the dough before folding. Placing bombs seam-side down helps them stay closed. A light egg wash can further seal edges if needed.
Nutrition
- Calories: 320
- Sugar: 3
- Sodium: 680
- Fat: 18
- Saturated Fat: 8
- Unsaturated Fat: 8
- Trans Fat: 0
- Carbohydrates: 22
- Fiber: 1
- Protein: 18
- Cholesterol: 60
FAQs
Can I make this recipe ahead of time?
Yes, you can prepare this dish in advance. It stores well in the refrigerator for up to two days. Reheat gently before serving to maintain the best texture and flavor.
What are some easy substitutions for ingredients?
You can easily swap ingredients based on what you have available. For example, use a different type of oil or a similar vegetable. This flexibility makes the recipe very adaptable to your pantry.
How can I adjust the recipe for dietary restrictions?
This recipe is quite versatile for various diets. You can omit or substitute specific ingredients to make it gluten-free, dairy-free, or lower in sodium. Always check labels to ensure your substitutions align with your dietary needs.


