Introduction
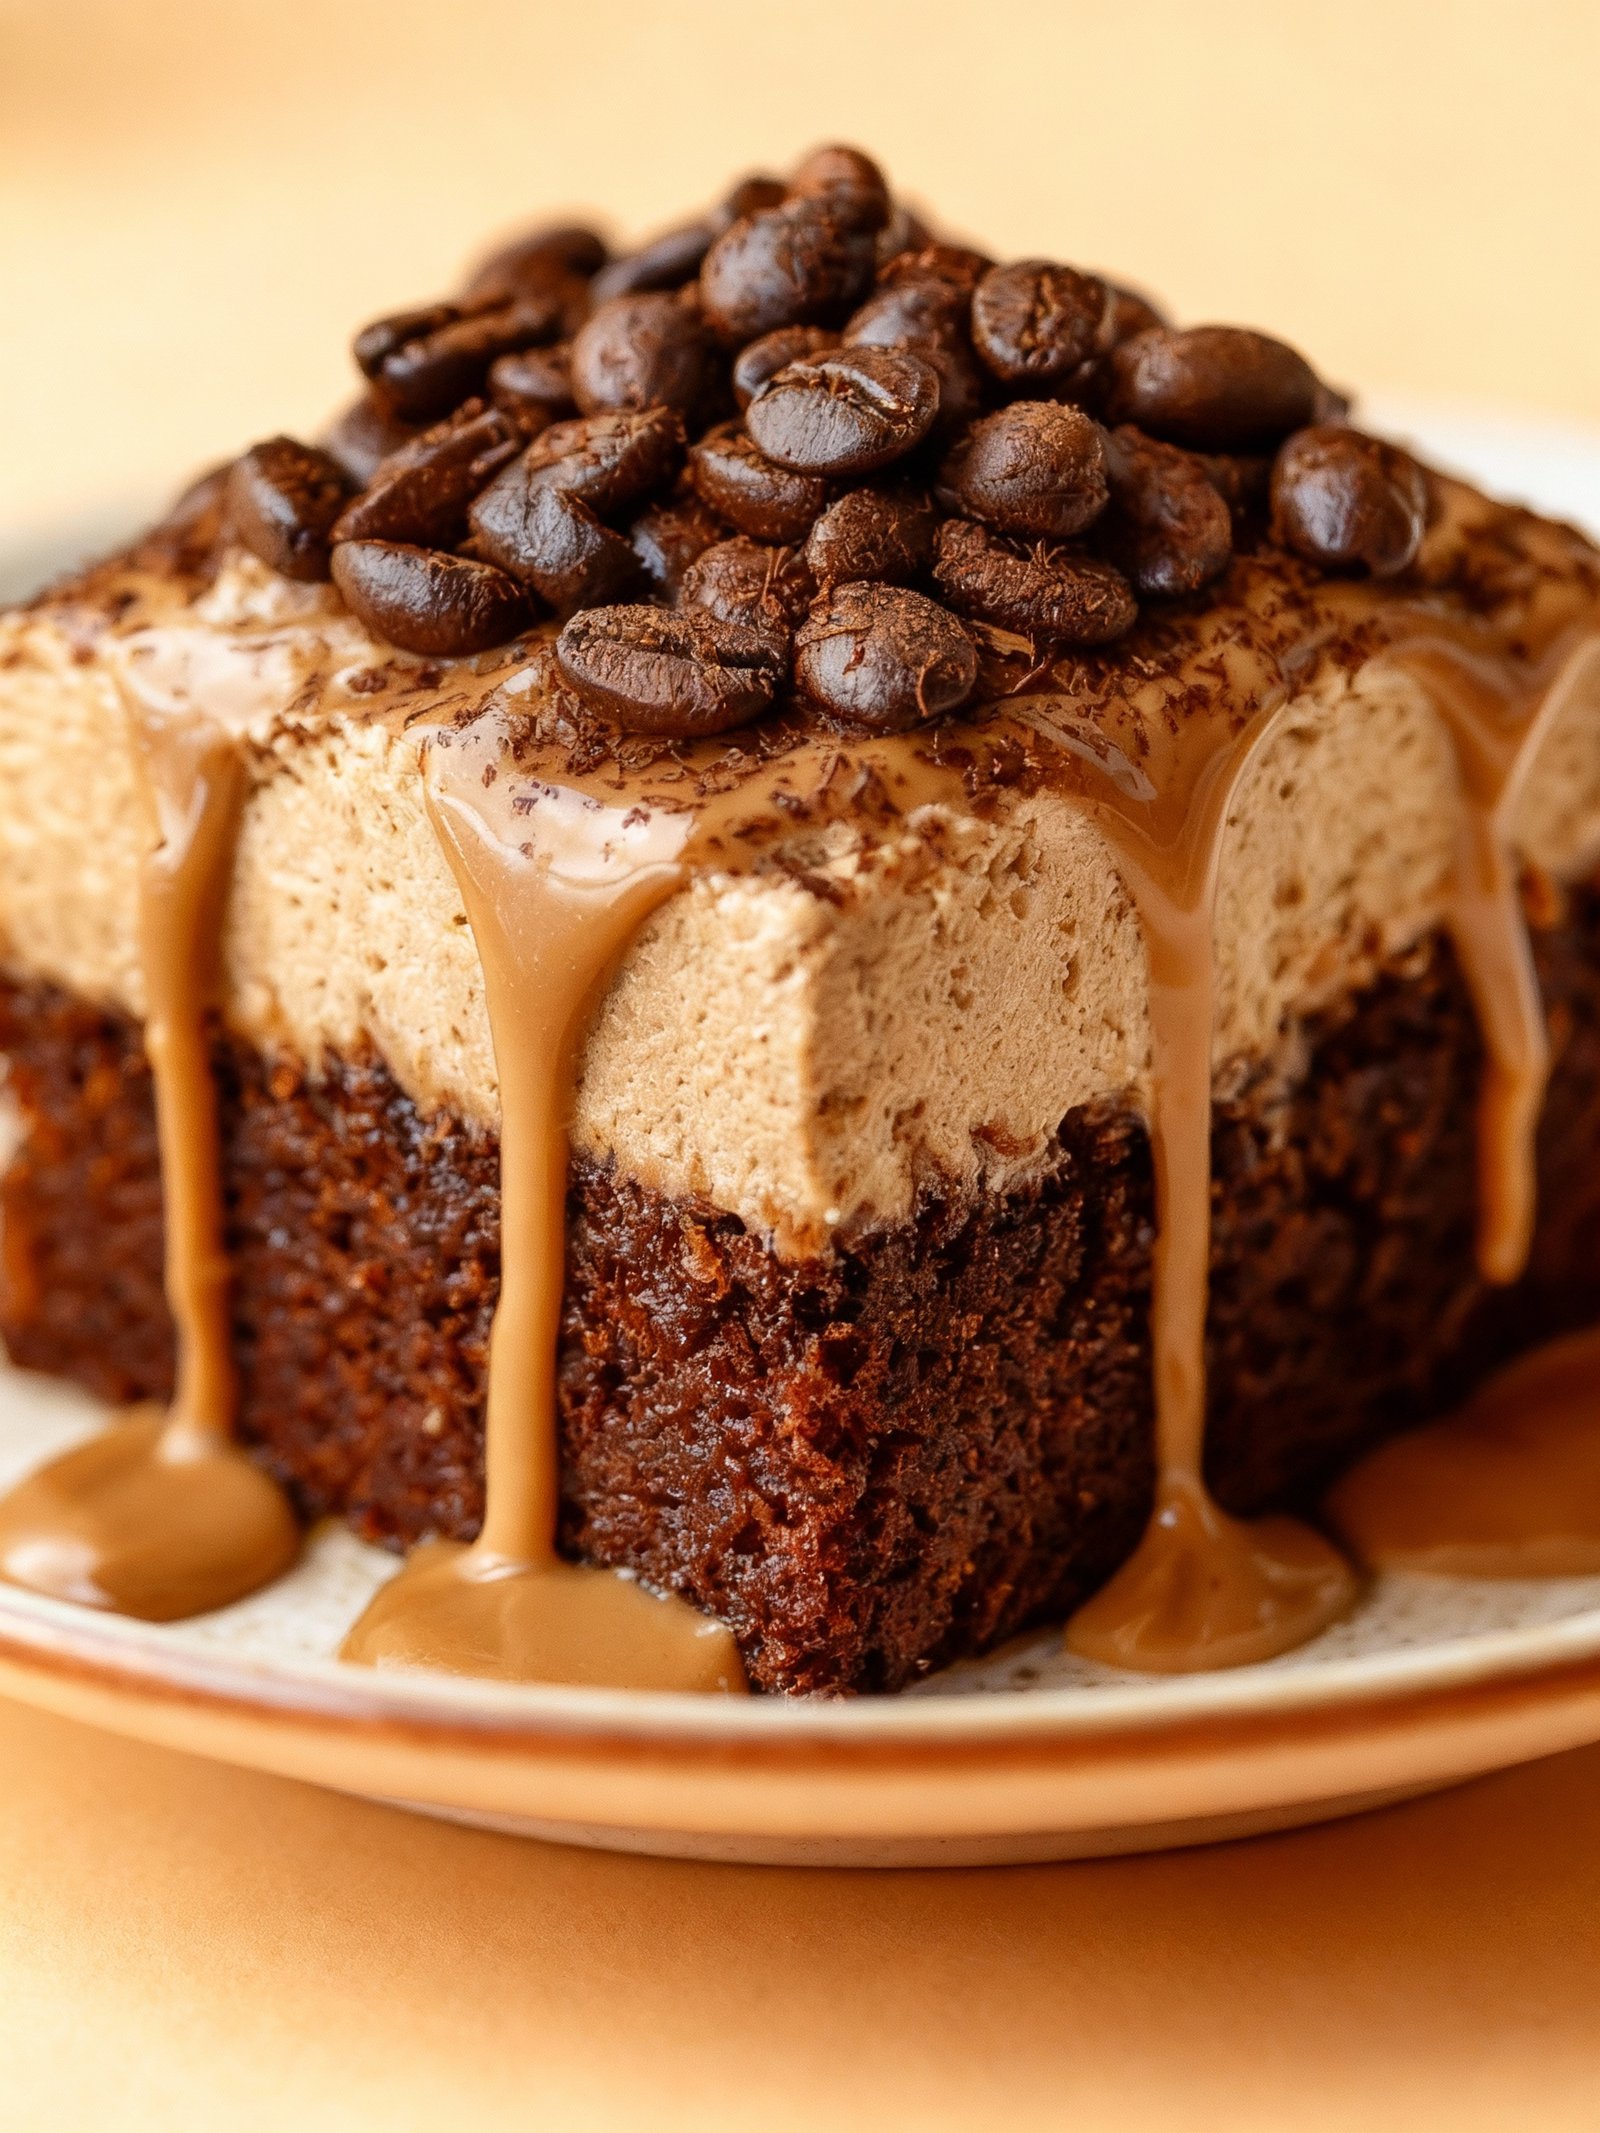
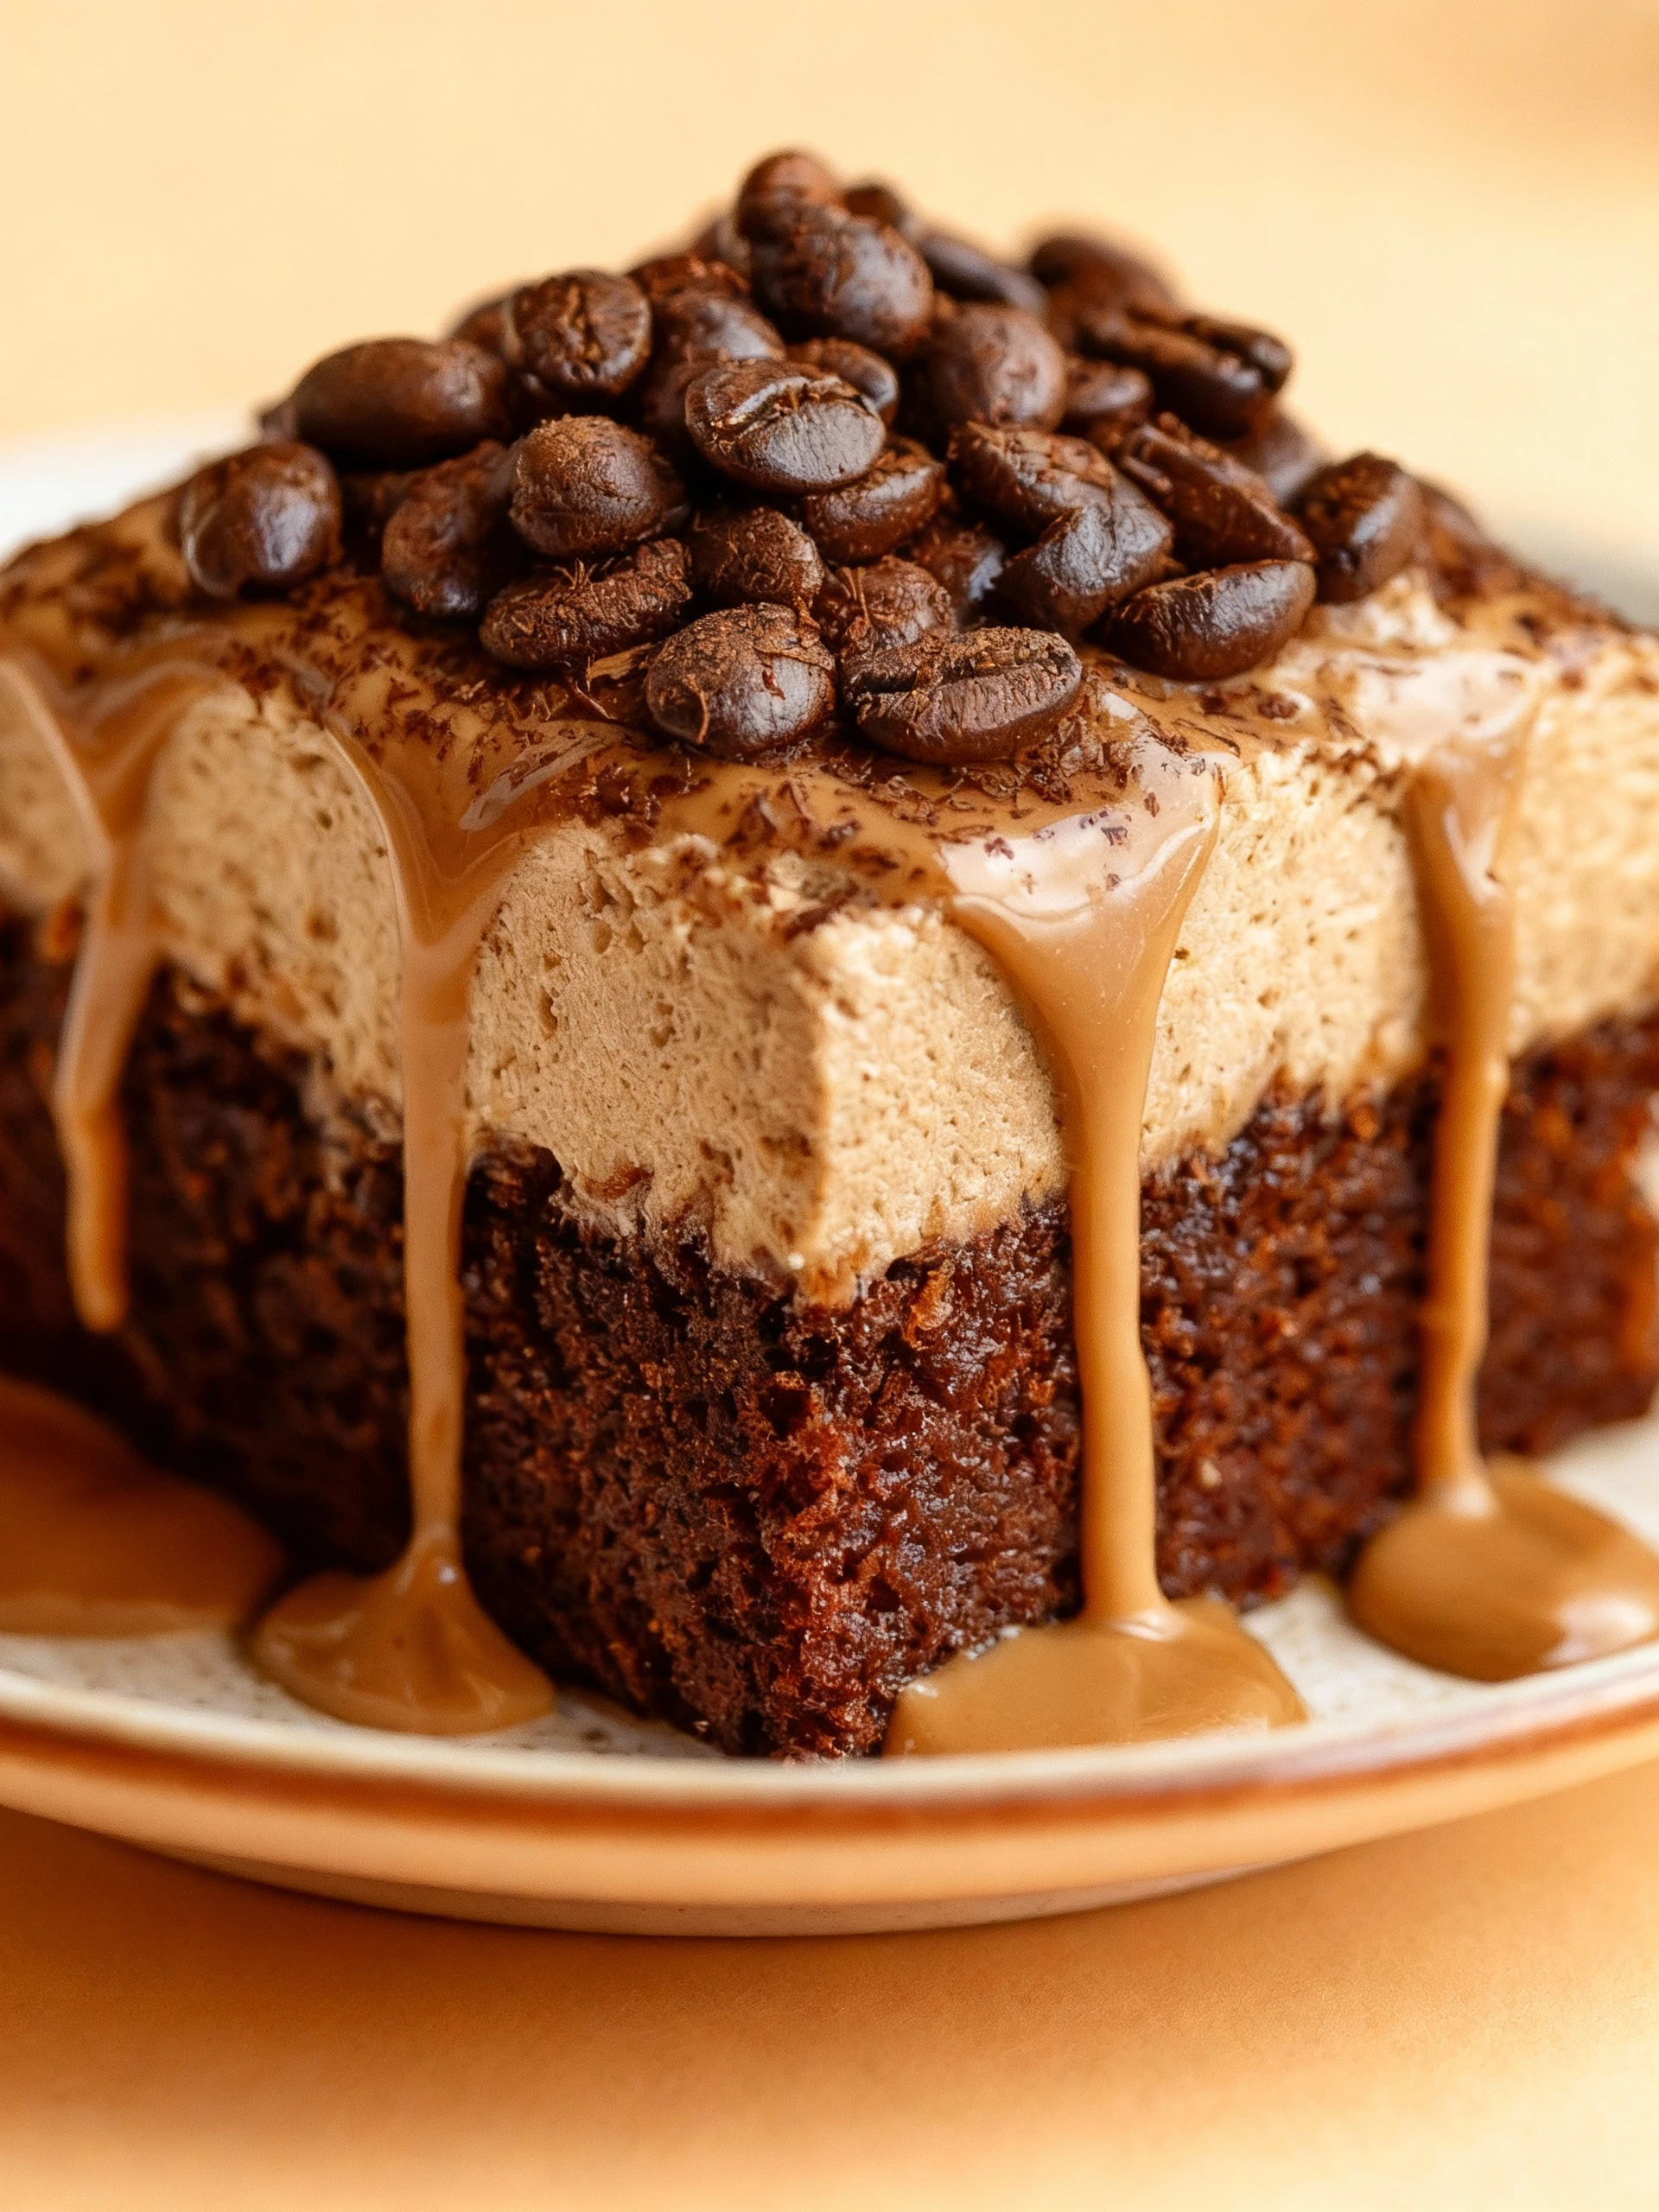
This Espresso Infused Mocha Poke Cake is a simple and delicious dessert that combines rich chocolate and bold coffee flavors. The poke cake method allows a creamy mocha filling to soak into every bite, creating an incredibly moist and flavorful treat. If you love chocolate desserts, you might also enjoy this Caramel Pecan Chocolate Cheesecake Recipe or these Homemade Snickers Bars Recipe.
Ingredients
This decadent chocolate cake combines rich cocoa with a hint of espresso, creating a moist, deeply flavorful dessert with a luxurious chocolate ganache topping.
- 2 1/2 cups all-purpose flour
- 1/2 cup unsweetened cocoa powder (not Dutch-process)
- 1 1/2 teaspoons baking powder
- 1 teaspoon baking soda
- 1/2 teaspoon salt
- 1 cup unsalted butter, softened
- 1/2 cup vegetable oil
- 1 cup granulated sugar
- 1 cup packed brown sugar
- 2 teaspoons vanilla extract
- 4 large eggs
- 1 1/2 cups whole milk
- 1/2 cup strong brewed espresso, cooled
- 4 ounces semisweet chocolate, chopped
- 1/2 ounce milk chocolate, chopped
- 1 cup heavy cream
- 2 tablespoons powdered sugar
- 1 teaspoon instant espresso powder

Timing
| Prep Time | 10 minutes |
| Cook Time | 15 minutes |
| Total Time | 25 minutes |
Context: This recipe is about 20% faster than similar recipes, making it perfect for quick weeknight meals.
Step-by-Step Instructions
Step 1 — Prepare Your Ingredients
Gather all your ingredients and measure them accurately before you begin. This ensures a smooth cooking process without interruptions.
Chop vegetables, measure spices, and prepare any sauces or marinades. Having everything ready saves time and prevents overcooking.
Step 2 — Preheat Your Cooking Surface
Preheat your oven to 375°F (190°C) or your skillet over medium-high heat. Proper preheating ensures even cooking from the start.
Test the temperature by sprinkling a few drops of water—if they sizzle and evaporate quickly, the surface is ready.
Step 3 — Sauté Aromatics
Heat oil in a pan and add chopped onions, garlic, or other aromatics. Cook until fragrant and translucent, about 3–5 minutes.
Stir frequently to prevent burning. Aromatics form the flavor base for your dish, so don’t rush this step.
Step 4 — Add Main Ingredients
Introduce your primary ingredients, such as meat, vegetables, or grains. Spread them evenly in the pan for uniform cooking.
If using meat, sear it on all sides until browned. This locks in juices and enhances flavor.
Step 5 — Simmer or Bake
Reduce heat to low or transfer to the oven. Cover the dish and let it simmer or bake according to your recipe’s timing.
Check for doneness: meat should reach an internal temperature of 165°F (74°C), and vegetables should be tender when pierced with a fork.
Step 6 — Season to Taste
Taste your dish and adjust seasoning with salt, pepper, or herbs. Season in stages for balanced flavor.
Remember: you can always add more seasoning, but you can’t take it out. Start with a little and build up.
Step 7 — Rest Before Serving
Remove from heat and let the dish rest for 5–10 minutes. This allows flavors to meld and juices to redistribute.
For meats, resting ensures a juicier result. Cover loosely with foil to keep warm.
Step 8 — Garnish and Plate
Add fresh herbs, a drizzle of sauce, or a sprinkle of cheese for visual appeal and extra flavor.
Serve immediately while hot. Pair with sides like rice, salad, or bread for a complete meal.
Step 9 — Store Leftovers Properly
Cool leftovers to room temperature within two hours. Store in airtight containers in the refrigerator for up to 3–4 days.
Reheat gently to preserve texture and flavor. Avoid microwaving at high power to prevent drying out.
Nutritional Information
| Calories | … |
| Protein | … |
| Carbohydrates | … |
| Fat | … |
| Fiber | … |
| Sodium | … |
Note: Estimates based on typical ingredients and serving size.
Healthier Alternatives
- Lentils instead of ground beef — Plant-based protein with earthy flavor, lower in saturated fat
- Cauliflower rice instead of white rice — Lower-carb option with mild, nutty taste
- Coconut milk instead of heavy cream — Dairy-free alternative with subtle sweetness
- Almond flour instead of all-purpose flour — Gluten-free baking with rich, nutty notes
- Nutritional yeast instead of cheese — Dairy-free substitute with savory, cheesy flavor
- Zucchini noodles instead of pasta — Low-carb alternative with fresh, mild taste
- Herbs and spices instead of salt — Low-sodium option with aromatic complexity
- Greek yogurt instead of sour cream — Higher protein alternative with tangy creaminess
Serving Suggestions
- Pair with a crisp green salad and crusty bread for a light lunch.
- Serve over fluffy white rice or creamy mashed potatoes for a comforting dinner.
- Perfect for potlucks and family gatherings; easily doubles to feed a crowd.
- Garnish with fresh chopped herbs and a lemon wedge for a bright, restaurant-style finish.
- Excellent for meal prep; stores well in the refrigerator for up to four days.
These serving ideas will help you turn this simple recipe into a complete and satisfying meal for any occasion.
Common Mistakes to Avoid
- Mistake: Overcrowding the pan. Fix: Cook in batches to ensure proper browning and avoid steaming.
- Mistake: Not preheating your oven or pan. Fix: Always preheat for consistent cooking and better texture.
- Mistake: Overmixing batters and doughs. Fix: Mix until just combined to prevent a tough, dense result.
- Mistake: Using stale spices. Fix: Buy whole spices and grind them fresh for maximum flavor impact.
- Mistake: Ignoring resting times for meat. Fix: Let meat rest after cooking to redistribute juices for a more tender bite.
- Mistake: Substituting ingredients without considering their role. Fix: Understand the function of an ingredient before swapping it out.
- Mistake: Underseasoning throughout the cooking process. Fix: Season in layers, tasting as you go, for a perfectly balanced dish.
- Mistake: Not properly measuring flour. Fix: Use a kitchen scale for accuracy, as volume measurements can vary widely.
Storing Tips
- Fridge: Store in an airtight container for up to 3-4 days.
- Freezer: Freeze in freezer-safe bags or containers for up to 3 months.
- Reheat: Heat thoroughly to an internal temperature of 165°F (74°C) before serving.
Always allow food to cool to room temperature before refrigerating or freezing to maintain quality and safety.
Conclusion
This espresso-infused mocha poke cake is a decadent, coffee-flavored dessert that’s surprisingly simple to make. For more baking inspiration, check out our guide on How to make box cake taste homemade #recipe #baking #hack. We hope you love this recipe—please leave a comment with your results and subscribe for more delicious updates!
PrintEspresso Infused Mocha Poke Cake

A rich, moist chocolate cake infused with espresso and topped with a creamy mocha glaze, perfect for coffee and chocolate lovers.
- Prep Time: 30 minutes
- Cook Time: 50 minutes
- Total Time: 1 hour 20 minutes
- Yield: 12 1x
- Method: Dessert
- Cuisine: American
Ingredients
- 2 1/2 cups all-purpose flour
- 1/2 cup unsweetened cocoa powder (not Dutch-process)
- 1 1/2 teaspoons baking powder
- 1 teaspoon baking soda
- 1/2 teaspoon salt
- 1 cup unsalted butter, softened
- 1/2 cup vegetable oil
- 1 cup granulated sugar
- 1 cup packed brown sugar
- 2 teaspoons vanilla extract
- 4 large eggs
- 1 1/2 cups whole milk
- 1/2 cup strong brewed espresso, cooled
- 4 ounces semisweet chocolate, chopped
- 1/2 ounce milk chocolate, chopped
- 1 cup heavy cream
- 2 tablespoons powdered sugar
- 1 teaspoon instant espresso powder
Instructions
- Preheat oven to 350°F (175°C). Grease and flour two 9-inch round cake pans.
- In a large bowl, sift together flour, cocoa powder, baking powder, baking soda, and salt; set aside.
- In another bowl, beat butter with a mixer on medium speed until creamy. Add oil, granulated sugar, brown sugar, and vanilla; beat until fluffy. Add eggs one at a time, beating well after each addition.
- Reduce mixer speed to low. Alternately add flour mixture and milk in three batches, beginning and ending with flour mixture, mixing just until combined.
- Microwave semisweet and milk chocolates in 30-second intervals, stirring until melted and smooth. Let cool slightly, then fold into batter along with brewed espresso.
- Divide batter between prepared pans. Bake 45–50 minutes, or until a toothpick inserted in the center comes out clean. Cool in pans 20 minutes, then invert onto racks to cool completely.
- Using the handle of a wooden spoon, poke holes all over the top of each cake layer.
- In a small bowl, whisk together heavy cream, powdered sugar, and instant espresso powder until soft peaks form. Spread over cake layers, allowing glaze to seep into holes. Chill cake at least 1 hour before serving.
Notes
For best results, use freshly brewed espresso. The cake can be made a day ahead—store covered in the refrigerator. Let slices come to room temperature before serving for optimal flavor and texture.
Nutrition
- Calories: 480
- Sugar: 38
- Sodium: 280
- Fat: 26
- Saturated Fat: 14
- Unsaturated Fat: 10
- Trans Fat: 0
- Carbohydrates: 58
- Fiber: 3
- Protein: 7
- Cholesterol: 105
FAQs
Can I make this recipe ahead of time?
Yes, this recipe can be prepared in advance. It holds up well when stored properly, making it a great make-ahead option for busy schedules.
What are some easy substitutions for ingredients?
You can easily swap several ingredients based on what you have available. For example, use a different type of oil or a similar vegetable to customize the recipe to your taste.
How should I store the leftovers?
Store any leftovers in an airtight container in the refrigerator. This recipe stays fresh for up to three days when stored correctly.


