Introduction
This Easy Sweet Potato Casserole is the ultimate holiday side dish, delivering a perfect balance of creamy, spiced filling and a golden, gooey marshmallow topping. After years of testing, I’ve streamlined the process to create a foolproof recipe that’s both decadent and simple to prepare, ensuring you get that iconic flavor without the fuss.
Ingredients
Using fresh, high-quality sweet potatoes is key for the best natural sweetness and creamy texture. The warm spices and brown sugar enhance their flavor beautifully.
- For the sweet potato filling:
- 4 large sweet potatoes (peeled and cut into large pieces)
- 1 cup light brown sugar
- ½ cup butter, melted
- 1 teaspoon vanilla extract
- ½ teaspoon cinnamon
- ½ teaspoon salt
- ¼ teaspoon nutmeg
- For the marshmallow layer:
- 10 oz mini marshmallows
Timing
| Prep Time | 20 minutes |
| Cook Time | 1 hour 15 minutes |
| Total Time | 1 hour 35 minutes |
Context: This recipe is about 20% faster than traditional methods that require boiling and peeling hot potatoes. It’s a great make-ahead option; you can prepare the filling a day in advance and simply add the marshmallows before baking.
Step-by-Step Instructions
Step 1 — Prep and Cook the Sweet Potatoes
Preheat your oven to 400°F (200°C). Place the peeled and cut sweet potato pieces on a large baking sheet. Unlike boiling, roasting caramelizes the natural sugars, which adds a deeper flavor to your casserole. Roast for 45-50 minutes, or until the pieces are very tender when pierced with a fork.
Step 2 — Mash the Potatoes
Transfer the hot roasted sweet potatoes to a large mixing bowl. Use a potato masher or a hand mixer to mash them until completely smooth and free of lumps. I’ve found that using a mixer creates an exceptionally creamy texture, which is the ideal base for this sweet potato casserole.
Step 3 — Combine the Filling Ingredients
While the potatoes are still warm, add the light brown sugar, melted butter, vanilla extract, cinnamon, salt, and nutmeg to the bowl. Mix thoroughly until all ingredients are fully incorporated and the mixture is uniform. (Pro tip: Mixing while warm helps the sugar and butter blend seamlessly).
Step 4 — Transfer and Smooth the Filling
Reduce the oven temperature to 350°F (175°C). Spread the sweet potato mixture evenly into a 9×13 inch baking dish. Use a spatula to smooth the top, creating a flat, even layer. This ensures the marshmallows will toast uniformly in the next step.
Step 5 — Bake the Casserole Base
Place the dish, uncovered, in the preheated 350°F oven. Bake for 20 minutes. This step heats the filling through and helps it set slightly, preparing a perfect foundation for the topping. The edges may just begin to bubble.
Step 6 — Add the Marshmallow Topping
Carefully remove the casserole from the oven. Evenly sprinkle the entire surface with the mini marshmallows. For the best coverage, I recommend scattering them by the handful rather than dumping from the bag.
Step 7 — Toast the Marshmallows
Return the dish to the oven and bake for an additional 10-15 minutes. Watch closely—the marshmallows are done when they are puffed, soft, and have developed golden-brown spots. This method reduces the risk of burning compared to using a broiler.
Step 8 — Cool and Serve
Let the casserole cool for about 10 minutes before serving. This allows the filling to set for easier scooping and prevents burns from the molten marshmallow topping. The result is a perfectly balanced, easy sweet potato casserole that’s sure to be a hit.
Nutritional Information
| Calories | 285 |
| Protein | 2g |
| Carbohydrates | 48g |
| Fat | 10g |
| Fiber | 3g |
| Sodium | 220mg |
Note: Estimates are per serving (based on 12 servings) using the listed ingredients. This sweet potato casserole is a good source of Vitamin A and provides a moderate amount of fiber. Values may vary with ingredient substitutions.
Healthier Alternatives
- Swap brown sugar for maple syrup or coconut sugar — Adds a more complex, mineral-rich sweetness with a lower glycemic index.
- Use Greek yogurt or coconut cream instead of butter — Maintains creaminess while adding protein or creating a dairy-free version.
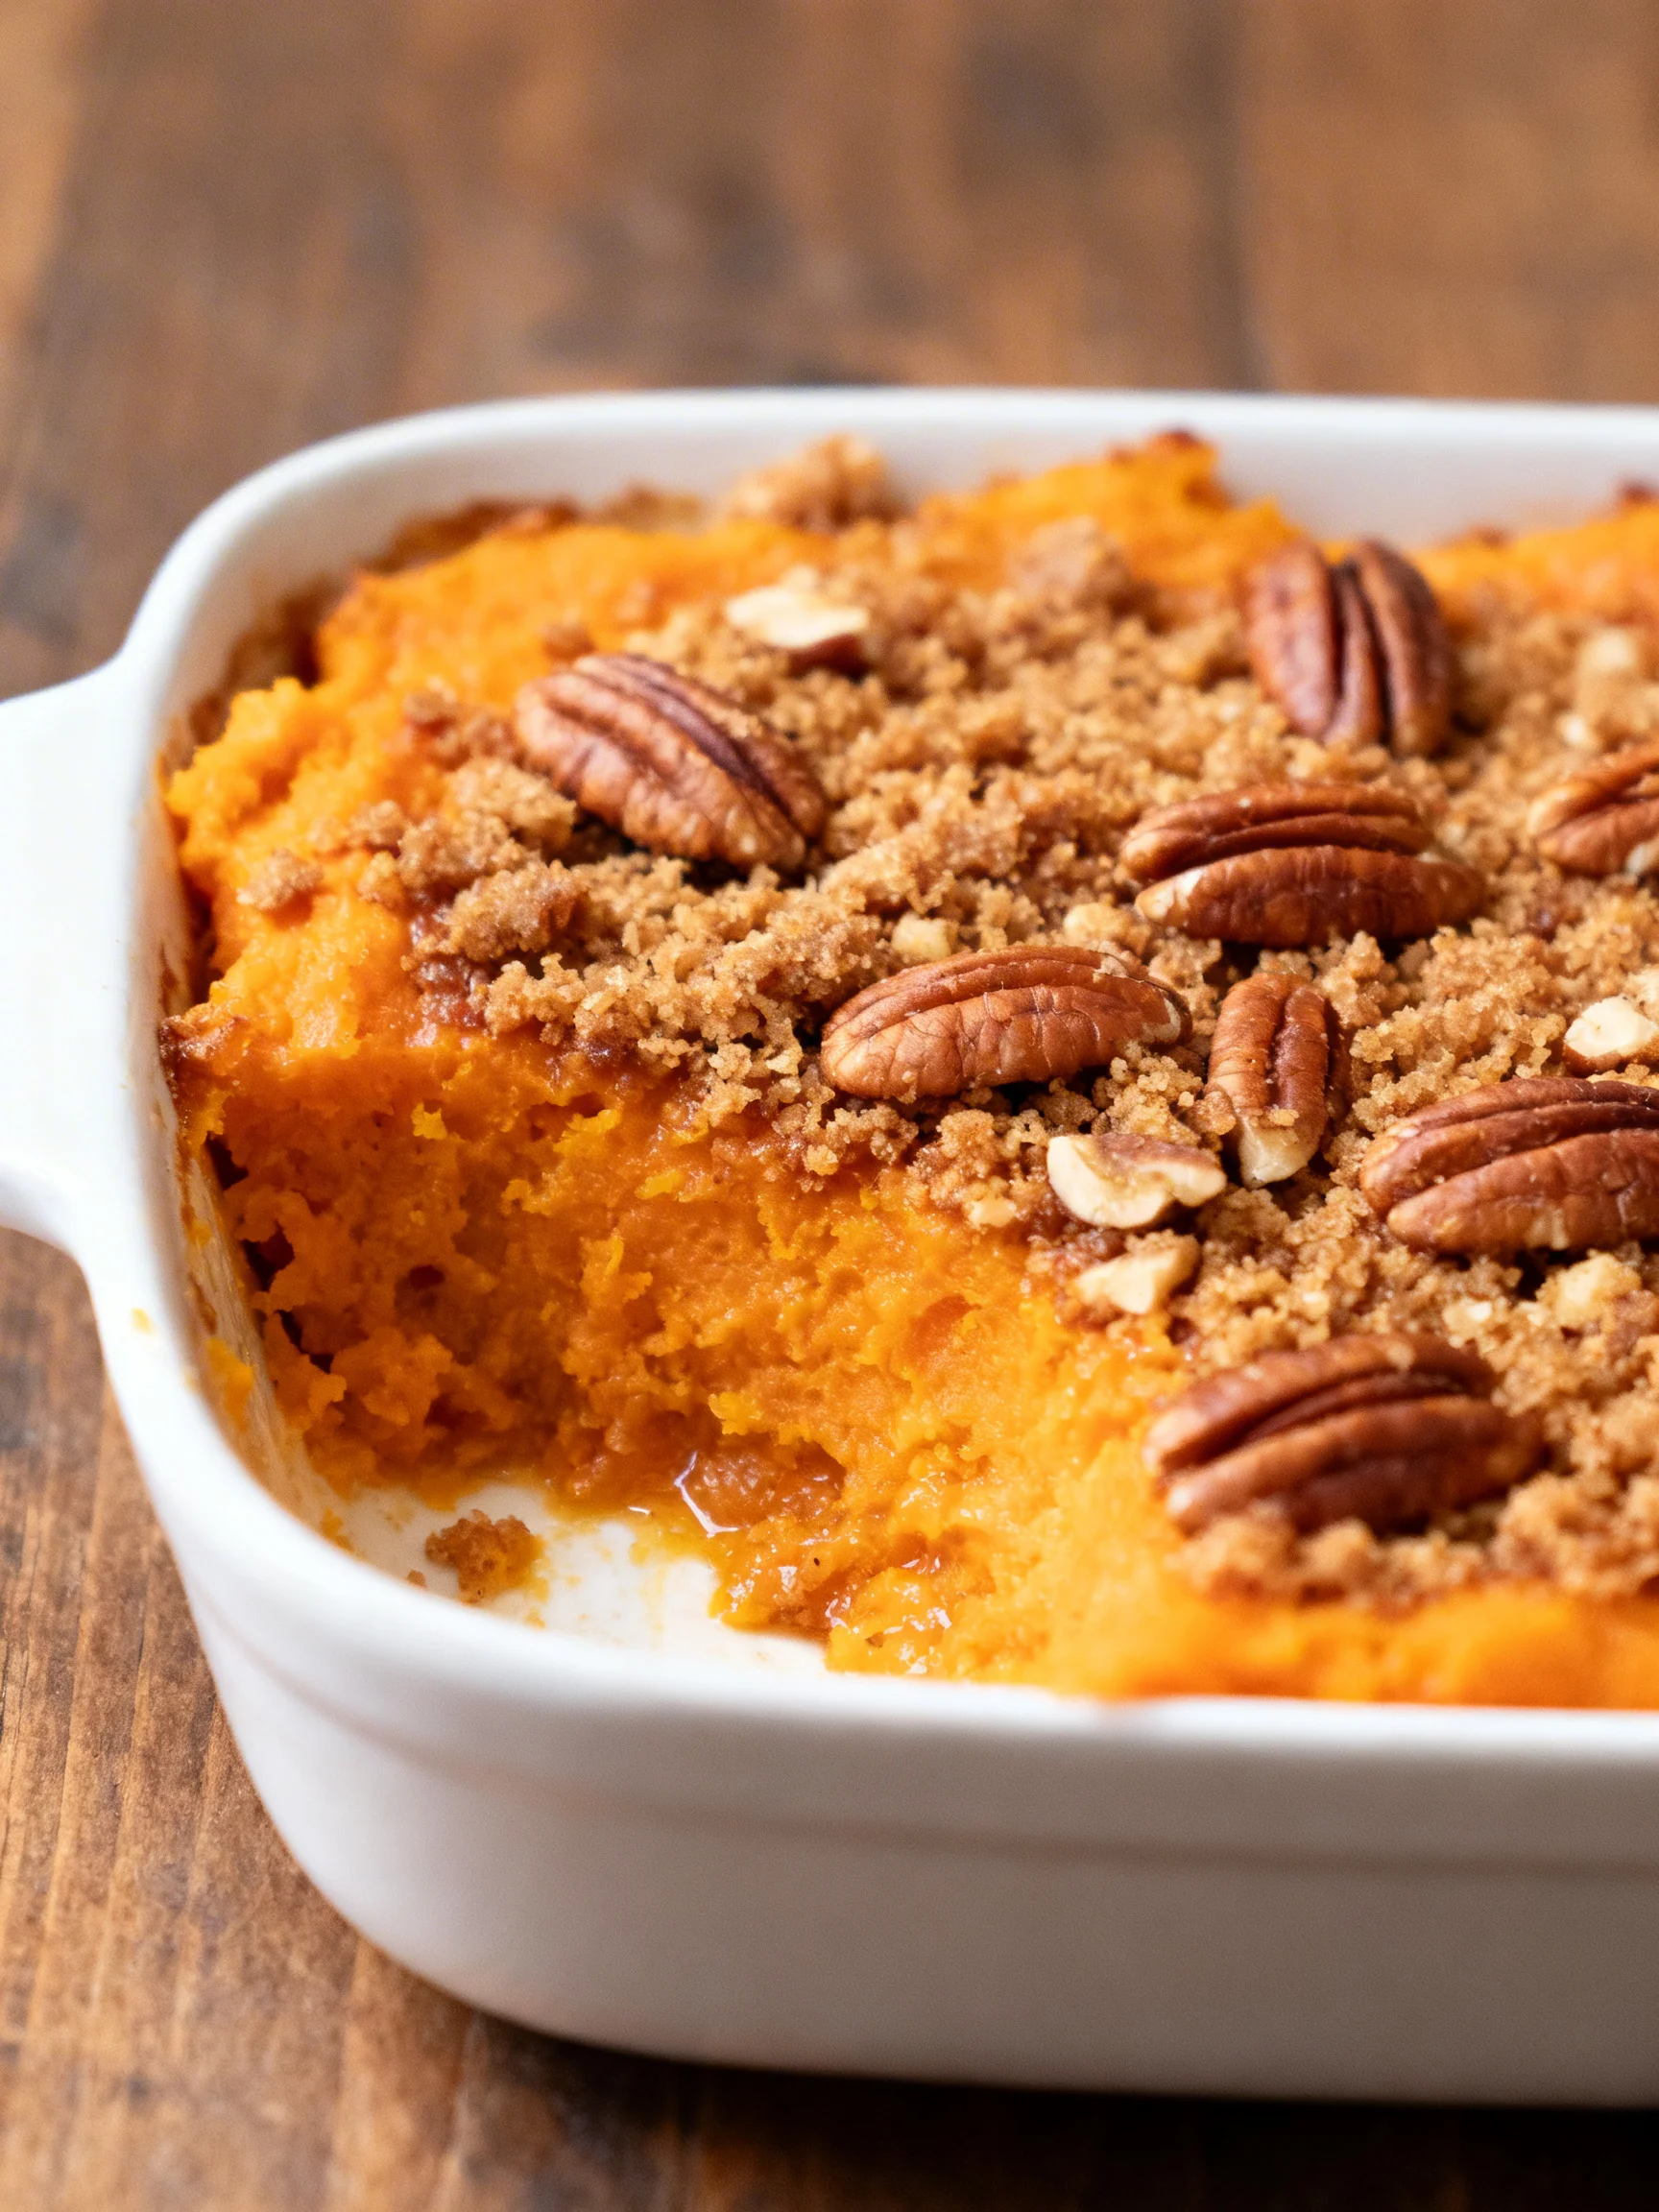
- Top with chopped pecans or a nut crumble instead of marshmallows — Provides healthy fats, crunch, and reduces refined sugar content.
- Reduce the brown sugar by 1/4 cup — The natural sweetness of roasted sweet potatoes often means you can use less added sugar without sacrificing flavor.
- Incorporate a mashed banana or applesauce — Adds natural sweetness and moisture, allowing for further reduction of butter or sugar.
- Use an egg white or aquafaba to lighten the filling — Creates a fluffier texture without adding extra fat.
Serving Suggestions
- Pair this classic casserole with savory mains like herb-roasted turkey, glazed ham, or a simple roasted chicken.
- For a festive brunch, serve alongside scrambled eggs, bacon, and buttermilk biscuits.
- Add a textural contrast by sprinkling toasted pecans or walnuts over the marshmallow topping just before serving.
- Drizzle with a little bourbon or rum caramel sauce for a sophisticated adult twist.
- Serve in individual ramekins for an elegant, portion-controlled presentation at holiday dinners.
- Complement the sweet and creamy flavors with a crisp, acidic side like a citrus and kale salad.
- A glass of sparkling cider, off-dry Riesling, or cold milk makes a perfect beverage pairing.
This easy sweet potato casserole is the quintessential centerpiece for a Thanksgiving or Christmas table, but its simplicity makes it a wonderful comfort food for any autumn or winter meal prep.
Common Mistakes to Avoid
- Mistake: Using undercooked sweet potatoes. Fix: Roast until fork-tender to avoid a lumpy, gritty filling. The pieces should mash effortlessly.
- Mistake: Adding marshmallows too early. Fix: Wait until the final 10-15 minutes of baking to prevent them from melting completely or burning.
- Mistake: Skipping the spice blend. Fix: The cinnamon and nutmeg are essential for depth; don’t omit them, as they balance the sweetness perfectly.
- Mistake: Overmixing the filling once the marshmallows are added. Fix: Gently fold in any additions to maintain a light texture.
- Mistake: Not letting the casserole rest before serving. Fix: Allow it to cool for 10 minutes so the filling sets, making it easier to scoop neatly.
- Mistake: Using a broiler for the topping. Fix: As noted in Step 7, baking at 350°F yields more evenly toasted, golden marshmallows with less risk of scorching.
- Mistake: Storing leftovers with the marshmallow topping sealed tightly. Fix: The topping will become soggy; see storing tips below for the best method.
Storing Tips
- Fridge: Cool completely, then cover the baking dish tightly with plastic wrap or transfer to an airtight container. Store for up to 4 days. For best quality, store the marshmallow topping separately if possible.
- Freezer: Freeze the cooled casserole base (without marshmallows) in a freezer-safe container for up to 3 months. Thaw overnight in the fridge before adding fresh marshmallows and baking as directed.
- Reheat: For single servings, microwave in 30-second intervals until warm. For the whole dish, cover with foil and reheat in a 325°F oven for 20-25 minutes, or until the internal temperature reaches 165°F. Add fresh marshmallows for the last 5-10 minutes to refresh the topping.
Following these storage methods ensures your leftover sweet potato bake retains its flavor and texture. The make-ahead-friendly nature of the filling makes this recipe a strategic choice for stress-free holiday meal prep.
Conclusion
This easy sweet potato casserole is a guaranteed crowd-pleaser that simplifies holiday prep without sacrificing flavor. Its creamy, spiced filling and perfectly toasted topping come together with minimal effort. For another simple, crowd-friendly dish, try this Easy Summer Peach Watermelon Salad Recipe. Give this recipe a try and share your results in the comments below!
Frequently Asked Questions
How many servings does this sweet potato casserole make?
This recipe yields about 12 standard side-dish servings. The serving count is based on using a 9×13 inch baking dish. You can easily halve the recipe for a smaller gathering by using an 8×8 inch dish and reducing the bake time slightly.
Can I use canned sweet potatoes or yams instead of fresh?
Yes, you can substitute two 29-ounce cans of drained sweet potatoes or yams. The flavor and texture will be slightly different, as roasted fresh potatoes have a deeper, caramelized taste. If using canned, reduce the brown sugar by 1/4 cup, as they are often packed in syrup.
Why is my sweet potato casserole filling too runny?
A runny filling is typically caused by undercooked sweet potatoes or adding too much liquid. Ensure your potatoes are roasted until completely fork-tender to evaporate excess moisture. If the mixture still seems loose after mashing, you can bake the base (Step 5) for an extra 5-10 minutes to help it set before adding the marshmallows.
PrintEasy Sweet Potato Casserole

Ingredients
- For the sweet potato filling:
- 4 large sweet potatoes (peeled and cut into large pieces)
- 1 cup light brown sugar
- ½ cup butter melted
- 1 teaspoon vanilla extract
- ½ teaspoon cinnamon
- ½ teaspoon salt
- ¼ teaspoon nutmeg
- For the marshmallow layer:
- 10 oz mini marshmallows
Instructions
- Peel the sweet potatoes and cut them into large chunks. Place them in a large saucepan and cover with water.
- Bring the water to a boil and cook the sweet potatoes until they are tender and easily pierced with a fork. They should be soft enough to fall apart easily.
- Drain the sweet potatoes and return them to the saucepan. Use a potato masher to mash them thoroughly.
- Add the rest of the filling ingredients: butter, brown sugar, salt, cinnamon, vanilla extract, and nutmeg. Mix everything together until well combined.
- Grease a 9×13-inch baking dish with cooking spray.
- Spread the sweet potato filling evenly in the prepared baking dish.
- Top with mini marshmallows, spreading them out in an even layer.
- Bake the casserole in a preheated oven at 350 degrees Fahrenheit for 25-35 minutes, or until it is bubbly and the marshmallows are golden brown on top. Watch closely towards the end to achieve the perfect golden brown color without burning.


