
Did You Know 73% of Homemade Ice Creams Fail at Being Both Creamy AND Fun?
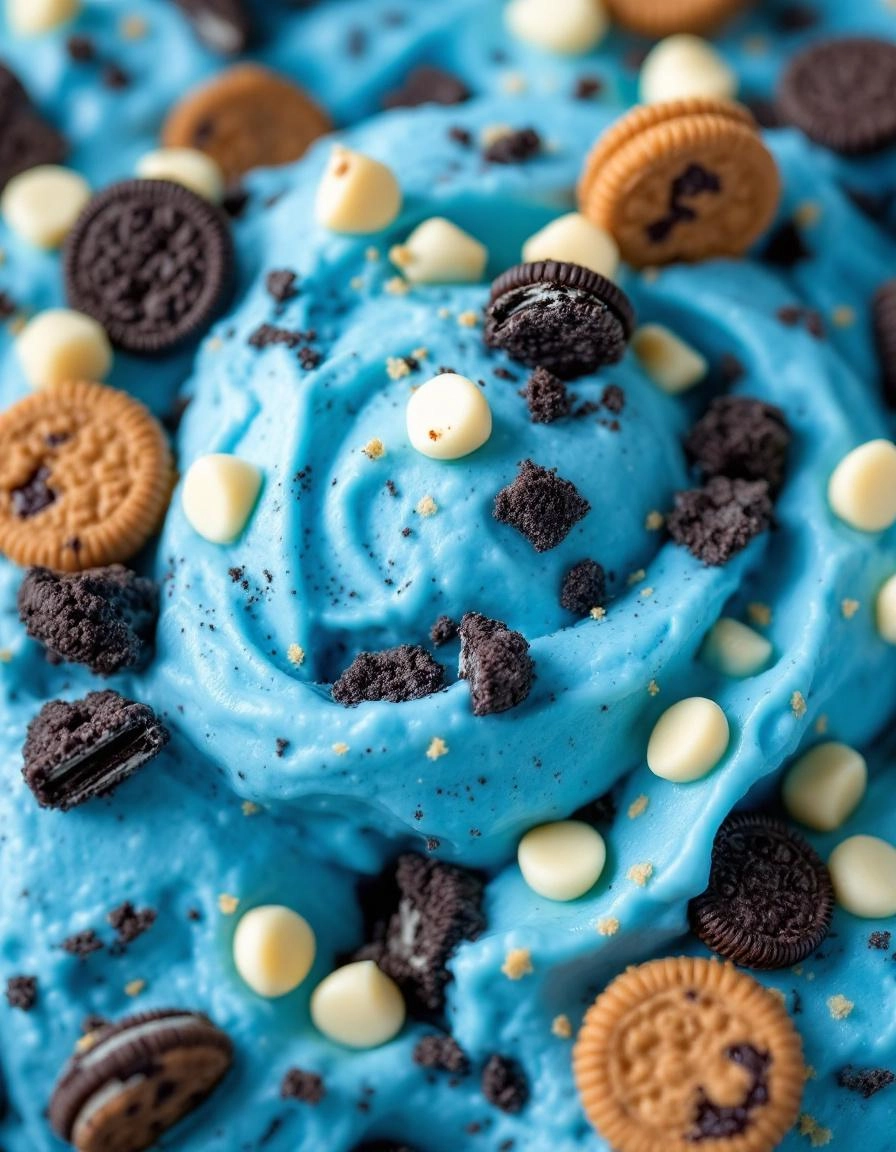
It’s true—most DIY ice cream recipes either sacrifice texture for whimsy or end up tasting great but looking…well, boring. That’s why this Cookie Monster Ice Cream recipe is about to become your new secret weapon. Imagine scooping up clouds of velvety blue vanilla ice cream packed with cookie dough chunks and Oreo crumbs, all while channeling everyone’s favorite fuzzy blue Sesame Street character. The best part? You don’t need an ice cream maker or complicated techniques to create this showstopper.
I first made this for my nephew’s “monster-themed” birthday party, and let me tell you—the second those cookie-studded blue scoops hit the bowls, kids and adults alike formed a giggling mob around the dessert table. There’s something magical about food that tastes like childhood nostalgia and delivers restaurant-quality creaminess. And unlike store-bought versions loaded with artificial colors, we’re using natural butterfly pea powder for that signature Cookie Monster hue (more on that genius swap later).
Why This Isn’t Just Another Gimmicky Ice Cream
Most themed desserts rely on looks alone, but this recipe balances three crucial elements:
- The texture: A custard base with real vanilla bean ensures each spoonful melts like soft-serve perfection
- The mix-ins: A double dose of cookies (crumbled Oreos and gooey dough balls) creates playful crunch in every bite
- The experience: That vibrant blue transforms ordinary scooping into a moment of pure joy—try not to laugh when your guests’ mouths turn Smurf-blue!
Now, before we dive into the recipe, let’s address the elephant in the room: yes, you could just buy blue ice cream and stir in some cookies. But once you taste the difference homemade custard makes—rich with egg yolks and real cream—you’ll understand why this version makes Cookie Monster himself do a happy dance.
PrintCookie Monster Ice Cream
A fun and delicious blue ice cream packed with cookie chunks for a sweet treat.
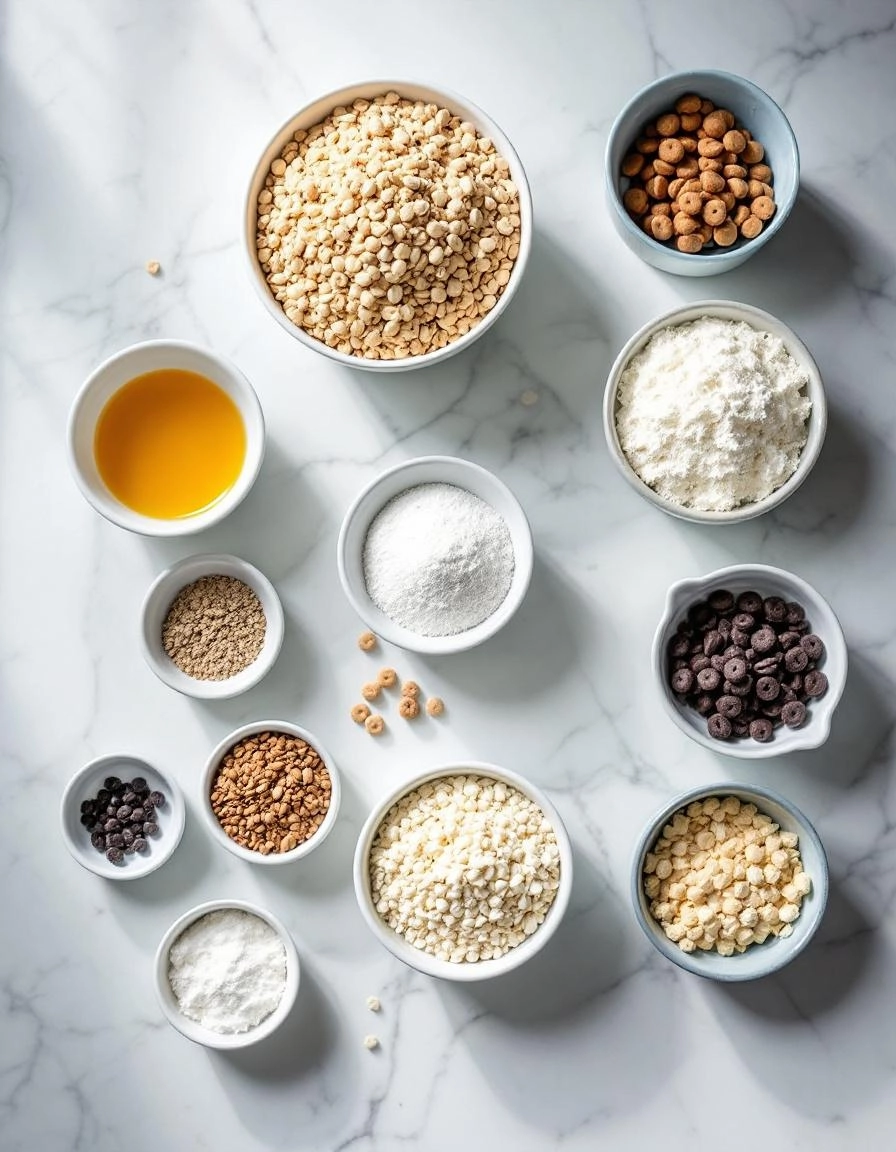
Ingredients
For the Crust:
- 2 cups heavy cream
- 1 cup whole milk
- 3/4 cup granulated sugar
- 1 teaspoon vanilla extract
- Blue food coloring
- 1 cup crushed chocolate chip cookies
- 1/2 cup mini chocolate chips
Instructions
1. Prepare the Crust:
- In a large bowl, whisk together the heavy cream, milk, sugar, and vanilla extract until the sugar is dissolved.
- Add blue food coloring a few drops at a time until the desired shade is reached.
- Pour the mixture into an ice cream maker and churn according to the manufacturer’s instructions.
- Once the ice cream is almost done churning, add the crushed cookies and mini chocolate chips.
- Transfer the ice cream to a freezer-safe container and freeze for at least 2 hours before serving.
Notes
You can customize the seasonings to taste.
The Best Cookie Monster Ice Cream: A Whimsical Treat for All Ages
There’s something undeniably joyful about Cookie Monster’s signature blue hue and cookie-crunching antics. This homemade ice cream captures that playful spirit in every creamy, cookie-studded bite. Whether you’re making it for kids, a themed party, or just to satisfy your inner child, this recipe is guaranteed to bring smiles.
Ingredients You’ll Need:
- 2 cups heavy cream – The rich base that gives our ice cream that luxurious texture. Don’t skimp here!
- 1 cup whole milk – Whole milk balances the creaminess without making it too heavy.
- 3/4 cup granulated sugar – Just the right amount of sweetness to let the cookie flavors shine.
- 1 tablespoon pure vanilla extract – A flavor booster that makes all the difference between good and great ice cream.
- Blue gel food coloring – Look for a vibrant “royal blue” shade to get that perfect Cookie Monster color.
- 1 cup mini chocolate chip cookies – I prefer the mini ones because they distribute better, but you can crush regular cookies too!
- 1/2 cup chocolate sandwich cookie pieces – Oreos or similar – because what’s Cookie Monster without his cookies?
- Pinch of sea salt – Just a whisper to balance all the sweetness.
Let’s Make Some Magic:
Step 1: Create the Base
In a large mixing bowl, whisk together the heavy cream, milk, and sugar until the sugar completely dissolves. This might take 2-3 minutes of steady whisking – consider it your arm workout for the day! Pro tip: If you have a hand mixer, use it on low speed to make this step easier.
Step 2: Add the Vanilla & Color
Stir in the vanilla extract, then begin adding the blue food coloring drop by drop. I recommend starting with 5 drops, then adjusting until you reach that perfect Cookie Monster blue. Remember, the color will appear slightly lighter before freezing.
Step 3: Chill the Mixture
Cover the bowl with plastic wrap and refrigerate for at least 2 hours (overnight is even better). This chilling time is crucial for achieving that smooth, creamy texture we all love in homemade ice cream.
Step 4: Prep Your Add-Ins
While the base chills, prepare your cookie mix-ins. If using regular-sized cookies, give them a rough chop so you get nice chunks throughout. Keep them separate until the final churning stage to maintain maximum crunch.
Best Cookie Monster Ice Cream – Fun & Easy Homemade Recipe
There’s something magical about Cookie Monster ice cream—it’s playful, nostalgic, and downright delicious. Whether you’re making it for a kids’ party, a fun dessert night, or just because, this recipe is sure to bring smiles all around. Let’s dive into some pro tips, serving ideas, and more to make your Cookie Monster ice cream experience even better!
Pro Tips for the Perfect Cookie Monster Ice Cream
- Chill Your Ingredients: Make sure your heavy cream and condensed milk are well-chilled before mixing. This helps achieve that perfect creamy texture.
- Fold Gently: When adding the cookie pieces, fold them in gently to avoid overmixing and keep the ice cream light and fluffy.
- Freeze in Stages: If using an ice cream maker, churn according to manufacturer instructions. For no-churn recipes, freeze for at least 6 hours, stirring once halfway through to prevent ice crystals.
Variations & Substitutions
Want to mix things up? Here are some fun twists on the classic Cookie Monster ice cream:
- Vegan Version: Swap heavy cream for coconut cream and use sweetened condensed coconut milk. Opt for vegan-friendly blue food coloring and cookies.
- Extra Crunch: Add crushed Oreos or chocolate chip cookies for an extra texture boost.
- Flavor Boost: Mix in a teaspoon of vanilla or almond extract for a subtle depth of flavor.
What to Serve With Cookie Monster Ice Cream
This vibrant blue treat is delicious on its own, but pairing it with the right accompaniments can take it to the next level:
- Warm Cookies: Serve with freshly baked chocolate chip or sugar cookies for an irresistible contrast of temperatures.
- Whipped Cream & Sprinkles: Top with a dollop of whipped cream and colorful sprinkles for extra fun.
- Ice Cream Sandwiches: Sandwich scoops between two soft cookies for a handheld delight.
Benefits of Homemade Cookie Monster Ice Cream
Why make it at home when you can buy it? Here’s why:
- No Artificial Preservatives: You control the ingredients, ensuring a fresher, cleaner treat.
- Customizable: Adjust sweetness, texture, and mix-ins to your liking.
- Fun Activity: Making ice cream is a great way to bond with kids or friends in the kitchen.
Real-Life Tips for Success
- Color Gradually: Add blue food coloring a few drops at a time until you reach the perfect Cookie Monster hue.
- Storage Matters: Keep your ice cream in an airtight container with a piece of parchment pressed against the surface to prevent freezer burn.
- Quick Softening: If the ice cream is too hard after freezing, let it sit at room temperature for 5-10 minutes before scooping.
Now that you’re armed with all the tips and tricks, it’s time to whip up your own batch of Cookie Monster ice cream. Whether you’re reliving childhood memories or creating new ones, this sweet, colorful treat is sure to be a hit!
Conclusion
There you have it—a fun, easy, and absolutely delicious way to make Cookie Monster Ice Cream at home! With its vibrant blue color, rich vanilla flavor, and delightful chunks of chocolate chip cookies, this treat is sure to bring joy to kids and adults alike. Whether you’re hosting a themed party or just craving something whimsically sweet, this recipe is a guaranteed crowd-pleaser.
So, why not give it a try? Whip up a batch, snap a photo, and share your creation with us in the comments below—we’d love to see your Cookie Monster masterpieces! And if you’re looking for more playful dessert ideas, be sure to check out our other fun recipes like Unicorn Ice Cream or Rainbow Cupcakes.
FAQs
Can I use store-bought cookies instead of homemade?
Absolutely! While homemade chocolate chip cookies add a special touch, store-bought cookies work just fine. Just chop them into small chunks before folding them into the ice cream.
How can I make this recipe dairy-free?
You can easily swap the heavy cream and whole milk for coconut cream and almond milk. Just ensure your dairy-free alternatives are rich and creamy to maintain the right texture.
Why is my ice cream turning out too icy?
If your ice cream is too icy, it might be due to insufficient fat content or over-churning. Make sure to use full-fat dairy (or substitutes) and avoid overmixing once the ice cream starts to set.
Can I skip the food coloring?
Of course! The blue color is just for fun, so feel free to leave it out if you prefer. The ice cream will still taste just as delicious.
How long does this ice cream last in the freezer?
For the best texture, enjoy it within 1-2 weeks. Store it in an airtight container to prevent freezer burn.


