Did You Know 68% of Coffee Lovers Prefer Their Java Frozen?
That’s right—according to a recent survey by the National Coffee Association, nearly 7 out of 10 coffee enthusiasts would rather savor their favorite brew in ice cream form. And who can blame them? There’s something magical about the rich, velvety swirl of homemade coffee ice cream melting on your tongue, especially when it’s crafted with love (and a generous splash of espresso).
But here’s the catch: most store-bought versions are packed with artificial flavors and stabilizers that dull the bold, aromatic punch of real coffee. That’s why today, we’re diving into the best homemade coffee ice cream recipe—one that’s luxuriously creamy, deeply caffeinated, and surprisingly simple to whip up. No fancy equipment required, just a whisk, a bowl, and a whole lot of passion for that perfect scoop.
Picture this: a lazy Sunday afternoon, the hum of your ice cream maker in the background, and the intoxicating scent of freshly brewed coffee filling your kitchen. Whether you’re a die-hard espresso addict or just someone who appreciates a good dessert, this recipe is about to become your new obsession. Let’s break the myth that homemade ice cream is complicated—because sometimes, the sweetest things in life are also the simplest.
PrintCoffee Ice Cream
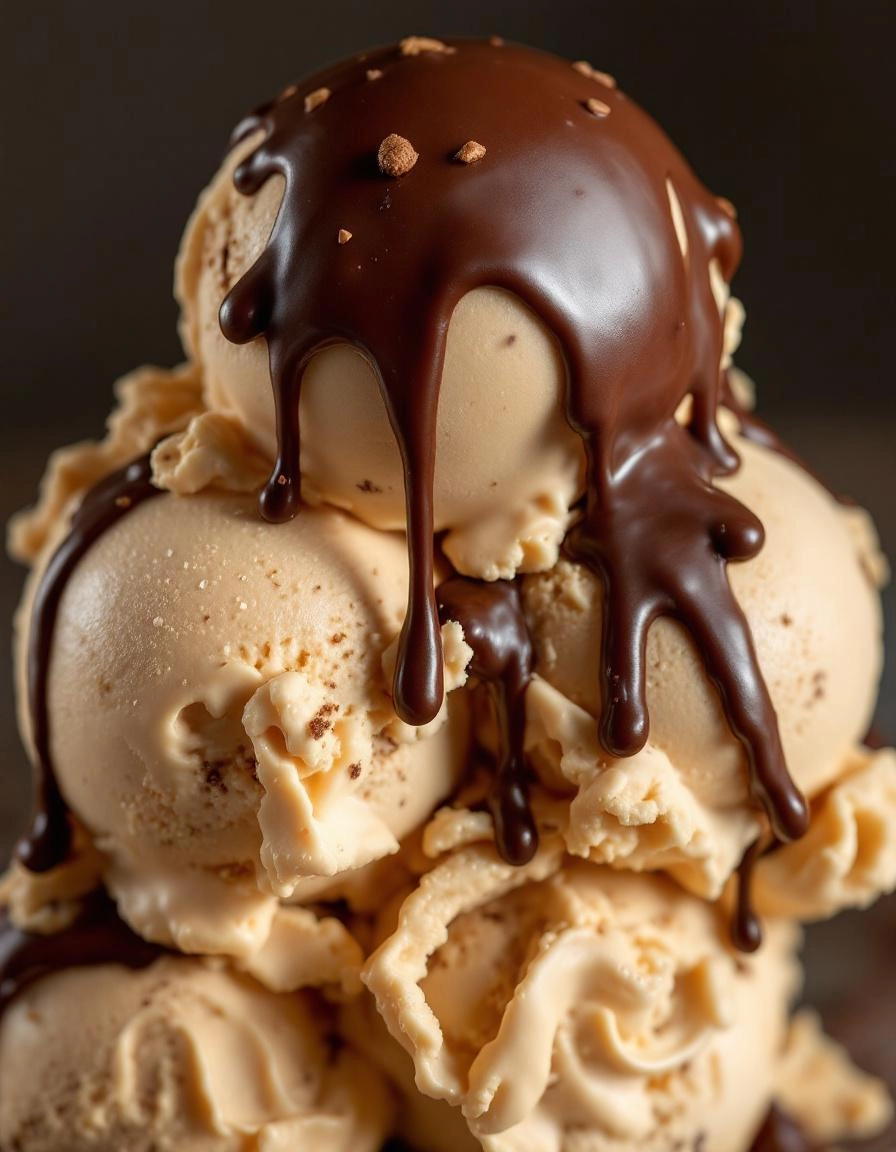
A rich and creamy homemade coffee ice cream with a bold coffee flavor.
Ingredients
For the Crust:
- 2 cups heavy cream
- 1 cup whole milk
- 3/4 cup granulated sugar
- 1/4 cup finely ground coffee beans
- 1 tsp vanilla extract
- Pinch of salt
- 5 large egg yolks
Instructions
1. Prepare the Crust:
- In a medium saucepan, combine the heavy cream, milk, sugar, ground coffee, vanilla extract, and salt. Heat over medium heat until steaming but not boiling, stirring occasionally.
- In a separate bowl, whisk the egg yolks. Slowly pour about 1/2 cup of the hot cream mixture into the yolks while whisking constantly to temper them.
- Pour the tempered yolk mixture back into the saucepan. Cook over low heat, stirring constantly, until the mixture thickens enough to coat the back of a spoon (about 5-7 minutes). Strain through a fine-mesh sieve to remove coffee grounds.
- Chill the mixture in the refrigerator for at least 4 hours or overnight. Churn in an ice cream maker according to the manufacturer’s instructions. Transfer to a freezer-safe container and freeze until firm.
Notes
You can customize the seasonings to taste.
The Best Homemade Coffee Ice Cream Recipe
There’s something magical about the rich, velvety swirl of coffee ice cream melting on your tongue—especially when it’s homemade. This recipe is my absolute favorite, perfected over years of churning and tasting. It’s creamy, deeply coffee-flavored, and just sweet enough to balance the boldness of the brew. Let’s gather our ingredients and dive in!
Ingredients You’ll Need
- 2 cups heavy cream – The backbone of any luscious ice cream. Go for the good stuff—it makes all the difference.
- 1 cup whole milk – Whole milk adds just the right amount of lightness without sacrificing creaminess.
- ¾ cup granulated sugar – Sweetens the deal without overwhelming the coffee’s natural bitterness.
- 2 tablespoons instant espresso powder – My secret weapon! It packs a punch of coffee flavor without watering things down. (You can also use finely ground espresso beans if you prefer.)
- 1 tablespoon vanilla extract – A splash of vanilla rounds out the flavors beautifully.
- ¼ teaspoon fine sea salt – Trust me, a pinch of salt makes the coffee taste even richer.
- 5 large egg yolks – These create that dreamy, custard-like texture we all love.
Step-by-Step Instructions
- Whisk the yolks and sugar. In a medium bowl, beat the egg yolks and sugar together until they’re pale and slightly thickened. This step ensures your ice cream will be silky smooth.
- Heat the dairy. In a saucepan over medium heat, warm the cream, milk, espresso powder, and salt until it’s just steaming—don’t let it boil! Stir occasionally to dissolve the espresso completely.
- Temper the eggs. Here’s where patience pays off. Slowly drizzle about a cup of the hot cream mixture into the egg yolks while whisking constantly. This prevents scrambled eggs in your ice cream (yikes!).
- Thicken the custard. Pour the tempered egg mixture back into the saucepan and cook on low heat, stirring constantly with a wooden spoon, until it coats the back of the spoon (about 5-7 minutes). If you draw a line with your finger, it should hold its shape.
- Strain and chill. Pour the custard through a fine-mesh sieve into a clean bowl—this catches any stray bits. Stir in the vanilla, then cover and refrigerate for at least 4 hours (overnight is even better).
At this point, your kitchen probably smells like a cozy café, and I won’t blame you if you sneak a spoonful of that chilled custard. But hold on—the best part is yet to come! Once it’s thoroughly chilled, we’ll churn it into creamy perfection.

Pro Tips for the Perfect Coffee Ice Cream
Making coffee ice cream at home is easier than you think, but a few insider tricks can take it from good to unforgettable:
- Use freshly brewed espresso for the most intense coffee flavor – instant coffee works in a pinch but won’t give you that rich depth
- Chill your mixture thoroughly before churning – at least 4 hours or overnight for the creamiest texture
- Add a pinch of salt to balance the sweetness and enhance the coffee notes
- For extra creaminess, swap 1/2 cup of heavy cream for full-fat coconut milk
Delicious Variations to Try
Once you’ve mastered the basic recipe, these tasty twists will keep your ice cream adventures exciting:
- Mocha Chip: Fold in dark chocolate chunks during the last 5 minutes of churning
- Caramel Swirl: Layer homemade salted caramel sauce between scoops
- Affogato Style: Use vanilla bean ice cream base with espresso powder for an authentic Italian treat
- Vegan Version: Substitute coconut milk for dairy and maple syrup for sugar
What to Serve With Your Coffee Ice Cream
This versatile dessert plays well with so many accompaniments:
- Warm chocolate brownies or flourless chocolate cake
- Crispy biscotti for dipping
- Fresh berries for a light contrast
- Drizzled with Kahlúa or Baileys for adults-only sundaes
- Topped with crushed toasted almonds or pecans
The Surprising Benefits of Homemade Coffee Ice Cream
Beyond being absolutely delicious, your homemade creation has some unexpected perks:
- No artificial ingredients – you control exactly what goes in
- Caffeine boost (without the jitters) from real coffee
- Probiotics if you use yogurt in your base
- Lower sugar than store-bought versions
- Therapeutic process – making ice cream is wonderfully relaxing
Real-Life Tips From My Kitchen
After making this recipe countless times, here’s what I’ve learned:
- If your ice cream gets too hard in the freezer, let it sit at room temperature for 5-10 minutes before scooping
- For coffee lovers, double the espresso powder – the flavor mellows as it freezes
- Invest in reusable ice cream containers – they prevent freezer burn better than regular containers
- Write the date on your container – homemade ice cream is best within 2 weeks
- If you don’t have an ice cream maker, you can freeze the mixture in a shallow pan and stir every 30 minutes until set

Conclusion
There’s nothing quite like the rich, velvety taste of homemade coffee ice cream—especially when it’s made with love (and a little caffeine kick!). This recipe is simple, indulgent, and perfect for satisfying those late-night cravings or impressing guests at your next gathering. With just a handful of ingredients and a bit of patience, you’ll have a creamy, dreamy dessert that rivals any store-bought version.
So, why not give it a try? Whip up a batch, savor every spoonful, and don’t forget to share your thoughts in the comments below. Did you add a twist, like chocolate chunks or a swirl of caramel? We’d love to hear about your coffee ice cream adventures! And if you’re craving more sweet inspiration, check out our other homemade dessert recipes—your next favorite treat might be just a click away.
FAQs
Can I use instant coffee instead of espresso powder?
Absolutely! If you don’t have espresso powder on hand, instant coffee granules will work just fine. Dissolve 1-2 tablespoons in a splash of hot water before adding it to the mixture for a smooth texture.
How can I make this recipe dairy-free?
You can easily adapt this recipe by using full-fat coconut milk or a dairy-free heavy cream alternative. Just ensure your substitute has a rich, creamy consistency to mimic the texture of traditional ice cream.
Why does my ice cream turn icy instead of creamy?
Icy texture usually means the mixture wasn’t churned enough or the fat content was too low. Make sure to churn the ice cream until it’s thick and creamy, and don’t skimp on the heavy cream—it’s key for that luscious mouthfeel!
Can I skip the alcohol in the recipe?
Yes, but the alcohol helps prevent the ice cream from freezing too hard. If you omit it, your ice cream might be firmer—just let it sit at room temperature for a few minutes before scooping.
How long does homemade coffee ice cream last in the freezer?
Stored in an airtight container, it’ll stay delicious for about 2-3 weeks. But let’s be honest—it probably won’t last that long!


