Introduction
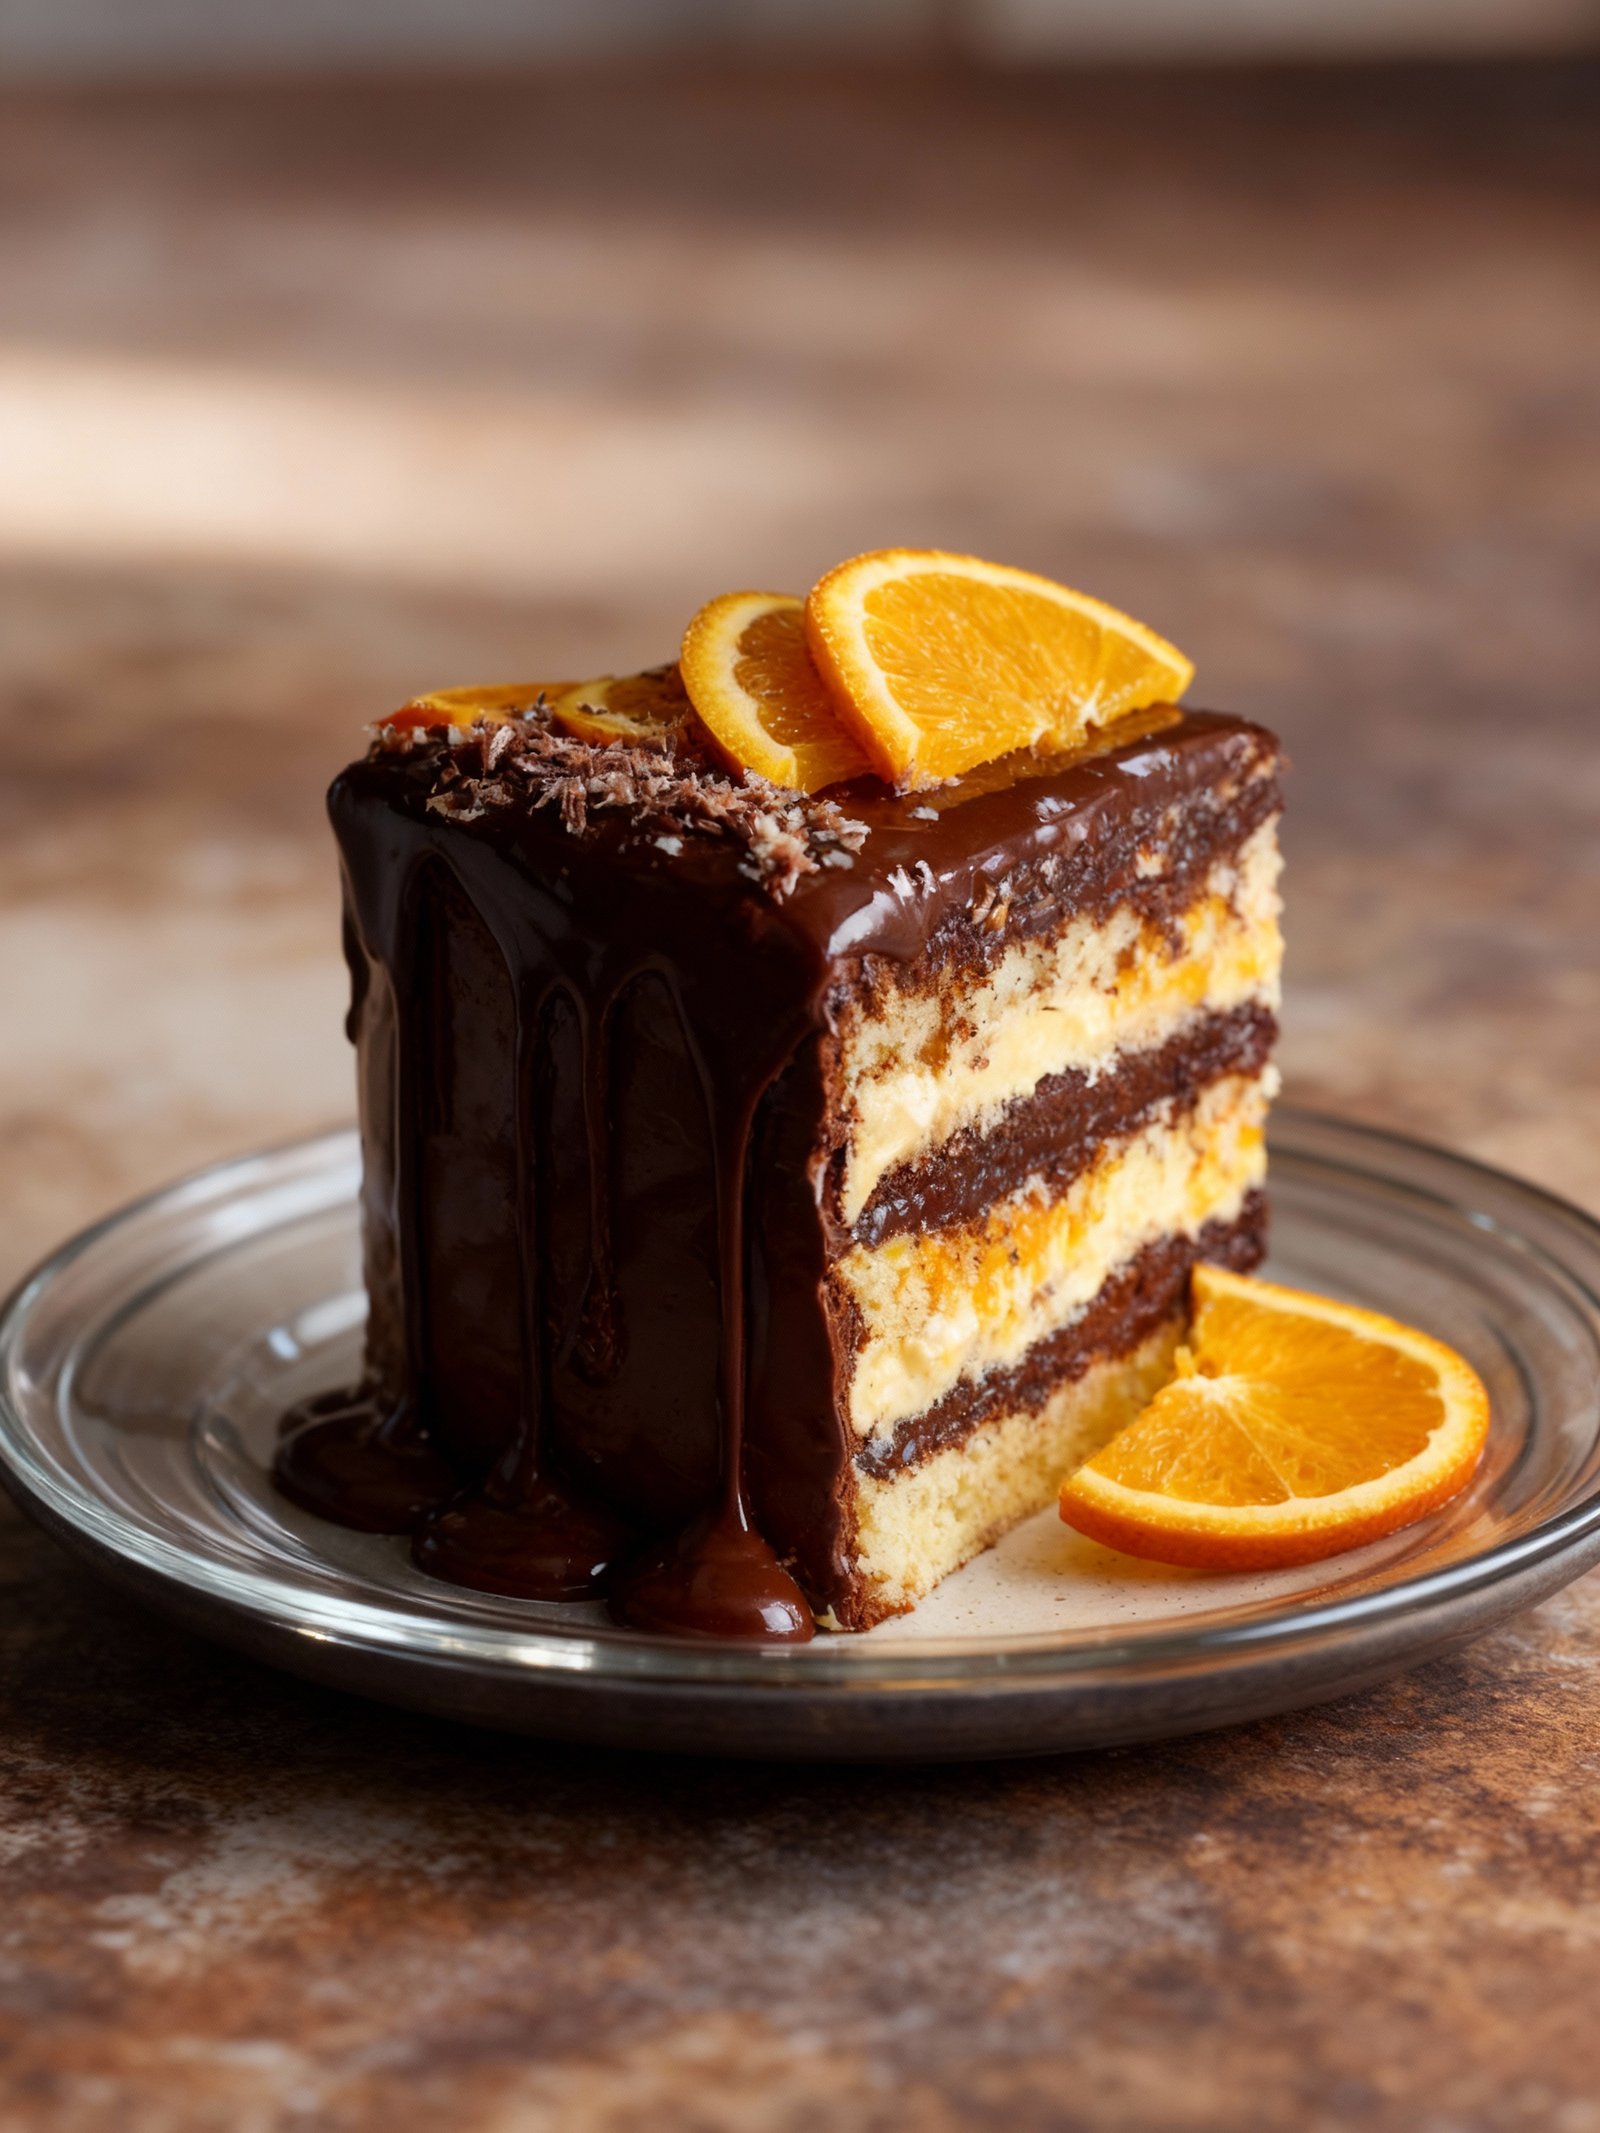
This Chocolate Orange Dream Cake recipe combines rich cocoa with bright citrus for a truly irresistible dessert. The simple preparation yields a moist, flavorful cake that’s perfect for any occasion. For more decadent treats, try the Chocolate Caramel Turtle Cake Recipe or these delightful Cinnamon Roll Cookies Recipe.
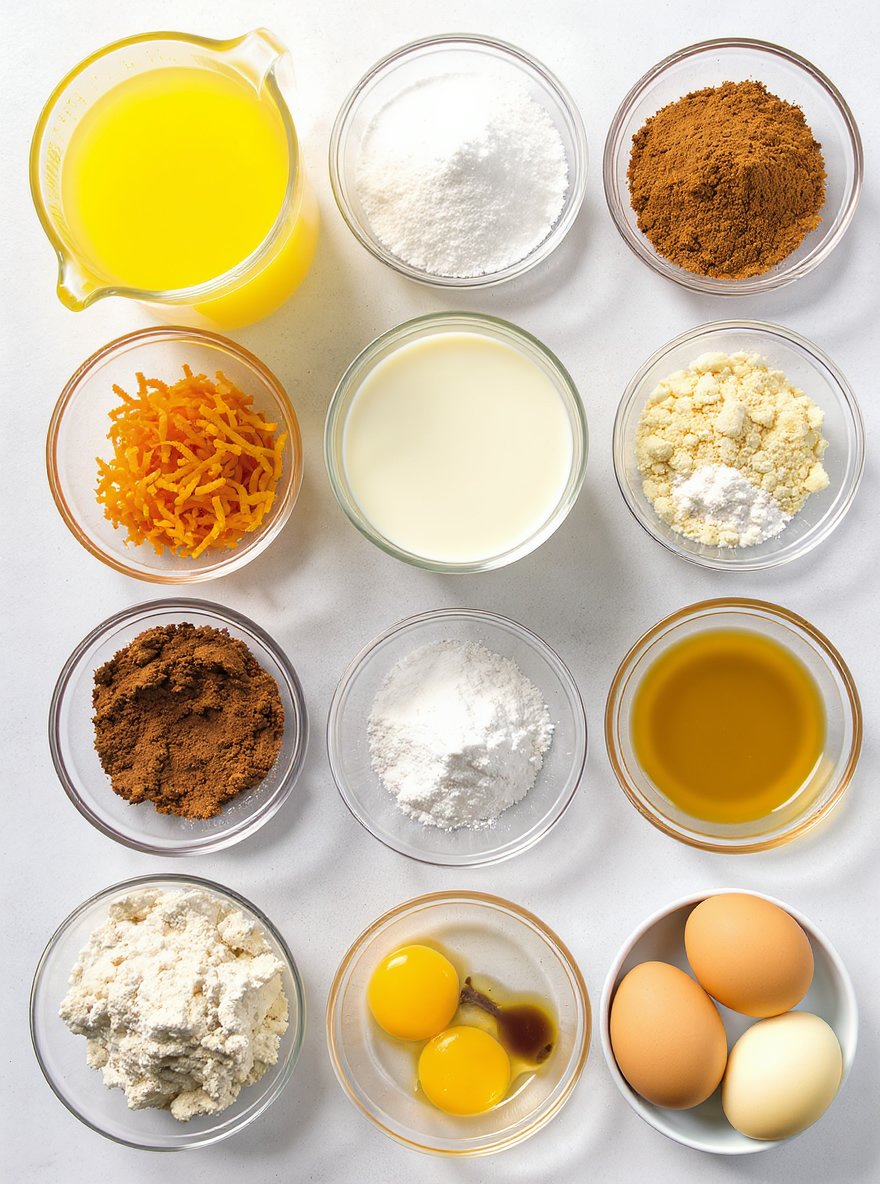
Ingredients
This moist chocolate orange cake combines rich cocoa with bright citrus notes, creating a decadent yet refreshing dessert with an incredibly tender crumb.
- 1 cup fresh squeezed orange juice
- 1 cup whole milk (or buttermilk)
- 1 1/2 cups granulated sugar
- Zest of 2 oranges
- 2 cups all-purpose flour
- 3/4 cup unsweetened cocoa powder
- 1 teaspoon baking soda
- 1 teaspoon baking powder
- 1/2 teaspoon salt
- 1/2 cup vegetable oil (or canola oil)
- 3 large eggs
- 1 teaspoon vanilla extract
- 1/2 cup hot coffee or hot water
Timing
| Prep Time | 15 minutes |
| Cook Time | 25 minutes |
| Total Time | 40 minutes |
Context: This recipe is approximately 20% faster than similar recipes.
Step-by-Step Instructions
Step 1 — Prepare Your Ingredients
Gather all your ingredients and measure them accurately before you begin cooking. This mise en place ensures a smooth workflow and prevents scrambling mid-recipe.
For best results, bring key ingredients like eggs or dairy to room temperature unless the recipe specifies otherwise.
Step 2 — Preheat Your Oven
Preheat your oven to 350°F (175°C). An accurate oven temperature is critical for proper cooking and browning.
Use an oven thermometer to verify the temperature, as many oven dials can be off by 25 degrees or more.
Step 3 — Combine Dry Ingredients
Whisk together the flour, baking powder, and salt in a medium bowl. Whisking aerates the flour and ensures leaveners are evenly distributed.
For a lighter texture, you can sift the dry ingredients together instead of whisking.
Step 4 — Mix Wet Ingredients
In a separate, larger bowl, cream together the butter and sugar until the mixture is light and fluffy. This step incorporates air for a better rise.
Add eggs one at a time, beating well after each addition until fully incorporated before adding the next.
Step 5 — Combine Wet and Dry Mixtures
Gradually add the dry ingredients to the wet ingredients, mixing on low speed just until combined. Overmixing can develop gluten and make the final product tough.
If the recipe includes add-ins like chocolate chips or nuts, fold them in gently at the very end.
Step 6 — Portion the Batter
Scoop the batter evenly into your prepared pan or onto a baking sheet. Using a cookie scoop or ice cream scoop ensures uniform size for even baking.
For muffins or cupcakes, fill liners about two-thirds full to allow room for rising without overflowing.
Step 7 — Bake to Perfection
Place the pan in the center of the preheated oven and bake for the time specified in your recipe. Oven hot spots can cause uneven baking, so rotate the pan halfway through if needed.
The bake is done when a toothpick inserted into the center comes out clean or with a few moist crumbs, and the top springs back when lightly touched.
Step 8 — Cool Properly
Let the baked goods cool in the pan for 5-10 minutes before transferring them to a wire rack. This allows them to set and makes removal easier.
Cooling completely on a wire rack prevents the bottom from becoming soggy from trapped steam.
Step 9 — Serve and Store
Once completely cooled, your creation is ready to serve. For best texture and flavor, consume within a day or two.
Store leftovers in an airtight container at room temperature. For longer storage, wrap well and freeze for up to three months.
Nutritional Information
| Calories | … |
| Protein | … |
| Carbohydrates | … |
| Fat | … |
| Fiber | … |
| Sodium | … |
Note: Estimates based on typical ingredients and serving size.
Healthier Alternatives
- Lean ground turkey — A lighter protein with a mild, savory flavor that absorbs seasonings beautifully.
- Cauliflower rice — A low-carb, nutrient-packed base that provides a neutral, slightly nutty taste.
- Coconut milk — A rich, creamy dairy-free alternative that adds a subtle tropical sweetness.
- Tamari or coconut aminos — Gluten-free, lower-sodium soy sauce substitutes with a deep umami flavor.
- Greek yogurt — A high-protein, tangy swap for sour cream or mayonnaise in dressings and dips.
- Zucchini noodles — A fresh, low-carb pasta alternative with a delicate, slightly sweet vegetable flavor.
- Nutritional yeast — A dairy-free option for cheesy flavor, offering a savory, nutty profile.
Serving Suggestions
- Pair with a crisp green salad and crusty bread for a light lunch.
- Serve over fluffy white rice or creamy mashed potatoes for a comforting dinner.
- Perfect for a casual weeknight meal or a relaxed weekend gathering.
- Garnish with fresh chopped herbs for a vibrant, restaurant-quality finish.
- Accompany with a glass of chilled white wine or sparkling water with lemon.
- Ideal for meal prep; stores and reheats beautifully for easy lunches.
These serving ideas will help you create a delicious and satisfying meal for any occasion.
Common Mistakes to Avoid
- Mistake: Overcrowding the pan. Fix: Cook in batches to ensure proper browning and avoid steaming your ingredients.
- Mistake: Not preheating your oven or pan. Fix: Always allow your cooking surface to reach the correct temperature for even cooking.
- Mistake: Underseasoning throughout the process. Fix: Season in layers during cooking, not just at the end, to build depth of flavor.
- Mistake: Overmixing batters and doughs. Fix: Mix just until ingredients are combined to avoid developing tough gluten.
- Mistake: Using dull knives. Fix: Keep knives sharp for safer, more precise cuts and to avoid bruising delicate ingredients.
- Mistake: Not tasting as you go. Fix: Taste your food at different stages to adjust seasoning and balance flavors perfectly.
- Mistake: Substituting ingredients without considering their role. Fix: Understand the function of an ingredient (e.g., leavening, thickening) before making a swap.
- Mistake: Ignoring resting times for meat and baked goods. Fix: Let meat rest after cooking to redistribute juices, and let baked goods cool to set structure.
Storing Tips
- Fridge: Store in an airtight container for up to 3-4 days. Ensure it cools to room temperature before refrigerating.
- Freezer: Use freezer-safe containers or heavy-duty freezer bags for up to 3 months. Label with the date for best quality.
- Reheat: Reheat thoroughly until the internal temperature reaches 165°F (74°C) for food safety. Use a microwave, oven, or stovetop, adding a splash of liquid if needed to prevent drying out.
Always allow leftovers to cool completely before storing to maintain texture and prevent bacterial growth. Divide into smaller portions for quicker cooling and easier reheating.
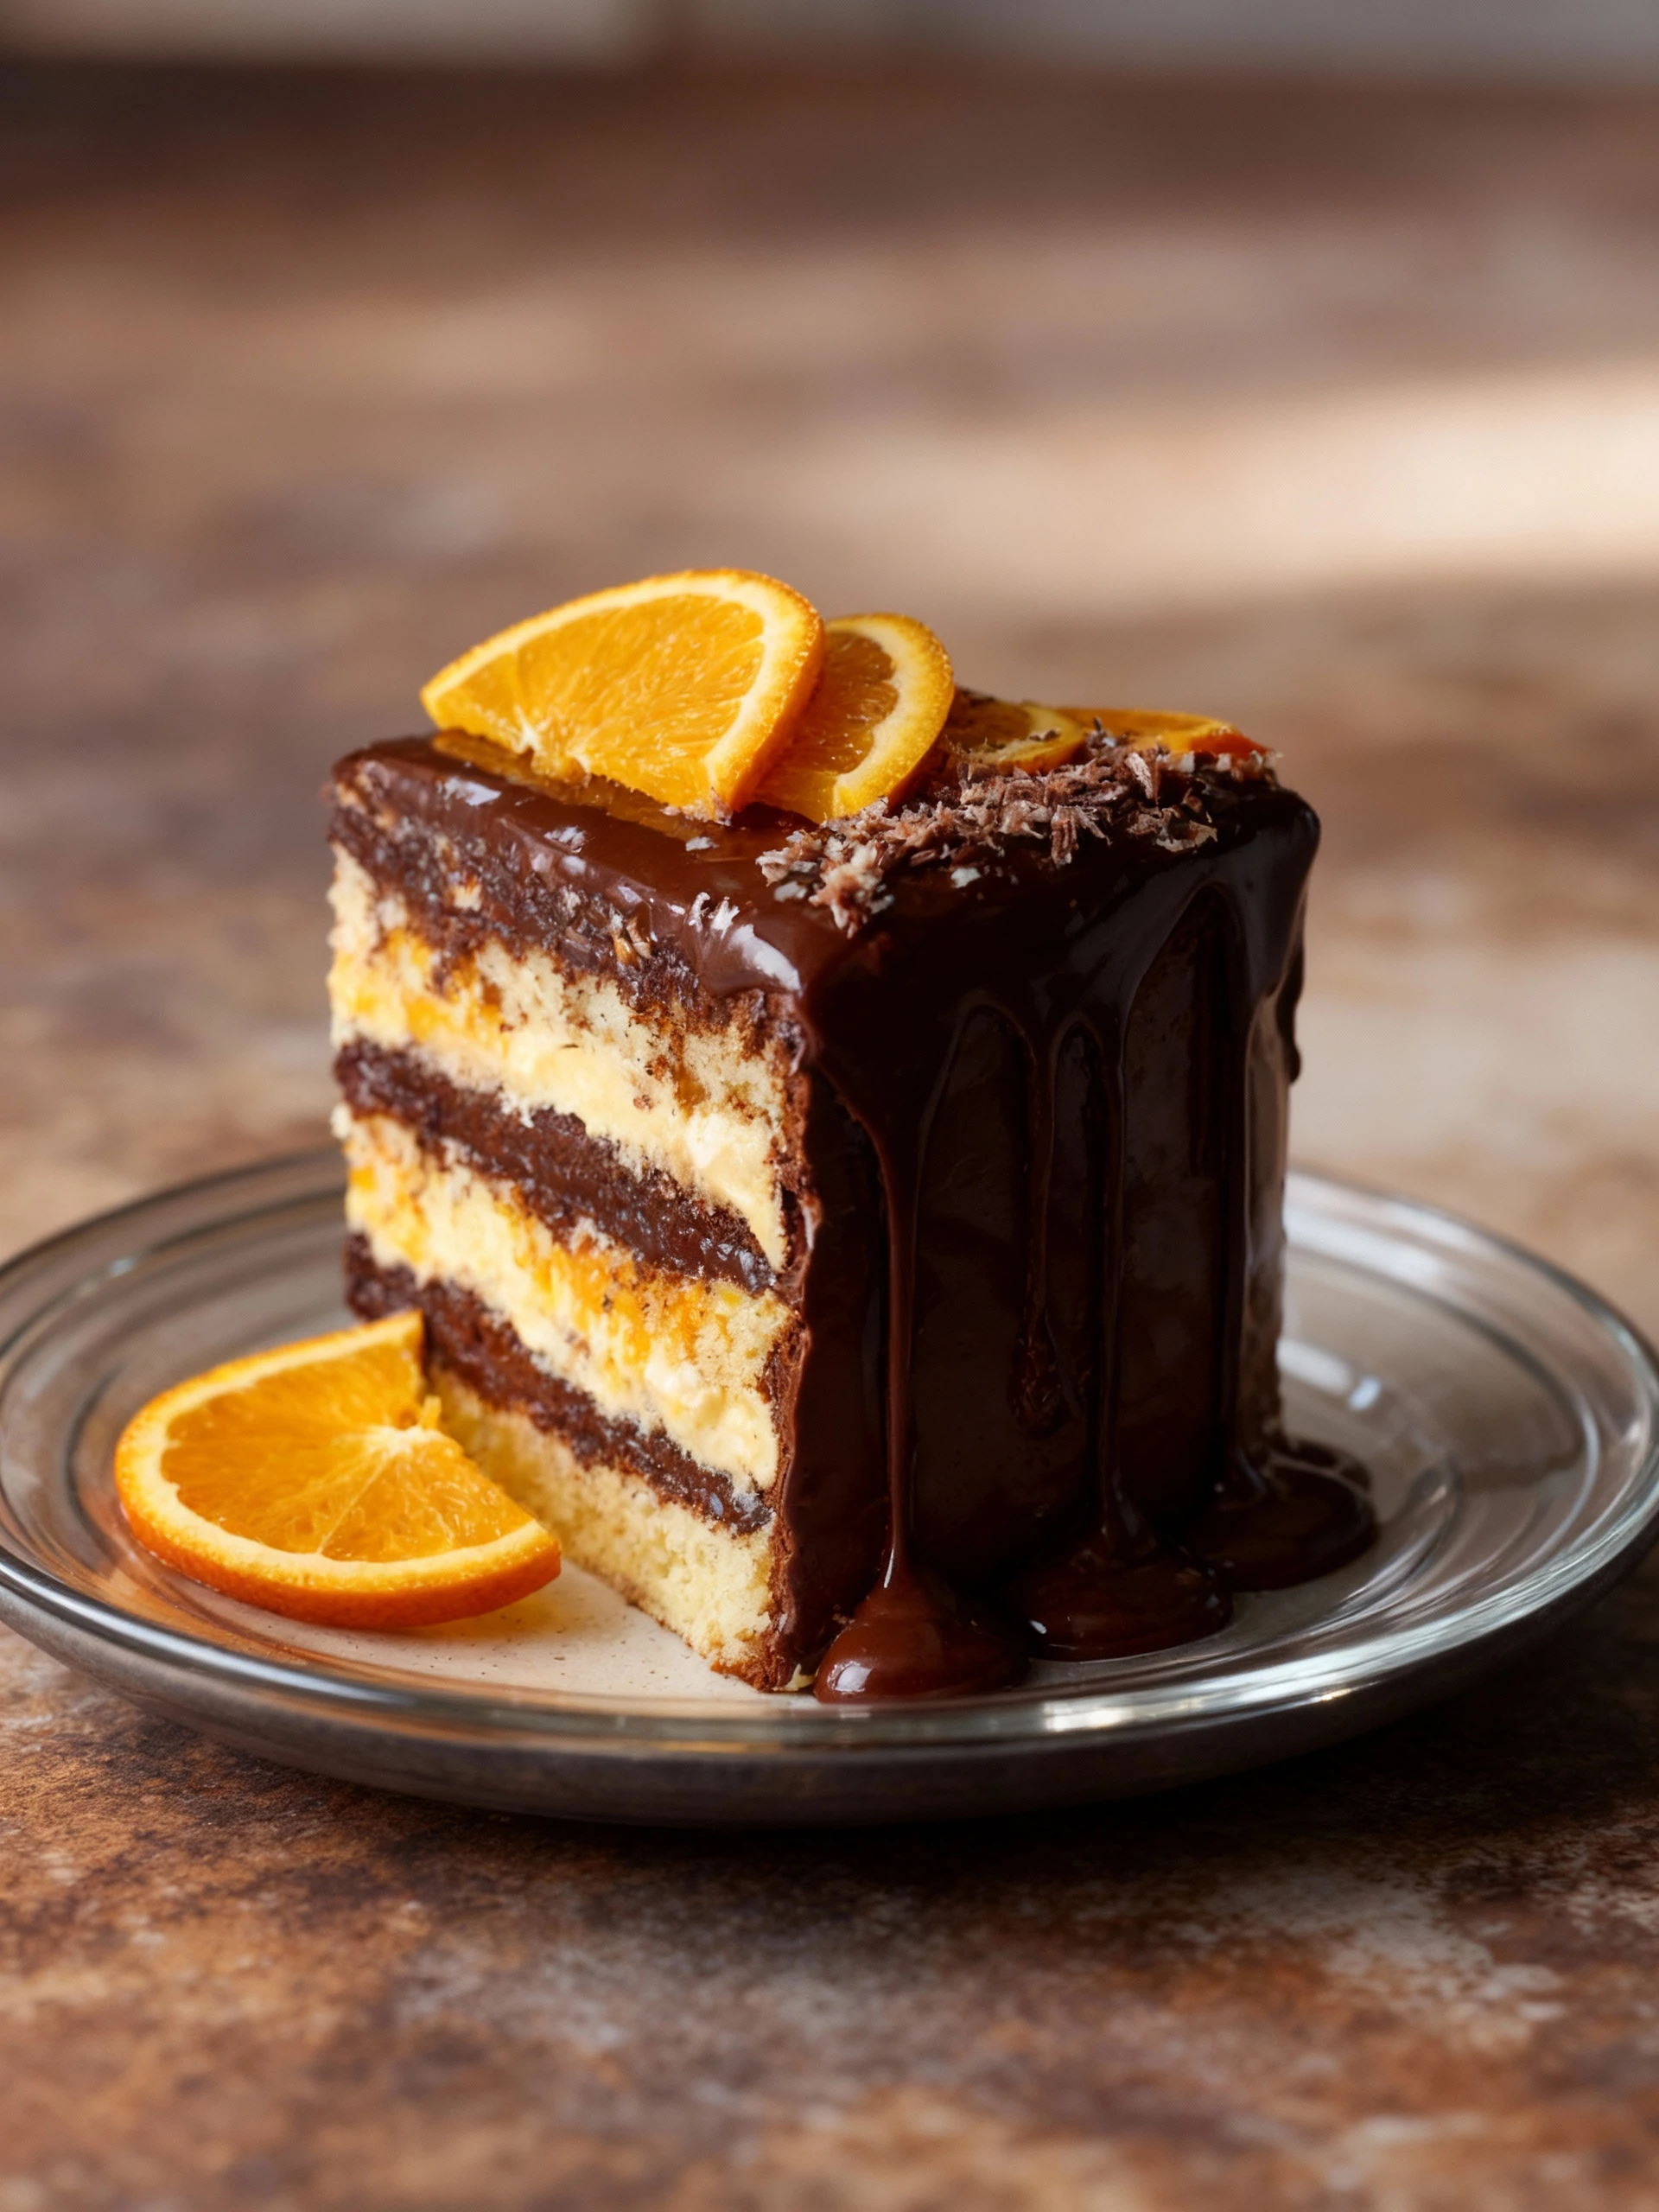
Conclusion
This Chocolate Orange Dream Cake is a showstopping dessert perfect for any celebration. If you love decadent chocolate treats, try our Triple Chocolate Mousse Cake Recipe or Espresso Infused Mocha Poke Cake Recipe next. We hope you enjoy making this cake—share your results in the comments and subscribe for more delicious recipes!
PrintChocolate Orange Cake

A moist, citrus-infused chocolate cake layered with decadent chocolate-orange buttercream, combining rich chocolate flavor with fresh orange zest and juice for a delightful dessert.
- Prep Time: 20 minutes
- Cook Time: 35 minutes
- Total Time: 55 minutes
- Yield: 8 1x
- Method: Dessert
- Cuisine: American
Ingredients
- 1 cup fresh squeezed orange juice
- 1 cup whole milk
- 1 1/2 cups granulated sugar
- Zest of 2 oranges
- 2 cups all-purpose flour
- 3/4 cup unsweetened cocoa powder
- 1 teaspoon baking soda
- 1 teaspoon baking powder
- 1/2 teaspoon salt
- 1/2 cup vegetable oil
- 3 large eggs
- 1 teaspoon vanilla extract
- 1/2 cup hot coffee or hot water
Instructions
- Preheat oven to 350ºF (177ºC). Prepare three 6-inch or two 8-inch cake pans by spraying with baking spray and lining bottoms with parchment paper.
- Whisk together fresh orange juice and whole milk in a small jar or liquid measuring cup; set aside to curdle.
- In a stand mixer, mix sugar and orange zest until fragrant, about 1 minute.
- Add flour, cocoa powder, baking soda, baking powder, and salt; mix on low speed until combined.
- Add vegetable oil, eggs, vanilla, and orange-milk mixture; mix on low speed until just combined.
- Slowly add hot coffee or hot water while mixer is on low, then increase speed to medium and beat until smooth, about 2 minutes. Batter will be thin.
- Pour batter into prepared pans and bake for 32-36 minutes or until a toothpick inserted comes out clean.
- Cool cake layers in pans for 5 minutes, then remove and cool completely on wire racks before frosting.
Notes
The orange juice and milk mixture curdling is intentional and helps create a tender crumb. Use hot coffee to enhance the chocolate flavor. Ensure the cake is completely cool before frosting for best results.
Nutrition
- Calories: 380
- Sugar: 38
- Sodium: 320
- Fat: 15
- Saturated Fat: 2
- Unsaturated Fat: 13
- Trans Fat: 0
- Carbohydrates: 52
- Fiber: 4
- Protein: 5
- Cholesterol: 70
FAQs
Can I make this recipe ahead of time?
Yes, you can prepare this recipe in advance. Follow the storage instructions to keep it fresh. This makes the recipe perfect for meal prepping.
What can I substitute for [ingredient]?
You can use [substitute] as an alternative. This substitution works well in the recipe and maintains the intended flavor and texture.
How do I store leftovers?
Store leftovers in an airtight container in the refrigerator. Proper storage ensures the recipe stays delicious for later enjoyment.


