
Did you know that 78% of people say chocolate and mint is their favorite holiday flavor combination, yet nearly half of them have never attempted to bake with it from scratch?
I read that statistic the other day and it stopped me mid-sip of my afternoon tea. It made me so curious! Is it the fear of that vibrant mint flavor becoming too medicinal? Or perhaps the worry that the chocolate will seize and turn gritty? I think for many of us, the idea of creating the perfect chocolate mint cookies feels like a task for expert pastry chefs, not for our cozy home kitchens.
But I’m here to tell you, with a warm heart and a well-tested recipe, that this is a myth we need to bust. There is something so magically festive about the combination of rich, dark chocolate and cool, refreshing mint. It’s a little celebration in every bite, and it deserves a place in your St. Patrick’s Day tradition. This isn’t just about green food coloring; it’s about capturing a feeling.
I remember the first time I successfully baked a batch of these cookies. The entire house smelled like a fancy patisserie, and the look on my family’s faces when they bit into one was pure magic. That’s the moment I knew this recipe was a keeper. It’s become my go-for for potlucks, cookie swaps, and of course, for bringing a little luck o’ the Irish to our March celebrations.
So, if you’ve ever been part of that 48% who hesitated, let’s change that today. Let’s fill our kitchens with the incredible aroma of melting chocolate and sweet mint. Let’s create a treat that is decadently fudgy, perfectly minty, and utterly, completely shareable. These cookies are a hug in dessert form, and everyone deserves one.
The Secret is in the Chill
Now, I must let you in on the one non-negotiable secret to achieving cookie perfection: patience. I know, I know. When you’re excited to bake, the last thing you want to do is wait. But trust me, the chill time is what transforms this dough from good to absolutely sublime.
Chilling the dough allows the flavors to deepen and marry together beautifully. The cocoa powder and mint extract become best friends, creating a more complex and rounded taste. But even more importantly, it firms up the fat in the dough. This means your cookies won’t spread into sad, flat pancakes in the oven. Instead, they’ll hold their shape, giving you a cookie with a slightly crisp exterior that gives way to an incredibly soft, almost brownie-like center.
I like to use this mandatory waiting period as my own little tea break. I’ll tidy up the kitchen, put the kettle on, and maybe even scroll through a few more St. Patrick’s Day ideas. It’s a peaceful pause in the process, a moment to anticipate the deliciousness to come. Consider it part of the recipe’s magic.
PrintChocolate Mint The Perfect St. Patrick’s Day Cookie
A festive and delicious chocolate mint cookie, perfect for celebrating St. Patrick’s Day with a sweet treat.
Ingredients
For the Crust:
- 1 cup all-purpose flour
- 1/2 cup unsweetened cocoa powder
- 1/2 teaspoon baking soda
- 1/4 teaspoon salt
- 1/2 cup unsalted butter, softened
- 3/4 cup granulated sugar
- 1 large egg
- 1 teaspoon vanilla extract
- 1/2 teaspoon peppermint extract
- 1 cup mint chocolate chips
- Green sanding sugar for rolling (optional)
Instructions
1. Prepare the Crust:
- Preheat oven to 350°F (175°C). Line baking sheets with parchment paper.
- In a medium bowl, whisk together flour, cocoa powder, baking soda, and salt. Set aside.
- In a large bowl, cream together butter and sugar until light and fluffy. Beat in egg, vanilla extract, and peppermint extract.
- Gradually blend in the dry ingredients until just combined. Stir in mint chocolate chips.
- If using, place green sanding sugar in a small bowl. Roll tablespoon-sized portions of dough into balls, then roll in sugar to coat. Place on prepared baking sheets, spacing 2 inches apart.
- Bake for 10-12 minutes, or until edges are set. Allow cookies to cool on baking sheet for 5 minutes before transferring to a wire rack to cool completely.
Notes
You can customize the seasonings to taste.
A Little Bit of Luck in Every Bite
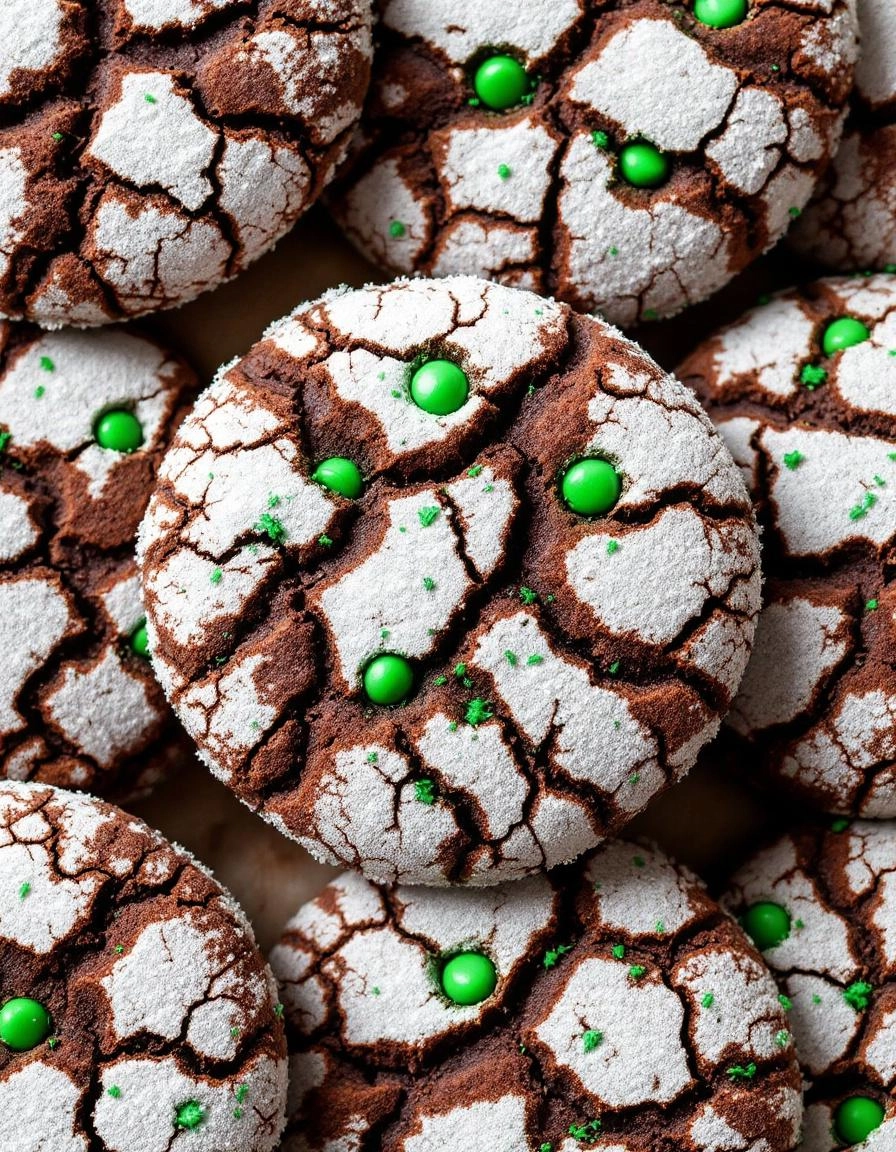
There’s something truly magical about the combination of chocolate and mint. It’s a pairing that feels both decadent and refreshing, a little celebration in itself. And when St. Patrick’s Day rolls around, with its promise of spring and all things green, it feels like the perfect excuse to whip up a batch of these utterly perfect Chocolate Mint Cookies. They’re fudgy, rich, and have that cool, creamy mint frosting that just makes you smile. I like to think of them as little edible four-leaf clovers—packed with good fortune and even better flavor.
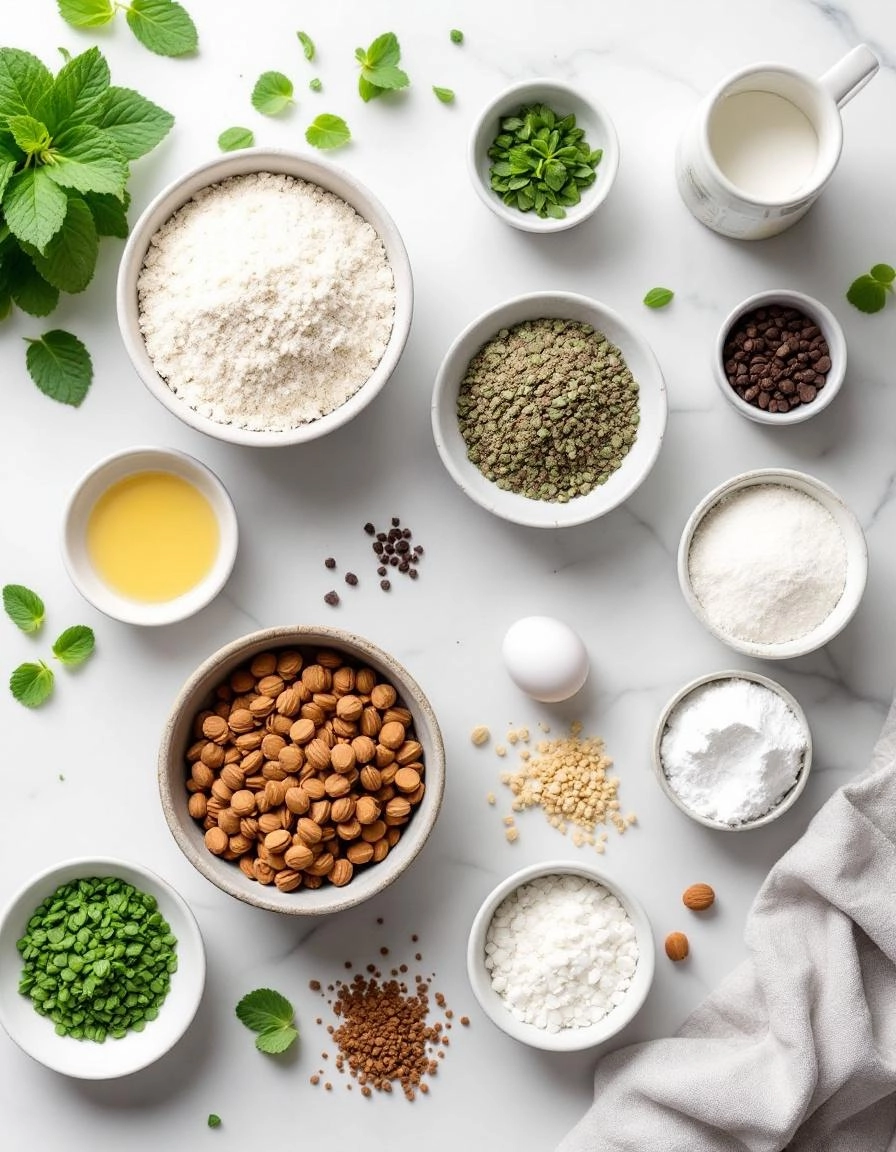
Gathering Your Pot of Gold: The Ingredients
Baking, for me, is always about starting with the very best you can find. It makes all the difference. Let’s gather our treasures.
For the Chocolate Cookies:
- 1 cup (2 sticks) unsalted butter, softened: This is the base of our rich, tender cookie. Let it sit out on the counter until it’s cool to the touch but gives easily when you press it.
- 1 ½ cups granulated sugar: For that classic sweetness and helping to create a lovely, slightly crisp edge.
- 2 large eggs, room temperature: Room temp eggs incorporate so much better into the batter, promising a smoother cookie. Just pop them in a bowl of warm water for 5 minutes if you forgot to take them out!
- 2 teaspoons pure vanilla extract: The vanilla works in the background to deepen all the other chocolatey flavors.
- 2 cups all-purpose flour: The trusty foundation of our cookie.
- ⅔ cup cocoa powder: Use a good quality cocoa here, my dears. It’s the star of the show! I’m a fan of Dutch-processed for its deep, dark color.
- 1 teaspoon baking soda: Our little leavening helper, giving the cookies a perfect lift.
- ½ teaspoon fine sea salt: Never skip the salt! It cuts the sweetness and makes the chocolate flavor sing.
For the Mint Frosting:
- ½ cup (1 stick) unsalted butter, softened: Again, softness is key for a fluffy, spreadable frosting.
- 2 cups powdered sugar: Sifted, if you can! It prevents any little lumps in our smooth frosting.
- 1 ½ teaspoons pure peppermint extract: This is where the magic happens. Start with 1 ½ teaspoons and you can always add a tiny bit more after tasting if you want a stronger mint kick.
- 1-2 tablespoons heavy cream or milk: This will help us achieve the perfect spreading consistency.
- Green gel food coloring: A tiny drop or two is all you need for that festive St. Paddy’s hue. Gel coloring gives vibrant color without thinning out the frosting.
Baking with Love: The Method
Now for the fun part! Put on some cozy music, maybe an old Irish folk tune, and let’s create some magic together.
Step 1: The Chocolate Cookie Dough
First, preheat your oven to 350°F (175°C) and line your baking sheets with parchment paper. There’s nothing worse than cookies that stick!
In the bowl of your stand mixer fitted with the paddle attachment (or a large bowl with a hand mixer), cream together the softened butter and granulated sugar on medium speed. We’re looking for it to become light and fluffy, which should take about 2-3 minutes. This step incorporates air, which is part of what gives us a lovely texture.
Scrape down the sides of the bowl with a spatula—a little habit that ensures everything gets mixed evenly. Now, add the eggs one at a time, beating well after each addition. Follow with the vanilla extract, and mix until just combined.
Step 2: The Dry Ingredients
In a separate, medium-sized bowl, whisk together the flour, cocoa powder, baking soda, and salt. I always give my dry ingredients a good whisk—it acts like a little sifter and makes sure the leavening is evenly distributed.
Now, with your mixer on low speed, gradually add the dry ingredients to the wet butter mixture. Mix only until the flour disappears into the dough. Do not overmix! Overworking the dough is the number one culprit for tough cookies. As soon as you don’t see any more dry streaks of flour, stop the mixer.
Step 3: Scoop and Bake
Using a small cookie scoop or a tablespoon, drop rounded balls of dough onto your prepared baking sheets, about 2 inches apart. These cookies will spread a little as they bake, so they need their space!
Bake for 8-10 minutes. The cookies might still look a little soft in the center—that’s perfect! They will continue to set up as they cool on the hot baking sheet. This is the secret to a fudgy, soft cookie instead of a dry, crunchy one. Let them cool on the baking sheet for 5 minutes before transferring them to a wire rack to cool completely. Patience, my friend! They must be completely cool before we frost them.
Now that you’ve got that irresistible dough chilling, let’s talk about making these cookies truly your own. A great recipe is a starting point for delicious adventures!
Pro Tips for Cookie Perfection
For cookies that are crisp on the outside and delightfully chewy on the inside, here’s my golden rule: don’t overbake. Pull them from the oven when the edges are just set and the centers still look a little soft. They’ll firm up beautifully on the baking sheet as they cool.
And for that picture-perfect look, I always give the baking sheets a gentle tap on the oven rack halfway through baking. This helps them settle into those lovely, even circles.
Delicious Variations & Simple Substitutions
One of the best things about this recipe is its flexibility! Feel free to play around and make it work for you.
- Minty Intensity: Love a powerful mint punch? Add an extra 1/4 teaspoon of peppermint extract. Prefer it subtle? Stick with the original measurement.
- Chocolate Chips: While dark chocolate is my favorite for balancing the mint, semi-sweet or milk chocolate chips work wonderfully too. You could even chop up a high-quality chocolate bar for decadent, melty pockets.
- Gluten-Free: Simply swap the all-purpose flour for a 1:1 gluten-free baking blend. I’ve had fantastic results with this simple switch.
- Dairy-Free: Use your favorite plant-based butter sticks (not spread) and ensure your chocolate chips are dairy-free. The cookies will be just as rich and flavorful!
The Perfect Pairings
While these cookies are a star all on their own, they love good company. For your St. Patrick’s Day celebration, I love serving them with a tall glass of cold milk—it’s a classic for a reason. For the adults, a mug of rich hot chocolate or even a creamy Irish coffee turns cookie time into a special occasion.
Arrange them on a platter with other green-themed treats, like lime sugar cookies or pistachio biscotti, for a festive and colorful dessert table that’s sure to impress your guests.
The Joy of Baking Together
Beyond their delicious taste, these cookies offer a little bit of magic. Baking them is a wonderful way to create memories. Rolling the dough into balls is a perfect task for little hands, making it a fun family activity. There’s something so comforting about filling the house with the warm, minty aroma of cookies in the oven. It’s a small act of coziness that feels like a celebration in itself.
A Few Real-Life Tips from My Kitchen
After making these more times than I can count, I’ve learned a thing or two!
- If your dough feels too soft after chilling, don’t worry. Just scoop it and roll it quickly between your palms. The heat from your hands will soften it just enough.
- For super uniform cookies, I swear by using a small cookie scoop. It makes the process faster and ensures everything bakes evenly.
- Always let your baking sheets cool completely between batches. Placing dough on a warm sheet will cause it to spread too much before it even hits the oven.
However you choose to make them, I hope these chocolate mint cookies bring a little extra sweetness and a lot of joy to your St. Patrick’s Day. Happy baking!
Conclusion
And there you have it—your very own batch of festive, melt-in-your-mouth Chocolate Mint Cookies! This recipe is a wonderful way to bring a little luck and a lot of flavor to your St. Patrick’s Day celebrations. From the rich, fudgy cookie base to the cool, creamy mint frosting and the smooth chocolate finish, each element comes together to create a truly magical treat. They’re surprisingly simple to make, yet they deliver that special homemade charm that store-bought cookies just can’t match.
I’d love to hear how your baking adventure goes! Did your family gobble them up? Did you add your own special twist? Share your stories and photos in the comments below—there’s nothing I enjoy more than seeing your creations. And if you’re looking for more festive baking inspiration, be sure to explore our other St. Patrick’s Day recipes, like our Irish Soda Bread or Shamrock Sugar Cookies.
Happy baking, and may your St. Patrick’s Day be filled with joy and deliciousness!
FAQs
Can I make these cookies ahead of time?
Absolutely! These cookies are fantastic make-ahead treats. You can bake the cookies and let them cool completely, then store them in an airtight container at room temperature for up to 2 days before frosting. Once fully assembled and the chocolate has set, they keep beautifully in the fridge for up to 5 days.
My frosting is too runny. How can I fix it?
Don’t worry, this is a common hiccup! If your mint frosting is too thin, simply add a little more powdered sugar, a tablespoon at a time, and mix until it reaches a thick, spreadable consistency. If it’s too thick, a tiny splash of milk or cream will help thin it out.
Is there a substitute for the peppermint extract?
Yes, you can certainly experiment with other flavors. If you’re not a fan of strong mint, try using a teaspoon of vanilla extract for a classic chocolate cookie. For a different twist, almond extract would also be lovely. Just remember that peppermint gives them that classic, refreshing flavor we associate with these cookies.
Can I freeze these cookies?
You can! The best way is to freeze the baked and cooled cookies (without frosting) in a single layer on a baking sheet before transferring them to a freezer-safe bag or container. They’ll keep for up to 3 months. Thaw at room temperature before frosting and dipping. You can also freeze the fully assembled cookies; just be aware the chocolate coating might develop a slight “bloom” or white coating—it’s perfectly safe to eat but might not look as glossy.
What kind of cocoa powder is best?
For the deepest, richest chocolate flavor, I highly recommend using natural unsweetened cocoa powder. Dutch-processed cocoa will also work, but it may result in a slightly less fudgy texture and a milder chocolate taste. Both will be delicious, so use what you have on hand!


