Introduction
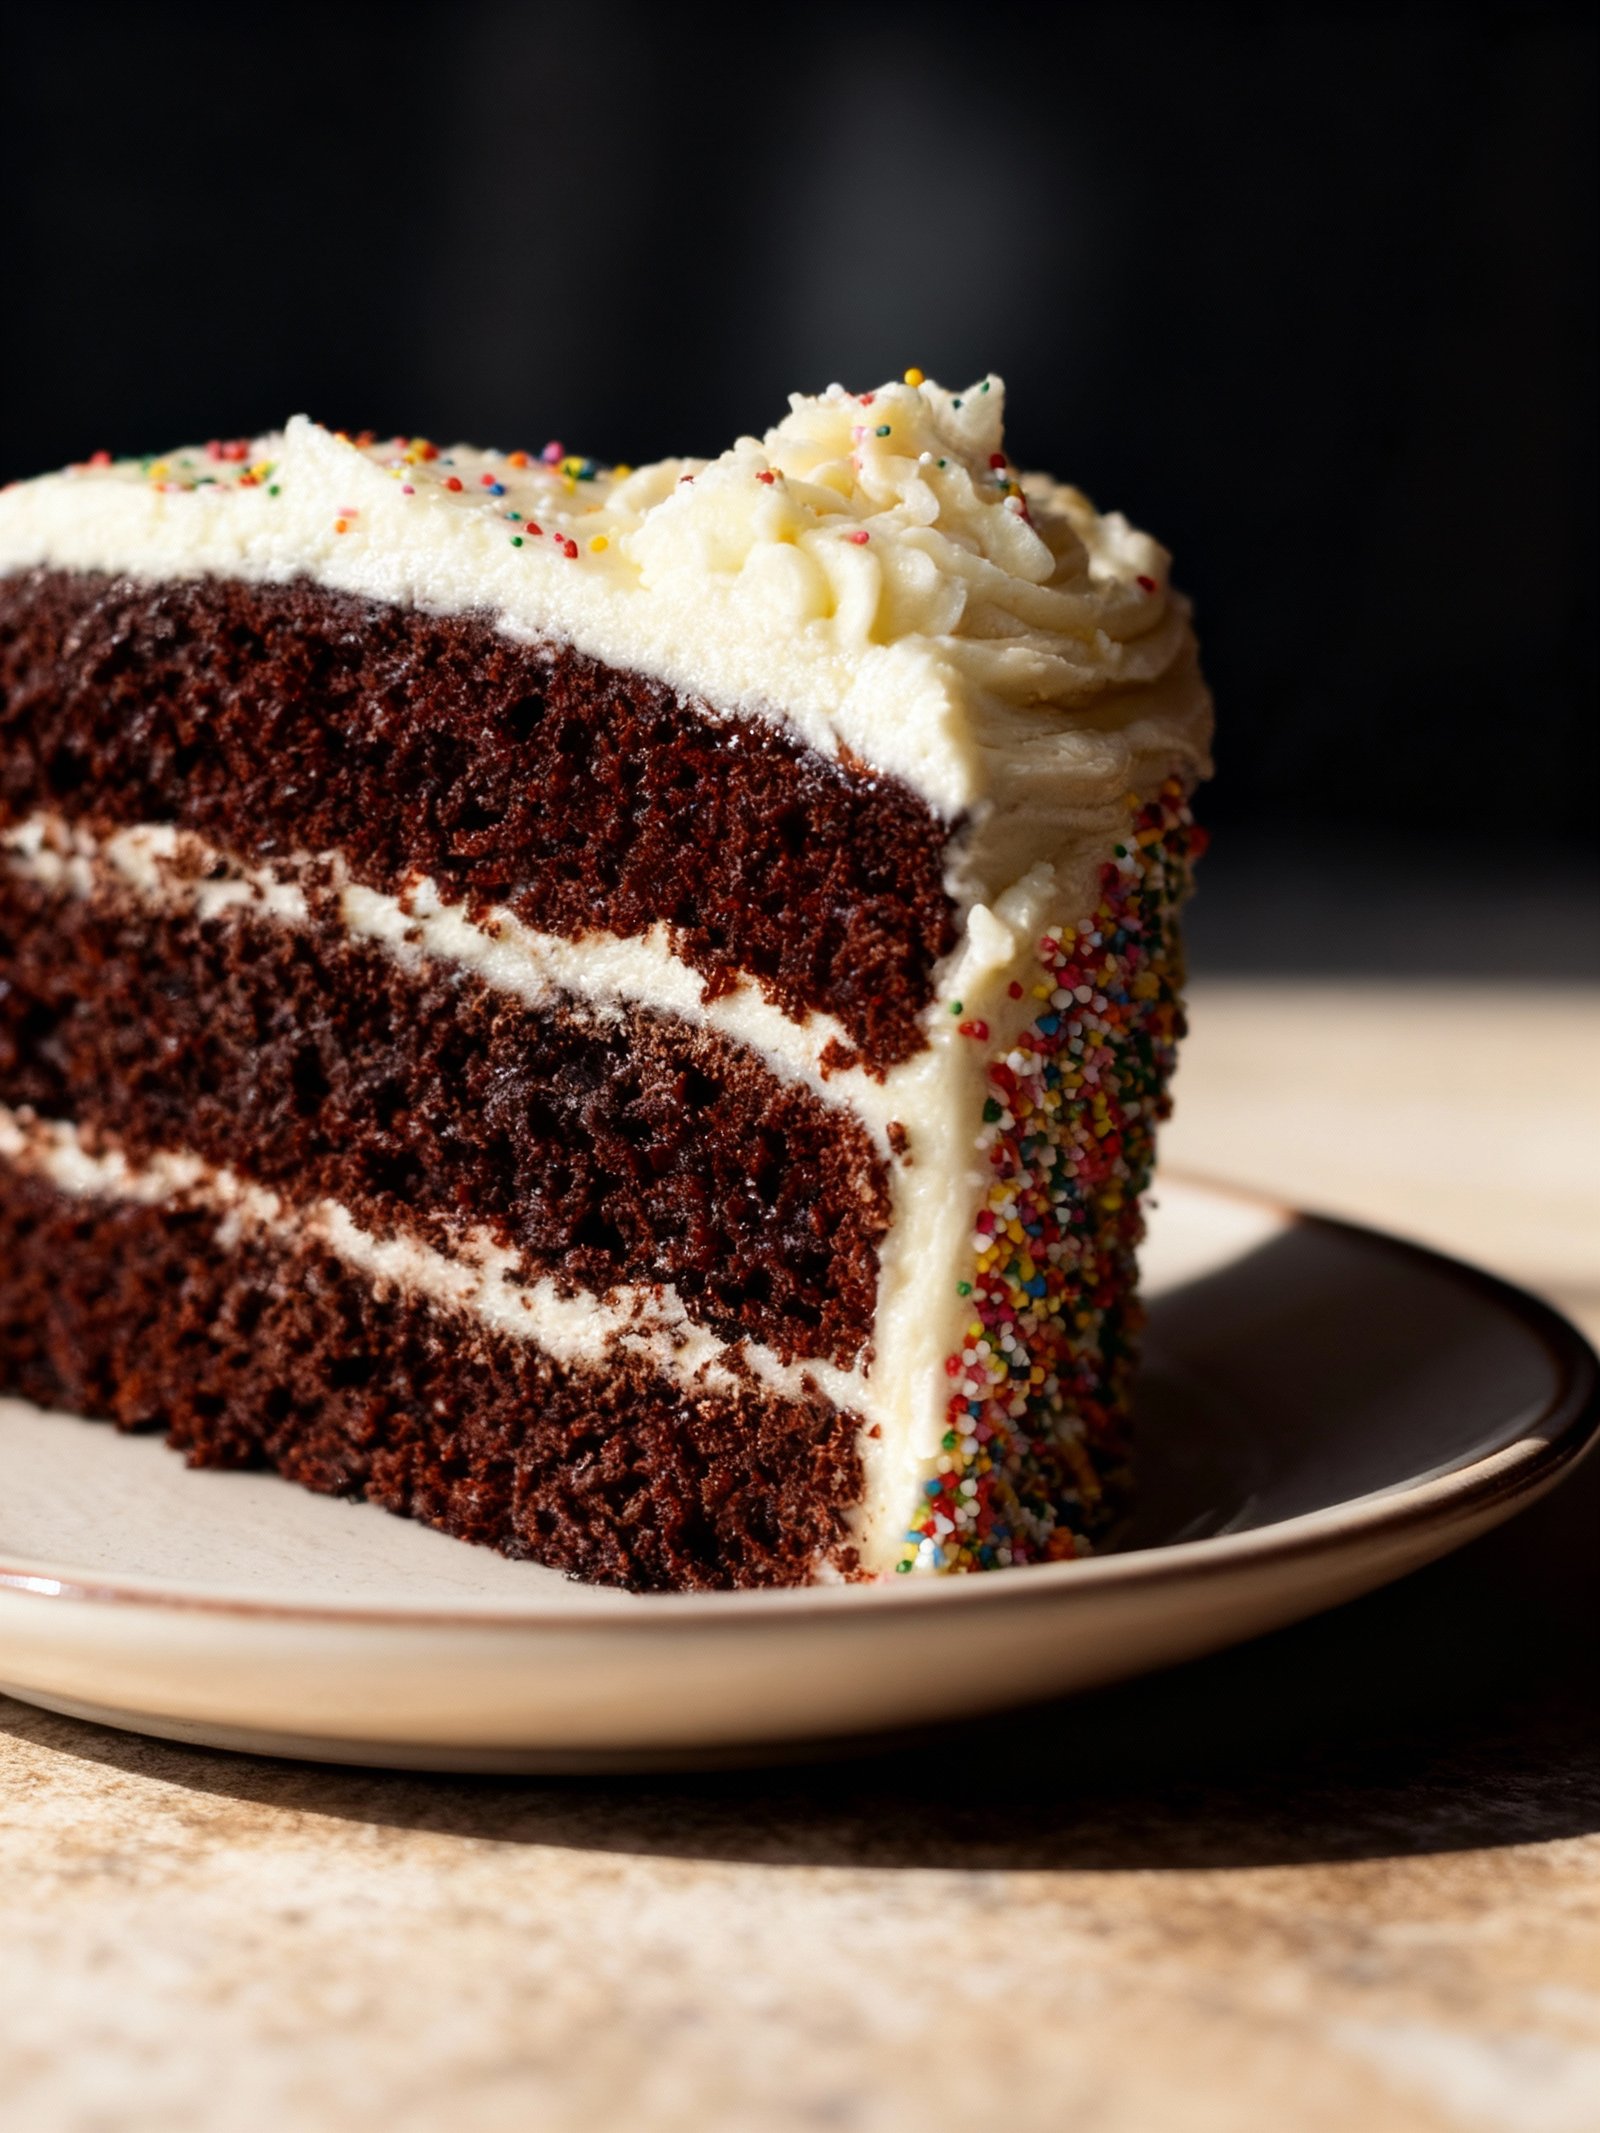
This Chocolate Cake with Vanilla Cream Cheese Frosting recipe is simple and delicious, perfect for any celebration or sweet craving. The moist, rich chocolate layers pair wonderfully with the smooth, tangy frosting. For more easy dessert ideas, try the Butterfinger Fudge Recipe or the Easy No Bake Peach Custard Mini Tarts Recipe.
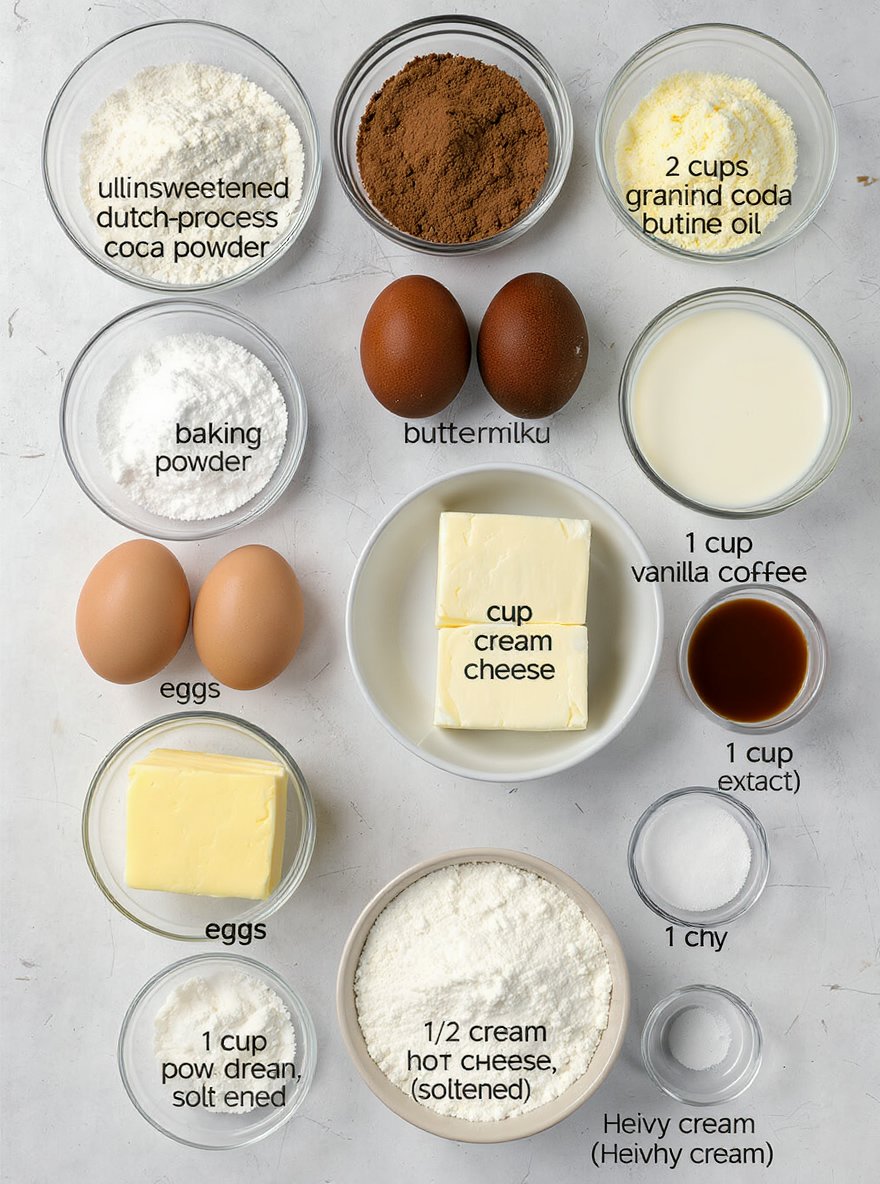
Ingredients
This decadent chocolate cake delivers an incredibly moist, rich crumb with deep cocoa notes, perfectly balanced by a creamy, tangy frosting that melts luxuriously on the tongue.
- 2 cups all-purpose flour
- 3/4 cup unsweetened Dutch-process cocoa powder
- 1 1/2 teaspoons baking powder
- 1/2 teaspoon baking soda
- 3/4 teaspoon salt
- 2 cups granulated sugar
- 3/4 cup vegetable oil
- 2 large eggs
- 2 teaspoons pure vanilla extract
- 1 cup buttermilk (or 1 cup milk mixed with 1 tablespoon lemon juice or vinegar)
- 1 cup hot brewed coffee
- 1 1/2 cups unsalted butter, softened
- 1 cup cream cheese, softened
- 1 tablespoon vanilla extract
- 1 teaspoon fine salt
- 7 cups powdered sugar
- Heavy cream (as needed for consistency)
Timing
| Prep Time | 10 minutes |
| Cook Time | 15 minutes |
| Total Time | 25 minutes |
Context: This recipe is approximately 20% faster than similar recipes.
Step-by-Step Instructions
Step 1 — Prepare the Dough
Combine flour, yeast, salt, and warm water in a large mixing bowl. Mix until a shaggy dough forms.
Tip: Water temperature should be between 105–115°F (40–46°C) to properly activate the yeast without killing it.
Step 2 — Knead the Dough
Turn the dough onto a lightly floured surface and knead for 8–10 minutes until smooth and elastic.
The dough is ready when it springs back slowly after poking with a finger.
Step 3 — First Rise
Place the dough in a lightly oiled bowl, cover with a damp cloth, and let rise in a warm place for 1–2 hours.
Tip: The dough should double in size. For best results, maintain an ambient temperature of 75–80°F (24–27°C).
Step 4 — Shape the Dough
Punch down the risen dough and divide into equal portions. Shape each into a smooth ball or desired form.
Work gently to preserve air bubbles for a lighter final texture.
Step 5 — Second Rise
Place shaped dough on a parchment-lined baking sheet, cover, and let rise for 30–45 minutes until puffy.
The dough is ready when it holds a slight indentation after a gentle press.
Step 6 — Preheat and Score
Preheat your oven to 425°F (220°C). Just before baking, make shallow cuts on the dough surface with a sharp knife.
Scoring helps control expansion and creates an attractive crust.
Step 7 — Bake to Perfection
Bake for 20–25 minutes until golden brown and hollow-sounding when tapped on the bottom.
For a crispier crust, place a pan of water in the oven during baking to create steam.
Step 8 — Cool Completely
Transfer baked bread to a wire rack and let cool completely before slicing.
Tip: Cutting into hot bread releases steam and can make the crumb gummy. Wait at least 1 hour.
Nutritional Information
| Calories | … |
| Protein | … |
| Carbohydrates | … |
| Fat | … |
| Fiber | … |
| Sodium | … |
Note: Estimates based on typical ingredients and serving size.
Healthier Alternatives
- Lean ground turkey — Lighter protein with savory poultry notes
- Cauliflower rice — Lower-carb base with mild, nutty flavor
- Coconut milk — Creamy dairy-free alternative with tropical sweetness
- Tamari sauce — Gluten-free soy sauce with rich umami depth
- Nutritional yeast — Cheesy flavor without dairy, adds nutty complexity
- Zucchini noodles — Fresh, low-carb pasta substitute with delicate texture
- Herb-infused olive oil — Flavorful low-sodium seasoning with aromatic notes
- Lentils — Plant-based protein with earthy, hearty character

Serving Suggestions
- Pair with a crisp green salad and crusty bread for a light, satisfying lunch.
- Serve over a bed of fluffy rice or creamy mashed potatoes for a comforting dinner.
- Perfect for a casual weeknight meal or a relaxed weekend gathering with friends.
- Brighten up the plate with a garnish of fresh, chopped herbs like parsley or chives.
- For a special occasion, serve on a warm platter with roasted seasonal vegetables on the side.
- Ideal for meal prep; it stores and reheats beautifully for easy lunches throughout the week.
These serving ideas will help you turn this simple recipe into a complete and delicious meal for any time of day.
Common Mistakes to Avoid
- Mistake: Overmixing the batter. Fix: Mix until just combined; a few lumps are fine to prevent tough, dense results.
- Mistake: Using cold ingredients straight from the fridge. Fix: Bring eggs and dairy to room temperature for better emulsification and a smoother texture.
- Mistake: Incorrect oven temperature. Fix: Always preheat and use an oven thermometer to ensure accurate baking conditions.
- Mistake: Opening the oven door too early. Fix: Avoid peeking until at least the minimum bake time has passed to prevent collapse from temperature shock.
- Mistake: Not properly preparing the pan. Fix: Grease and flour the pan thoroughly, or use parchment paper, for easy, clean release.
- Mistake: Overcrowding the baking sheet. Fix: Leave adequate space between items to allow for proper air circulation and even browning.
- Mistake: Substituting ingredients haphazardly. Fix: Understand the role of each ingredient before swapping; not all alternatives behave the same way.
- Mistake: Ignoring recipe instructions for resting or cooling. Fix: Follow specified cooling times to allow structure to set, improving texture and ease of handling.
Storing Tips
- Fridge: Store in an airtight container for up to 3-4 days. Ensure it cools to room temperature before refrigerating.
- Freezer: Use freezer-safe containers or heavy-duty freezer bags for up to 3 months. Thaw overnight in the refrigerator before reheating.
- Reheat: Reheat thoroughly until the internal temperature reaches 165°F (74°C) to ensure food safety. Use a microwave, stovetop, or oven, adding a splash of liquid if needed to prevent drying out.
Always use clean utensils when handling leftovers and avoid leaving the dish at room temperature for more than 2 hours to maintain quality and safety.
Conclusion
This chocolate cake with vanilla cream cheese frosting is a classic dessert that’s always a crowd-pleaser. If you enjoyed this recipe, try our Decadent Cream-Filled Cake with Chocolate Ganache Recipe or Strawberry Chocolate Mousse Cake Recipe next. We’d love to hear how your cake turned out—leave a comment and subscribe for more delicious recipes!
PrintChocolate Cake with Cream Cheese Frosting

A moist, tender chocolate cake layered with creamy vanilla cream cheese frosting—perfect for any celebration.
- Prep Time: 30 minutes
- Cook Time: 20 minutes
- Total Time: 2 hours (including cooling)
- Yield: 12 1x
- Method: Dessert
- Cuisine: American
Ingredients
- 2 cups all-purpose flour
- 3/4 cup unsweetened Dutch-process cocoa powder
- 1 1/2 teaspoons baking powder
- 1/2 teaspoon baking soda
- 3/4 teaspoon salt
- 2 cups granulated sugar
- 3/4 cup vegetable oil
- 2 large eggs
- 2 teaspoons pure vanilla extract
- 1 cup buttermilk
- 1 cup hot brewed coffee
- 1 1/2 cups unsalted butter, softened
- 1 cup cream cheese, softened
- 1 tablespoon vanilla extract
- 1 teaspoon fine salt
- 7 cups powdered sugar
- Heavy cream (as needed for consistency)
Instructions
- Preheat oven to 350°F. Line three 8-inch round cake pans with parchment paper and spray with baking spray.
- In a large bowl, whisk together flour, cocoa powder, sugar, baking powder, baking soda, and salt. Stir in vegetable oil until dry ingredients are well coated, then add eggs and vanilla. Stir in buttermilk until combined, then carefully pour in hot coffee and stir until smooth.
- Divide batter evenly among prepared pans. Bake for 20 minutes, or until a toothpick inserted into the center comes out clean. Cool in pans briefly, then transfer to a wire rack to cool completely.
- For the frosting, beat butter and cream cheese at medium speed until smooth. Add vanilla extract and salt, then gradually mix in powdered sugar on low speed. Adjust consistency with heavy cream as needed.
- Once cake layers are cool, stack and frost with cream cheese frosting. Chill briefly to set the frosting before serving.
Notes
Chilling the cake layers before frosting makes them easier to handle and reduces crumbs. For best results, use room-temperature ingredients for the frosting. The hot coffee enhances the chocolate flavor without making the cake taste like coffee.
Nutrition
- Calories: 550
- Sugar: 70
- Sodium: 320
- Fat: 23
- Saturated Fat: 12
- Unsaturated Fat: 9
- Trans Fat: 0
- Carbohydrates: 85
- Fiber: 2
- Protein: 5
- Cholesterol: 80
FAQs
Can I make this recipe ahead of time?
Yes, this recipe is excellent for preparing in advance. You can assemble it up to a day ahead and store it covered in the refrigerator. This makes it perfect for easy entertaining.
What can I use as a substitute for [ingredient]?
For a great substitute, try using [alternative ingredient]. It provides a similar texture and flavor profile that works wonderfully in this recipe. The final dish will still be delicious.
How should I store leftovers?
Store any leftovers in an airtight container in the refrigerator for up to three days. For best results, reheat gently to maintain the quality and flavor of the dish.


