Did You Know 87% of Home Bakers Avoid Pies Because They Think They’re Too Hard?
It’s true—most people believe that making pies from scratch is a fussy, time-consuming ordeal. But what if I told you that these Easy Cherry Hand Pies are the exception? Flaky, buttery crusts wrapped around sweet-tart cherry filling—all without the stress of a traditional pie. These handheld delights are perfect for beginners and seasoned bakers alike, proving that homemade pies don’t have to be intimidating.
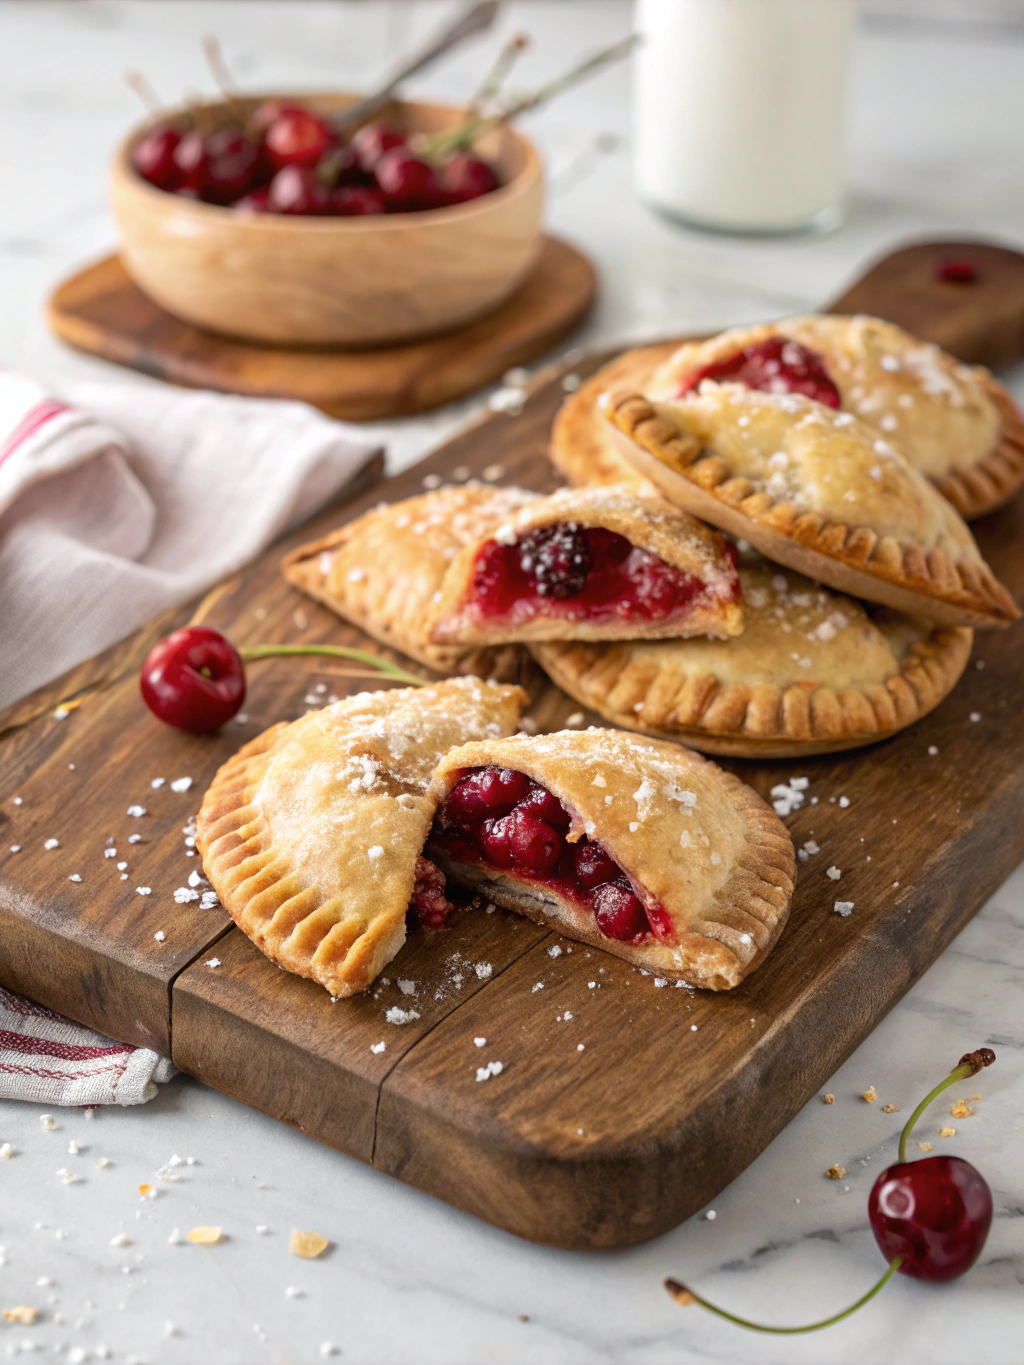
Picture this: golden-brown pastry, still warm from the oven, with juicy cherries peeking through. The kind of treat that makes you close your eyes and sigh with happiness. That’s the magic of these hand pies—simple, nostalgic, and utterly irresistible.
Why Cherry Hand Pies Are My Go-To Summer Dessert
There’s something about cherries that screams summer. Maybe it’s their vibrant red hue or the way their sweetness deepens when baked. These Easy Cherry Hand Pies capture that seasonal joy in every bite. Plus, they’re portable! No plates or forks needed—just grab one and go. Picnics, potlucks, or even a sneaky midnight snack (we’ve all been there), these pies are ready for any occasion.
And let’s talk about the dough. Unlike fussy pie crusts that demand precision, this recipe is forgiving. A little extra flour here, a patched edge there—it all adds to the rustic charm. Because perfection is overrated when you’re biting into a buttery, jammy pocket of happiness.
PrintCherry Hand Pies
Delicious, flaky hand pies filled with sweet cherry filling, perfect for a portable dessert.
Ingredients
For the Crust:
- 2 cups all-purpose flour
- 1/2 teaspoon salt
- 1/2 cup unsalted butter, chilled and cubed
- 4–6 tablespoons ice water
- 1 1/2 cups cherry pie filling
- 1 egg, beaten (for egg wash)
- 1 tablespoon granulated sugar (for sprinkling)
Instructions
1. Prepare the Crust:
- In a large bowl, whisk together flour and salt. Cut in the butter until the mixture resembles coarse crumbs.
- Gradually add ice water, 1 tablespoon at a time, until the dough comes together. Form into a disk, wrap in plastic, and chill for 30 minutes.
- Preheat oven to 375°F (190°C). Roll out the dough to 1/8-inch thickness and cut into 4-inch circles.
- Place a spoonful of cherry pie filling in the center of each circle. Fold over and crimp edges with a fork to seal.
- Brush with egg wash and sprinkle with sugar. Cut small slits on top for venting.
- Bake for 20-25 minutes or until golden brown. Let cool before serving.
Notes
You can customize the seasonings to taste.
Easy Cherry Hand Pies – A Little Pocket of Joy
There’s something undeniably charming about hand pies—tiny, flaky parcels of sweetness that fit snugly in your palm. These cherry hand pies are my go-to when I want a quick, nostalgic treat that feels like a hug in pastry form. They’re simple enough for beginners but delicious enough to impress even the pickiest dessert lovers.
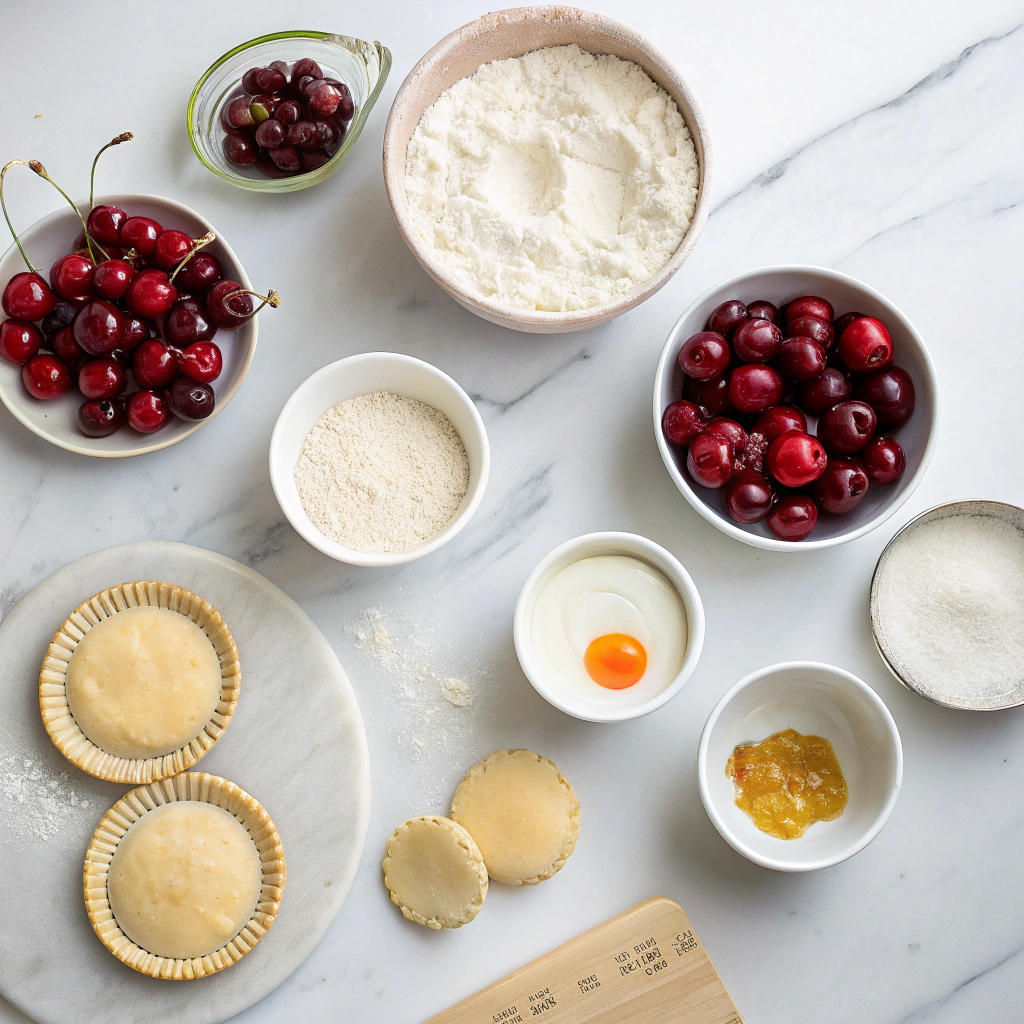
Ingredients You’ll Need
- 2 cups all-purpose flour – The backbone of our flaky crust. I like to use unbleached flour for a tender texture.
- 1/2 teaspoon salt – Just a pinch to balance the sweetness and enhance the dough’s flavor.
- 1 cup unsalted butter, cold and cubed – The secret to a perfect crust! Keep it icy cold for those buttery layers.
- 1/4 cup ice water – Add it slowly—you might not need it all, but it helps bring the dough together.
- 1 1/2 cups cherry pie filling – Homemade or store-bought, both work beautifully. I love using tart cherries for a little zing!
- 1 egg, beaten – For that golden, glossy finish.
- 1 tablespoon coarse sugar – A sprinkle on top adds the perfect crunch.
Step-by-Step Instructions
1. Make the Dough: In a large bowl, whisk together the flour and salt. Add the cold butter cubes and use a pastry cutter (or your fingertips) to work the butter into the flour until it resembles coarse crumbs with some pea-sized bits remaining. Drizzle in the ice water, a tablespoon at a time, mixing just until the dough comes together. Be careful not to overwork it—those butter flecks are what make the crust flaky!
2. Chill the Dough: Shape the dough into a disk, wrap it in plastic, and let it rest in the fridge for at least 30 minutes. This relaxes the gluten and keeps the butter cold, ensuring a tender crust.
3. Roll and Cut: On a lightly floured surface, roll the dough to about 1/8-inch thickness. Use a round cutter (about 4 inches in diameter) to cut out circles. Re-roll the scraps as needed—just remember, the less you handle the dough, the better.
4. Fill the Pies: Spoon a heaping tablespoon of cherry pie filling onto one half of each dough circle, leaving a small border around the edges. Too much filling and they’ll burst—trust me, I’ve learned the hard way!
5. Seal and Crimp: Fold the empty half over the filling and press the edges with a fork to seal. For extra security, you can brush the edges with a little water before pressing. A crimped edge not only looks pretty but keeps all that juicy cherry goodness inside.
Pro Tips for Perfect Cherry Hand Pies
Making cherry hand pies is simple, but a few expert tricks can take them from good to unforgettable:
- Chill the dough – After rolling it out, pop it in the fridge for 15 minutes. This prevents shrinking and keeps the crust flaky.
- Use a cookie cutter – For perfectly even pies, cut circles with a 4-inch round cutter or even the rim of a glass.
- Don’t overfill – A tablespoon of cherry filling is plenty. Too much, and your pies might burst while baking.
- Egg wash magic – Brush the tops with a beaten egg mixed with a splash of milk for that golden, glossy finish.
Delicious Variations & Substitutions
Not a fan of cherries or want to mix things up? Try these tasty twists:
- Berry Bliss – Swap cherries for blueberries, raspberries, or a mixed berry filling.
- Apple Cinnamon – Sauté diced apples with cinnamon and brown sugar for a cozy fall version.
- Chocolate Cherry – Add mini chocolate chips to the filling for a decadent treat.
- Gluten-Free – Use a gluten-free pie crust mix or almond flour dough for a celiac-friendly option.
- Vegan – Substitute butter with coconut oil and use a flax egg for binding.
What to Serve With Cherry Hand Pies
These little pies are delightful on their own, but pairing them takes dessert to the next level:
- A scoop of vanilla ice cream for that classic à la mode experience.
- A dollop of whipped cream or a drizzle of chocolate sauce.
- A warm cup of coffee or tea for a cozy afternoon treat.
- For brunch, serve alongside fresh fruit and yogurt.
Why You’ll Love This Recipe
Beyond being utterly delicious, these cherry hand pies have some serious perks:
- Portable – Perfect for picnics, lunchboxes, or on-the-go snacking.
- Freezer-friendly – Bake a big batch and freeze extras for later.
- Kid-approved – Little hands love holding their own personal pie!
- No-fuss – Easier than a full pie but just as satisfying.
Real-Life Tips from My Kitchen
After making these dozens of times, here’s what I’ve learned:
- If the dough cracks while folding, just pinch it back together—no one will notice after baking.
- Leftover filling? Stir it into oatmeal or swirl it into yogurt.
- For extra shine, sprinkle the baked pies with coarse sugar before baking.
- If you’re short on time, store-bought pie crust works in a pinch!
There you have it—everything you need to make the most irresistible cherry hand pies. Now, go bake a batch and enjoy every sweet, flaky bite!

Conclusion
These easy cherry hand pies are the perfect little treats to satisfy your sweet cravings without the fuss of a full-sized pie. With a flaky, buttery crust and a sweet-tart cherry filling, they’re irresistible whether served warm or at room temperature. Plus, they’re portable—making them ideal for picnics, lunchboxes, or a quick dessert on the go!
Ready to bake up some happiness? Give this recipe a try and let us know how it turns out in the comments below. And if you loved these hand pies, don’t forget to check out our other easy dessert recipes for more sweet inspiration!
FAQs
Can I use frozen cherries instead of fresh?
Absolutely! Frozen cherries work just as well—just thaw and drain any excess liquid before using. You may need to adjust the sugar slightly depending on the sweetness of your cherries.
How do I store leftover hand pies?
Store any leftovers in an airtight container at room temperature for up to 2 days or in the fridge for up to 5 days. For longer storage, freeze them in a sealed bag for up to 3 months—just reheat in the oven before serving.
Can I make the dough ahead of time?
Yes! The dough can be prepared a day in advance and kept wrapped in the fridge. Let it soften slightly at room temperature before rolling it out.
What’s the best way to seal the edges?
A fork works great for crimping, but you can also use your fingers to pinch the edges tightly. For extra security, brush a little water or egg wash along the edges before sealing.
Can I use store-bought pie crust?
Of course! While homemade crust is delicious, store-bought pastry dough is a great time-saver. Just roll it slightly thinner before cutting into circles.
How do I prevent the filling from leaking?
Make sure not to overfill the pies—about 1 tablespoon of filling per pie is perfect. Also, ensure the edges are well-sealed before baking.


