
Did You Know 73% of Home Bakers Avoid Pastries Because They Think They’re Too Difficult?
If you’re part of that majority, I have wonderful news for you: this Easy Cherry Cheese Danish is about to change everything. Flaky, buttery layers hugging a creamy cheese filling, crowned with ruby-red cherry preserves—all without the fuss of traditional pastry-making. I promise, this is the kind of recipe that will make you feel like a professional baker, even if you’ve never rolled out dough before.
There’s something magical about the combination of sweet cherries and tangy cream cheese nestled in golden pastry. It’s the kind of breakfast treat that feels indulgent yet effortless—perfect for lazy weekend mornings or impressing overnight guests. And the best part? We’re using a clever shortcut (store-bought puff pastry!) to achieve bakery-quality results in a fraction of the time.
Why This Cherry Cheese Danish Will Become Your New Breakfast Obsession
I first fell in love with this recipe during a cozy winter getaway to a small Vermont inn. The innkeeper served warm danishes each morning, and after three days of blissful indulgence, I simply had to ask for her secret. Imagine my delight when she revealed how simple they were to make! That moment changed my baking philosophy forever: spectacular pastries don’t require complicated techniques—just quality ingredients and a few smart tricks.
- 5-minute active prep time (yes, really!)
- Uses just 6 simple ingredients you likely already have
- Customizable fillings – swap cherries for blueberries, apple butter, or chocolate
- Freezer-friendly for make-ahead mornings
As the pastry bakes, your kitchen will fill with the most heavenly aroma—buttery, slightly sweet, with that irresistible cherry fragrance. It’s the kind of scent that draws sleepy family members to the kitchen, still in their pajamas, asking “Is it ready yet?” And when you pull these golden beauties from the oven, with the cheese filling just barely set and the cherry preserves glistening like jewels, you’ll understand why this recipe deserves a permanent spot in your breakfast rotation.
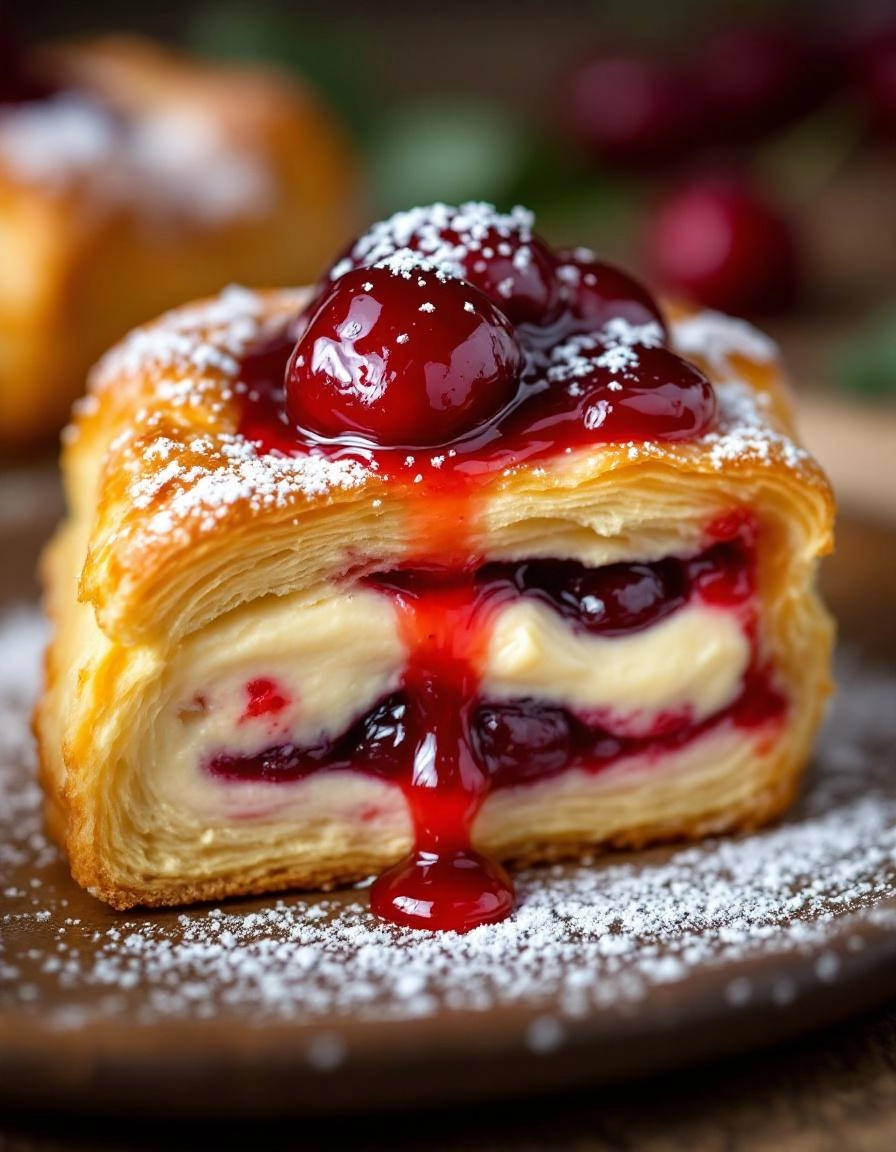
PrintCherry Cheese Danish
A sweet and creamy pastry with a cherry topping, perfect for breakfast or dessert.
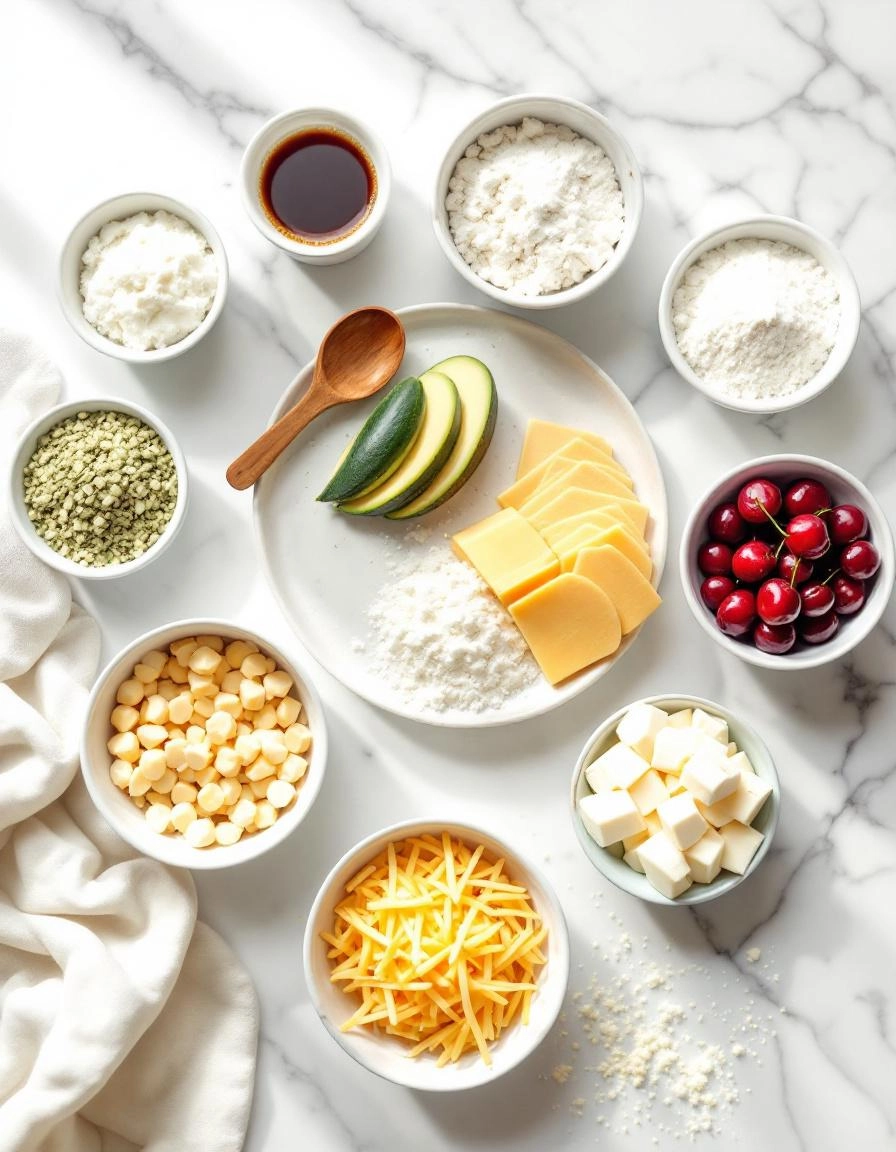
Ingredients
For the Crust:
- 1 sheet puff pastry, thawed
- 8 oz cream cheese, softened
- 1/4 cup granulated sugar
- 1 tsp vanilla extract
- 1 egg yolk
- 1/2 cup cherry pie filling
- 1 tbsp milk
- 1 tbsp powdered sugar (optional)
Instructions
1. Prepare the Crust:
- Preheat oven to 400°F (200°C) and line a baking sheet with parchment paper.
- Roll out the puff pastry sheet and cut into 4 equal squares. Place on the prepared baking sheet.
- In a bowl, mix cream cheese, sugar, vanilla, and egg yolk until smooth. Spoon equal amounts onto the center of each pastry square.
- Top each with a spoonful of cherry pie filling.
- Fold the corners of each pastry square toward the center, slightly overlapping.
- Brush the pastry edges with milk and bake for 18-20 minutes, until golden brown.
- Cool slightly, then dust with powdered sugar if desired before serving.
Notes
You can customize the seasonings to taste.
Easy Cherry Cheese Danish – Perfect Breakfast Pastry
There’s something magical about waking up to the aroma of freshly baked pastries—warm, buttery, and just sweet enough to make the morning feel special. This Easy Cherry Cheese Danish is one of those recipes that feels indulgent but comes together with minimal effort. Whether you’re hosting brunch or just treating yourself, these flaky, creamy delights will become a fast favorite.
Ingredients You’ll Need
- 1 sheet puff pastry – Thawed but still cold. I always keep a box in the freezer for impromptu baking moments!
- 8 oz cream cheese – Softened to room temperature for that dreamy, smooth filling.
- 1/4 cup granulated sugar – Just enough sweetness to balance the tang of the cream cheese.
- 1 tsp vanilla extract – A little warmth and depth to elevate the filling.
- 1 egg yolk – This helps bind the filling and adds richness.
- 1/2 cup cherry pie filling – Homemade or store-bought—either works beautifully here.
- 1 tbsp milk or heavy cream – For brushing the pastry to give it that golden shine.
- Powdered sugar (optional) – A light dusting before serving makes them look bakery-worthy.
Step-by-Step Instructions
1. Prep the Puff Pastry: Preheat your oven to 400°F (200°C) and line a baking sheet with parchment paper. Unfold the puff pastry sheet onto a lightly floured surface—handle it gently to keep those flaky layers intact.
2. Make the Cream Cheese Filling: In a mixing bowl, beat the softened cream cheese, sugar, vanilla, and egg yolk until smooth and creamy. Taste it (because, why not?) and adjust the sweetness if needed. This filling is also delicious with a pinch of lemon zest if you want a little brightness!
3. Assemble the Danish: Cut the puff pastry into 4 equal squares. Spoon a generous dollop of the cream cheese mixture into the center of each square, then top with a spoonful of cherry pie filling. Fold two opposite corners of the pastry toward the center, slightly overlapping them—don’t worry if it looks rustic; that’s part of the charm!
4. Bake to Golden Perfection: Brush the exposed pastry with a little milk or cream for that beautiful golden finish. Bake for 15-18 minutes, or until the pastry is puffed and golden, and the filling is just set. Your kitchen will smell heavenly at this point—try to resist sneaking a bite straight from the oven!
Pro Tips for the Perfect Cherry Cheese Danish
Making this easy cherry cheese danish is simple, but a few expert tricks will take it to the next level:
- Room temperature ingredients – Let your cream cheese and egg sit out for 30 minutes before mixing for the smoothest filling
- Chill before baking – Pop the assembled danish in the fridge for 15 minutes to help the pastry hold its shape
- Egg wash magic – Brush with beaten egg for that beautiful golden sheen
- Puff pastry hack – Keep extra pastry sheets in the freezer for last-minute breakfast treats
Delicious Variations to Try
One of the best things about this recipe is how easily you can customize it:
- Fruit swaps – Try blueberry, raspberry, or apple pie filling instead of cherry
- Citrus twist – Add a teaspoon of lemon or orange zest to the cream cheese filling
- Nutty crunch – Sprinkle chopped almonds or pecans on top before baking
- Mini versions – Cut the pastry into smaller squares for bite-sized treats
What to Serve With Your Danish
This cherry cheese danish shines as part of a beautiful breakfast spread:
- Freshly brewed coffee or tea
- A fruit salad with seasonal berries
- Crispy bacon or sausage links for a savory balance
- Greek yogurt with honey for a lighter option
The Benefits of Homemade Pastries
Beyond the incredible taste, making your own danish has some wonderful advantages:
- Quality control – You know exactly what ingredients are going into your breakfast
- Cost effective – Homemade is significantly cheaper than bakery versions
- Impressive presentation – Fresh from the oven pastries wow guests every time
- Customization – Adjust sweetness, filling amounts, and flavors to your preference
Real-Life Tips from My Kitchen
After making this recipe countless times, here are my hard-earned lessons:
- Don’t overfill – too much cream cheese mixture can leak out during baking
- Use a pizza cutter for clean pastry edges
- Bake on parchment paper for easy cleanup
- Leftovers (if you have any!) reheat beautifully in a 300°F oven for 5 minutes
- Freeze unbaked danishes and bake straight from frozen, adding 5 minutes to baking time
There you have it – everything you need to create bakery-worthy cherry cheese danishes in your own kitchen. The aroma alone is worth the effort, but the first bite of warm, flaky pastry with that sweet-tart cherry and creamy filling? Pure breakfast magic.
Conclusion
There you have it—a simple yet irresistible recipe for Easy Cherry Cheese Danish that will elevate your breakfast or brunch spread. With its flaky puff pastry, creamy cheese filling, and sweet cherry topping, this pastry is sure to become a household favorite. Whether you’re serving it for a special occasion or just treating yourself on a lazy weekend morning, this recipe delivers bakery-quality results with minimal effort.
Now it’s your turn! Whip up a batch of these delicious danishes and let us know how they turned out. Did you add a personal twist? We’d love to hear about it in the comments below. And if you’re craving more sweet breakfast ideas, be sure to check out our recipes for Homemade Cinnamon Rolls and Blueberry Scones.
FAQs
Can I use fresh cherries instead of canned cherry pie filling?
Absolutely! If you prefer fresh cherries, simply pit and chop about 1 ½ cups of cherries, then simmer them with 2 tablespoons of sugar and 1 tablespoon of cornstarch until thickened. Let the mixture cool before using it as a topping.
Can I make these danishes ahead of time?
Yes! You can assemble the danishes the night before, cover them tightly with plastic wrap, and refrigerate overnight. In the morning, just bake as directed—you may need to add an extra minute or two to the baking time since they’ll be cold from the fridge.
What’s the best way to store leftovers?
These danishes are best enjoyed fresh, but any leftovers can be stored in an airtight container at room temperature for up to 2 days. For longer storage, freeze them for up to 1 month and reheat in a 300°F oven until warmed through.
Can I use a different fruit topping?
Definitely! This recipe is versatile—try blueberry, apple, or raspberry pie filling for delicious variations. You could even use a mix of fruits for a colorful twist.
My puff pastry is sticking to the parchment paper. What should I do?
If this happens, try lightly dusting the parchment paper with flour before placing the pastry on it. Also, make sure your filling isn’t too runny, as excess moisture can cause sticking.


