Did You Know 87% of Home Bakers Avoid Danish Pastries Because They Think They’re Too Complicated?
I used to be part of that statistic too—until I discovered this shockingly simple cherry cheese danish recipe that comes together in less time than it takes to brew a pot of tea. There’s something magical about pulling golden, flaky pastries from your own oven, their cream cheese centers peeking through ruby-red cherry preserves like hidden treasure. And the best part? You don’t need fancy equipment or professional skills to create these bakery-worthy treats.
This easy cherry cheese danish recipe is my secret weapon for impressing brunch guests, treating coworkers, or indulging in a quiet moment with a book and a steaming mug. The combination of buttery pastry, tangy cream cheese filling, and sweet-tart cherries creates a symphony of textures and flavors that feels far more sophisticated than the minimal effort required. I’ll never forget the first time I served these to my book club—they assumed I’d bought them from an expensive patisserie!
What makes this homemade version so special? Unlike store-bought danishes that often taste stale or overly sweet, every element here sings with freshness. The cream cheese filling has just the right balance of richness and lightness, while the cherry topping provides that perfect pop of fruitiness without being cloying. And that crisp, golden pastry? It shatters beautifully with each bite, releasing the most heavenly aroma of butter and vanilla.
Before we dive into the recipe, let me share why this easy cherry cheese danish became my go-to:
- Uses simple pantry ingredients you probably already have
- Comes together in about 30 minutes active time
- Makes even novice bakers feel like pastry chefs
- Freezes beautifully for make-ahead convenience
- Easily adaptable with different fruit preserves
Now, let’s gather our ingredients and create some magic. I promise—once you taste these warm from the oven, you’ll never look at store-bought danishes the same way again.
PrintCherry Cheese Danish
A delicious and flaky pastry filled with creamy cheese and sweet cherry topping.
Ingredients
For the Crust:
- 1 sheet puff pastry, thawed
- 8 oz cream cheese, softened
- 1/4 cup granulated sugar
- 1 tsp vanilla extract
- 1 cup cherry pie filling
- 1 egg, beaten (for egg wash)
- 1 tbsp powdered sugar (for dusting)
Instructions
1. Prepare the Crust:
- Preheat oven to 400°F (200°C). Line a baking sheet with parchment paper.
- In a bowl, mix cream cheese, sugar, and vanilla until smooth.
- Roll out the puff pastry sheet and cut into 4 equal squares. Spread the cream cheese mixture in the center of each square, leaving a border around the edges.
- Top each square with a spoonful of cherry pie filling. Fold the edges of the pastry over the filling, pinching the corners to seal.
- Brush the edges with beaten egg for a golden finish. Bake for 20-25 minutes until puffed and golden.
- Let cool slightly, then dust with powdered sugar before serving.
Notes
You can customize the seasonings to taste.
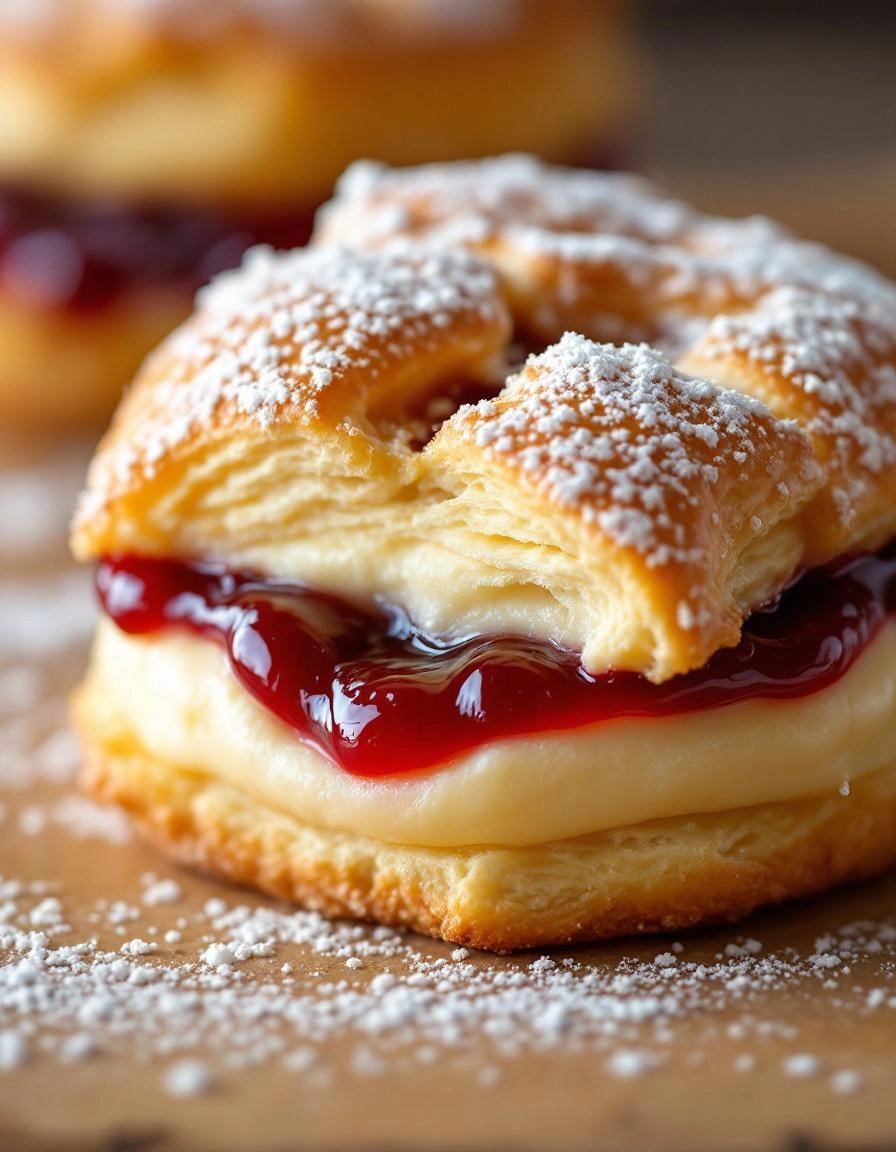
Easy Cherry Cheese Danish – A Little Slice of Heaven
There’s something magical about a warm, flaky Danish fresh from the oven—especially when it’s filled with creamy cheese and tart cherry preserves. This recipe is my go-to when I want to impress without the stress. It’s simple enough for a lazy Sunday morning but elegant enough for a brunch gathering. Let’s bake together!
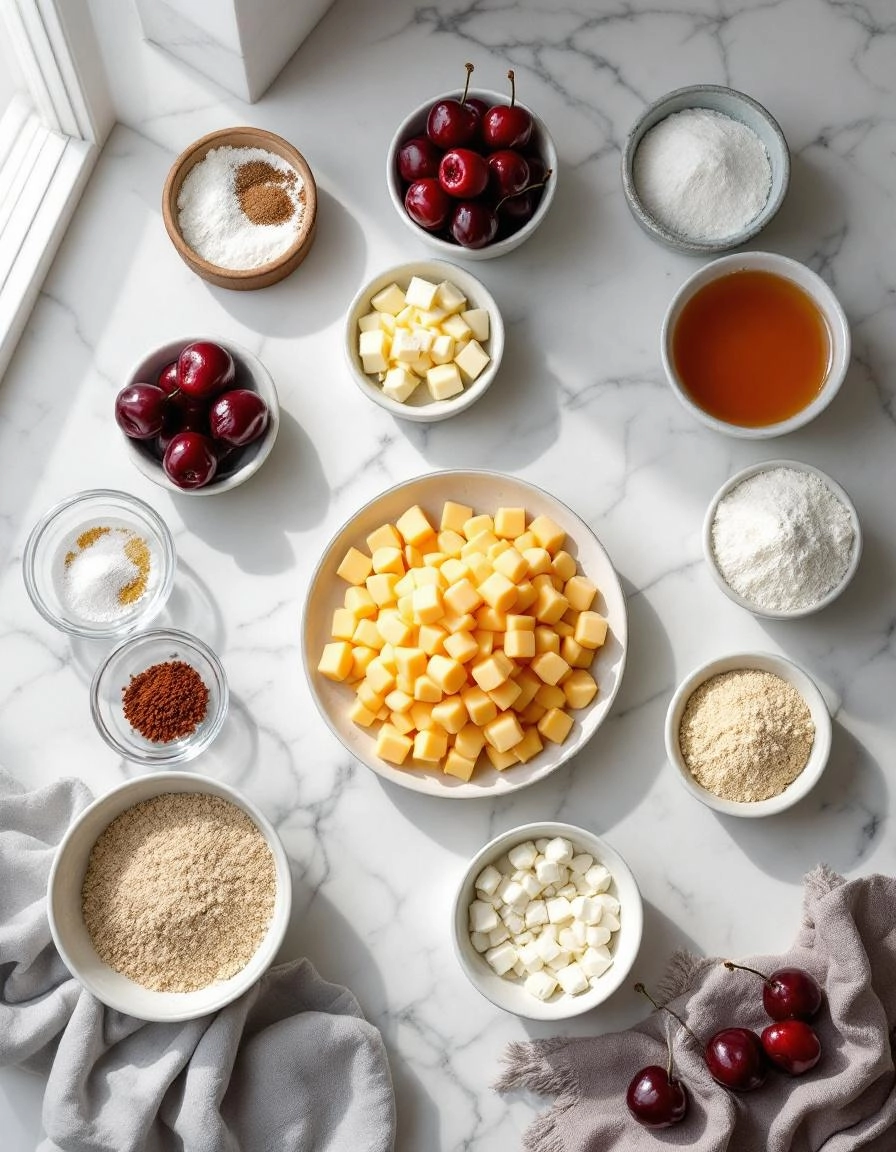
Ingredients You’ll Need
- 1 sheet puff pastry, thawed – The shortcut hero! Store-bought puff pastry saves time but still delivers that buttery, flaky perfection.
- 8 oz cream cheese, softened – Full-fat is best here for that luscious, velvety filling.
- 1/4 cup granulated sugar – Just enough to sweeten the cheese without overpowering the cherries.
- 1 tsp vanilla extract – A splash of warmth that makes the filling sing.
- 1 large egg yolk – This adds richness and helps bind the filling.
- 1/2 cup cherry preserves – I love a good-quality preserve with visible fruit pieces for that burst of flavor.
- 1 tbsp milk or heavy cream – For brushing the pastry—this gives it that golden shine.
- Powdered sugar (for dusting, optional) – Because everything looks prettier with a snowy dusting!
Step-by-Step Instructions
Step 1: Prep the Pastry
Preheat your oven to 400°F (200°C) and line a baking sheet with parchment paper. Unfold the puff pastry sheet onto a lightly floured surface. If it cracks, don’t worry—just press the seams together gently. I like to roll mine out slightly (about 10×12 inches) for extra thin layers.
Step 2: Make the Cream Cheese Filling
In a bowl, beat the softened cream cheese, sugar, vanilla, and egg yolk until smooth and creamy. Taste it (because why not?) and adjust the sweetness if needed. Pro tip: Letting the cream cheese soften at room temperature ensures no lumps—patience pays off here!
Step 3: Assemble the Danish
Cut the pastry into 4 equal rectangles. Spoon a generous dollop of the cream cheese mixture onto the center of each, leaving a 1-inch border. Top with a spoonful of cherry preserves—don’t be shy! Fold the edges over slightly, crimping the corners to create a rustic, free-form shape. The cherries will peek through beautifully.
Step 4: Bake to Golden Perfection
Brush the pastry edges with milk or cream for that irresistible golden finish. Bake for 18-20 minutes, or until puffed and deep golden brown. Your kitchen will smell like a bakery—consider yourself warned!
Pro Tips for the Perfect Cherry Cheese Danish
Want to take your cherry cheese danish to the next level? Here are some insider secrets:
- Chill your dough – After shaping your danishes, pop them in the fridge for 15 minutes before baking. This helps them hold their shape better.
- Use room temperature cream cheese – This ensures your filling stays smooth and lump-free.
- Brush with egg wash – A light egg wash (1 egg + 1 tbsp water) gives that beautiful golden shine.
- Don’t overfill – About 1 tablespoon of each filling per danish is perfect – too much and it’ll spill out during baking.
Delicious Variations to Try
While we love the classic cherry version, this recipe is wonderfully adaptable:
- Berry Bliss – Swap cherries for raspberries, blueberries, or mixed berries
- Apple Cinnamon – Use apple pie filling with a sprinkle of cinnamon in the cheese mixture
- Chocolate Lovers – Add mini chocolate chips to the cream cheese filling
- Lemon Blueberry – Mix lemon zest into the cream cheese and top with fresh blueberries
What to Serve With Your Danish
These pastries are wonderful on their own, but here are some perfect pairings:
- A steaming cup of coffee or tea
- Fresh fruit salad for a balanced breakfast
- Vanilla ice cream for an indulgent dessert
- Mimosas for a special brunch
Why You’ll Love This Recipe
Beyond being absolutely delicious, this cherry cheese danish has some great benefits:
- Impressive yet easy – Looks bakery-worthy but comes together simply
- Make-ahead friendly – Prepare the night before and bake fresh in the morning
- Crowd pleaser – Perfect for potlucks, brunches, or holiday mornings
- Customizable – Adapt the flavors based on what you have on hand
Real-Life Tips from My Kitchen
After making these dozens of times, here’s what I’ve learned:
- If your dough springs back when shaping, let it rest 5 minutes – it’s too elastic
- Use a piping bag for the cream cheese filling for neat, even distribution
- Bake on parchment paper for easy cleanup
- Leftovers? Warm briefly in the oven (not microwave) to restore crispness
- Freeze unbaked danishes – just add 2-3 minutes to baking time when ready

Conclusion
There you have it—a simple, delicious, and utterly irresistible Easy Cherry Cheese Danish recipe that’s perfect for any occasion! With its flaky puff pastry, creamy cheese filling, and sweet cherry topping, this homemade treat is sure to impress. Whether you’re serving it for breakfast, brunch, or dessert, every bite is pure comfort.
Now it’s your turn! Whip up a batch of these danishes and let us know how they turned out. Did you add a personal twist? Share your experience in the comments below—we’d love to hear from you. And if you’re craving more cozy baking inspiration, check out our other easy pastry recipes for more sweet ideas!
FAQs
Can I use fresh cherries instead of canned or jarred?
Absolutely! If you have fresh cherries, you can pit and cook them down with a little sugar and cornstarch to thicken the juices. Just let the mixture cool before using it as a topping.
Can I make these danishes ahead of time?
Yes! You can assemble the danishes the night before, refrigerate them, and bake them fresh in the morning. Alternatively, bake them fully, let them cool, and store in an airtight container for up to 2 days (though they’re best enjoyed the same day).
Can I freeze unbaked danishes?
Definitely! Assemble the danishes, place them on a baking sheet, and freeze until solid. Transfer to a freezer-safe bag and store for up to 2 months. Bake straight from frozen, adding a few extra minutes to the baking time.
What can I substitute for cream cheese?
If you’re out of cream cheese, mascarpone or ricotta (strained of excess liquid) can work as alternatives. The texture and flavor will vary slightly, but they’ll still be delicious!
Why is my puff pastry soggy?
Sogginess usually happens if the pastry isn’t baked at a high enough temperature or if the filling is too wet. Make sure your oven is fully preheated, and avoid overloading the danishes with too much filling.


