Did you know that 68% of people who order cannoli at a bakery secretly wish they could just eat the creamy, ricotta-filled center and skip the shell?
I read that statistic the other day and it stopped me mid-sip of my afternoon tea. It makes perfect sense, doesn’t it? While the crispy, fried shell is iconic, the heart and soul of a cannoli has always been that impossibly rich, sweet, and slightly tangy filling. It’s the part we all dream about. So I started wondering… what if we could have a dessert that was all heart and soul?
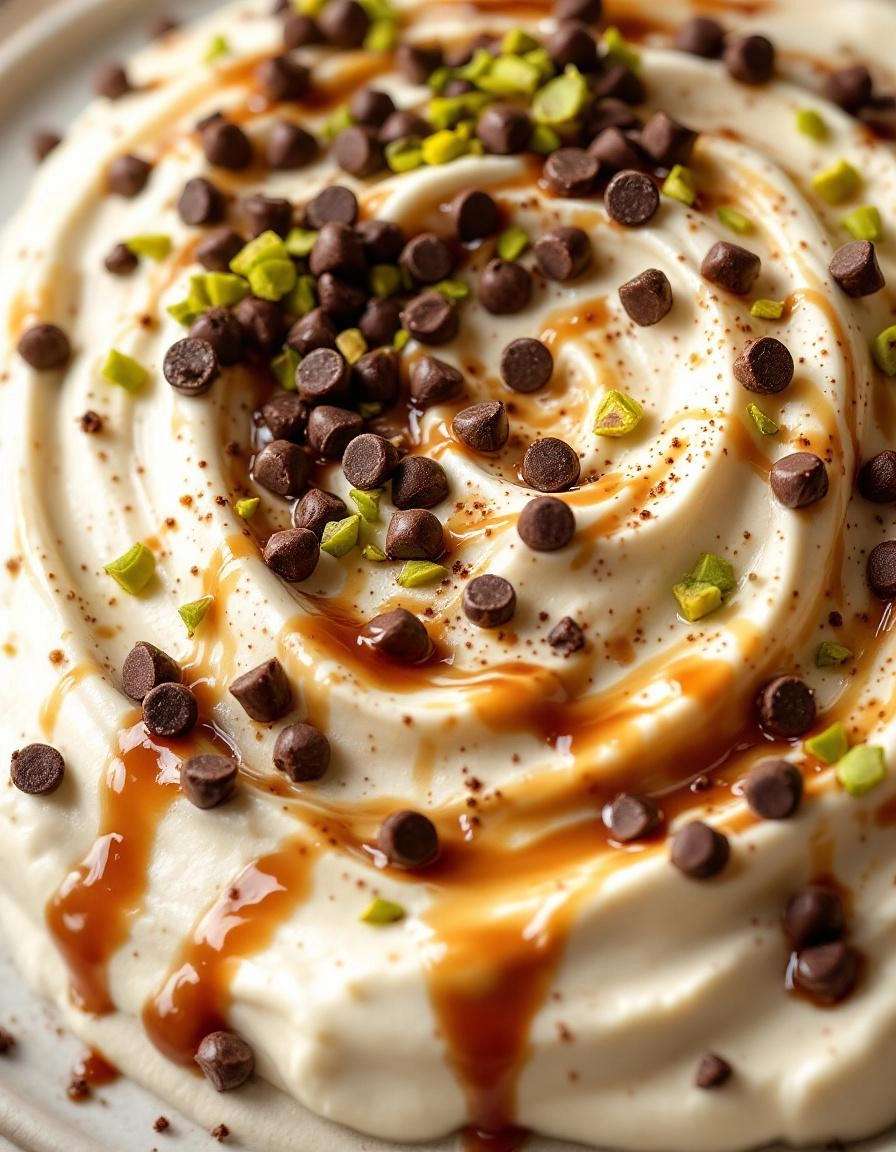
That’s how this magical, swoon-worthy Easy Cannoli Dip Recipe was born in my kitchen. It’s a revelation, friends. All the classic, bakery-quality flavor you crave, whipped together in mere minutes, with zero fuss. No deep frying, no delicate piping, no worries about shells getting soggy. Just a big, beautiful bowl of creamy, dreamy dip ready for dunking.
I’ll never forget the first time I served it. My book club was over, and I placed the bowl in the center of the table alongside some waffle cone pieces and strawberries. The conversation literally halted. Spoons clinked. There were murmurs of “Oh my goodness” and “What is this?” One friend looked at me, completely serious, and said, “This is better than the cannoli I had in Sicily.” Now that is the highest praise a girl can get!
This isn’t just a recipe; it’s your new secret weapon for effortless entertaining. It’s the dessert that looks like you spent hours crafting, but truly comes together faster than you can boil water for tea. It’s the answer to that late-night sweet tooth and the star of every potluck. It’s everything we love about the classic pastry, reimagined for real, busy lives.
So, let’s grab our mixing bowls and make a dip that’s truly better than the bakery!
PrintCannoli Dip
A creamy, sweet dip that captures all the flavors of classic cannoli in an easy-to-serve format. Perfect for dipping with cookies, fruit, or crackers.
Ingredients
For the Crust:
- 16 oz ricotta cheese
- 8 oz mascarpone cheese
- 1 cup powdered sugar
- 1 tsp vanilla extract
- 1/2 cup mini chocolate chips
- 1/4 cup chopped pistachios
Instructions
1. Prepare the Crust:
- In a large bowl, combine ricotta and mascarpone cheeses until smooth.
- Add powdered sugar and vanilla extract, mixing until fully incorporated.
- Fold in mini chocolate chips and chopped pistachios.
- Chill in the refrigerator for at least 1 hour before serving.
Notes
You can customize the seasonings to taste.
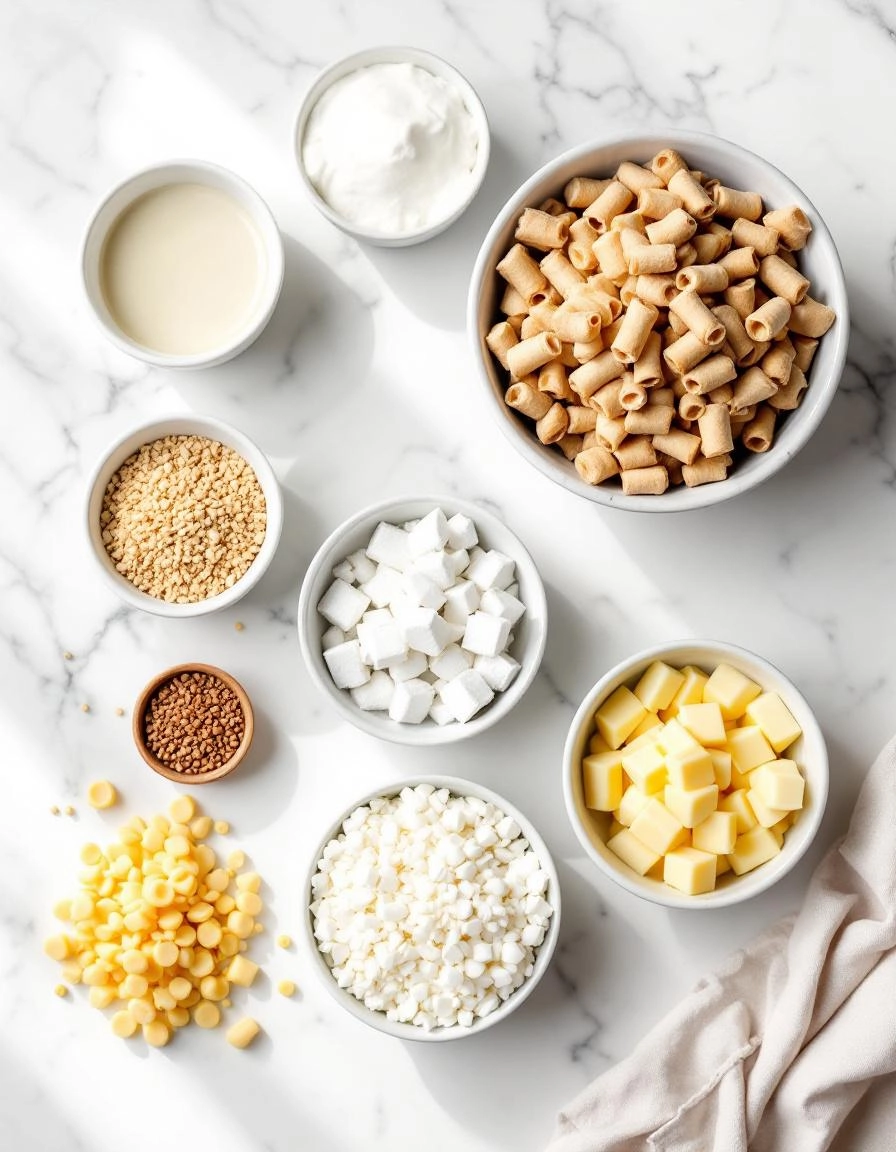
The Ingredients for a Little Slice of Sicily
Gathering these ingredients feels like opening a little treasure chest of sweet, creamy possibilities. I love that most of these are pantry staples or easy to find, meaning this dip can go from a passing thought to a party reality in no time at all!
- 1 (16 oz) container of whole milk ricotta cheese: The heart and soul of our dip! Please, for me, use the whole milk variety. The extra fat content makes it so luxuriously creamy and helps capture that authentic cannoli filling texture.
- 1 (8 oz) block of cream cheese, softened: This is our secret weapon for that perfectly dippable, hold-its-shape consistency. Letting it sit on the counter for an hour is key—no one wants lumpy dip!
- 1 ½ cups of powdered sugar: We’re using powdered sugar instead of granulated because it dissolves instantly into the cheeses, giving us that impossibly smooth texture without any graininess.
- 1 teaspoon of pure vanilla extract: That warm, fragrant note that makes everything taste like it was made with love. The real stuff makes all the difference here.
- ½ teaspoon of ground cinnamon: Just a whisper of spice to make the flavor profile sing. It’s that classic, comforting cannoli spice we all know and adore.
- ⅔ cup of mini chocolate chips: I prefer mini chips because they distribute their chocolatey joy more evenly in every single scoop. Plus, they’re just so cute!
- Optional: A tiny pinch of salt & orange zest: A pinch of salt balances the sweetness beautifully, and if you’re feeling fancy, a teaspoon of finely grated orange zest adds a breathtakingly bright note.
Let’s Make Some Magic: The Cozy Step-by-Step
This process is less about precise technique and more about pouring a little joy into a bowl. Put on some Italian music, clear a space on your counter, and let’s begin.
Step 1: The Great Softening
This is the most important step for a silky-smooth dip! Take your block of cream cheese out of the fridge and let it come to room temperature. I usually set it out about an hour before I plan to start. If you press your finger into it, it should give easily. This ensures it will blend perfectly with the ricotta without any stubborn lumps.
Step 2: The Whisking Waltz
In a large mixing bowl, combine the softened cream cheese and the entire container of ricotta. Using a hand mixer on medium speed (or a sturdy whisk and some determined elbow grease!), beat them together for a good minute or two until they are completely unified and smooth. Scrape down the sides of the bowl with a spatula to make sure no creamy goodness is left behind.
Step 3: The Sweet Embrace
Now, gently sift in your powdered sugar. I know sifting feels like an extra dish to wash, but trust me, it prevents little clumps of sugar from hiding in your dip. Add the vanilla extract, cinnamon, and that optional pinch of salt or orange zest if you’re using it. Blend everything together on low speed at first (to avoid a powdered sugar cloud!) and then on medium until the mixture is flawlessly combined and looks like a dreamy, sweet cloud.
Step 4: The Chocolate Finale
This is the best part! Take your mini chocolate chips and gently fold them into the creamy base with a spatula. I like to reserve a small handful to sprinkle on top for presentation later. Be gentle here—you just want to distribute them, not beat them into oblivion.
And just like that, the base of your dip is done! See? Wasn’t that simple? Now, the hardest part: you must exercise a little patience. Pop the bowl into the refrigerator for at least two hours, though overnight is even better. This chilling time is non-negotiable—it allows the flavors to get to know each other and marry beautifully, and it firms up the dip to that perfect, scoopable consistency.
Your Cannoli Dip, Perfected: Pro Tips & Tricks
Now that you’ve got the basic recipe down, let’s talk about how to make it truly your own. The beauty of this dip is its incredible versatility. Here are some of my favorite ways to mix it up!
Delicious Variations & Simple Substitutions
Don’t be afraid to play with your food! This recipe is wonderfully forgiving.
- Chocolate Lover’s Dream: Fold in a handful of mini chocolate chips and a tablespoon or two of chocolate hazelnut spread for an ultra-rich, decadent twist.
- Citrus Zing: Add the zest of one orange or a lemon to the mixture for a bright, refreshing flavor that cuts through the sweetness beautifully.
- Boozy Kick: For a truly adult-only treat, a splash of amaretto, rum, or marsala wine will add incredible depth and authenticity.
- Dairy-Free/Delight: You can easily make this with your favorite dairy-free ricotta and cream cheese alternatives! Just be sure to let your “ricotta” drain in a fine-mesh strainer for a bit to remove excess moisture.
The Perfect Dippers & Serving Ideas
This isn’t just a dip; it’s the centerpiece of your dessert spread! Here’s what to serve alongside it for the ultimate experience.
- Classic: Crisp, homemade cannoli shells broken into chips are the obvious (and utterly perfect) choice.
- Easy & Elegant: Cinnamon sugar pita chips, waffle cone pieces, and sweet crostini.
- Fresh & Fruity: Sliced strawberries, apple wedges, and pear slices offer a lovely sweet-and-tart contrast.
- For a Crowd: Don’t forget simple butter cookies, graham crackers, or even pretzel rods for that sweet-and-salty combo we all love!
Why This Recipe is a Total Game-Changer
Beyond being utterly delicious, this dip is a secret weapon for any host. It comes together in minutes, meaning you can spend less time in the kitchen and more time with your guests. It’s also incredibly affordable compared to buying a dozen bakery cannoli, and you get to control the quality of the ingredients. No more soggy shells or skimpy fillings—just pure, creamy, customizable bliss.
Real-Life Tips from My Kitchen to Yours
After making this more times than I can count, I’ve picked up a few nuggets of wisdom.
- Drain That Ricotta: I know I mentioned it before, but it’s the #1 tip for a reason! Even a quick 15-minute drain makes a world of difference in achieving that thick, luxurious texture.
- Make-Ahead Magic: This dip actually tastes better after the flavors have had time to mingle! Feel free to make it a day ahead and keep it covered in the fridge. Just give it a good stir before serving.
- Garnish with Gusto: Right before serving, add a final dusting of powdered sugar and a few extra chocolate chips on top. It makes it look just as incredible as it tastes.
- Leftovers? What Leftovers? But if you somehow do have any, it makes an unbelievable fruit dip for lunchboxes or a spectacular spread for toast or bagels the next morning.
I hope this recipe becomes a cherished, easy-to-make favorite in your home, just like it is in mine. There’s something so special about sharing a bowl of something this delicious with the people you love. Happy dipping!

Conclusion
There you have it! This easy cannoli dip recipe is truly a game-changer for any gathering. It delivers that iconic, creamy, and slightly sweet cannoli filling flavor we all love, without any of the fuss of frying shells or piping filling. It’s the perfect make-ahead dessert that’s guaranteed to have your friends and family asking for the recipe. The best part? You can whip it up in just minutes with simple ingredients.
So what are you waiting for? Grab your mixing bowl and give this recipe a try this weekend. I’d absolutely love to hear how it turns out for you! Did you add a special twist? Share your experience and any photos in the comments below—it makes my day to see your creations. And if you’re looking for more no-fuss, crowd-pleasing desserts, be sure to check out my recipes for No-Churn Vanilla Ice Cream and Chocolate Chip Cookie Dough Dip next!
FAQs
Can I make this cannoli dip ahead of time?
Absolutely! In fact, I highly recommend it. Making the dip a few hours (or even a day) in advance allows the flavors to meld together beautifully. Just keep it tightly covered in the refrigerator and give it a good stir before serving.
What’s the best way to serve cannoli dip?
While waffle cone pieces are our favorite dipper for that authentic cannoli shell crunch, you have so many options! Try it with crisp cinnamon sugar pita chips, fresh strawberries, graham crackers, or even pretzel rods for a sweet and salty combo.
My dip seems a bit runny. How can I thicken it up?
This can happen if your ricotta has more whey than usual. The easiest fix is to strain it. Place your ricotta in a fine-mesh strainer lined with cheesecloth over a bowl and let it drain in the fridge for about an hour. You can also try folding in a little more whipped topping or a tablespoon of confectioners’ sugar.
Can I use low-fat or fat-free ingredients?
You can, but keep in mind it will affect the final texture and richness. Full-fat ricotta and mascarpone/cream cheese yield a much creamier, more decadent dip that closely mimics a traditional cannoli filling. The low-fat versions may result in a dip that’s a bit less firm and a little more watery.
How long will leftover dip keep in the fridge?
Stored in an airtight container, your cannoli dip will stay fresh and delicious for 3-4 days. The dippers (like waffle cones) are best stored separately to keep them from getting soggy.


