
Did you know that 78% of home bakers believe cold butter is the ultimate secret to flaky layers?
It’s a truth we’ve all been taught, a golden rule whispered from one generation to the next. But what if I told you that the real magic, the true heart of the best buttery biscuits recipe, isn’t just about temperature? It’s about something far more tender, more nostalgic, and infinitely more comforting.
I learned this not from a cookbook, but from my grandmother’s flour-dusted hands on a crisp autumn morning. The scent of melting butter and baking flour would drift through her old farmhouse, a siren’s call that none of us could resist. We’d gather around her worn wooden table, not just for a warm bite, but for the connection, the stories, and the simple, profound joy of creating something beautiful together.
That’s the feeling I want to capture for you today. This recipe is my homage to those mornings—a promise of flaky, homemade perfection that’s about to become a new tradition in your kitchen.
PrintButtery Biscuits
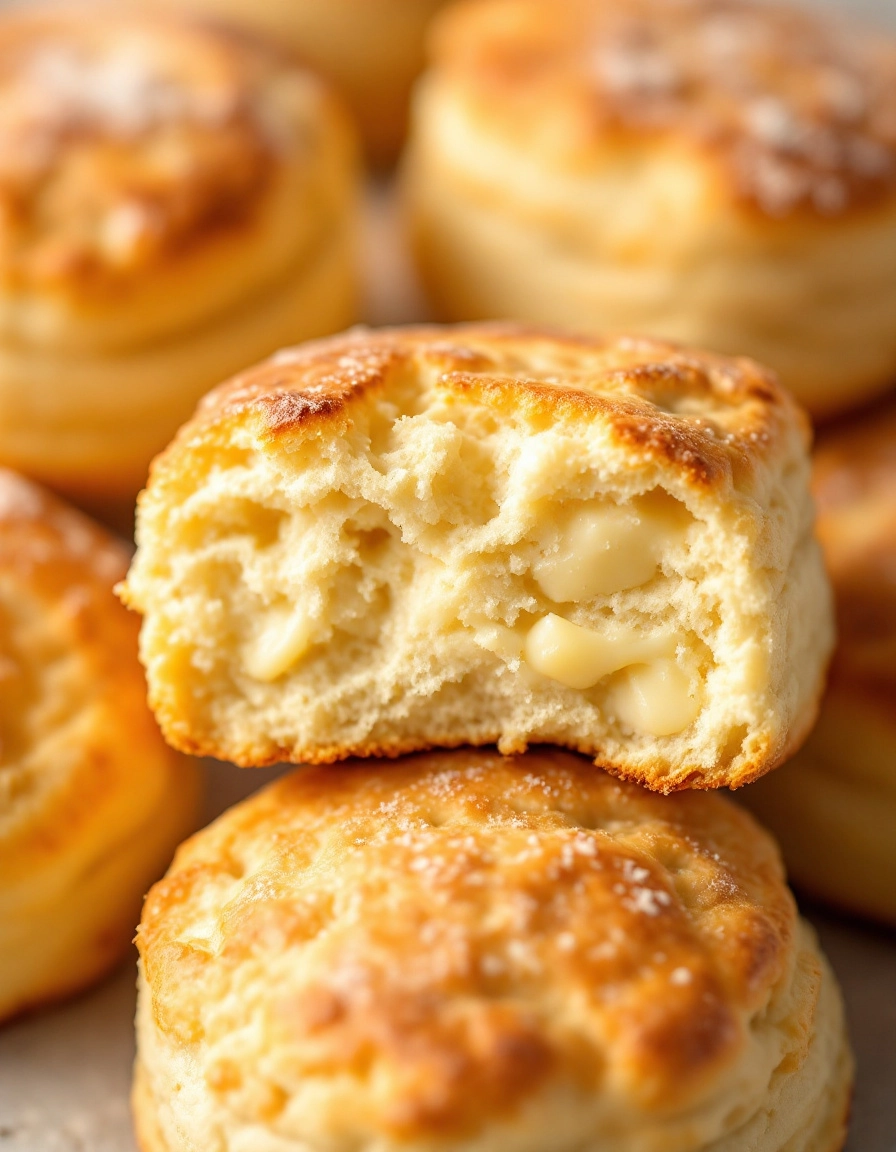
Flaky, tender, and rich homemade biscuits with a golden-brown crust and soft interior.
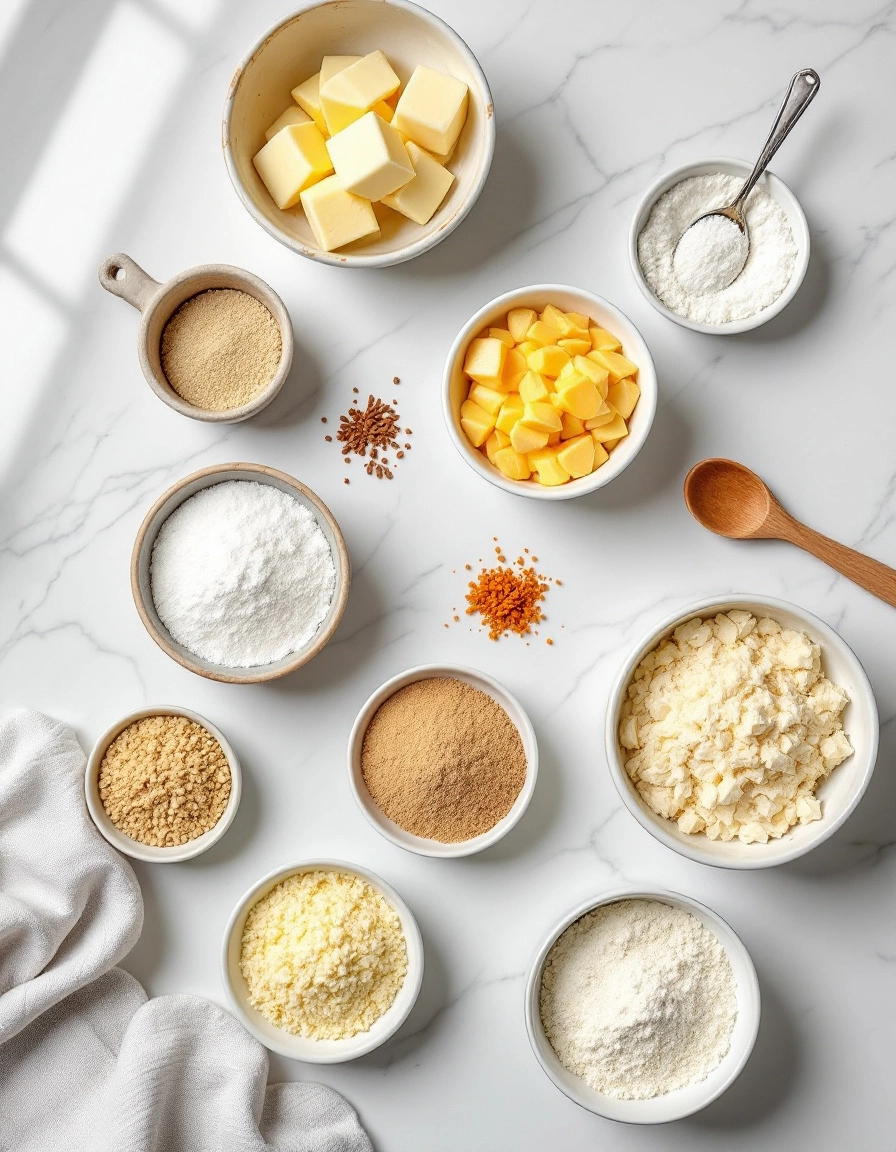
Ingredients
For the Crust:
- 2 cups all-purpose flour
- 1 tablespoon baking powder
- 1/2 teaspoon salt
- 1/2 cup cold unsalted butter, cubed
- 3/4 cup cold whole milk
Instructions
1. Prepare the Crust:
- Preheat oven to 425°F (220°C). Line a baking sheet with parchment paper.
- In a large bowl, whisk together flour, baking powder, and salt. Cut in cold butter until mixture resembles coarse crumbs.
- Stir in milk just until dough comes together. Turn onto a floured surface, knead gently 2-3 times, then pat into a 1-inch thick round. Cut into biscuits with a 2.5-inch cutter.
- Place biscuits on prepared baking sheet. Bake for 12-15 minutes until golden brown. Serve warm.
Notes
You can customize the seasonings to taste.
The Ingredients: A Short & Sweet List for Big, Buttery Results
There’s a certain magic in a short ingredient list, isn’t there? It promises that each component is there for a reason, and that the final result will be pure and honest. For these biscuits, we’re using simple pantry staples to create something truly extraordinary.
- 2 cups all-purpose flour: The trusty foundation. I always give mine a good fluff with a spoon before measuring to keep things light.
- 1 tablespoon baking powder: Our little leavening hero! Please check the date on yours—it makes all the difference for that perfect rise.
- 1 teaspoon granulated sugar: Just a whisper to balance the flavors and help with browning.
- 1 teaspoon fine sea salt: Essential for enhancing all the buttery goodness.
- ½ cup (1 stick) very cold unsalted butter: This is the star of the show. I can’t stress enough how important it is that it’s cold. I pop my stick in the freezer for 15-20 minutes before I start and then grate it on a box grater. Trust me, it’s a game-changer for flakiness!
- ¾ cup cold whole milk, plus a splash more for brushing: The cold liquid keeps our precious butter bits solid. Whole milk gives us the richest flavor and tenderest crumb.
Making the Magic: A Step-by-Step Guide to Biscuit Bliss
Now, let’s get our hands dusty. Biscuits are less about precision and more about feeling, so don’t be nervous. We’re creating something beautiful together.
Step 1: First, preheat your oven to a hot 425°F (220°C). Line a baking sheet with a piece of parchment paper. This is our biscuit’s cozy bed where it will puff up and turn golden.
Step 2: In a large bowl, whisk together the flour, baking powder, sugar, and salt. I love this part—it feels like I’m mixing up a little potion. Make sure everything is evenly distributed.
Step 3: Now for the grated butter! Add it all to the flour mixture. Using your fingertips, gently toss the butter through the flour until every little shard is coated. You want to see those beautiful, pea-sized bits of butter throughout. They’re your tickets to a flaky, layered biscuit.
Step 4: Create a little well in the center of your flour-butter mixture and pour in the cold milk. Take a fork and gently stir until a shaggy, slightly sticky dough just begins to form. It will look a bit messy and that is perfectly, absolutely okay. The number one rule here is do not overmix. We want to be gentle and keep those butter pieces intact.
Step 5: Turn the dough out onto a lightly floured surface. Gently, oh so gently, pat it into a rough rectangle about 1-inch thick. No rolling pin needed—the warmth from our hands is enough.
Pro Tips for Biscuit Perfection
Every baker has their secrets, and after countless batches, I’ve learned a few that make all the difference. First, the golden rule: keep everything cold! I even pop my measured flour and butter into the freezer for 15 minutes before I start. The little pockets of cold butter are what create that incredible, flaky texture we all dream about.
When it comes to mixing, a light hand is your best friend. Stir the dough just until it comes together—it’s okay if there are a few dry bits at the bottom of the bowl. Overmixing is the number one enemy of a tender biscuit. And for the tallest, flakiest layers, gently pat the dough into a rectangle and fold it over onto itself a few times before cutting.
Delicious Variations & Handy Substitutions
This recipe is a wonderful canvas for your creativity! Here are a few of our family’s favorite twists:
- Cheesy Garlic: Fold in ½ cup of shredded sharp cheddar cheese and ¼ teaspoon of garlic powder with the dry ingredients.
- Herb Garden: Add two tablespoons of freshly chopped herbs like chives, parsley, or dill for a fragrant, savory biscuit perfect for supper.
- Sweet Berry: For a breakfast treat, gently fold in a handful of fresh blueberries or raspberries and sprinkle the tops with coarse sugar before baking.
Need to make a swap? No problem!
- Buttermilk: No buttermilk? Make your own by adding 1 tablespoon of lemon juice or white vinegar to a cup of whole milk. Let it sit for 5 minutes until it curdles slightly.
- Gluten-Free: A 1-to-1 gluten-free baking blend can work well, though you may need a touch more liquid.
- Vegan: Use your favorite plant-based butter (the kind that comes in sticks is best) and cold oat or soy milk mixed with a teaspoon of apple cider vinegar.
The Perfect Partners: What to Serve Them With
A warm, buttery biscuit is the ultimate comfort food companion. They truly shine at the breakfast table, split open and slathered with softened butter and homemade jam or a drizzle of golden honey.
For lunch or dinner, they are absolutely essential for sopping up gravy in a classic biscuits and sausage gravy situation. They’re also phenomenal alongside a big bowl of cozy soup, like a creamy potato leek or a hearty chili. And let’s not forget the ultimate Southern staple: using them as the fluffy base for a breakfast sandwich with egg, cheese, and a crispy slice of bacon.
The Joy of Homemade: More Than Just a Biscuit
Beyond the incredible flavor, there’s something truly special about making biscuits from scratch. There’s a tangible sense of accomplishment that comes from pulling a tray of golden, flaky perfection from your own oven. The aroma that fills your kitchen is pure, undiluted comfort—it feels like home.
It’s also a fantastic way to connect, whether you’re teaching a little one how to cut out circles with the biscuit cutter or sharing a warm batch with a neighbor who needs a pick-me-up. These biscuits aren’t just food; they’re little edible hugs.
Real-Life Tips from My Kitchen to Yours
Here’s the real talk you won’t always find in a recipe card. If your dough feels too sticky when you go to pat it out, don’t panic! Just sprinkle your work surface and your hands with a little extra flour. If it feels a bit dry and isn’t coming together, add another tablespoon of buttermilk.
And my biggest tip? Don’t twist the biscuit cutter! Press straight down and lift straight up. Twisting seals the edges and prevents them from rising as high. For the last few biscuits, press the scraps together gently—they might not be quite as uniform, but I promise they’ll taste just as delicious.
Happy baking! I hope this recipe becomes a cherished part of your family’s tradition, just like it is in ours.
Conclusion
And there you have it! A batch of warm, flaky, buttery biscuits, made completely from scratch in your own kitchen. This recipe is all about simple, wholesome ingredients coming together to create something truly magical. Remember the key points: keep that butter cold, handle the dough with a gentle touch, and don’t be shy with the folding to create those irresistible, buttery layers.
I truly hope this recipe becomes a staple in your home, filling your kitchen with the most wonderful aroma and your table with happy, satisfied people. Now, I’d love to hear from you! Did you try this recipe? What did you serve your biscuits with? Share your experience, your photos, or any clever twists you added in the comments below. Your feedback and stories are my favorite part of this! And if you’re looking for more cozy, homemade recipes to try, why not explore our collection of comfort food classics next?
FAQs
Can I make the biscuit dough ahead of time?
Absolutely! You can prepare the dough, cut out the biscuits, and arrange them on your baking sheet. Instead of baking them right away, pop the entire sheet into the freezer for about 30 minutes until the biscuits are firm. Then, transfer them to a freezer-safe bag or container. They’ll keep for up to 2 months. When you’re ready to bake, simply place the frozen biscuits on a baking sheet and add a few extra minutes to the baking time.
Why weren’t my biscuits fluffy and flaky?
The most common culprit for dense biscuits is overworking the dough. When you knead and mix too much, you develop the gluten in the flour, which leads to toughness. Remember, a shaggy, slightly sticky dough is a good thing! Also, double-check that your baking powder is fresh, as it’s essential for that beautiful rise.
Can I use salted butter instead of unsalted?
You can, but you’ll want to adjust the salt in the recipe. If using salted butter, I recommend reducing the added salt in the dough by about a quarter teaspoon. This helps you stay in control of the overall flavor and prevents your biscuits from becoming too salty.
What’s the best way to reheat leftover biscuits?
To recapture that just-baked magic, avoid the microwave, which can make them soft and chewy. Instead, warm them in a 350°F (175°C) oven for about 5-10 minutes until heated through. For an extra-crispy exterior, you can even slice them in half and toast them lightly in a buttered skillet!
I don’t have a biscuit cutter. What can I use instead?
No problem! The sharp edge of a glass or a mason jar ring works perfectly in a pinch. Just dip the rim in a little flour before pressing down to prevent sticking. You can also simply use a sharp knife to cut the dough into squares or triangles—this method has the bonus of having no scraps to re-roll!


