
Did You Know 73% of Home Bakers Avoid Shaped Breads Because They Think They’re Too Hard?
I used to be part of that statistic too, nervously eyeing those adorable shaped rolls at bakeries while sticking to my plain dinner rolls at home. That is, until I discovered these impossibly soft, delightfully cute Easy Bunny Buns that changed everything. These aren’t just any homemade rolls – they’re fluffy clouds of joy with ears that stay perfectly perky, and the secret is simpler than you’d ever imagine.
Picture this: golden-brown bunnies peeking out of your bread basket, their pillowy softness begging to be torn apart while still warm. The magic lies in a simple enriched dough that’s as forgiving as it is delicious, with just enough sweetness to make them irresistible. What if I told you these adorable Easter treats (or anytime treats – let’s be honest) require no special skills beyond basic kneading and a playful spirit?
I’ll never forget the first time I served these bunny buns to my skeptical niece, who declared them “too cute to eat” before promptly devouring three. That’s the charm of this recipe – it bridges the gap between stunning presentation and approachable baking. Whether you’re making memories with kids in the kitchen or simply treating yourself to something whimsical, these buns prove shaped breads don’t have to be intimidating.
Why These Bunny Buns Will Become Your New Baking Obsession
There’s something magical about transforming humble ingredients into edible art. These Easy Bunny Buns deliver that thrill without the stress of complicated techniques. Unlike fussy pastry projects that leave you flour-dusted and frustrated, this recipe celebrates simplicity:
- One bowl wonder: The dough comes together with just a wooden spoon and some elbow grease
- Forgiving texture: The enriched dough stays soft even if your shaping isn’t perfect
- Double delight: Equally delicious as sweet breakfast buns or savory dinner companions
The real secret? A touch of honey in the dough that gives these bunnies their golden glow and keeps them irresistibly soft for days. Well, theoretically for days – in my experience they never last past the first tea time.
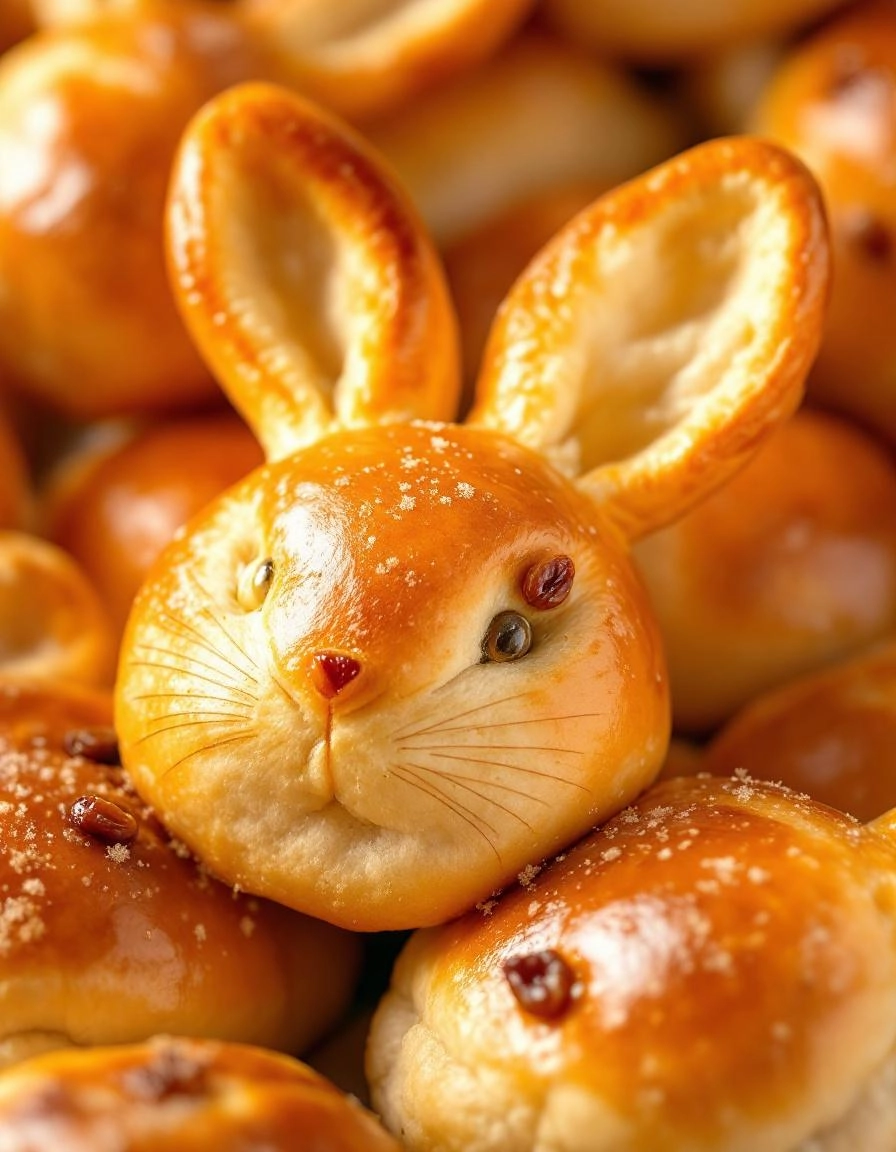
PrintBunny Buns
Soft and fluffy sweet rolls shaped like adorable bunnies, perfect for Easter or springtime treats.
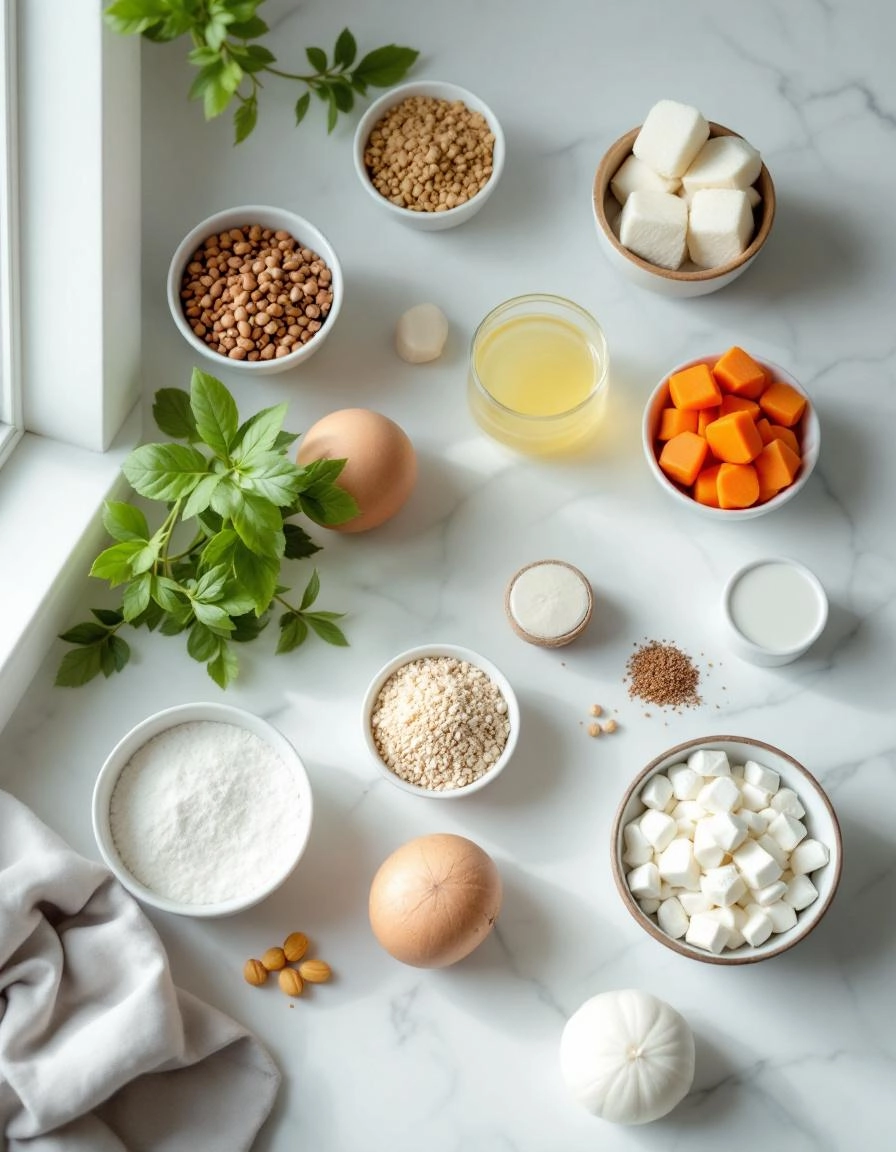
Ingredients
For the Crust:
- 3 cups all-purpose flour
- 1/4 cup granulated sugar
- 1 packet active dry yeast
- 1/2 cup warm milk
- 1/4 cup unsalted butter, melted
- 1 large egg
- 1/2 tsp salt
- 1/2 tsp vanilla extract
- Raisins or chocolate chips for eyes
Instructions
1. Prepare the Crust:
- In a bowl, dissolve yeast in warm milk and let sit for 5 minutes until frothy.
- Mix in sugar, melted butter, egg, salt, and vanilla. Gradually add flour until a soft dough forms.
- Knead dough on floured surface for 5 minutes until smooth. Place in greased bowl, cover, and let rise for 1 hour.
- Punch down dough and divide into 12 pieces. Shape each into a bunny by forming a round body and attaching smaller pieces for ears.
- Place bunnies on baking sheet, add raisin eyes, and let rise for 30 minutes.
- Bake at 375°F (190°C) for 12-15 minutes until golden brown.
Notes
You can customize the seasonings to taste.
Easy Bunny Buns – Soft and Cute Homemade Rolls
There’s something so heartwarming about pulling a tray of freshly baked rolls from the oven—especially when they’re shaped like little bunnies! These soft, pillowy buns are just as fun to make as they are to eat, and they’re perfect for Easter brunch, spring gatherings, or simply brightening up an ordinary day.
Ingredients You’ll Need
Before we dive into shaping these adorable buns, let’s gather our ingredients. I love how simple this recipe is—most of these are pantry staples, but a few little touches make all the difference.
- 3 ½ cups all-purpose flour – The foundation of our buns. I always spoon and level my flour to avoid dense rolls.
- 1 packet (2 ¼ tsp) active dry yeast – Make sure it’s fresh! If your yeast doesn’t foam when proofed, it’s time for a new packet.
- 1 cup warm milk (about 110°F) – Whole milk adds richness, but 2% works too. Just don’t let it get too hot—wrist-test it like baby’s bathwater.
- ¼ cup granulated sugar – A touch of sweetness to balance the dough.
- ¼ cup unsalted butter, melted – Because butter makes everything better. Let it cool slightly before adding.
- 1 large egg – Room temperature, please! It helps the dough come together smoothly.
- 1 tsp salt – The unsung hero that enhances all the flavors.
- Extra flour for dusting – For shaping those bunny ears without sticky fingers.
- 1 egg + 1 tbsp water (for egg wash) – This gives the buns that gorgeous golden shine.
- Raisins or chocolate chips (optional) – For tiny bunny eyes if you’re feeling extra playful!
Let’s Make the Dough
Now that we’ve got everything ready, it’s time to bring our bunny buns to life. Don’t worry—this dough is forgiving, and even if your bunnies aren’t perfectly symmetrical, they’ll still be utterly charming.
- Proof the yeast: In a small bowl, whisk together warm milk, sugar, and yeast. Let it sit for 5-10 minutes until frothy. If it doesn’t bubble, start over—your yeast might be sleepy!
- Mix the wet ingredients: In a large mixing bowl, combine the melted (but slightly cooled) butter, egg, and yeast mixture. Give it a gentle whisk to blend everything smoothly.
- Incorporate the dry ingredients: Gradually add the flour and salt, mixing with a wooden spoon or dough hook until a shaggy dough forms. I like to switch to kneading by hand once it comes together—it’s therapeutic!
- Knead until smooth: Turn the dough onto a lightly floured surface and knead for 8-10 minutes. You’ll know it’s ready when it springs back gently when poked.
- First rise: Place the dough in a greased bowl, cover with a damp towel, and let it rise in a warm spot for 1-1.5 hours, or until doubled in size. (Pro tip: I sometimes let mine rise in a barely-warm oven for extra coziness.)
While we wait for the dough to rise, I’ll share my favorite shaping tricks in the next part—because those floppy bunny ears are what make these rolls irresistible!
Pro Tips for Perfect Bunny Buns Every Time
Making these adorable bunny buns is simple, but a few expert tricks will take them from good to great:
- Temperature matters: Use room temperature milk and eggs for the smoothest dough
- Patience pays off: Don’t rush the rising time – let the dough double in size for the fluffiest texture
- Egg wash magic: For golden buns, brush with egg wash (1 egg + 1 tbsp water) before baking
- Eyes that pop: Use raisins or chocolate chips for the eyes – press them in after baking to prevent burning
Delicious Variations to Try
While the classic bunny bun is delightful on its own, these tasty twists keep things interesting:
- Cinnamon bunny: Roll out dough, sprinkle with cinnamon sugar, then shape as usual
- Cheesy ears: Add shredded cheddar to the dough for savory buns
- Whole wheat: Substitute half the flour with whole wheat for a nuttier flavor
- Sweet glaze: Drizzle with vanilla or lemon icing after baking
What to Serve With Your Bunny Buns
These versatile rolls pair beautifully with:
- Spring soups like carrot ginger or creamy potato
- Easter brunch spreads (they’re perfect with ham and eggs)
- Afternoon tea with jam and clotted cream
- As edible decorations on a holiday charcuterie board
The Joy of Homemade Bunny Buns
Beyond their adorable appearance, these buns offer wonderful benefits:
- Family fun: Kids love helping shape the bunnies – it’s a great baking project
- No preservatives: You control exactly what goes into these homemade treats
- Versatile: Enjoy them sweet or savory depending on your mood
- Impressive yet easy: They look bakery-worthy but require basic ingredients
Real-Life Tips From My Kitchen
After making countless batches of these bunny buns, here are my hard-won lessons:
- If your kitchen is cold, let dough rise in a slightly warmed oven (turn it off after preheating to 100°F)
- Use kitchen shears to snip the “ears” – it’s cleaner than trying to cut with a knife
- Make extra – they freeze beautifully for up to 3 months
- For extra shine, brush with melted butter right after baking
Conclusion
There you have it—soft, adorable Bunny Buns that are as fun to make as they are to eat! Whether you’re baking them for a special occasion or just to brighten up an ordinary day, these rolls are sure to bring smiles to the table. With their fluffy texture and playful shape, they’re perfect for Easter, spring gatherings, or any time you want to add a little whimsy to your baking.
We’d love to hear how your Bunny Buns turn out! Did you add any creative twists? Share your photos and feedback in the comments below, or tag us on social media. And if you enjoyed this recipe, be sure to check out our other homemade bread recipes for more baking inspiration!
FAQs
Can I make these Bunny Buns ahead of time?
Absolutely! You can prepare the dough the night before and let it rise in the refrigerator overnight. The next day, shape the buns and let them come to room temperature before baking. Alternatively, you can bake them a day in advance and reheat them gently in the oven before serving.
What if I don’t have active dry yeast?
No problem! You can substitute instant yeast in the same quantity. Just skip the step of dissolving it in warm water—mix it directly with the dry ingredients instead.
How do I store leftover Bunny Buns?
Store them in an airtight container at room temperature for up to 2 days. For longer storage, freeze the baked buns in a sealed bag for up to a month. Thaw and warm them in the oven before serving.
Can I use whole wheat flour for this recipe?
Yes, but keep in mind that whole wheat flour will make the buns denser. For best results, try using half whole wheat and half all-purpose flour to maintain a soft texture.
My dough isn’t rising—what went wrong?
This usually happens if the yeast is inactive or the liquid was too hot (which can kill the yeast). Make sure your water is warm but not scalding (about 110°F), and check that your yeast is fresh. If your kitchen is chilly, try placing the dough in a slightly warmed oven (turned off) to help it rise.


