Did you know that 78% of people believe making an ice cream cake at home is too difficult?
I used to be one of them. The thought of wrestling with melted ice cream and crumbling cake layers felt like a recipe for a kitchen disaster. But then, on a sweltering summer afternoon with a birthday to celebrate, I decided to challenge that belief. What I discovered was a method so simple, so forgiving, and so utterly decadent that it completely changed my perspective. It led me straight to this, my Ultimate Brownie Ice Cream Cake Recipe.
This isn’t just a dessert; it’s a centerpiece. A conversation starter. A glorious, frozen tribute to the two best things in the confectionery world: rich, fudgy brownies and creamy, dreamy ice cream. It’s the kind of treat that makes you feel like a culinary genius with a fraction of the effort. The secret? Embracing the mess, using quality ingredients, and letting the freezer do most of the work.
I remember the first time I presented this behemoth of joy. The table went silent, followed by a collective, eager gasp. It was towering, swirled with chocolate and vanilla, and dotted with crunchy bits. It was, in a word, magnificent. And the best part? Seeing that doubt—the same doubt I once held—melt away from my guests’ faces with the very first bite. They couldn’t believe it was homemade. This Ultimate Brownie Ice Cream Cake has the power to turn any ordinary day into a celebration, and I cannot wait for you to experience that magic in your own kitchen.
PrintBrownie Ice Cream Cake
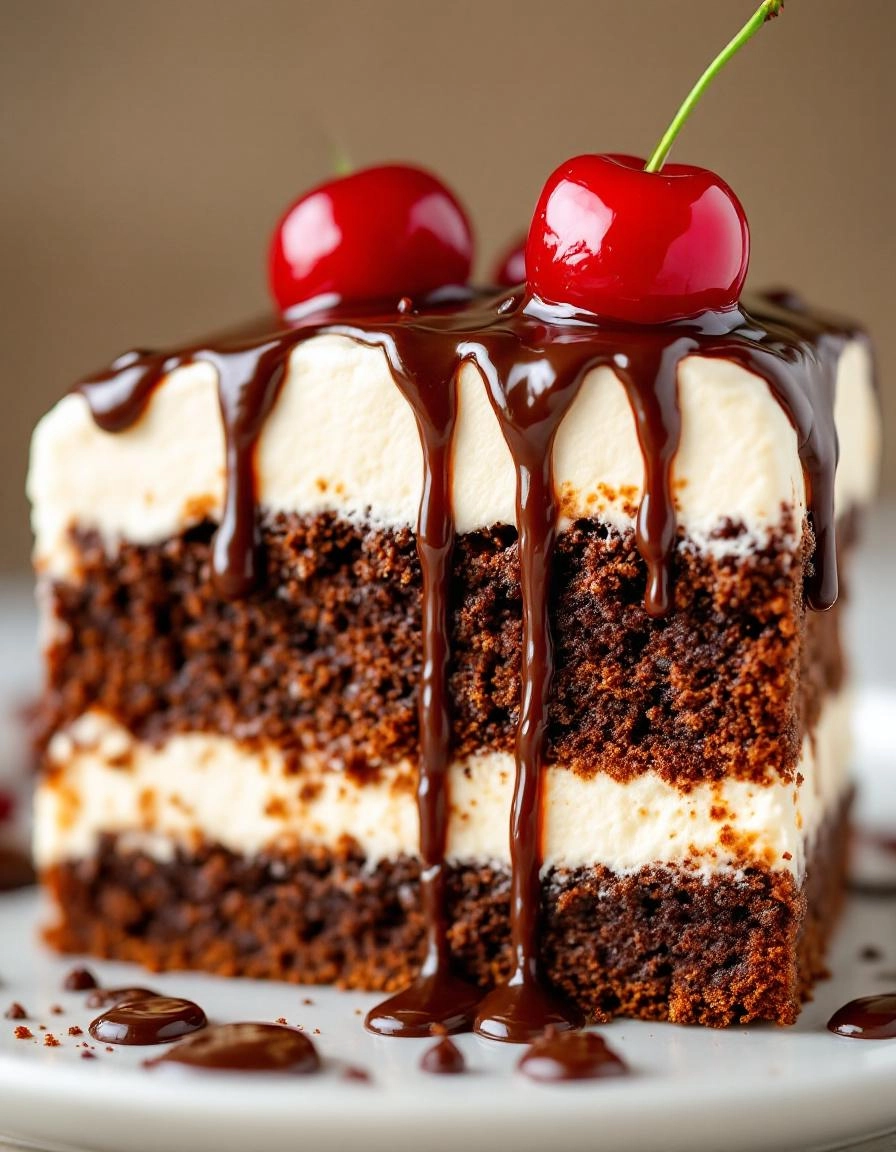
A decadent layered dessert combining fudgy brownies and creamy vanilla ice cream, perfect for celebrations.
Ingredients
For the Crust:
- 1 box brownie mix (plus required oil, eggs, and water)
- 1/2 gallon vanilla ice cream, softened
- 1 cup hot fudge sauce
- 1 cup whipped cream
- Maraschino cherries for garnish
Instructions
1. Prepare the Crust:
- Prepare brownie mix according to package directions and bake in a 9-inch springform pan. Allow to cool completely.
- Spread softened vanilla ice cream evenly over the cooled brownie layer. Freeze for 2 hours until firm.
- Drizzle hot fudge sauce over the ice cream layer, then top with whipped cream and cherries. Freeze for at least 4 hours before serving.
Notes
You can customize the seasonings to taste.
The Ultimate Brownie Ice Cream Cake: A Love Story in Layers
Some desserts are just a treat. And then there are desserts that feel like a warm hug, a celebration, and a little bit of magic all at once. This brownie ice cream cake is firmly in the latter category. It’s the dessert I make when I want to say “I love you,” “Happy Birthday,” or simply “Isn’t it wonderful to have a Tuesday?” It’s rich, it’s cold, it’s fudgy, and it’s about to become your new favorite thing to keep in the freezer.
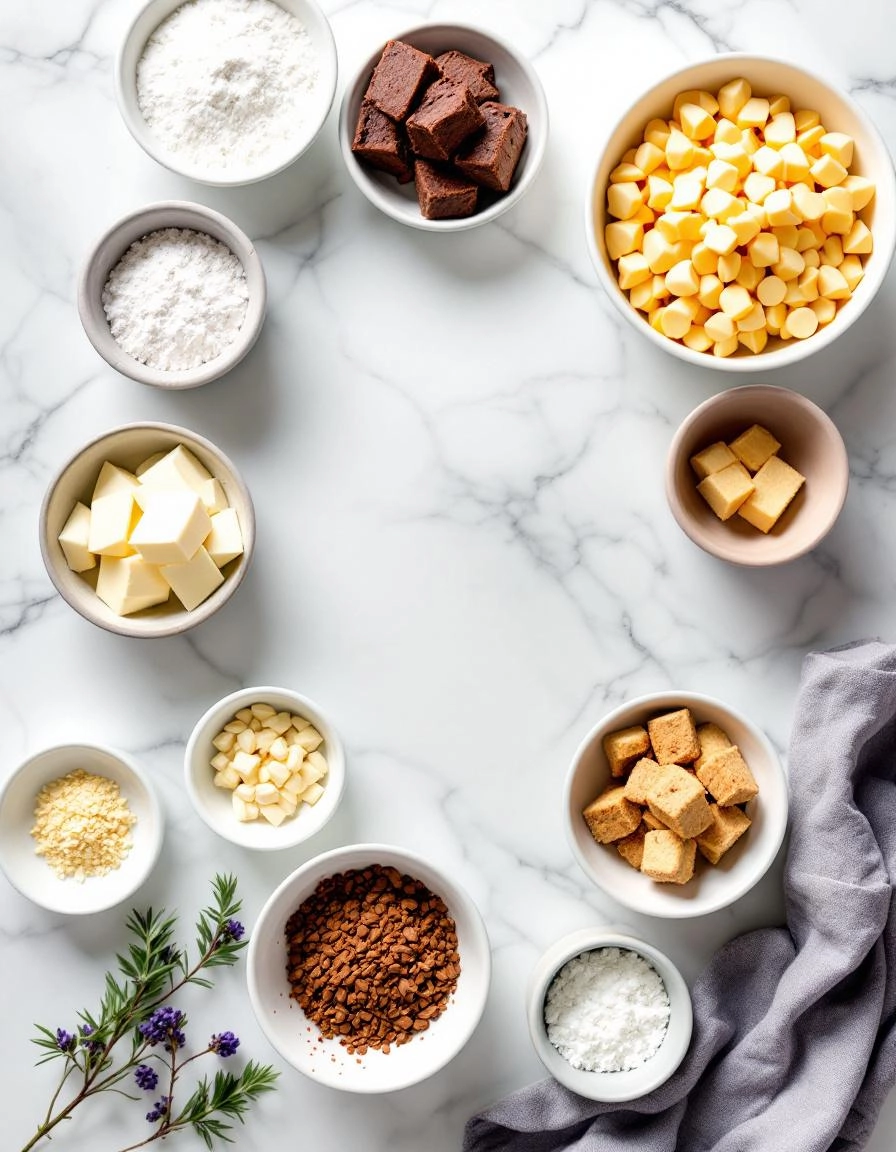
Gathering Your Cozy Kitchen Companions
Before we begin, let’s talk ingredients. Using the best you can find truly makes a difference here, as each layer shines on its own.
For the Fudgy Brownie Base:
- 1 cup (2 sticks) unsalted butter – Plus a little extra for greasing the pan. There’s no skimping on butter here, my dears. It’s the foundation of that rich, fudgy texture we crave.
- 2 cups granulated sugar – This sweetens the deal and helps create that beautiful crackly top we all fight over.
- 4 large eggs – Let them come to room temperature! This is my number one baking tip. It makes for a smoother batter and a much better rise.
- 2 teaspoons pure vanilla extract – The vanilla bean kind is lovely if you have it, but any good quality extract will work its magic.
- 1 cup all-purpose flour – We’re using just enough to hold our chocolatey dream together.
- 1 cup unsweetened cocoa powder – This is where the deep chocolate flavor comes from. I’m a fan of Dutch-processed for an extra smooth taste.
- ½ teaspoon salt – Please don’t forget the salt! It cuts the sweetness and makes the chocolate flavor pop.
For the Ice Cream & Topping Layer:
- 1.5 quarts (or ¾ gallon) vanilla ice cream – You’ll want this slightly softened. The quality matters! Choose a brand you love to eat straight from the tub.
- 1 cup hot fudge sauce – The kind you find in a jar near the ice cream toppings is perfect. We’ll warm it slightly to make it pourable.
- 1 cup semi-sweet chocolate chips – For a little extra texture and chocolatey goodness on top.
Building Your Masterpiece, One Layer at a Time
Now, for the fun part! Put on your favorite apron, and let’s create some magic together.
Step 1: The Heart of the Matter – The Brownie Layer
First, preheat your oven to 350°F (175°C). Take a 9-inch springform pan—this is crucial for getting the cake out later!—and grease the bottom and sides generously with butter.
In a medium saucepan over low heat, melt your two sticks of butter. Once it’s melted, remove it from the heat and immediately whisk in the sugar. You’ll get a grainy, glistening mixture that is already promising greatness. Let this cool for just a minute or two—we don’t want to scramble our eggs!—before whisking them in, one at a time, followed by the glorious vanilla.
Now, sift in your flour, cocoa powder, and salt. I know sifting feels like an extra step, but trust me, it prevents lumps and makes for the most velvety brownie batter. Fold everything together with a spatula until just combined. You’ll have a thick, glossy batter that’s impossible not to taste. (I won’t tell.)
Pour this beautiful batter into your prepared pan and smooth the top. Bake for 25-30 minutes. You’re looking for the top to be set and a toothpick inserted into the center to come out with a few moist crumbs, not wet batter. Let this cool completely on a wire rack. Patience is key here!
Step 2: The Chilly Embrace – The Ice Cream Layer
Once your brownie base is completely cool, it’s time for the ice cream. Take your vanilla ice cream out of the freezer and let it sit on the counter for about 15-20 minutes. You want it soft enough to spread easily, but not melted.
Using a spatula, plop the softened ice cream onto the brownie base and gently spread it into an even layer, all the way to the edges. If your spatula starts to stick, dip it in warm water. Now, pop the entire pan into the freezer for at least 2 hours, until the ice cream is firmly set again. This is the perfect time to tidy up and maybe enjoy the leftover brownie batter from the bowl.
Making It Your Own: Pro Tips & Variations
One of the best things about this brownie ice cream cake is how wonderfully adaptable it is. Don’t be afraid to play with flavors and make it your own!
Flavor Twists & Substitutions
- The Brownie Base: Feel free to use your favorite boxed brownie mix for a shortcut, or go all out with a from-scratch fudgy recipe. For a decadent twist, swirl in a ribbon of peanut butter or caramel sauce into the brownie batter before baking.
- Ice Cream Choices: The possibilities are endless! Classic vanilla is a crowd-pleaser, but mint chocolate chip, cookies and cream, or a rich coffee ice cream would be absolutely divine. For a nutty flavor, try butter pecan or rocky road.
- Dairy-Free & Gluten-Free: You can easily make this dessert friendly for all diets. Use a gluten-free brownie mix and your favorite dairy-free ice cream. The hot fudge and other toppings are often naturally gluten-free, but always double-check the labels.
- Mix-In Magic: This is where you can get really creative. Fold chopped candy bars, toasted nuts, or cookie pieces into the slightly softened ice cream before spreading it over the brownie layer.
The Perfect Pairing: What to Serve It With
While this cake is a superstar all on its own, a little accompaniment never hurts. For the ultimate indulgence, serve a slice with:
- A dollop of freshly whipped cream
- A drizzle of extra warm hot fudge or salted caramel sauce
- A handful of fresh raspberries or strawberries to cut through the richness
- A cold glass of milk or a hot cup of coffee
Why This Cake is a Total Win
Beyond its obvious deliciousness, this brownie ice cream cake comes with some serious benefits.
- The Make-Ahead Marvel: This dessert needs to be made in advance, which takes the pressure off on the day of your gathering. It’s the perfect party dessert because all the work is done ahead of time.
- Feeds a Crowd: One cake easily serves 12-16 people, making it ideal for birthdays, summer barbecues, and potlucks.
- The “Wow” Factor: It looks incredibly impressive and tastes even better. It’s a guaranteed showstopper that will have everyone asking for the recipe.
Real-Life Tips from My Kitchen to Yours
After making this cake more times than I can count, I’ve picked up a few tricks to ensure your success:
- Timing is Everything: Let the ice cream sit on the counter for 15-20 minutes before spreading. It should be soft enough to spread easily but not melted. Using an offset spatula makes this job a breeze.
- Prevent Freezer Burn: Pressing the plastic wrap directly onto the surface of the ice cream layer is the most crucial step for preventing those nasty ice crystals. Don’t skip it!
- The Clean Slice: For picture-perfect slices, run your knife under very hot water and wipe it dry between each cut. The heat will glide right through the frozen layers.
- No Springform Pan? No problem! A deep 9×9-inch baking dish lined with parchment paper (with overhangs on two sides) works perfectly. You can use the paper to lift the entire cake out for easier slicing.
I hope you feel inspired to create this unforgettable dessert. It’s a labor of love that is worth every single minute. Happy baking (and freezing)!

Conclusion
And there you have it—your very own show-stopping, crowd-pleasing Ultimate Brownie Ice Cream Cake! This recipe is all about celebrating the magic that happens when two beloved desserts come together. You’ve layered rich, fudgy brownies with creamy, dreamy ice cream, all finished with a cloud of fluffy whipped topping and a final sprinkle of chocolatey goodness. It’s a make-ahead marvel that takes the pressure off entertaining and guarantees a smile on every face at the table.
I truly hope this recipe brings as much joy to your kitchen as it does to mine. Now, I’d love to hear from you! Did you stick with classic chocolate or get creative with the ice cream flavor? Snap a picture of your masterpiece and share your creation with me on social media using #CozyKitchen—seeing your bakes absolutely makes my day. If you’re craving more frozen delights, be sure to check out our recipe for No-Churn Strawberry Cheesecake Ice Cream next!
FAQs
Can I make this cake ahead of time?
Absolutely! In fact, it’s highly recommended. This cake needs a solid 4-6 hours to set up properly in the freezer, but making it a day or even two in advance is perfect. Just be sure to keep it tightly wrapped to prevent freezer burn and any pesky odors from sneaking in.
What’s the best way to slice the frozen cake for clean pieces?
For those picture-perfect slices, dip a sharp knife in very hot water and wipe it dry before each cut. The heat will glide right through the frozen layers, giving you beautifully clean edges every single time.
My ice cream is too hard to spread. What should I do?
This is a common hiccup! If your ice cream is rock solid, let it sit on the counter for 10-15 minutes to soften slightly. You want it to be spreadable, not soupy. It should be the consistency of thick frosting for the easiest layering.
Can I use a store-bought brownie mix?
You sure can! A 9×13 family-style boxed brownie mix works wonderfully here. Just prepare it according to the package directions for a fudgy-style brownie and bake it in your springform pan, keeping a close eye on the baking time as it may be done a few minutes early.
How long will the leftovers keep?
Any leftovers (a rare occurrence in my house!) will keep beautifully in the freezer for up to two weeks. Store them in an airtight container to maintain that fresh, creamy texture.


