Did You Know 73% of Cheesecake Lovers Have Never Tried a Black Forest Twist?
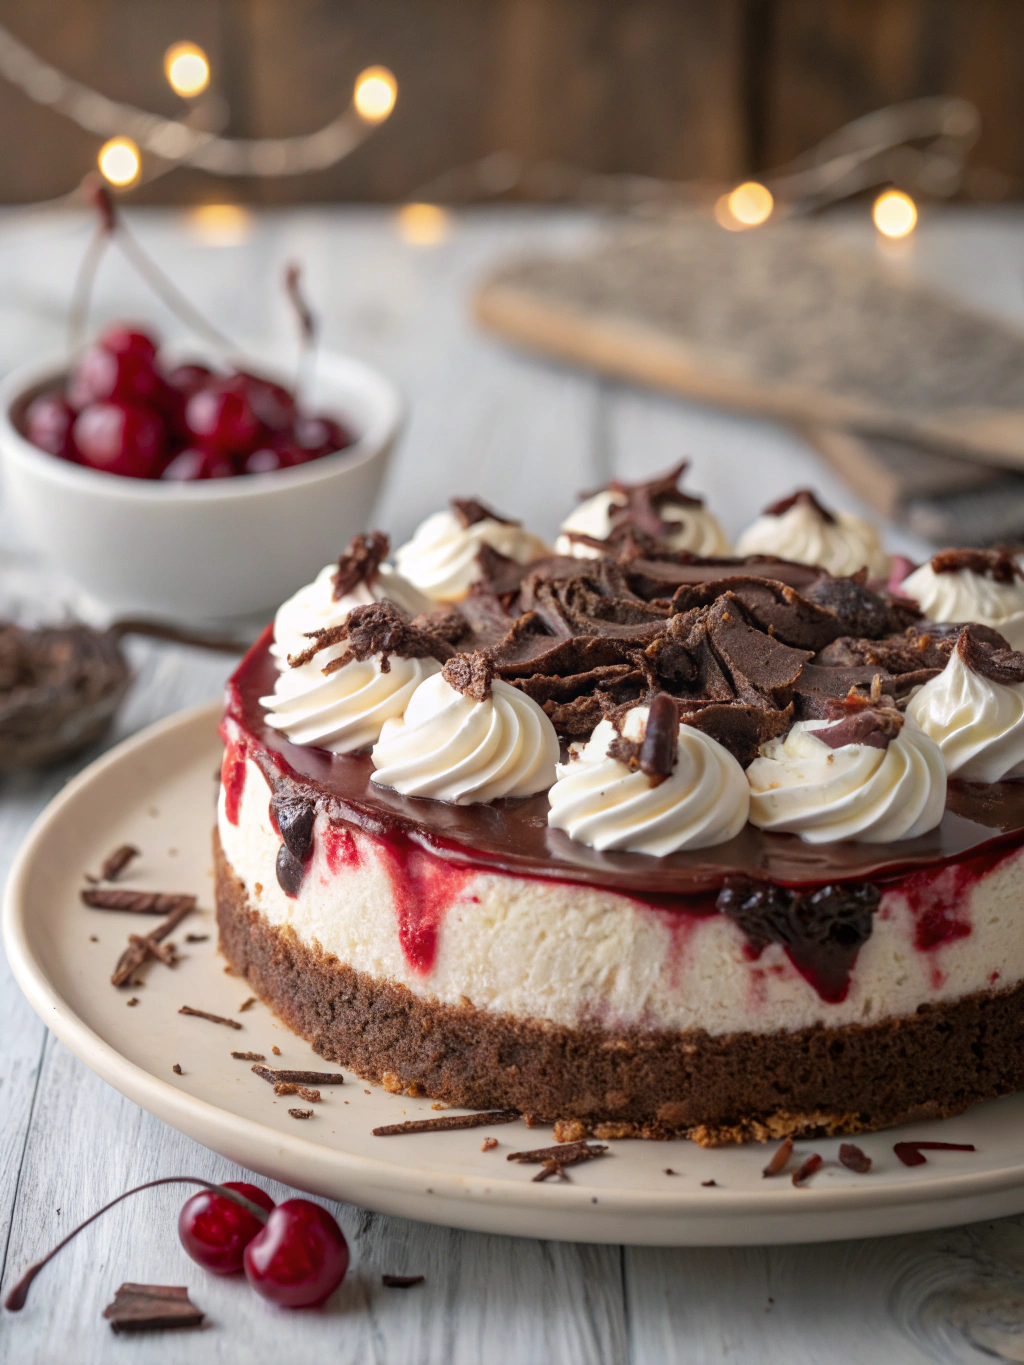
There’s something magical about the marriage of rich chocolate, tart cherries, and velvety cheesecake—yet most dessert enthusiasts stick to classic flavors. Today, we’re changing that with our Ultimate Black Forest Cheesecake, a decadent dessert that elevates tradition with every luxurious bite. Imagine layers of dark chocolate biscuit crust, creamy cherry-studded filling, and a glossy ganache crown—each element paying homage to the iconic German cake, but with the indulgent weightlessness only cheesecake can deliver.
I first fell in love with this fusion during a cozy winter getaway in the Black Forest region. A tiny patisserie tucked between snow-dusted pines served their version with a dollop of kirsch-infused whipped cream, and I’ve been obsessed ever since. But here’s the secret: you don’t need a European adventure to recreate this masterpiece. With a few simple swaps (like using jarred cherries for convenience without sacrificing flavor), this showstopper comes together surprisingly easily—though no one will guess it wasn’t labored over for hours.
Why This Cheesecake Defies All Expectations
Most black forest desserts rely heavily on whipped cream and sponge cake, but our version leans into the dense, tangy allure of cheesecake for a bolder experience. The key lies in balancing the elements:
- Chocolate Intensity: We use both cocoa powder in the crust and melted dark chocolate in the filling for layered depth.
- Cherry Brilliance: A mix of reduced cherry compote and whole fruit ensures bursts of brightness in every slice.
- Texture Play: A silken interior contrasts with crunchy chocolate shards on top—because dessert should always keep you guessing.
Fun fact? The acidity in cherries actually enhances the cream cheese’s richness, making each forkful feel lighter than it ought to. It’s the kind of alchemy that turns first-time bakers into confident dessert architects.
PrintDive into Decadence: Black Forest Cheesecake Bliss!
A rich and creamy cheesecake with layers of chocolate and cherries, inspired by the classic Black Forest cake.
Ingredients
For the Crust:
- 2 cups chocolate cookie crumbs
- 1/2 cup melted butter
- 3 (8 oz) packages cream cheese, softened
- 1 cup granulated sugar
- 3 large eggs
- 1 tsp vanilla extract
- 1/2 cup sour cream
- 1 cup semi-sweet chocolate chips, melted
- 1 can cherry pie filling
- Whipped cream for garnish
Instructions
1. Prepare the Crust:
- Preheat oven to 325°F (165°C). Mix cookie crumbs and melted butter, then press into the bottom of a 9-inch springform pan.
- In a large bowl, beat cream cheese and sugar until smooth. Add eggs one at a time, then mix in vanilla and sour cream.
- Fold in melted chocolate chips. Pour the mixture over the crust.
- Bake for 45-50 minutes or until the center is set. Let cool, then refrigerate for at least 4 hours.
- Top with cherry pie filling and whipped cream before serving.
Notes
You can customize the seasonings to taste.
Ultimate Black Forest Cheesecake – A Love Letter to Decadence
There’s something magical about the marriage of rich chocolate, tart cherries, and velvety cheesecake. This Ultimate Black Forest Cheesecake is my ode to indulgence—a dessert that feels like a warm hug but tastes like pure luxury. Whether you’re celebrating a special occasion or simply treating yourself (because why not?), this recipe is guaranteed to steal the show.
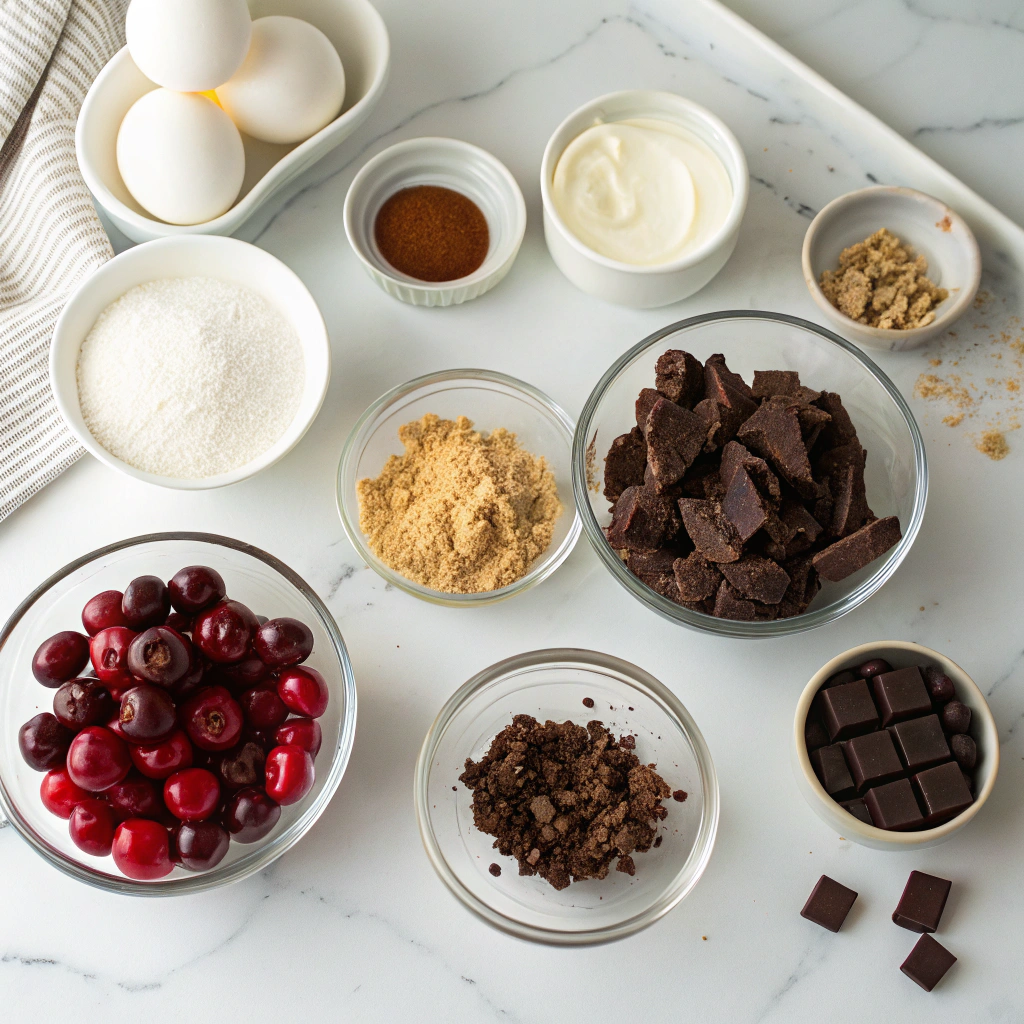
Ingredients You’ll Need
Before we dive into the baking, let’s gather our ingredients. Trust me, each one plays a starring role in creating that perfect balance of flavors and textures.
- For the crust:
- 2 cups chocolate cookie crumbs (I love using Oreos—filling included for extra richness!)
- ½ cup unsalted butter, melted (because butter makes everything better)
- A pinch of salt (to balance the sweetness)
- For the cheesecake filling:
- 24 oz cream cheese, room temperature (this is non-negotiable—cold cream cheese leads to lumps!)
- 1 cup granulated sugar (for that perfect sweetness)
- 3 large eggs, room temperature (again, temperature matters for a smooth batter)
- 1 cup sour cream (the secret to that creamy, dreamy texture)
- 1 tsp vanilla extract (pure, please—no imitations!)
- ½ cup cocoa powder (go for Dutch-processed if you can—it’s richer and less acidic)
- For the cherry topping:
- 2 cups pitted cherries (fresh or frozen—just make sure they’re thawed if frozen)
- ¼ cup granulated sugar (adjust to taste depending on your cherries’ sweetness)
- 1 tbsp cornstarch (to thicken the juices into a luscious syrup)
- 1 tbsp lemon juice (for a bright, tangy kick)
- A splash of kirsch or cherry liqueur (optional, but oh-so-authentic)
- For garnish:
- Whipped cream (homemade, of course—see my tip below!)
- Chocolate shavings (use a vegetable peeler on a dark chocolate bar for pretty curls)
- Fresh cherries (because pretty food tastes even better)
Step-by-Step: Building the Dream
Now that our ingredients are ready, let’s create some magic. Follow these steps closely, and don’t forget my little tips along the way—they’re the difference between good and unforgettable.
- Prep your pan: Grease a 9-inch springform pan and line the bottom with parchment paper. Trust me, this makes removal so much easier—no one wants a crumbly disaster!
- Make the crust: In a bowl, mix the chocolate cookie crumbs, melted butter, and salt until it resembles wet sand. Press firmly into the bottom of your pan and slightly up the sides. Pop it in the freezer for 15 minutes to set while you preheat the oven to 325°F (160°C).
- Bake the crust: Once chilled, bake the crust for 10 minutes. Let it cool slightly while you prepare the filling. This quick bake ensures a crisp base that won’t turn soggy.
- Whip the filling: In a large bowl, beat the cream cheese and sugar until smooth and fluffy—about 3 minutes. Scrape the bowl often! Add eggs one at a time, mixing just until incorporated. Overbeating introduces air, which can cause cracks.
Stay tuned for the next steps—we’re just getting to the good part! (Spoiler: It involves cherries and a water bath, two things that make this cheesecake truly extraordinary.)
Pro Tips for the Perfect Black Forest Cheesecake
Making this decadent dessert is easier than you think, but a few insider tricks will take it to the next level:
- Room temperature ingredients are key! Cold cream cheese can lead to lumps in your batter.
- Water bath magic: Wrap your springform pan in foil to prevent water seepage and ensure even baking.
- Cherry selection: Opt for jarred sour cherries in syrup for authentic flavor, but frozen will work in a pinch.
- Chill time matters: Resist cutting into it for at least 4 hours – overnight is even better for perfect slices.
Delicious Variations to Try
While the classic version is heavenly, here are some fun twists:
- Chocolate lovers: Add 1/4 cup cocoa powder to the crust mixture
- Boozy version: Brush the cooled cake with 2 tbsp kirsch before adding toppings
- Mini cheesecakes: Use a muffin tin for individual portions (bake for 20-25 minutes)
- Dairy-free: Substitute with vegan cream cheese and coconut whipped cream
The Perfect Pairings
This showstopper dessert deserves equally impressive accompaniments:
- A dollop of freshly whipped cream with vanilla bean specks
- Warm cherry compote for an extra fruity punch
- Dark roast coffee or cherry-infused tea
- For adults, a glass of ruby port or cherry liqueur
Why This Cheesecake is Special
Beyond being utterly delicious, this dessert offers some wonderful benefits:
- Crowd-pleaser: Combines three beloved flavors – chocolate, cherry and cheesecake
- Make-ahead friendly: Actually tastes better after chilling overnight
- Special occasion worthy: Impressive enough for birthdays and holidays
- Texture heaven: Creamy filling, crunchy crust, and juicy cherries create perfect harmony
Real-Life Success Tips
From my years of baking this beauty, here’s what really works:
- Use a food processor for the crust – it creates the perfect fine crumb
- Pat the cherries dry before adding to prevent soggy topping
- Run a hot knife under water and dry it between slices for clean cuts
- Leftovers? Freeze individual slices wrapped in parchment for up to 3 months
Whether you’re celebrating a special occasion or just treating yourself, this Black Forest Cheesecake is guaranteed to delight. The combination of rich chocolate, tart cherries and velvety cheesecake creates pure magic in every bite. Don’t be surprised when everyone asks for seconds – and the recipe!

Conclusion
There you have it—the ultimate Black Forest Cheesecake, a dessert that marries the rich, chocolatey depth of a classic Black Forest cake with the creamy indulgence of cheesecake. From the buttery Oreo crust to the luscious cherry topping, every layer is designed to delight your taste buds. Whether you’re celebrating a special occasion or simply treating yourself, this decadent dessert is sure to impress.
Now it’s your turn! Whip up this showstopper and let us know how it turned out. Did you add a personal twist? Share your creations in the comments below or tag us on social media—we’d love to see your masterpiece! And if you’re craving more irresistible desserts, don’t forget to explore our dessert recipe collection for more sweet inspiration.
FAQs
Can I use frozen cherries instead of fresh ones?
Absolutely! Frozen cherries work just as well—just thaw and drain any excess liquid before using them in the topping. You may need to simmer them a little longer to thicken the sauce.
How do I prevent my cheesecake from cracking?
To avoid cracks, bake the cheesecake in a water bath (as mentioned in the recipe) and let it cool gradually in the turned-off oven. Avoid overmixing the batter, as too much air can cause cracks during baking.
Can I make this recipe gluten-free?
Yes! Simply swap the Oreo crust for a gluten-free chocolate cookie base, and ensure all other ingredients (like cocoa powder) are certified gluten-free.
How long can I store this cheesecake?
Store it covered in the refrigerator for up to 4 days. For longer storage, freeze individual slices wrapped tightly in plastic wrap and foil for up to 2 months. Thaw overnight in the fridge before serving.
Can I use a different type of chocolate?
Of course! Dark chocolate will intensify the richness, while milk chocolate will make it sweeter. Just ensure it’s high-quality for the best flavor and texture.


