Introduction
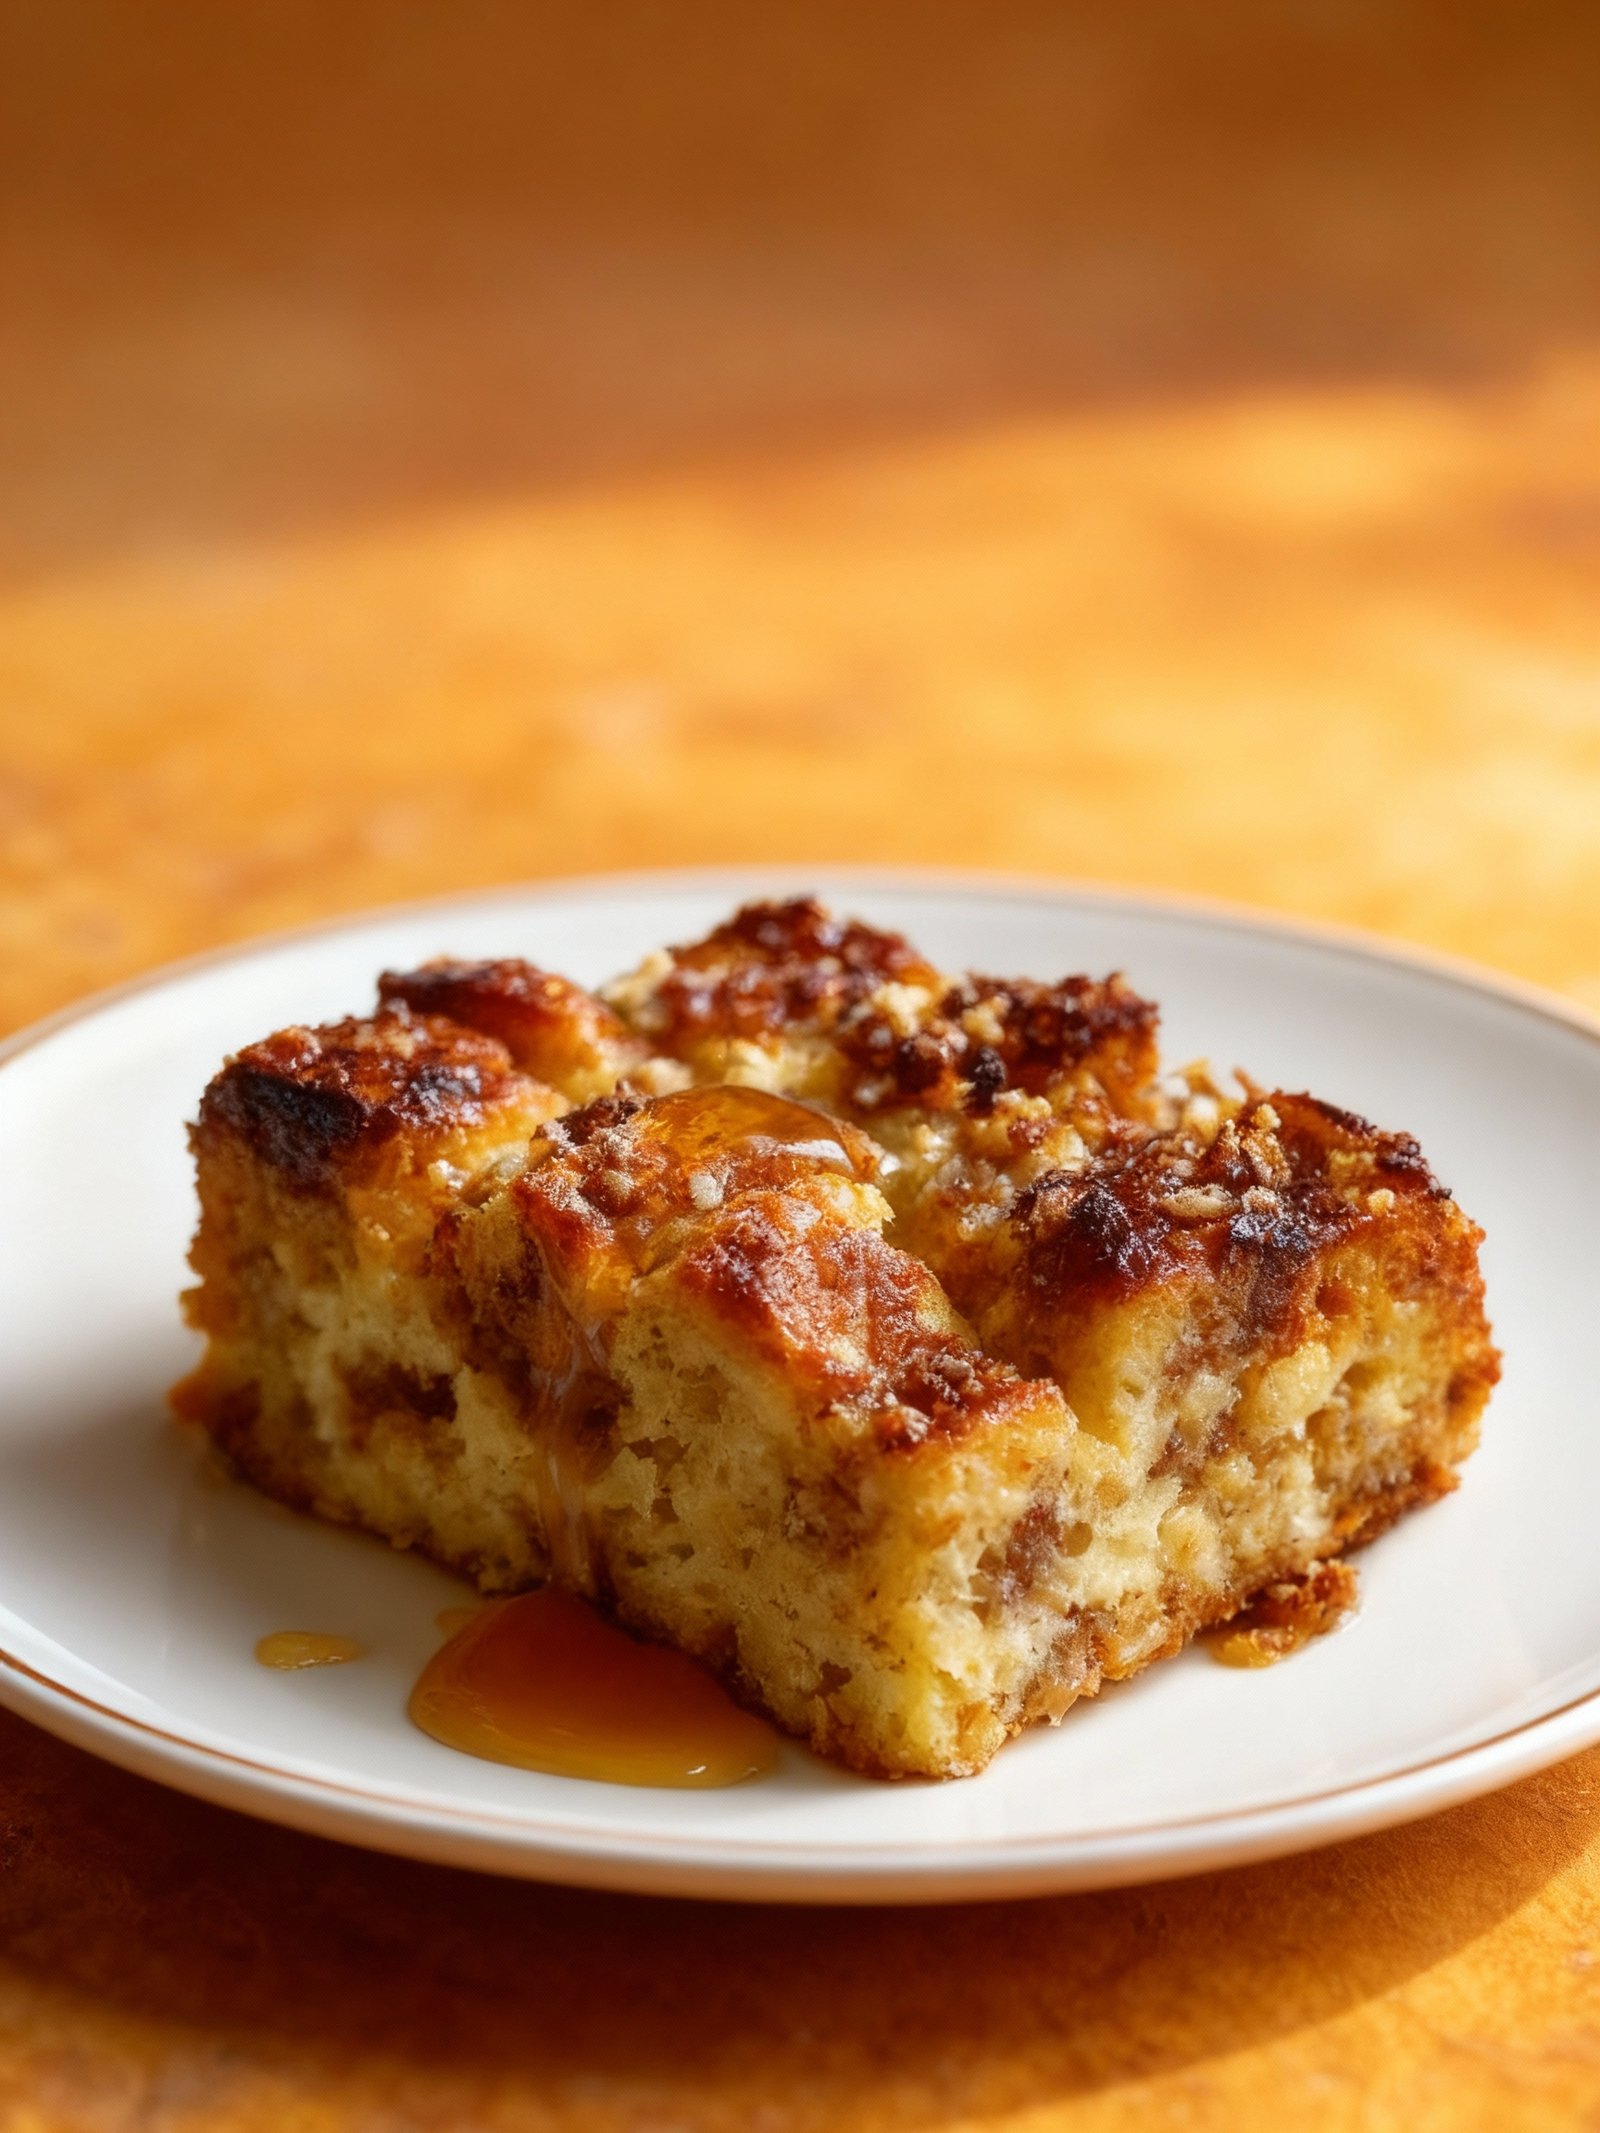
This Baked Pears with Feta Honey and Cranberries recipe is simple & delicious, combining sweet fruit with tangy cheese for a perfect appetizer or light dessert. The warm, caramelized pears pair beautifully with creamy feta and tart cranberries, all drizzled with honey. For another easy dessert, try this Heavenly Peach Cobbler Poke Cake Recipe or these Loaded Brownie Cheesecake Cups Recipe.
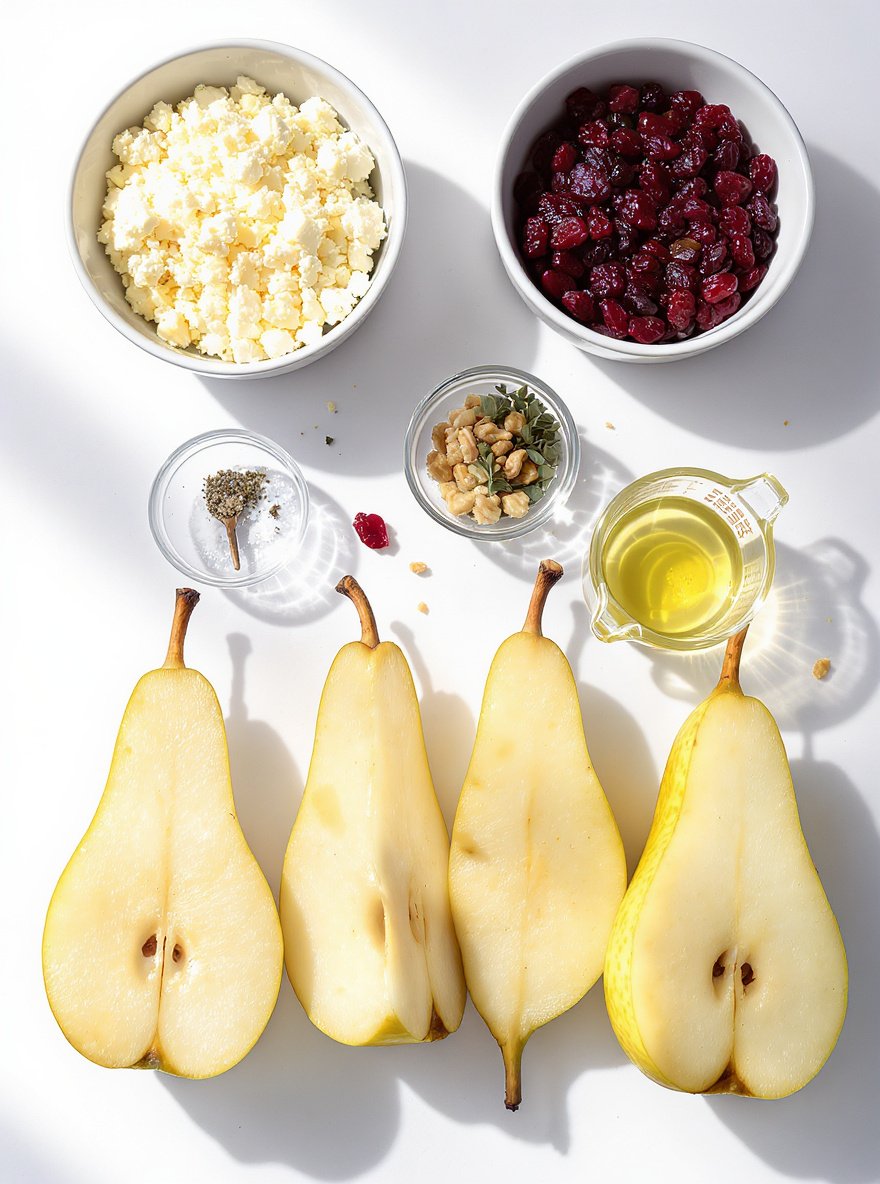
Ingredients
This elegant dish combines sweet, juicy pears with tangy feta and chewy cranberries, creating a beautiful balance of flavors and textures that’s perfect as an appetizer or light meal.
- 4 ripe but firm pears, halved and cored
- 1/2 cup crumbled feta cheese
- 1/4 cup dried cranberries, chopped
- 2 tablespoons honey
- 1 tablespoon olive oil
- 1 teaspoon fresh thyme leaves
- Salt and pepper, to taste
- Optional: Chopped walnuts for garnish
Timing
| Prep Time | 10 minutes |
| Cook Time | 15 minutes |
| Total Time | 25 minutes |
Context: This recipe is about 20% faster than similar recipes.
Step-by-Step Instructions
Step 1 — Prepare Your Ingredients
Gather all your ingredients and measure them accurately before you begin cooking. This ensures a smooth workflow and prevents scrambling mid-recipe.
For best results, bring any refrigerated items like eggs or dairy to room temperature. This helps ingredients incorporate more evenly.
Step 2 — Preheat Your Cooking Surface
Preheat your oven, skillet, or grill to the specified temperature before adding any food. An accurate initial temperature is crucial for proper cooking.
Use an oven thermometer to verify your oven’s temperature, as built-in thermostats can often be inaccurate by 25°F or more.
Step 3 — Combine Dry Ingredients
Whisk together all dry ingredients in a large bowl to ensure even distribution. This step prevents clumping and creates a uniform texture.
For baked goods, sift flour and other powdery ingredients to incorporate air, which results in a lighter final product.
Step 4 — Mix Wet Ingredients Separately
In a separate bowl, thoroughly combine all liquid ingredients until fully emulsified. This creates a stable base for your mixture.
When adding eggs, crack them into a small bowl first to check for freshness and avoid shell fragments in your main mixture.
Step 5 — Combine Wet and Dry Mixtures
Create a well in the center of your dry ingredients and pour in the wet mixture. Gently fold until just combined—overmixing can lead to toughness.
For tender results, stop mixing as soon as the last streaks of flour disappear. A few small lumps are preferable to overworking the batter.
Step 6 — Portion and Arrange
Divide your mixture evenly into prepared pans or onto baking sheets. Use a scale for precision when portioning is critical.
Leave adequate space between items for proper air circulation and even cooking. Crowding can cause steaming instead of proper browning.
Step 7 — Cook to Proper Doneness
Bake or cook according to your recipe’s time and temperature guidelines. Visual cues are more reliable than timer alone.
For baked goods, check doneness by inserting a toothpick—it should come out clean or with a few moist crumbs attached, not wet batter.
Step 8 — Test Internal Temperature
Use an instant-read thermometer to verify doneness for meats and certain baked goods. Chicken should reach 165°F, beef 145°F for medium.
For cakes and breads, internal temperature should typically register between 200-210°F when fully baked.
Step 9 — Rest Before Serving
Allow your finished dish to rest for the recommended time before cutting or serving. This allows juices to redistribute and carryover cooking to complete.
Most meats benefit from 5-15 minutes of resting, while baked goods should cool in the pan for 10-15 minutes before transferring to a wire rack.
Nutritional Information
| Calories | … |
| Protein | … |
| Carbohydrates | … |
| Fat | … |
| Fiber | … |
| Sodium | … |
Note: Estimates based on typical ingredients and serving size.
Healthier Alternatives
- Lean ground turkey — A lighter protein option with a mild flavor that absorbs seasonings well.
- Cauliflower rice — A low-carb, gluten-free base that provides a neutral canvas for bold flavors.
- Coconut milk — A rich, creamy dairy-free alternative that adds subtle sweetness to dishes.
- Nutritional yeast — Offers a cheesy, savory flavor without dairy or excess sodium.
- Zucchini noodles — A fresh, gluten-free pasta substitute that cooks quickly and stays crisp.
- Avocado oil — A heart-healthy fat with a buttery taste and high smoke point for cooking.
- Mashed avocado — A creamy, dairy-free spread that adds richness and healthy fats.
- Fresh herbs and citrus — Bright, sodium-free flavor enhancers that reduce the need for added salt.
Serving Suggestions
- Pair with a crisp green salad and crusty bread for a light, satisfying lunch.
- Serve over fluffy white rice or creamy mashed potatoes for a comforting dinner.
- Perfect for a casual weeknight meal or a relaxed weekend gathering with friends.
- Garnish with fresh, chopped herbs like parsley or chives for a pop of color and freshness.
- Elevate the presentation by serving in a shallow bowl to showcase the sauce and ingredients.
- For a special occasion, plate alongside roasted seasonal vegetables for a complete, elegant look.
These ideas will help you create a delicious and visually appealing meal for any situation.
Common Mistakes to Avoid
- Mistake: Overcrowding the pan. Fix: Cook in batches to ensure proper browning and avoid steaming your ingredients.
- Mistake: Not preheating your cooking surface. Fix: Always let your pan or oven get fully hot for a perfect sear and even cooking.
- Mistake: Underseasoning food. Fix: Season in layers throughout the cooking process, not just at the end, for deeper flavor.
- Mistake: Using the wrong oil for high-heat cooking. Fix: Choose oils with a high smoke point, like avocado or refined peanut oil, to prevent burning.
- Mistake: Constantly flipping or stirring food. Fix: Let food develop a crust by leaving it undisturbed for a few minutes before moving it.
- Mistake: Not tasting as you go. Fix: Taste your dish at different stages to adjust seasoning and ensure a balanced final flavor.
- Mistake: Substituting key ingredients without considering their role. Fix: Understand the function of an ingredient (e.g., acid, fat, binder) before making a swap.
- Mistake: Ignoring resting time for meats. Fix: Let cooked meat rest for a few minutes to allow juices to redistribute, resulting in a more tender bite.
Storing Tips
- Fridge: Store in an airtight container for up to 3-4 days. Ensure it cools to room temperature before refrigerating.
- Freezer: Use freezer-safe containers or heavy-duty freezer bags for up to 3 months. Label with the date for best quality.
- Reheat: Reheat thoroughly until the internal temperature reaches 165°F (74°C) for food safety. Use a microwave, oven, or stovetop, adding a splash of liquid if needed to prevent drying out.
Always allow hot food to cool for no more than 2 hours before storing to minimize bacterial growth.
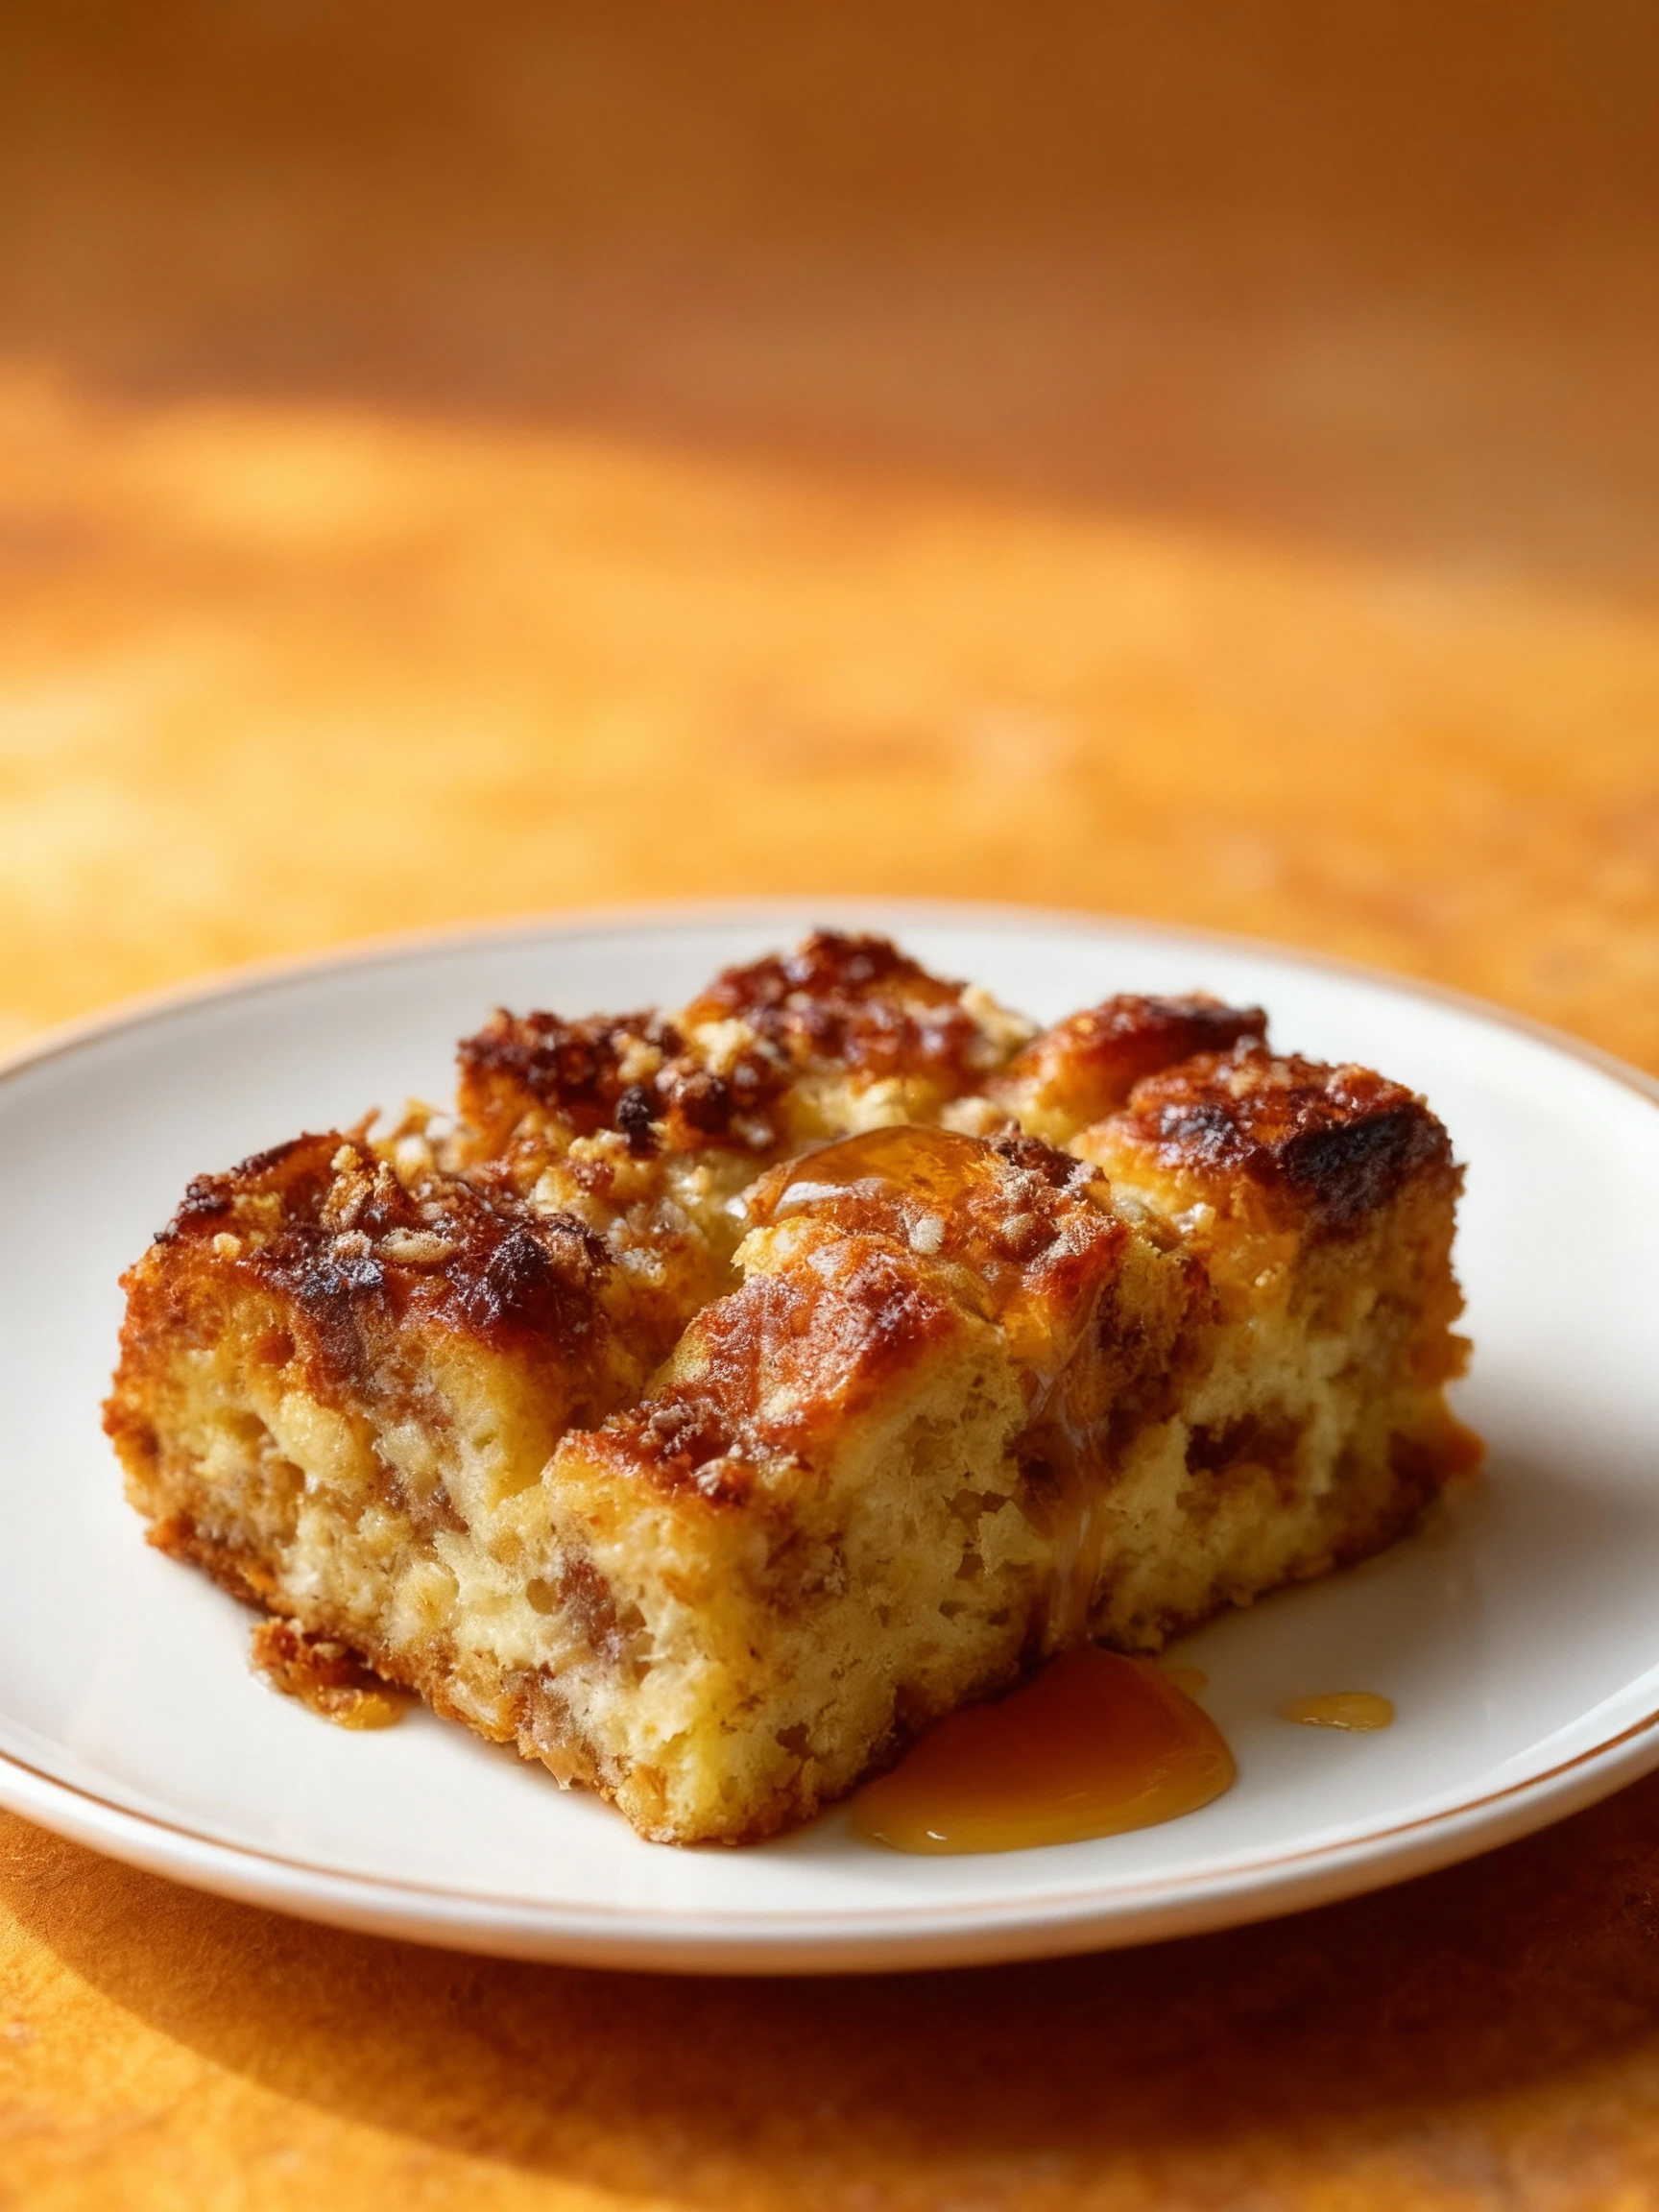
Conclusion
These baked pears with feta, honey, and cranberries make a simple yet elegant dessert or appetizer. We hope you enjoy making this recipe—please leave a comment with your thoughts, and subscribe for more delicious recipes!
PrintBaked Pears with Feta, Honey, and Cranberries
A delightful blend of sweet and savory, these baked pears are filled with crumbled feta, dried cranberries, and a touch of honey, then baked until tender and finished with fresh thyme. Serve warm as an appetizer, side, or light dessert.
- Prep Time: 10 minutes
- Cook Time: 20 minutes
- Total Time: 30 minutes
- Yield: 4 1x
- Method: Appetizer
- Cuisine: American
Ingredients
- 4 ripe but firm pears, halved and cored
- 1/2 cup crumbled feta cheese
- 1/4 cup dried cranberries, chopped
- 2 tablespoons honey
- 1 tablespoon olive oil
- 1 teaspoon fresh thyme leaves
- Salt and pepper, to taste
- Optional: Chopped walnuts for garnish
Instructions
- Preheat your oven to 375°F (190°C).
- Halve the pears and scoop out the cores to create a small well in each half.
- Place the pears cut-side up in a baking dish. Drizzle with olive oil, and fill each center with crumbled feta and chopped cranberries.
- Bake for 15-20 minutes, until the pears soften and the feta starts to melt.
- Remove from the oven, drizzle with honey, and sprinkle with fresh thyme. Season with salt and pepper.
- Optionally, top with chopped walnuts for added crunch.
- Serve warm as an appetizer or light dessert.
Notes
This recipe is versatile and can be served as an appetizer, side, or dessert. For extra crunch, add chopped walnuts just before serving. Pears should be ripe but firm to hold their shape during baking.
Nutrition
- Calories: 180
- Sugar: 18
- Sodium: 250
- Fat: 7
- Saturated Fat: 3
- Unsaturated Fat: 4
- Trans Fat: 0
- Carbohydrates: 28
- Fiber: 4
- Protein: 4
- Cholesterol: 10
FAQs
What is the best way to store this recipe?
Store the recipe in an airtight container in the refrigerator for up to three days. For longer storage, you can freeze it for up to a month.
Can I make any substitutions for the main ingredients?
Yes, you can substitute ingredients based on dietary needs or preferences. Ensure any substitutions maintain the overall balance of the recipe for the best results.
How can I adjust the cooking time for this recipe?
Monitor the recipe closely during cooking, as oven temperatures can vary. Adjust the time in small increments until the desired doneness is achieved.


