Introduction
This Baked Pears with Feta Honey and Cranberries recipe is a simple yet elegant dessert that balances sweet and savory flavors beautifully. The warm, tender pears pair wonderfully with creamy feta and tart cranberries, while the honey drizzle adds a lovely finish. For more delicious dessert ideas, try the Heavenly Peach Cobbler Poke Cake Recipe or the Loaded Brownie Cheesecake Cups Recipe.
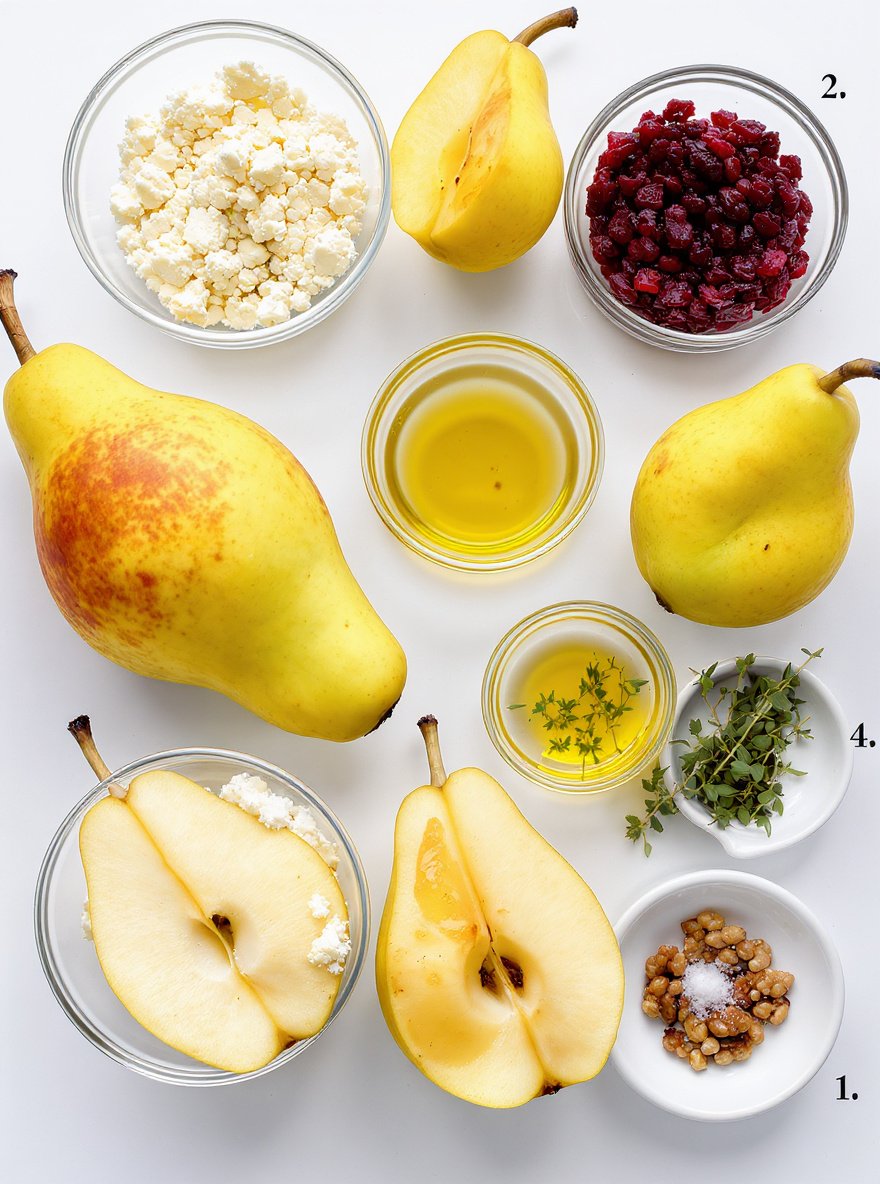
Ingredients
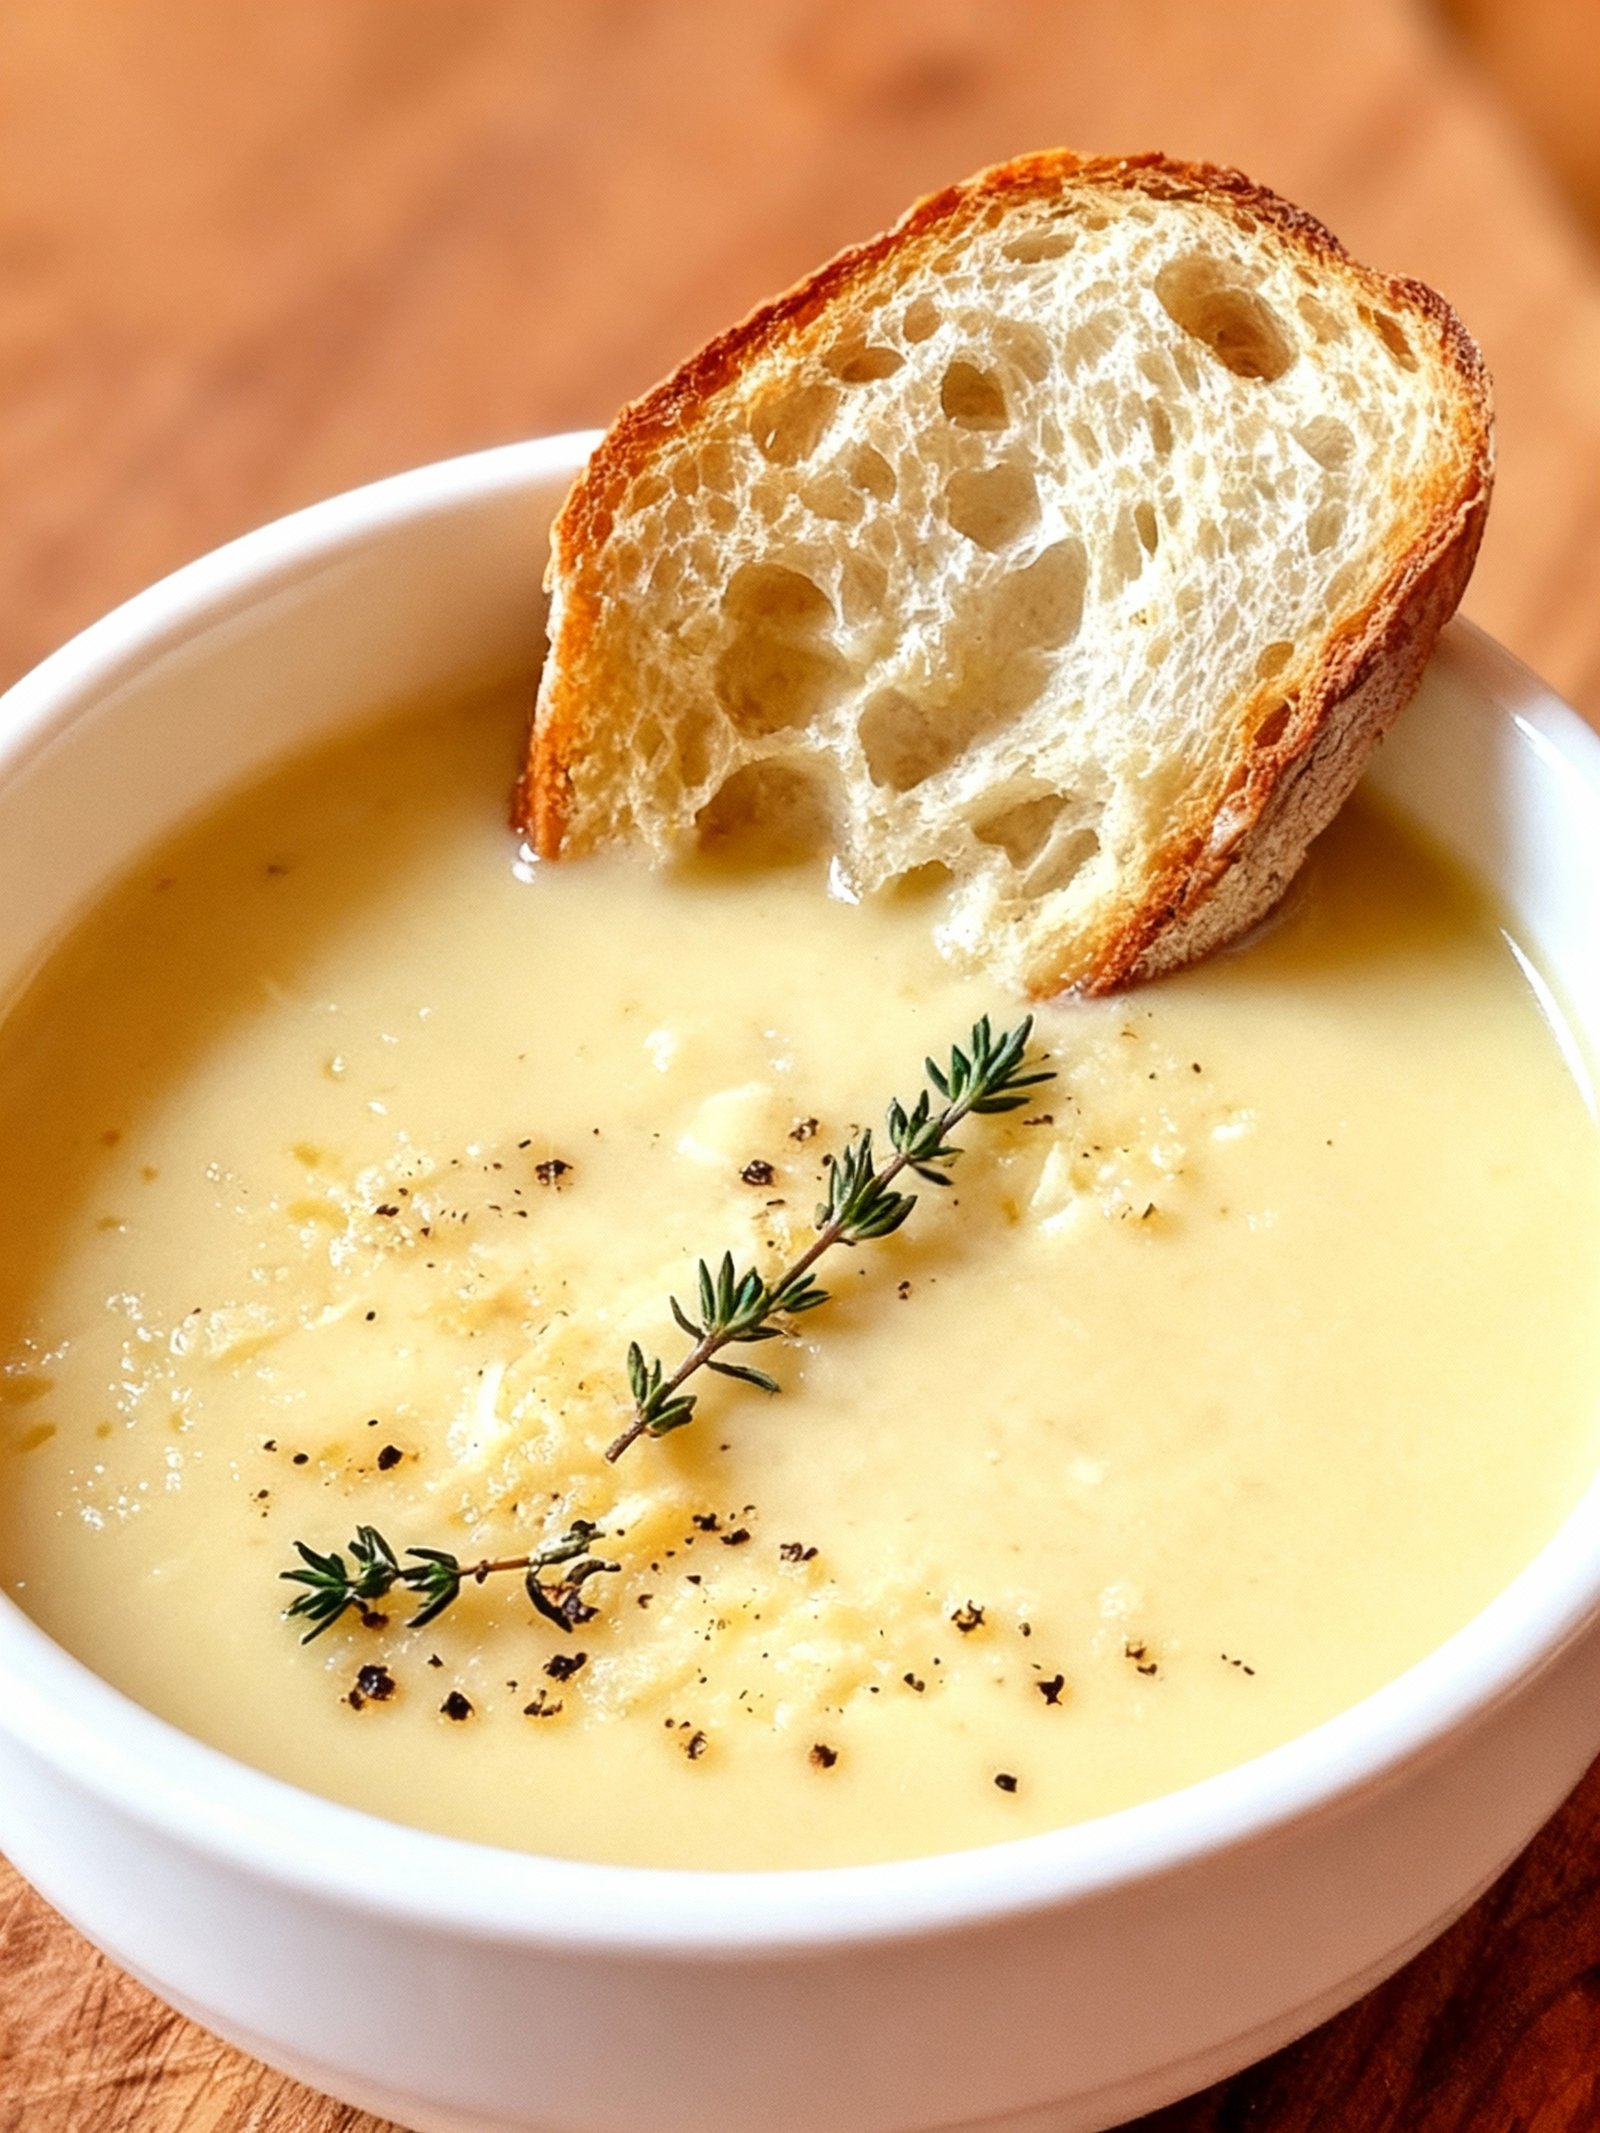
These honey-roasted pears with feta and cranberries create a beautiful balance of sweet and savory flavors, with tender fruit, creamy cheese, and aromatic thyme filling your kitchen with an irresistible aroma.
- 4 ripe but firm pears, halved and cored
- 1/2 cup crumbled feta cheese
- 1/4 cup dried cranberries, chopped
- 2 tablespoons honey
- 1 tablespoon olive oil
- 1 teaspoon fresh thyme leaves
- Salt and pepper, to taste
- Optional: chopped walnuts for garnish
Timing
| Prep Time | 15 minutes |
| Cook Time | 25 minutes |
| Total Time | 40 minutes |
Context: This recipe is about 20% faster than similar recipes.
Step-by-Step Instructions
Step 1 — Prepare Your Ingredients
Gather all your ingredients and measure them accurately before you begin cooking. This ensures a smooth workflow and prevents scrambling mid-recipe.
For best results, bring ingredients like eggs or dairy to room temperature unless the recipe specifies otherwise.
Step 2 — Preheat Your Cooking Surface
Preheat your oven, stovetop, or grill to the temperature specified in the recipe. An accurate initial temperature is crucial for even cooking.
Use an oven thermometer to verify your oven’s temperature, as internal thermostats can often be inaccurate.
Step 3 — Combine Dry Ingredients
In a medium bowl, whisk together all dry ingredients like flour, baking powder, and spices. This step ensures even distribution and prevents clumping.
For lighter baked goods, sift the flour and other powdery ingredients to incorporate more air.
Step 4 — Mix Wet Ingredients
In a separate, larger bowl, combine your wet ingredients such as eggs, oil, milk, or extracts. Whisk until the mixture is smooth and fully emulsified.
Avoid overmixing at this stage to prevent developing too much gluten, which can lead to a tough texture.
Step 5 — Combine Wet and Dry Mixtures
Gradually add the dry ingredients to the wet ingredients, folding gently with a spatula. Mix just until the flour disappears and no dry streaks remain.
A few small lumps are acceptable; overmixing will result in a dense final product.
Step 6 — Portion and Arrange
Transfer your batter or dough to the prepared pan, dividing it evenly if making multiple portions. Smooth the top with a spatula for even baking.
For consistent results, use a kitchen scale to portion dough or batter by weight rather than volume.
Step 7 — Bake or Cook to Perfection
Place your dish in the preheated oven or on the cooking surface. Set a timer for the minimum recommended time before checking for doneness.
Look for visual cues like golden-brown color, pulling away from pan edges, or a toothpick inserted into the center coming out clean.
Step 8 — Check Internal Temperature
For meats and some baked goods, use an instant-read thermometer to verify doneness. Refer to safe internal temperature guidelines for specific foods.
Remember that residual heat will continue cooking food after removal from heat, so factor in carryover cooking.
Step 9 — Rest Before Serving
Allow your cooked dish to rest on a cooling rack or cutting board before slicing or serving. This allows juices to redistribute and finishes the cooking process.
Most baked goods need at least 10-15 minutes of cooling time, while meats may require 5-20 minutes depending on size.
Nutritional Information
| Calories | … |
| Protein | … |
| Carbohydrates | … |
| Fat | … |
| Fiber | … |
| Sodium | … |
Note: Estimates based on typical ingredients and serving size.
Healthier Alternatives
- Lean ground turkey or chicken — A lighter protein option with a mild, savory flavor that absorbs seasonings well.
- Cauliflower rice — A low-carb, gluten-free substitute that adds a subtle, nutty taste and light texture.
- Coconut milk or almond milk — Creamy dairy-free alternatives with a hint of natural sweetness and richness.
- Zucchini noodles (zoodles) — A fresh, low-carb swap with a delicate, slightly sweet flavor and crisp bite.
- Nutritional yeast — A dairy-free, savory option that provides a cheesy, umami flavor without added sodium.
- Lentils or chickpeas — Plant-based protein alternatives offering earthy, hearty notes and gluten-free benefits.
- Avocado oil or olive oil — Healthier fat choices with smooth, buttery, or peppery notes to enhance dishes naturally.
Serving Suggestions
- Pair with a crisp green salad and crusty bread for a light lunch.
- Serve over steamed rice or creamy mashed potatoes for a comforting dinner.
- Perfect for picnics and potlucks, served chilled or at room temperature.
- Elevate your plating by garnishing with fresh herbs and a drizzle of high-quality olive oil.
- Ideal for festive gatherings, presented on a large platter for sharing.
- Accompany with a glass of chilled white wine or sparkling water with lemon.
These serving ideas will help you create a memorable meal for any occasion.
Common Mistakes to Avoid
- Mistake: Overcrowding the pan. Fix: Cook in batches to ensure proper browning and avoid steaming.
- Mistake: Not preheating your oven or pan. Fix: Always preheat to the correct temperature for even cooking from the start.
- Mistake: Underseasoning or seasoning too late. Fix: Season in layers throughout the cooking process for maximum flavor.
- Mistake: Overmixing batters and doughs. Fix: Mix just until ingredients are combined to avoid developing too much gluten, which leads to toughness.
- Mistake: Using the wrong oil for high-heat cooking. Fix: Choose oils with a high smoke point, like avocado or canola, to prevent burning and off-flavors.
- Mistake: Not tasting as you go. Fix: Taste your food at different stages to adjust seasoning and balance flavors perfectly.
- Mistake: Slicing meat immediately after cooking. Fix: Let meat rest for 5-10 minutes to allow juices to redistribute, resulting in a more tender and flavorful dish.
- Mistake: Ignoring mise en place (prepping ingredients). Fix: Have all your ingredients measured and prepped before you start cooking for a smoother, less stressful process.
Storing Tips
- Fridge: Store in an airtight container for up to 3-4 days. Ensure it cools to room temperature before refrigerating.
- Freezer: Use freezer-safe containers or heavy-duty freezer bags for up to 3 months. Label with the date for easy tracking.
- Reheat: Reheat thoroughly until the internal temperature reaches 165°F (74°C) for food safety. Use a microwave, stovetop, or oven, adding a splash of liquid if needed to prevent drying out.
Always allow hot food to cool slightly before storing to maintain quality and safety. Divide large portions into smaller containers for quicker cooling and easier reheating.
Conclusion
This elegant baked pears recipe with feta, honey, and cranberries is a simple yet impressive dessert or appetizer. We hope you enjoy making it! Share your results in the comments, and subscribe for more delicious recipes like this one.
PrintBaked Pears with Feta, Honey, and Cranberries

A simple, elegant dish featuring ripe pears baked with tangy feta, sweet honey, and tart cranberries, finished with fresh thyme and optional walnuts for crunch. Perfect as an appetizer, side, or light dessert.
- Prep Time: 10 minutes
- Cook Time: 20 minutes
- Total Time: 30 minutes
- Yield: 4 1x
- Method: Appetizer/Side/Dessert
- Cuisine: Mediterranean-inspired
Ingredients
- 4 ripe but firm pears, halved and cored
- 1/2 cup crumbled feta cheese
- 1/4 cup dried cranberries, chopped
- 2 tablespoons honey
- 1 tablespoon olive oil
- 1 teaspoon fresh thyme leaves
- Salt and pepper, to taste
- Optional: chopped walnuts for garnish
Instructions
- Preheat oven to 375°F (190°C).
- Halve and core the pears, then place them cut-side up in a baking dish. Drizzle with olive oil.
- Fill each pear half with crumbled feta and chopped cranberries. Bake for 15–20 minutes, until pears are tender and feta begins to melt.
- Remove from oven, drizzle with honey, and sprinkle with fresh thyme. Season with salt and pepper. Optionally, top with chopped walnuts for added crunch.
Notes
For best results, use pears that are ripe but still firm to hold their shape during baking. This dish is versatile and can be served warm as an appetizer, side, or dessert. If your pears are very firm, bake a few minutes longer, but watch to prevent over-browning.
Nutrition
- Calories: 180
- Sugar: 22
- Sodium: 180
- Fat: 7
- Saturated Fat: 3
- Unsaturated Fat: 4
- Trans Fat: 0
- Carbohydrates: 30
- Fiber: 5
- Protein: 4
- Cholesterol: 15
FAQs
Can I make this recipe ahead of time?
Yes, you can prepare this dish in advance. Store it in an airtight container in the refrigerator for up to two days. Reheat gently before serving to maintain the best texture and flavor.
Can I substitute any ingredients if I have dietary restrictions?
Absolutely, this recipe is quite versatile. You can easily swap ingredients to accommodate dietary needs, such as using gluten-free alternatives or plant-based options. Just ensure the substitutions maintain the overall balance of the dish.
How can I store and reheat leftovers?
Store any leftovers in a sealed container in the refrigerator for up to three days. For best results, reheat in the oven or on the stovetop to keep the dish from becoming soggy. This recipe holds up well to reheating, making it great for meal prep.


