Introduction
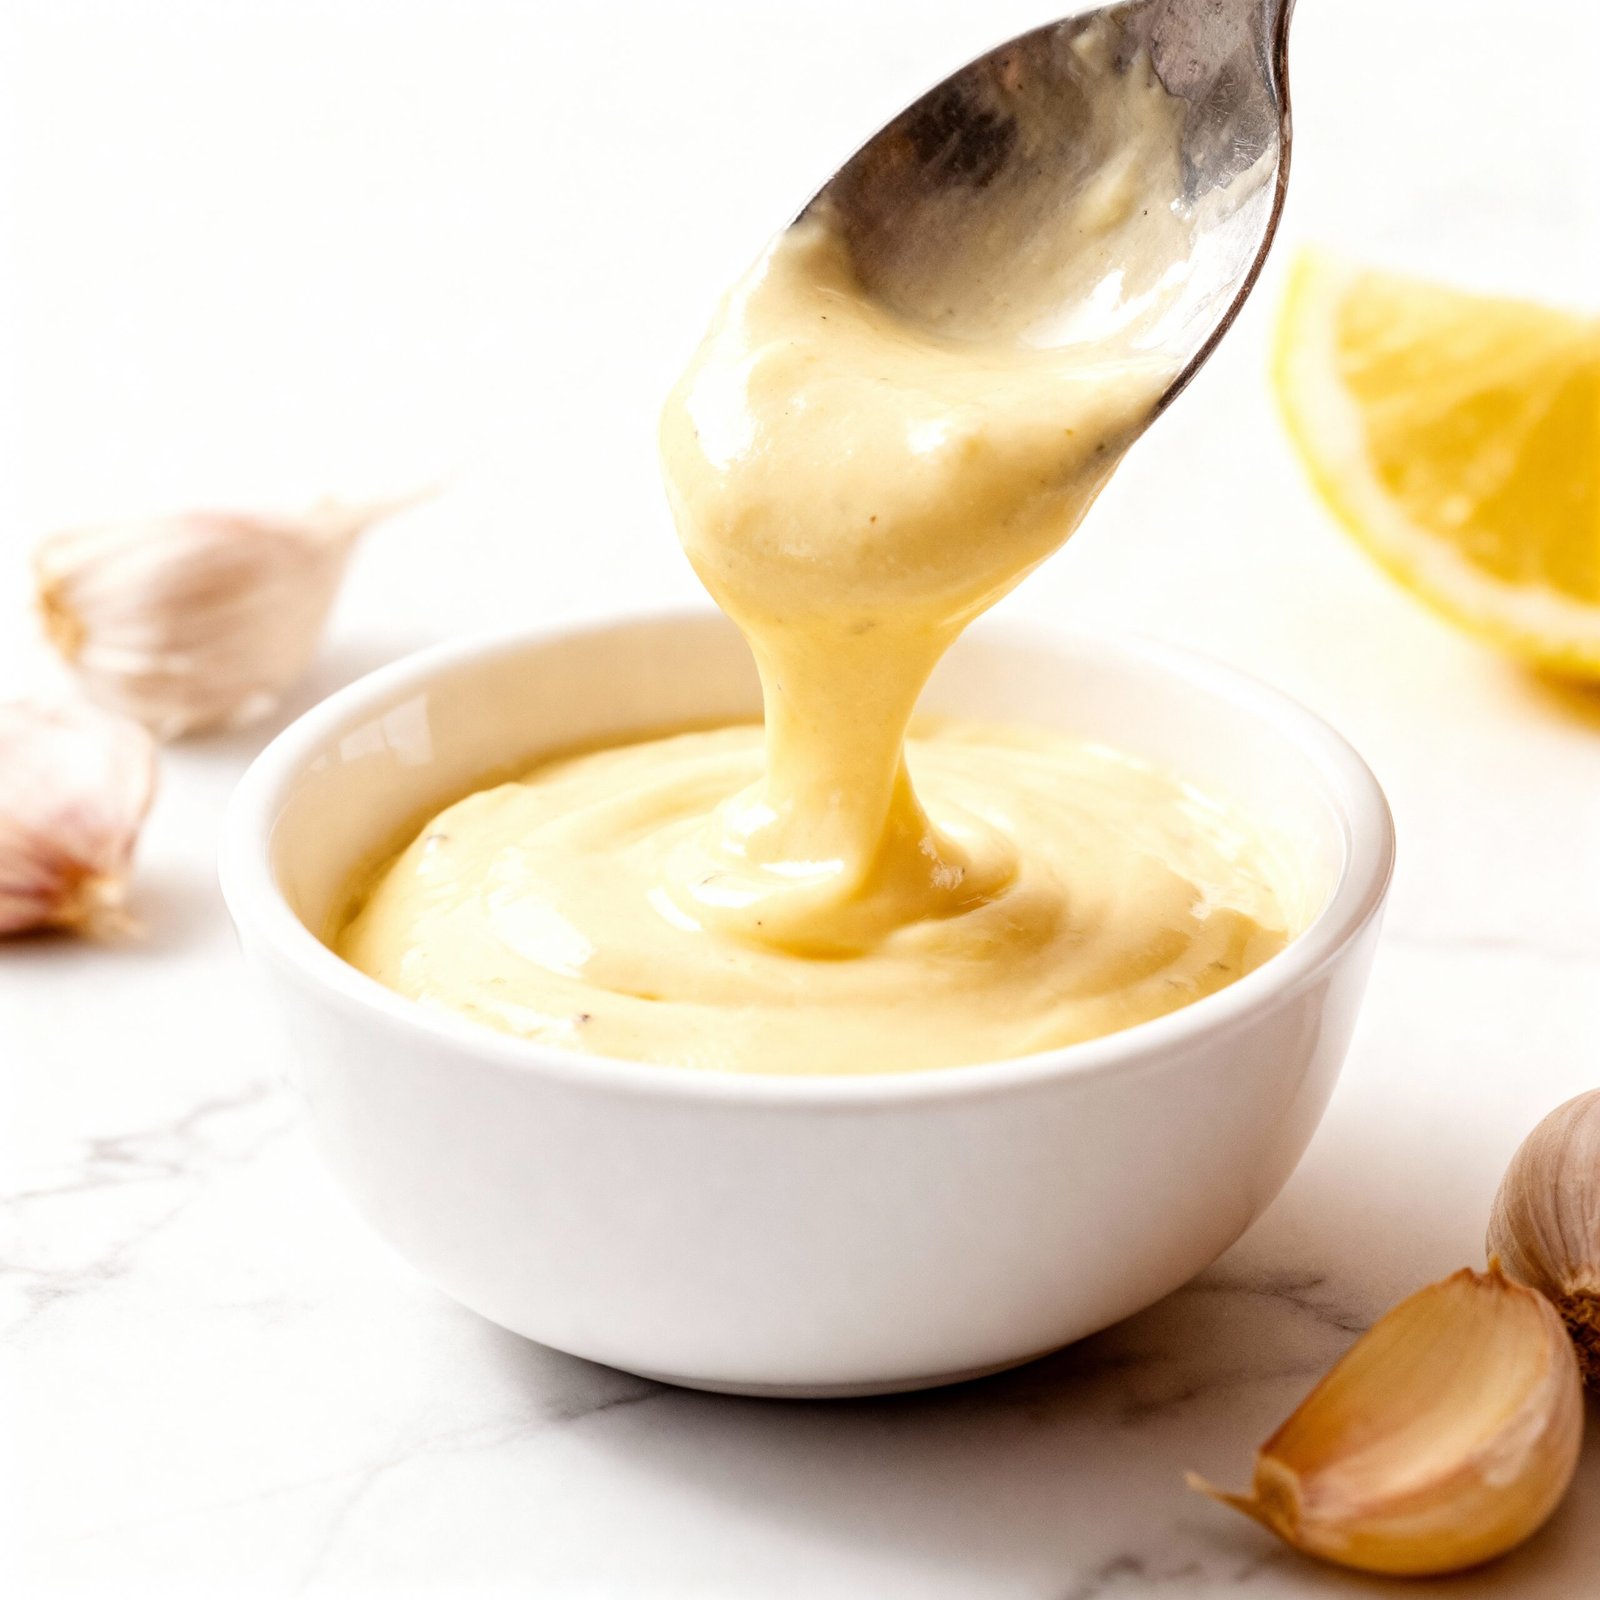
This authentic garlic aioli recipe delivers the rich, creamy, and intensely garlicky flavor that makes it the only garlic aioli recipe you’ll ever need. Perfect as a dip, spread, or sauce, it elevates everything from sandwiches to roasted vegetables. For another delicious garlic-infused dish, try this Cheesy Garlic Chicken Wraps Recipe to enjoy a complete, flavorful meal.
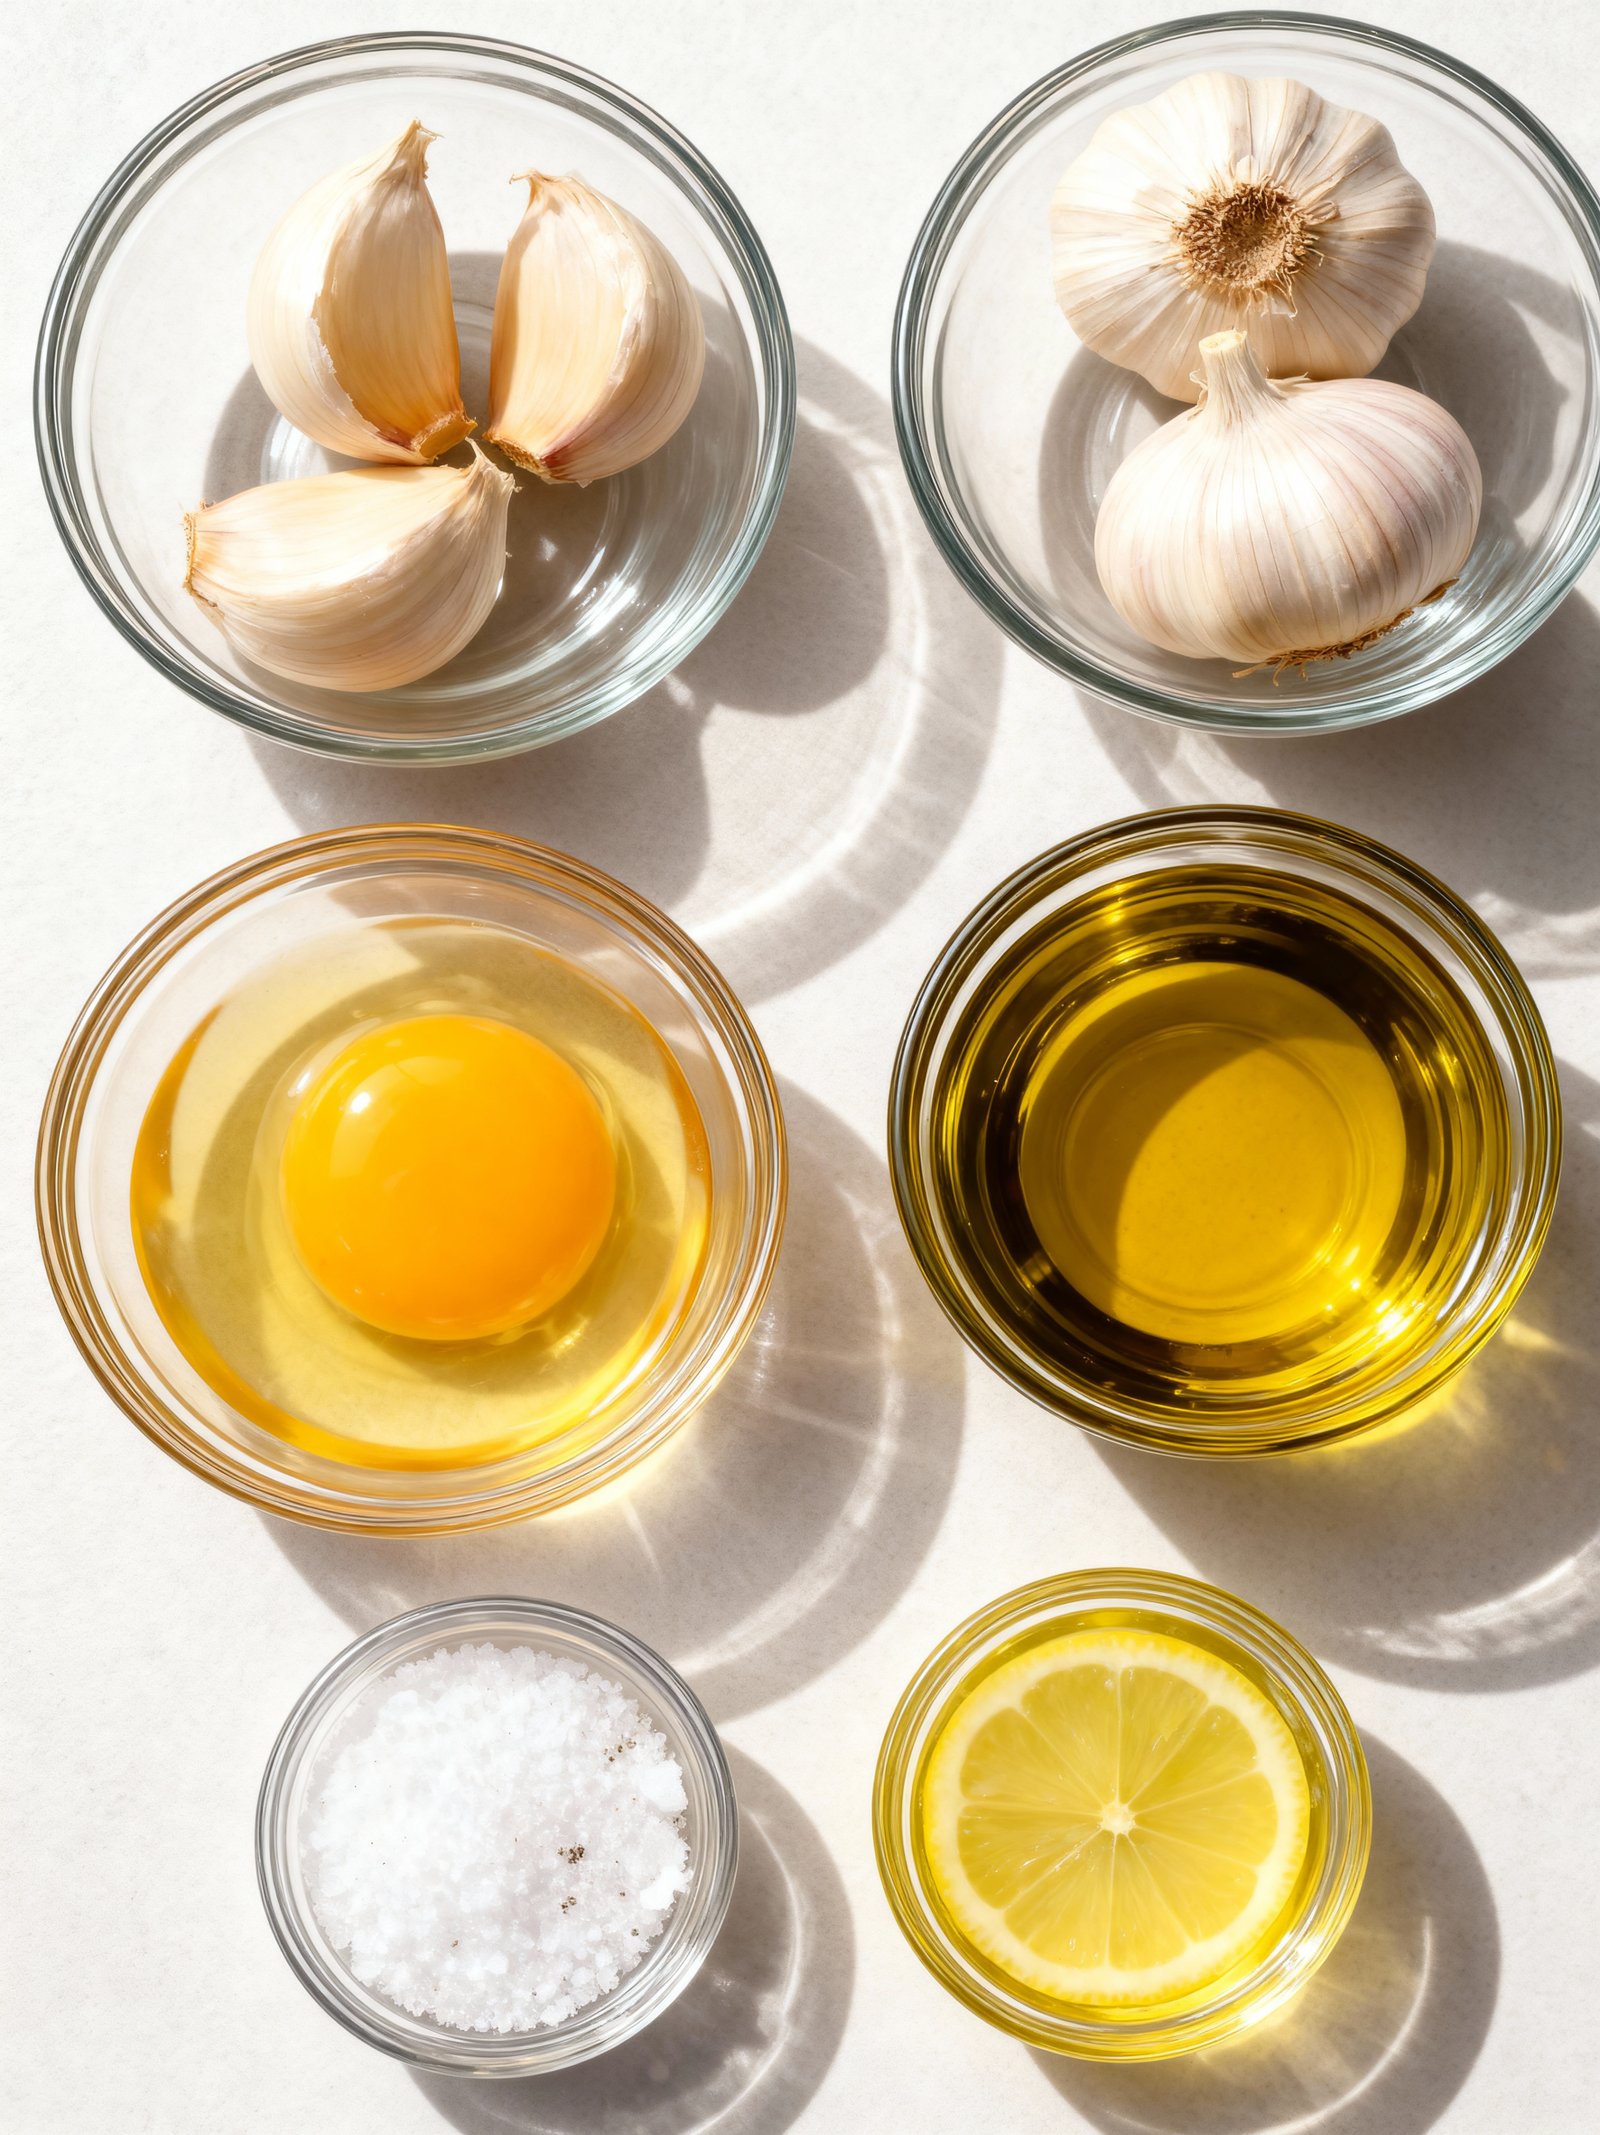
Ingredients
Crafting this authentic garlic aioli rewards you with a rich, creamy emulsion where the bold, aromatic garlic shines through, balanced by the bright acidity of fresh lemon.
- 4 large cloves of fresh garlic, peeled
- 1 fresh egg yolk (room temperature)
- 1 cup extra virgin olive oil
- 1/2 teaspoon fine sea salt
- 1 teaspoon fresh lemon juice
- Pinch of white pepper (optional)
Timing
| Prep Time | 10 minutes |
| Cook Time | 0 minutes |
| Total Time | 10 minutes |
Context: This Authentic Garlic Aioli recipe is about 20% faster than similar recipes since it skips the cooking and uses a quick emulsion method.
Step-by-Step Instructions
Step 1 — Prepare Your Ingredients
Gather 2 large fresh garlic cloves, 1 large egg yolk at room temperature, 1 cup of neutral oil like canola or grapeseed, 1 tablespoon of lemon juice, and salt to taste. Using room temperature ingredients helps the emulsion form more easily, creating that perfect Authentic Garlic Aioli consistency.
Step 2 — Crush the Garlic
Peel the garlic cloves and use a mortar and pestle to crush them into a smooth paste. If you don’t have a mortar and pestle, mince the garlic finely and then press it with the side of your knife with a pinch of salt. This releases the garlic’s oils, which is essential for authentic flavor.
Step 3 — Combine Base Ingredients
Place the egg yolk and crushed garlic in a medium mixing bowl. Add a pinch of salt and the lemon juice. Whisk these ingredients together until they are fully combined and slightly thickened. This base will help the oil emulsify properly.
Step 4 — Slowly Add the Oil
Begin adding the oil drop by drop while whisking constantly. It’s crucial to add the oil very slowly at first to establish the emulsion. Once the mixture begins to thicken, you can gradually increase to a thin, steady stream while continuing to whisk vigorously.
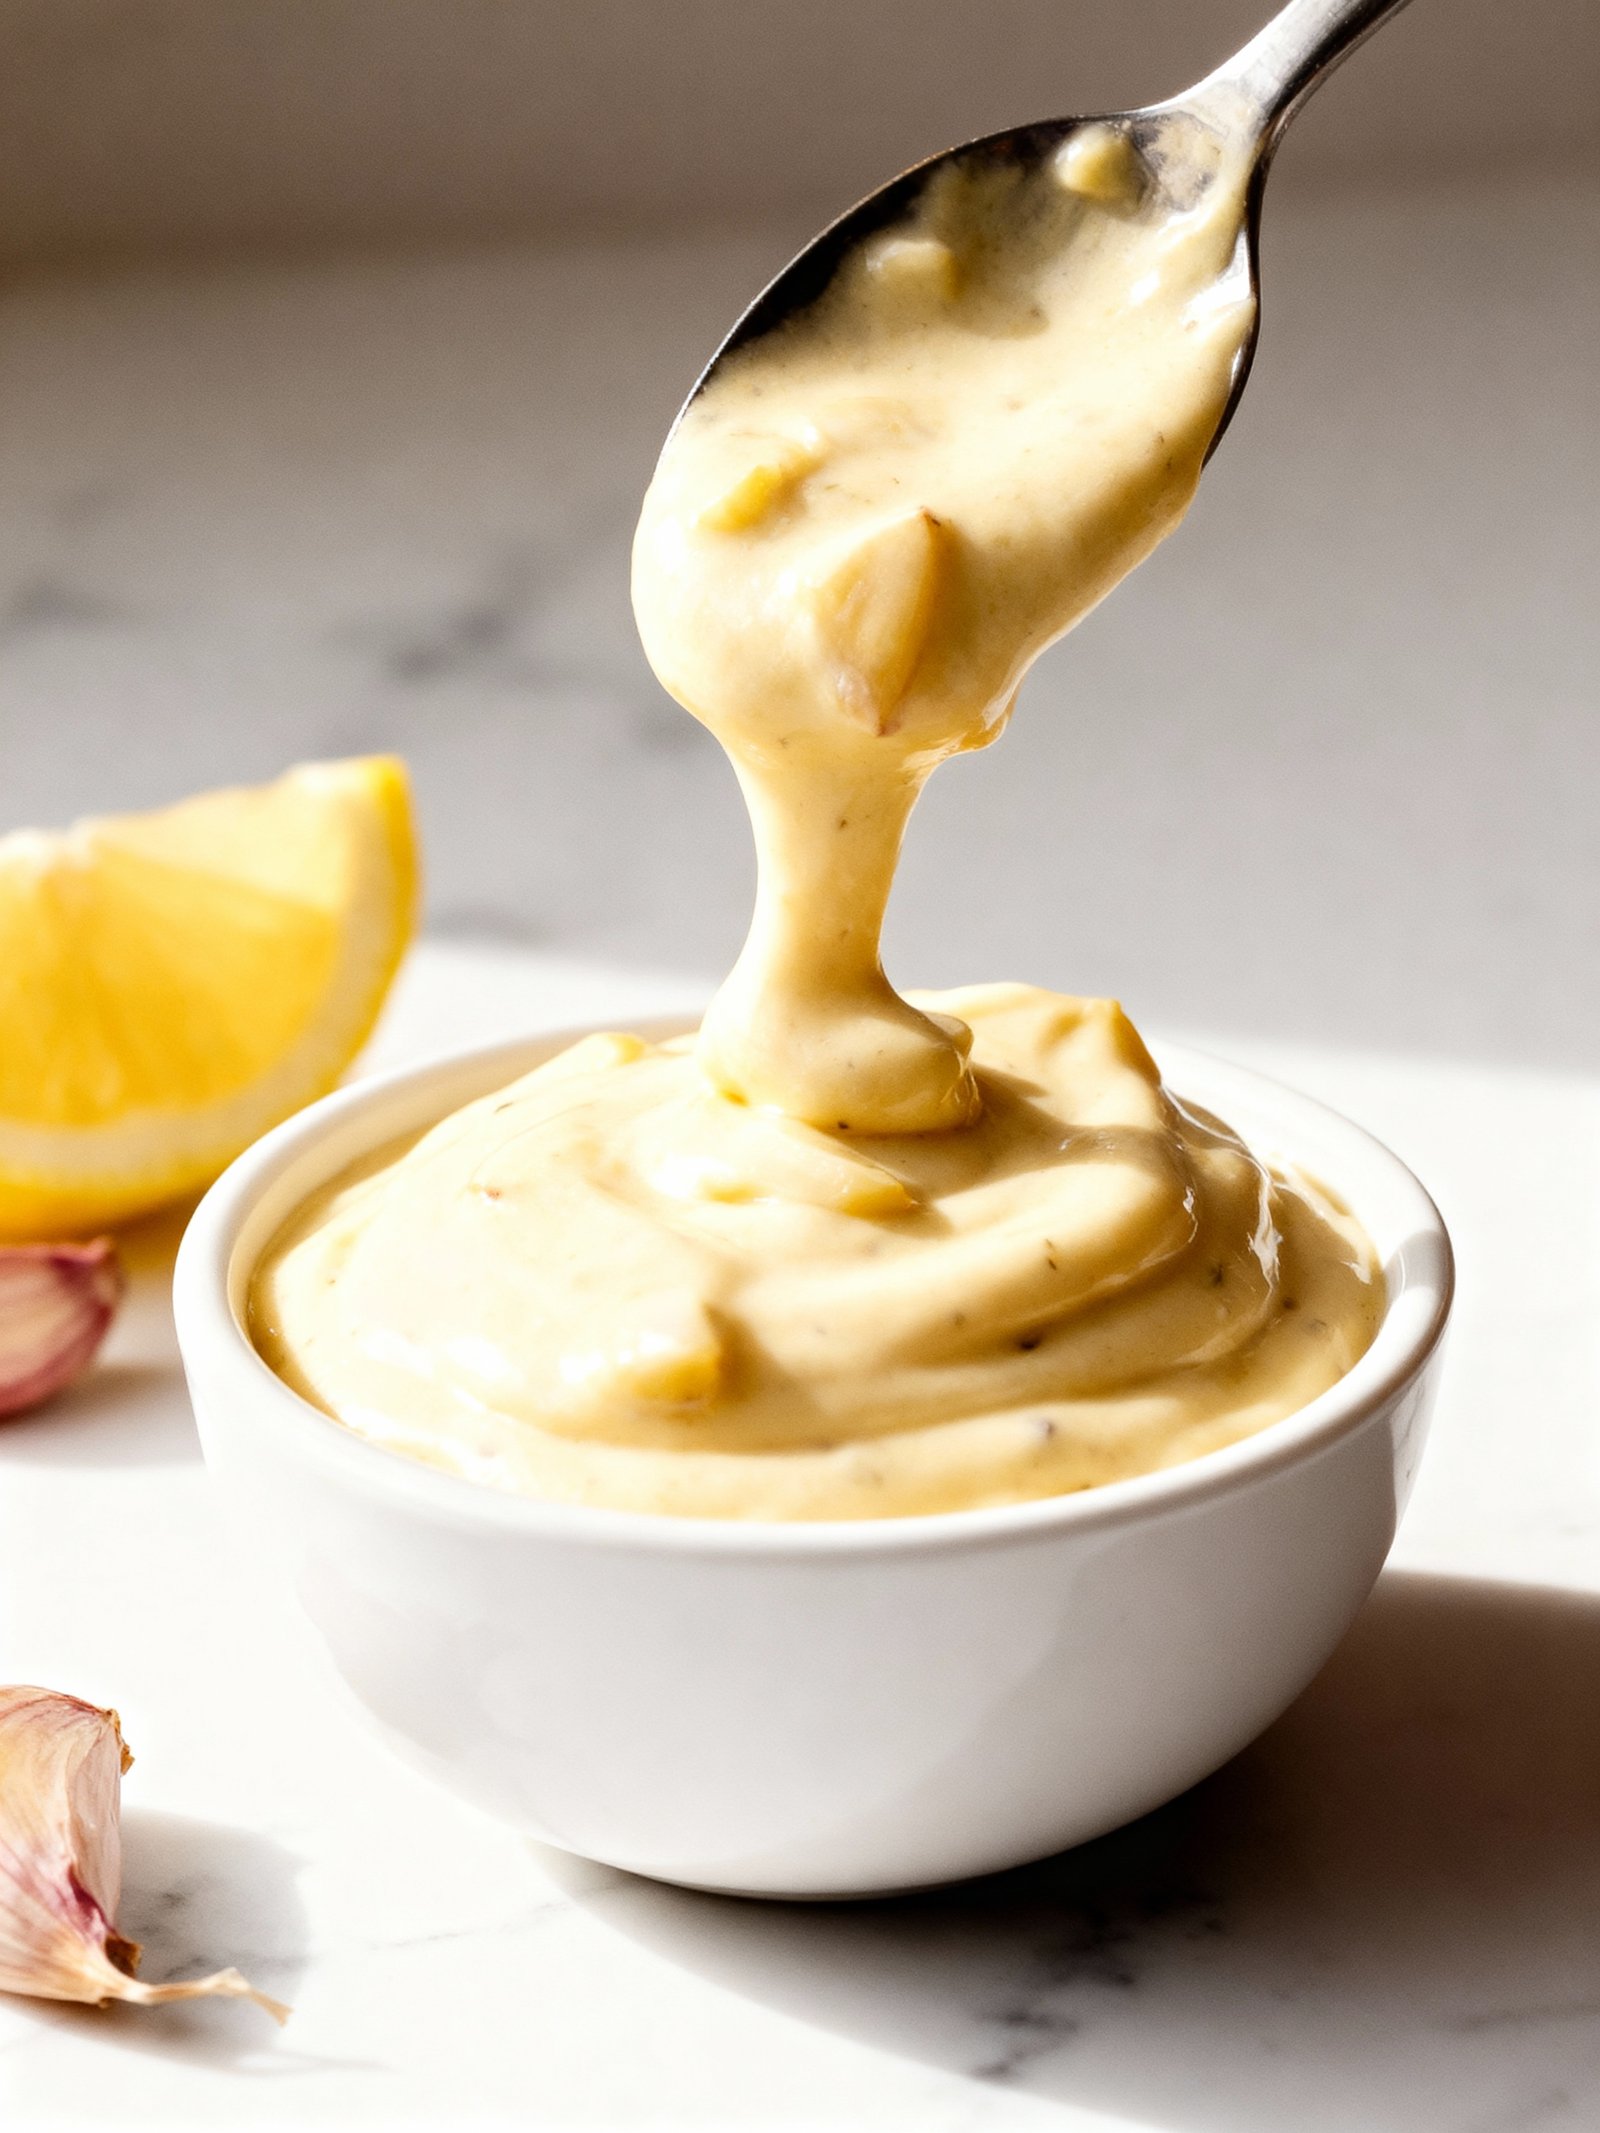
Step 5 — Check Consistency and Adjust
Continue whisking until all the oil is incorporated and the Authentic Garlic Aioli has thickened to a creamy, mayonnaise-like consistency. If your aioli becomes too thick, you can thin it with a few drops of warm water or additional lemon juice.
Step 6 — Season to Taste
Taste your aioli and adjust seasoning with additional salt or lemon juice as needed. The flavors will continue to develop as the aioli rests, so be conservative with seasoning at first. For optimal flavor, let it sit for at least 30 minutes before serving.
Step 7 — Store Properly
Transfer your finished Authentic Garlic Aioli to an airtight container and refrigerate immediately. Properly stored, it will keep for up to 3 days. Always use clean utensils when serving to prevent contamination and extend freshness.
Nutritional Information
| Calories | 95 |
| Protein | 0.6g |
| Carbohydrates | 1g |
| Fat | 10g |
| Fiber | 0.1g |
| Sodium | 90mg |
Note: Estimates based on typical ingredients and serving size.
Healthier Alternatives
- Greek Yogurt Base — Replaces mayonnaise for higher protein and lower fat while maintaining creamy texture.
- Avocado Oil Mayo — Heart-healthy fat alternative with the same rich consistency as traditional aioli.
- Roasted Garlic — Milder, sweeter flavor that allows for reduced salt while enhancing depth.
- Lemon Juice Boost — Bright acidity reduces need for salt while complementing the garlic flavor.
- Dairy-Free Mayo — Vegan alternative that maintains authentic garlic aioli texture without dairy.
- Fresh Herbs Infusion — Adds flavor complexity allowing for reduced sodium in your authentic garlic aioli.
- Apple Cider Vinegar — Tangy substitute for lemon that adds probiotic benefits to your aioli.
Serving Suggestions
- Spread generously on crusty bread or use as a dipping sauce for artichokes and grilled vegetables.
- Pair with seafood dishes like grilled shrimp, fish tacos, or baked salmon for a Mediterranean flair.
- Elevate sandwiches and burgers by using this Authentic Garlic Aioli as a flavorful condiment.
- Serve alongside a charcuterie board with cured meats, olives, and pickles.
- Drizzle over roasted potatoes or sweet potato fries for a creamy, garlicky twist.
- Use as a base for salad dressings by thinning with lemon juice or vinegar.
- Offer in small ramekins for dipping crispy french fries or onion rings.
This versatile Authentic Garlic Aioli adds rich flavor to casual meals and elegant gatherings alike.
Common Mistakes to Avoid
- Mistake: Using old or sprouted garlic. Fix: Choose fresh, firm garlic bulbs for a sweet, mellow flavor without bitterness.
- Mistake: Adding oil too quickly. Fix: Drizzle oil in a thin, steady stream while whisking constantly to prevent breaking.
- Mistake: Skipping the resting period. Fix: Let the Authentic Garlic Aioli sit for 30 minutes to allow flavors to meld properly.
- Mistake: Using cold ingredients. Fix: Bring eggs and oil to room temperature for smoother emulsification.
- Mistake: Overpowering with raw garlic. Fix: Start with 2–3 cloves and adjust after tasting to balance pungency.
- Mistake: Substituting olive oil entirely. Fix: Use a mix of light olive oil and neutral oil for the best texture and taste.
- Mistake: Whisking too vigorously. Fix: Maintain a gentle, consistent motion to incorporate oil without splitting the emulsion.
- Mistake: Not seasoning at the end. Fix: Add salt and lemon juice after emulsification to fine-tune the final flavor.
Storing Tips
- Fridge: Store Authentic Garlic Aioli in an airtight container in the refrigerator for up to 1 week. Keep it at or below 40°F (4°C) for food safety.
- Freezer: Freeze Authentic Garlic Aioli in a freezer-safe container for up to 2 months. Thaw overnight in the refrigerator before using.
- Reheat: Gently warm Authentic Garlic Aioli in a small saucepan over low heat, stirring constantly, until it reaches your desired temperature. Do not overheat, as this can cause separation.
For best quality, always use clean utensils when scooping out your Authentic Garlic Aioli to prevent contamination and extend its shelf life.
Conclusion
This Authentic Garlic Aioli is a versatile, creamy condiment perfect for elevating sandwiches, fries, and more. Give it a try and let us know how it turned out in the comments! Don’t forget to subscribe for more delicious recipes like our Loaded Bacon Cheeseburger Alfredo Pasta Recipe.
PrintAuthentic Garlic Aioli
A creamy, traditional Mediterranean garlic sauce made by emulsifying fresh garlic with extra virgin olive oil and sea salt using a mortar and pestle. This authentic Spanish alioli captures the essence of classic culinary tradition with its smooth, porridge-like texture and aromatic garlic flavor.
- Prep Time: 5 minutes
- Cook Time: 0 minutes
- Total Time: 5 minutes
- Yield: 6-8 portions 1x
- Method: Sauce
- Cuisine: Spanish/Mediterranean
Ingredients
- 4 large cloves of fresh garlic, peeled
- 1 fresh egg yolk (room temperature)
- 1 cup extra virgin olive oil
- 1/2 teaspoon fine sea salt
- 1 teaspoon fresh lemon juice
- Pinch of white pepper (optional)
Instructions
- Finely mince the garlic cloves and crush them with the salt using a mortar and pestle until you achieve a smooth paste
- Transfer the garlic paste to a bowl and add the egg yolk. Whisk together until well combined
- Slowly drizzle the olive oil in a very thin, steady stream while continuously whisking in a clockwise direction to create the emulsion
- Continue whisking until all the oil is incorporated and the mixture becomes thick and creamy
- Add the lemon juice and white pepper (if using) and whisk until fully combined
- Season to taste and serve immediately or store in an airtight container in the refrigerator for up to 3 days
Notes
Always use room temperature ingredients for better emulsion. The key to perfect aioli is patience – add the oil very slowly in a steady stream. If the sauce becomes too thick, add a few drops of warm water to adjust consistency. For a milder garlic flavor, blanch the garlic cloves briefly before using.
Nutrition
- Calories: 1920
- Sugar: 0
- Sodium: 310
- Fat: 213
- Saturated Fat: 15
- Unsaturated Fat: 198
- Trans Fat: 0
- Carbohydrates: 2
- Fiber: 0
- Protein: 1
- Cholesterol: 55
FAQs
What is the difference between aioli and mayonnaise?
Traditional aioli is an emulsion of garlic and olive oil, while mayonnaise uses egg yolks and a neutral oil. This Authentic Garlic Aioli recipe stays true to its Mediterranean roots with a strong garlic flavor and rich olive oil base.
Can I use a food processor to make Authentic Garlic Aioli?
Yes, a food processor can help create a stable emulsion quickly. However, for the most authentic texture and control, many prefer using a mortar and pestle to crush the garlic before slowly whisking in the oil.
Why did my aioli break or separate?
Your aioli likely broke because the oil was added too quickly, preventing a stable emulsion. To fix it, start with a new base in a clean bowl and very slowly whisk the broken mixture back in. Achieving a perfect Authentic Garlic Aioli requires patience and a steady hand.


