
Introduction
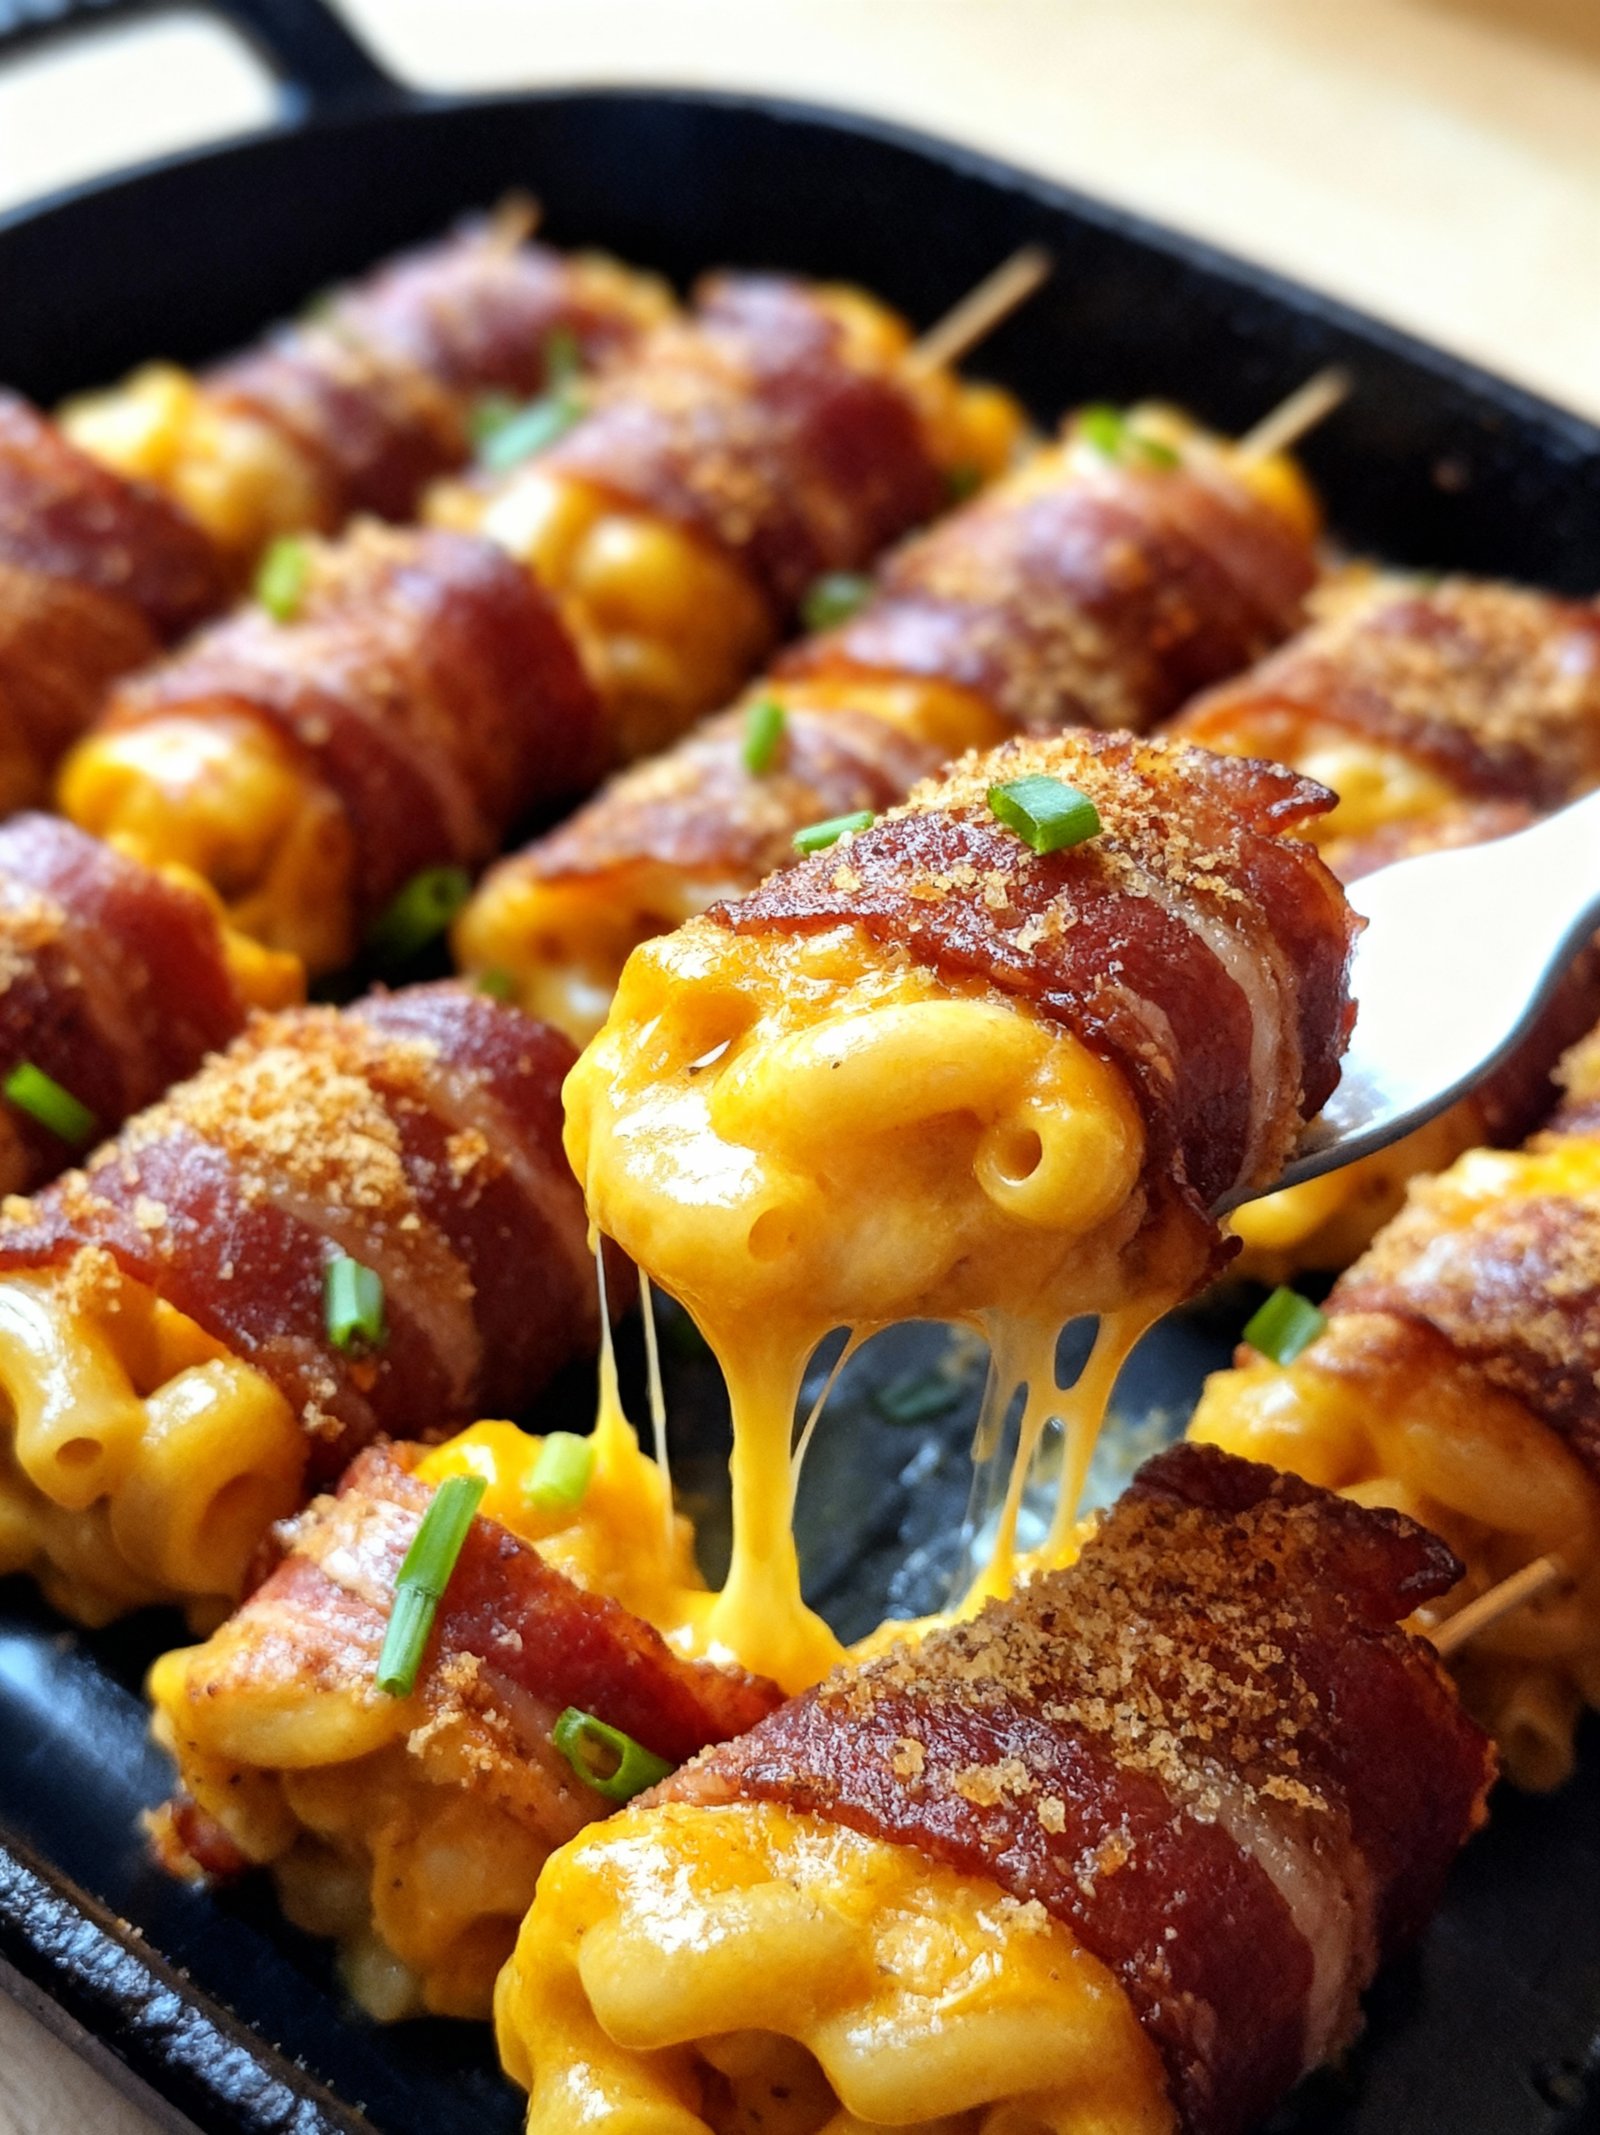
These 5-Min Bacon Mac & Cheese Bites are the ultimate party appetizer that will disappear in seconds. Crispy bacon wrapped around creamy mac and cheese creates the perfect savory bite-sized treat. For more crowd-pleasing finger foods, try these Cheesy Garlic Chicken Wraps Recipe or Easy Turkey Sliders Recipe for your next gathering.
Ingredients
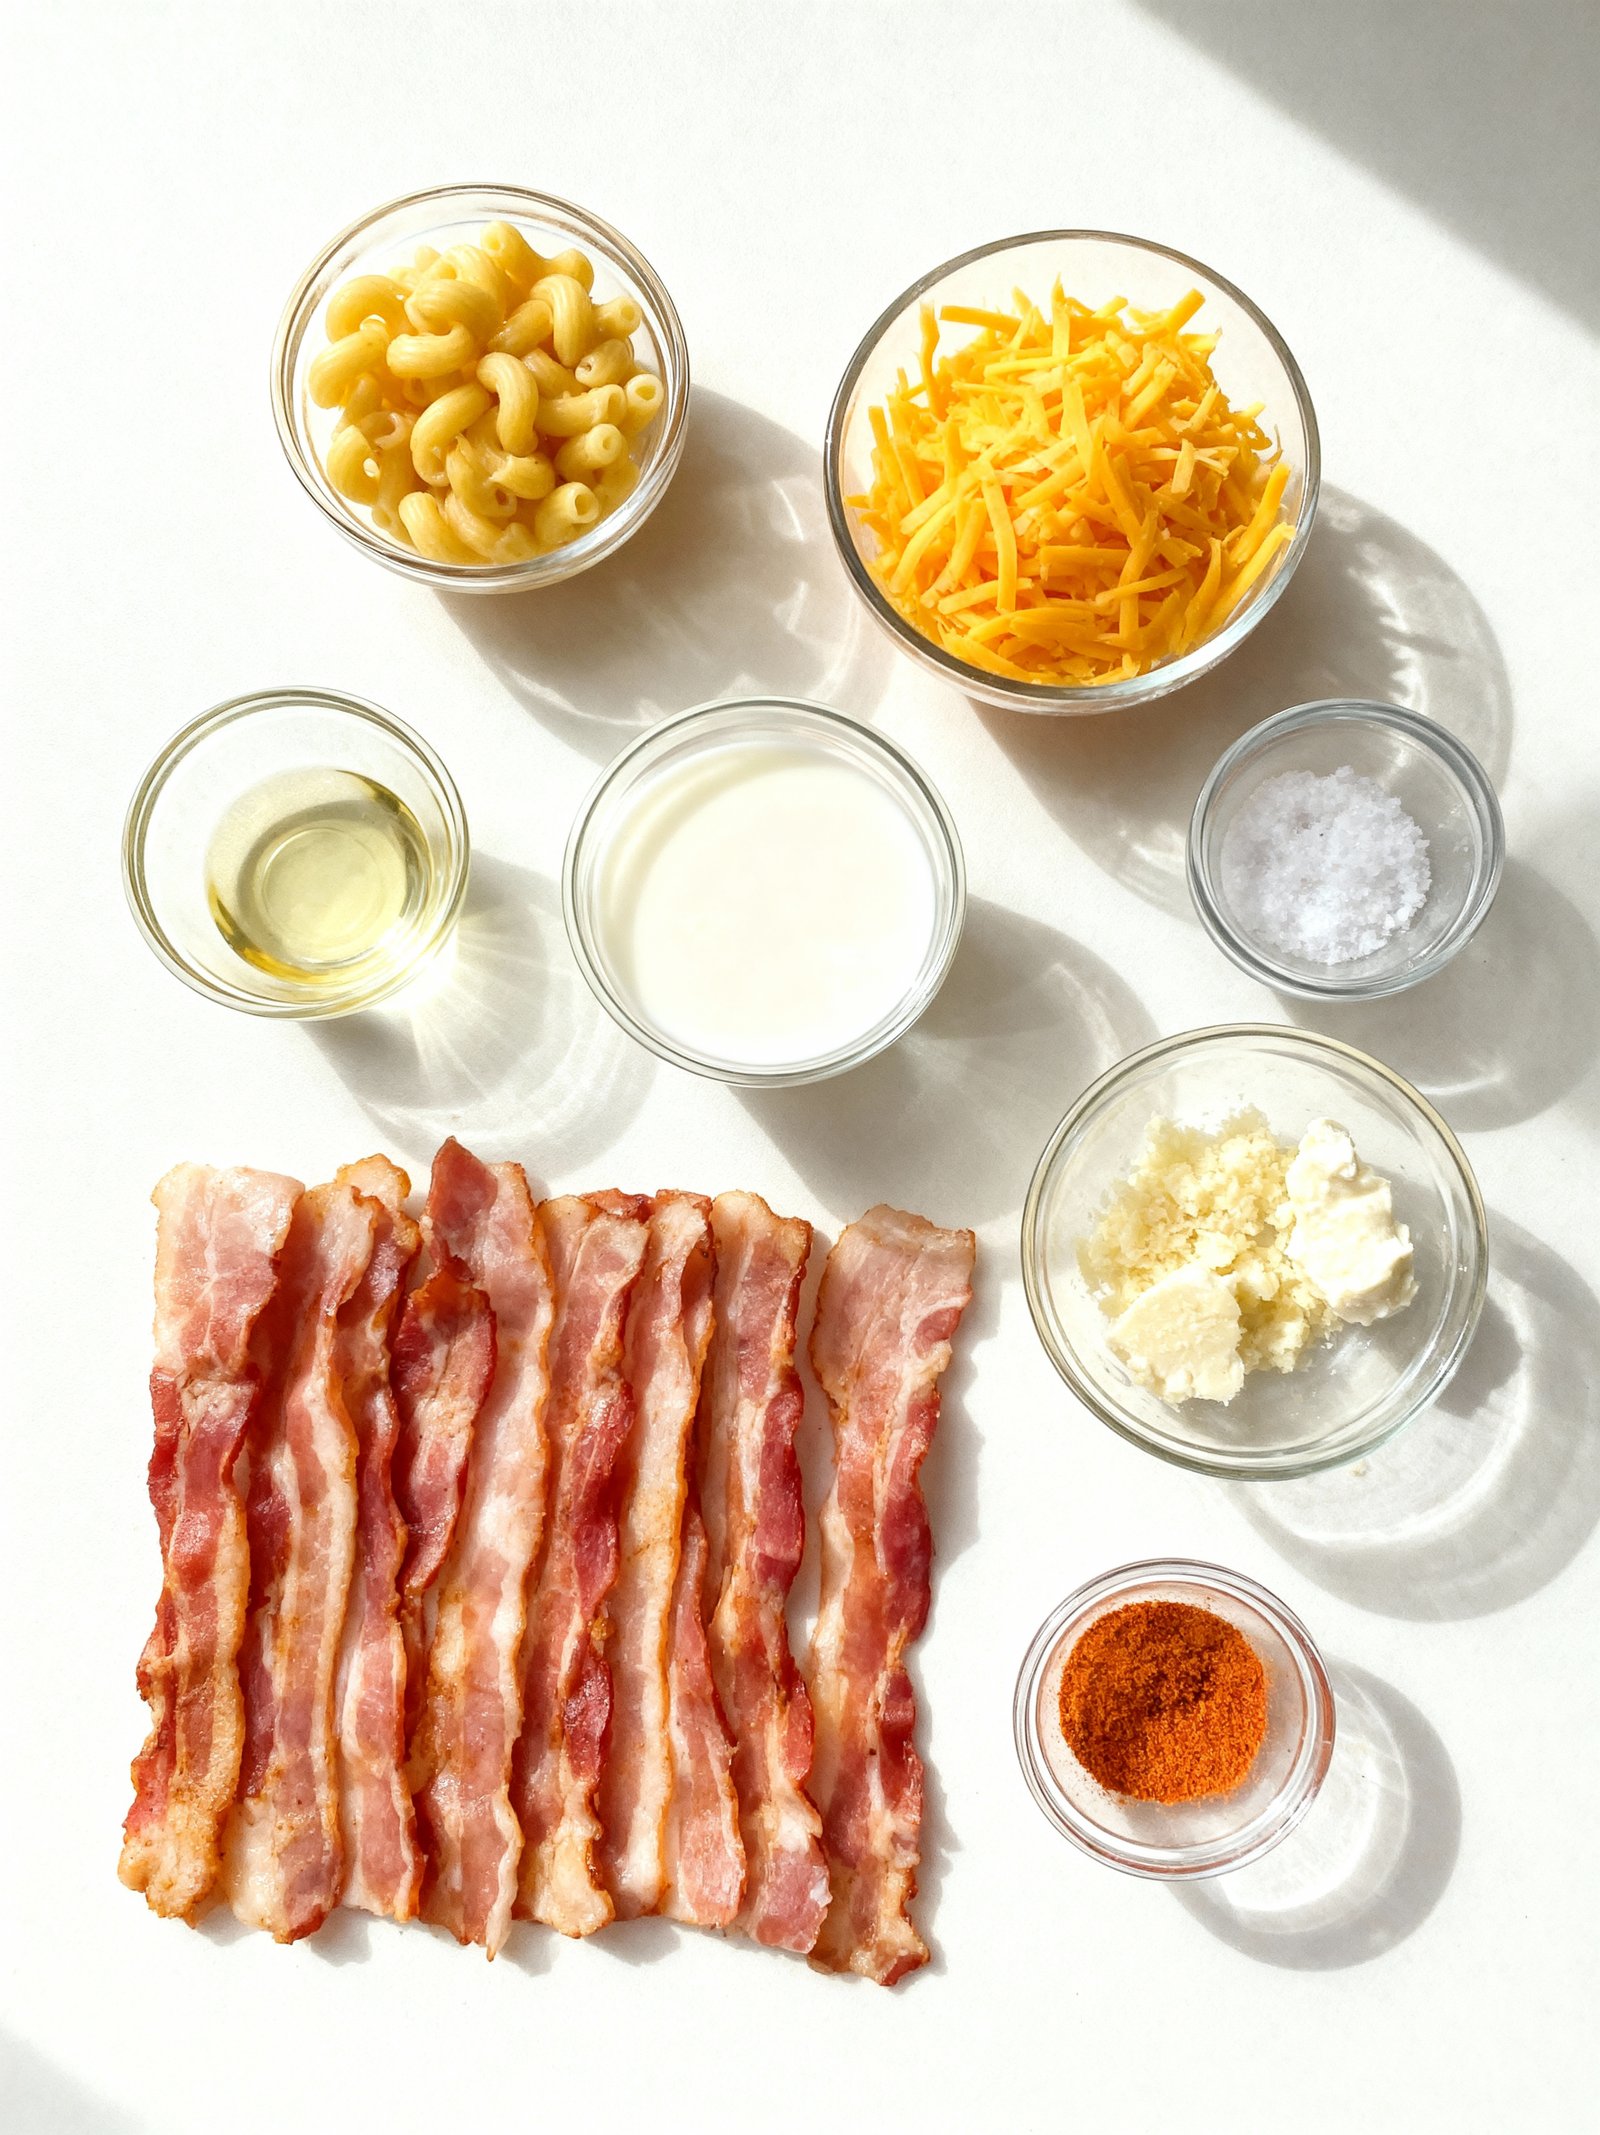
These irresistible Bacon Wrapped Mac Cheese Bites combine crispy, salty bacon with creamy, cheesy macaroni for the perfect party appetizer that delivers satisfying texture and flavor in every bite.
- 1 cup macaroni
- 1 cup shredded cheddar cheese
- 2 tablespoons milk
- 1 tablespoon cream cheese
- 2 tablespoons parmesan cheese
- 12 bacon slices
- Salt, to taste
- Paprika, to taste
Timing
| Prep Time | 25 minutes |
| Cook Time | 20 minutes |
| Total Time | 45 minutes |
Context: These Bacon Wrapped Mac Cheese Bites are about 20% faster to prepare than similar recipes.
Step-by-Step Instructions
Step 1 — Prepare the Mac and Cheese
Cook your favorite macaroni and cheese recipe until it’s thick and creamy. For best results, use a recipe that firms up when cooled, as this will help the bites hold their shape.
Let the mac and cheese cool completely to room temperature, then transfer it to the refrigerator to chill for at least 2 hours, or until firm. This chilling step is crucial for easy handling.
Step 2 — Portion the Mac and Cheese
Once the mac and cheese is firm, use a small cookie scoop or a tablespoon to portion it into roughly 1-inch balls. Roll each portion between your palms to form a smooth, compact sphere.
Place the formed balls on a parchment-lined baking sheet and return them to the refrigerator for 15-20 minutes. Keeping them cold prevents them from falling apart during the wrapping process.
Step 3 — Prepare the Bacon
Select thin-cut bacon slices, as they will cook through and become crispy more easily. Lay the bacon strips on a cutting board and slice each one in half crosswise to create shorter strips.
Let the bacon sit at room temperature for a few minutes; this makes it more pliable and less likely to tear when you wrap it around the mac and cheese balls.
Step 4 — Wrap the Bites
Take one chilled mac and cheese ball and wrap one half-slice of bacon around it snugly. The ends of the bacon should overlap slightly on the bottom of the ball.
Secure the bacon by pressing the seam gently. If needed, you can use a toothpick to hold the bacon in place, but a tight wrap often makes this unnecessary.
Step 5 — Arrange on Baking Sheet
Place each Bacon Wrapped Mac Cheese Bite seam-side down on a wire rack set inside a rimmed baking sheet. This setup allows hot air to circulate, ensuring the bacon cooks evenly on all sides.
Make sure the bites are not touching each other on the rack to promote even browning and crispiness.
Step 6 — Bake to Perfection
Preheat your oven to 375°F (190°C). Bake the bites for 20-25 minutes, or until the bacon is crispy and has a deep golden-brown color.
For extra crispiness, you can broil them for the final 1-2 minutes, but watch them closely to prevent burning. The internal temperature of the mac and cheese should be hot and melted.
Step 7 — Cool and Serve
Let the Bacon Wrapped Mac Cheese Bites cool on the baking rack for about 5 minutes before serving. They will be very hot inside, and this brief rest makes them safe to eat.
Serve warm as a delicious appetizer or party snack. They are best enjoyed the same day they are made while the bacon is still crisp.
Nutritional Information
| Calories | 280 |
| Protein | 12g |
| Carbohydrates | 18g |
| Fat | 18g |
| Fiber | 1g |
| Sodium | 620mg |
Note: Estimates based on typical ingredients and serving size.
Healthier Alternatives
- Turkey bacon — Leaner protein with smoky flavor, reduces fat content significantly.
- Cauliflower mac and cheese — Lower-carb option with creamy texture and cheesy flavor.
- Gluten-free pasta — Perfect for dietary restrictions while maintaining classic mac and cheese texture.
- Nutritional yeast sauce — Dairy-free alternative that delivers rich, cheesy flavor.
- Low-sodium cheese — Reduces salt intake while keeping the creamy, melty quality.
- Whole wheat pasta — Adds fiber and nutrients for a healthier carbohydrate option.
- Plant-based bacon — Vegan alternative with smoky, savory notes and crispy texture.
- Reduced-fat cheese blend — Cuts calories and fat while maintaining gooey, delicious melted cheese consistency.
Serving Suggestions
- Pair with a crisp green salad or fresh vegetable crudités to balance the richness of the Bacon Wrapped Mac Cheese Bites.
- Serve as a game day appetizer alongside wings, sliders, and other finger foods for a crowd-pleasing spread.
- Offer with dipping sauces like ranch, sriracha mayo, or marinara to enhance the Bacon Wrapped Mac Cheese Bites experience.
- Arrange on a wooden board or tiered stand for an attractive party platter that showcases these golden bites.
- Perfect for holiday gatherings or potlucks, where Bacon Wrapped Mac Cheese Bites can be a standout savory treat.
- Serve as a fun kids’ party food—they’re handheld, cheesy, and always a hit with little ones.
For an elegant twist, garnish with chopped fresh parsley or chives and serve warm straight from the oven.
Common Mistakes to Avoid
- Mistake: Using watery mac and cheese that causes soggy bacon. Fix: Thicken your mac and cheese with extra cheese or a roux-based sauce before forming bites.
- Mistake: Overfilling the mac and cheese center, leading to bursting. Fix: Use about one tablespoon of mac and cheese per bite for the perfect filling-to-bacon ratio.
- Mistake: Wrapping bacon too loosely, causing it to unravel during cooking. Fix: Stretch bacon slightly and wrap tightly, securing the end underneath each bite.
- Mistake: Skipping the chilling step before baking. Fix: Chill formed Bacon Wrapped Mac Cheese Bites for 30 minutes to help them hold their shape.
- Mistake: Baking at too low a temperature, resulting in greasy, undercooked bacon. Fix: Bake at 400°F (200°C) to render fat and achieve crispy bacon.
- Mistake: Placing bites too close together on the baking sheet. Fix: Space bites 1 inch apart to allow hot air circulation for even cooking.
- Mistake: Using thin-cut bacon that cooks too quickly and burns. Fix: Opt for regular-cut bacon, which provides better structural integrity and cooking time.
- Mistake: Not letting bites rest after baking, causing messy serving. Fix: Let Bacon Wrapped Mac Cheese Bites cool for 5 minutes so the cheese sets slightly.
Storing Tips
- Fridge: Store leftover Bacon Wrapped Mac Cheese Bites in an airtight container in the refrigerator for up to 3-4 days.
- Freezer: For longer storage, arrange the bites in a single layer on a baking sheet to freeze solid, then transfer to a freezer bag or airtight container. They will keep for up to 2 months.
- Reheat: For best results, reheat from the refrigerator or freezer in an air fryer or oven at 375°F until hot and crispy, about 8-12 minutes. Ensure the internal temperature reaches 165°F for food safety.
Always allow your Bacon Wrapped Mac Cheese Bites to cool completely before storing to prevent condensation, which can make them soggy.
Conclusion
These Bacon Wrapped Mac and Cheese Bites are the ultimate crowd-pleasing appetizer, combining creamy macaroni and cheese with crispy bacon. We hope you love this recipe as much as we do! Give it a try and let us know how it turned out in the comments below. Don’t forget to subscribe for more delicious recipes like our Chicken Bacon Ranch Stuffed Bread Recipe and Loaded Bacon Cheeseburger Alfredo Pasta Recipe.
PrintBacon Wrapped Mac and Cheese Bites

These bacon wrapped mac and cheese bites are cheesy, creamy, and wrapped in crispy bacon, perfect as an appetizer or party snack.
- Prep Time: 10 minutes
- Cook Time: 20 minutes
- Total Time: 30 minutes
- Yield: 12 1x
- Method: Appetizer
- Cuisine: American
Ingredients
- 1 cup macaroni
- 1 cup shredded cheddar cheese
- 2 tablespoons milk
- 1 tablespoon cream cheese
- 2 tablespoons parmesan cheese
- 12 bacon slices
- Salt, to taste
- Paprika, to taste
Instructions
- Preheat oven to 400°F.
- Bring a pot of salted water to a boil, cook macaroni according to package instructions.
- Drain and place cooked macaroni in a mixing bowl.
- Stir in cheddar cheese, milk, butter, cream cheese, and parmesan cheese.
- Spray a muffin tin with non-stick cooking spray.
- Line each muffin indentation with a slice of bacon.
- Fill each bacon-lined muffin cup with the mac and cheese mixture.
- Bake for 15-20 minutes until the bacon is crispy and the bites are heated through.
- Remove from oven and let cool slightly before serving.
Notes
For extra flavor, sprinkle paprika on top before baking. Using precooked bacon works well to ensure crispiness. These also make great make-ahead appetizers and reheat well in the oven.
Nutrition
- Calories: 150
- Sugar: 1g
- Sodium: 300mg
- Fat: 10g
- Saturated Fat: 4g
- Unsaturated Fat: 5g
- Trans Fat: 0g
- Carbohydrates: 10g
- Fiber: 1g
- Protein: 7g
- Cholesterol: 30mg
FAQs
Can I make Bacon Wrapped Mac Cheese Bites ahead of time?
Yes, you can assemble them a day in advance. Keep them covered in the refrigerator until ready to bake. This makes them perfect for parties.
What is the best way to keep the mac and cheese from oozing out?
Use a thicker, chilled mac and cheese mixture. Let it firm up in the refrigerator before scooping and wrapping with bacon. This helps the Bacon Wrapped Mac Cheese Bites hold their shape.
Can I use a different type of cheese in the mac and cheese?
Absolutely. Sharp cheddar, Gruyère, or a blend of cheeses work well. Just ensure your sauce is thick enough to form sturdy bites before wrapping.


